


So, this is part two of this project. Basically we’re up to under coating at this stage. Assembly is a distant memory, however I feel that it will haunt me for the rest of my days. It was seriously hard work. A task I’m thankful I’ll probably only ever do once in my life.
Ok, lets get down to business. One thing I really wanted to do to the landing pad is not to have a gap between the ground and the underside of the landing platform. I also wanted to make whatever I put in that gap be suitable and fitting with the character of the base, and finally, be simple and easy to produce (I’m quite a lazy bugger you see)

So what I settled on was getting some of the old Necromunda bulkheads. Remember these?
Big Jim, if you’re reading this, thanks for donating them.

So basically I chopped a bunch of them up up to make a panel wide enough to span the gap between the support pylons on the landing pad.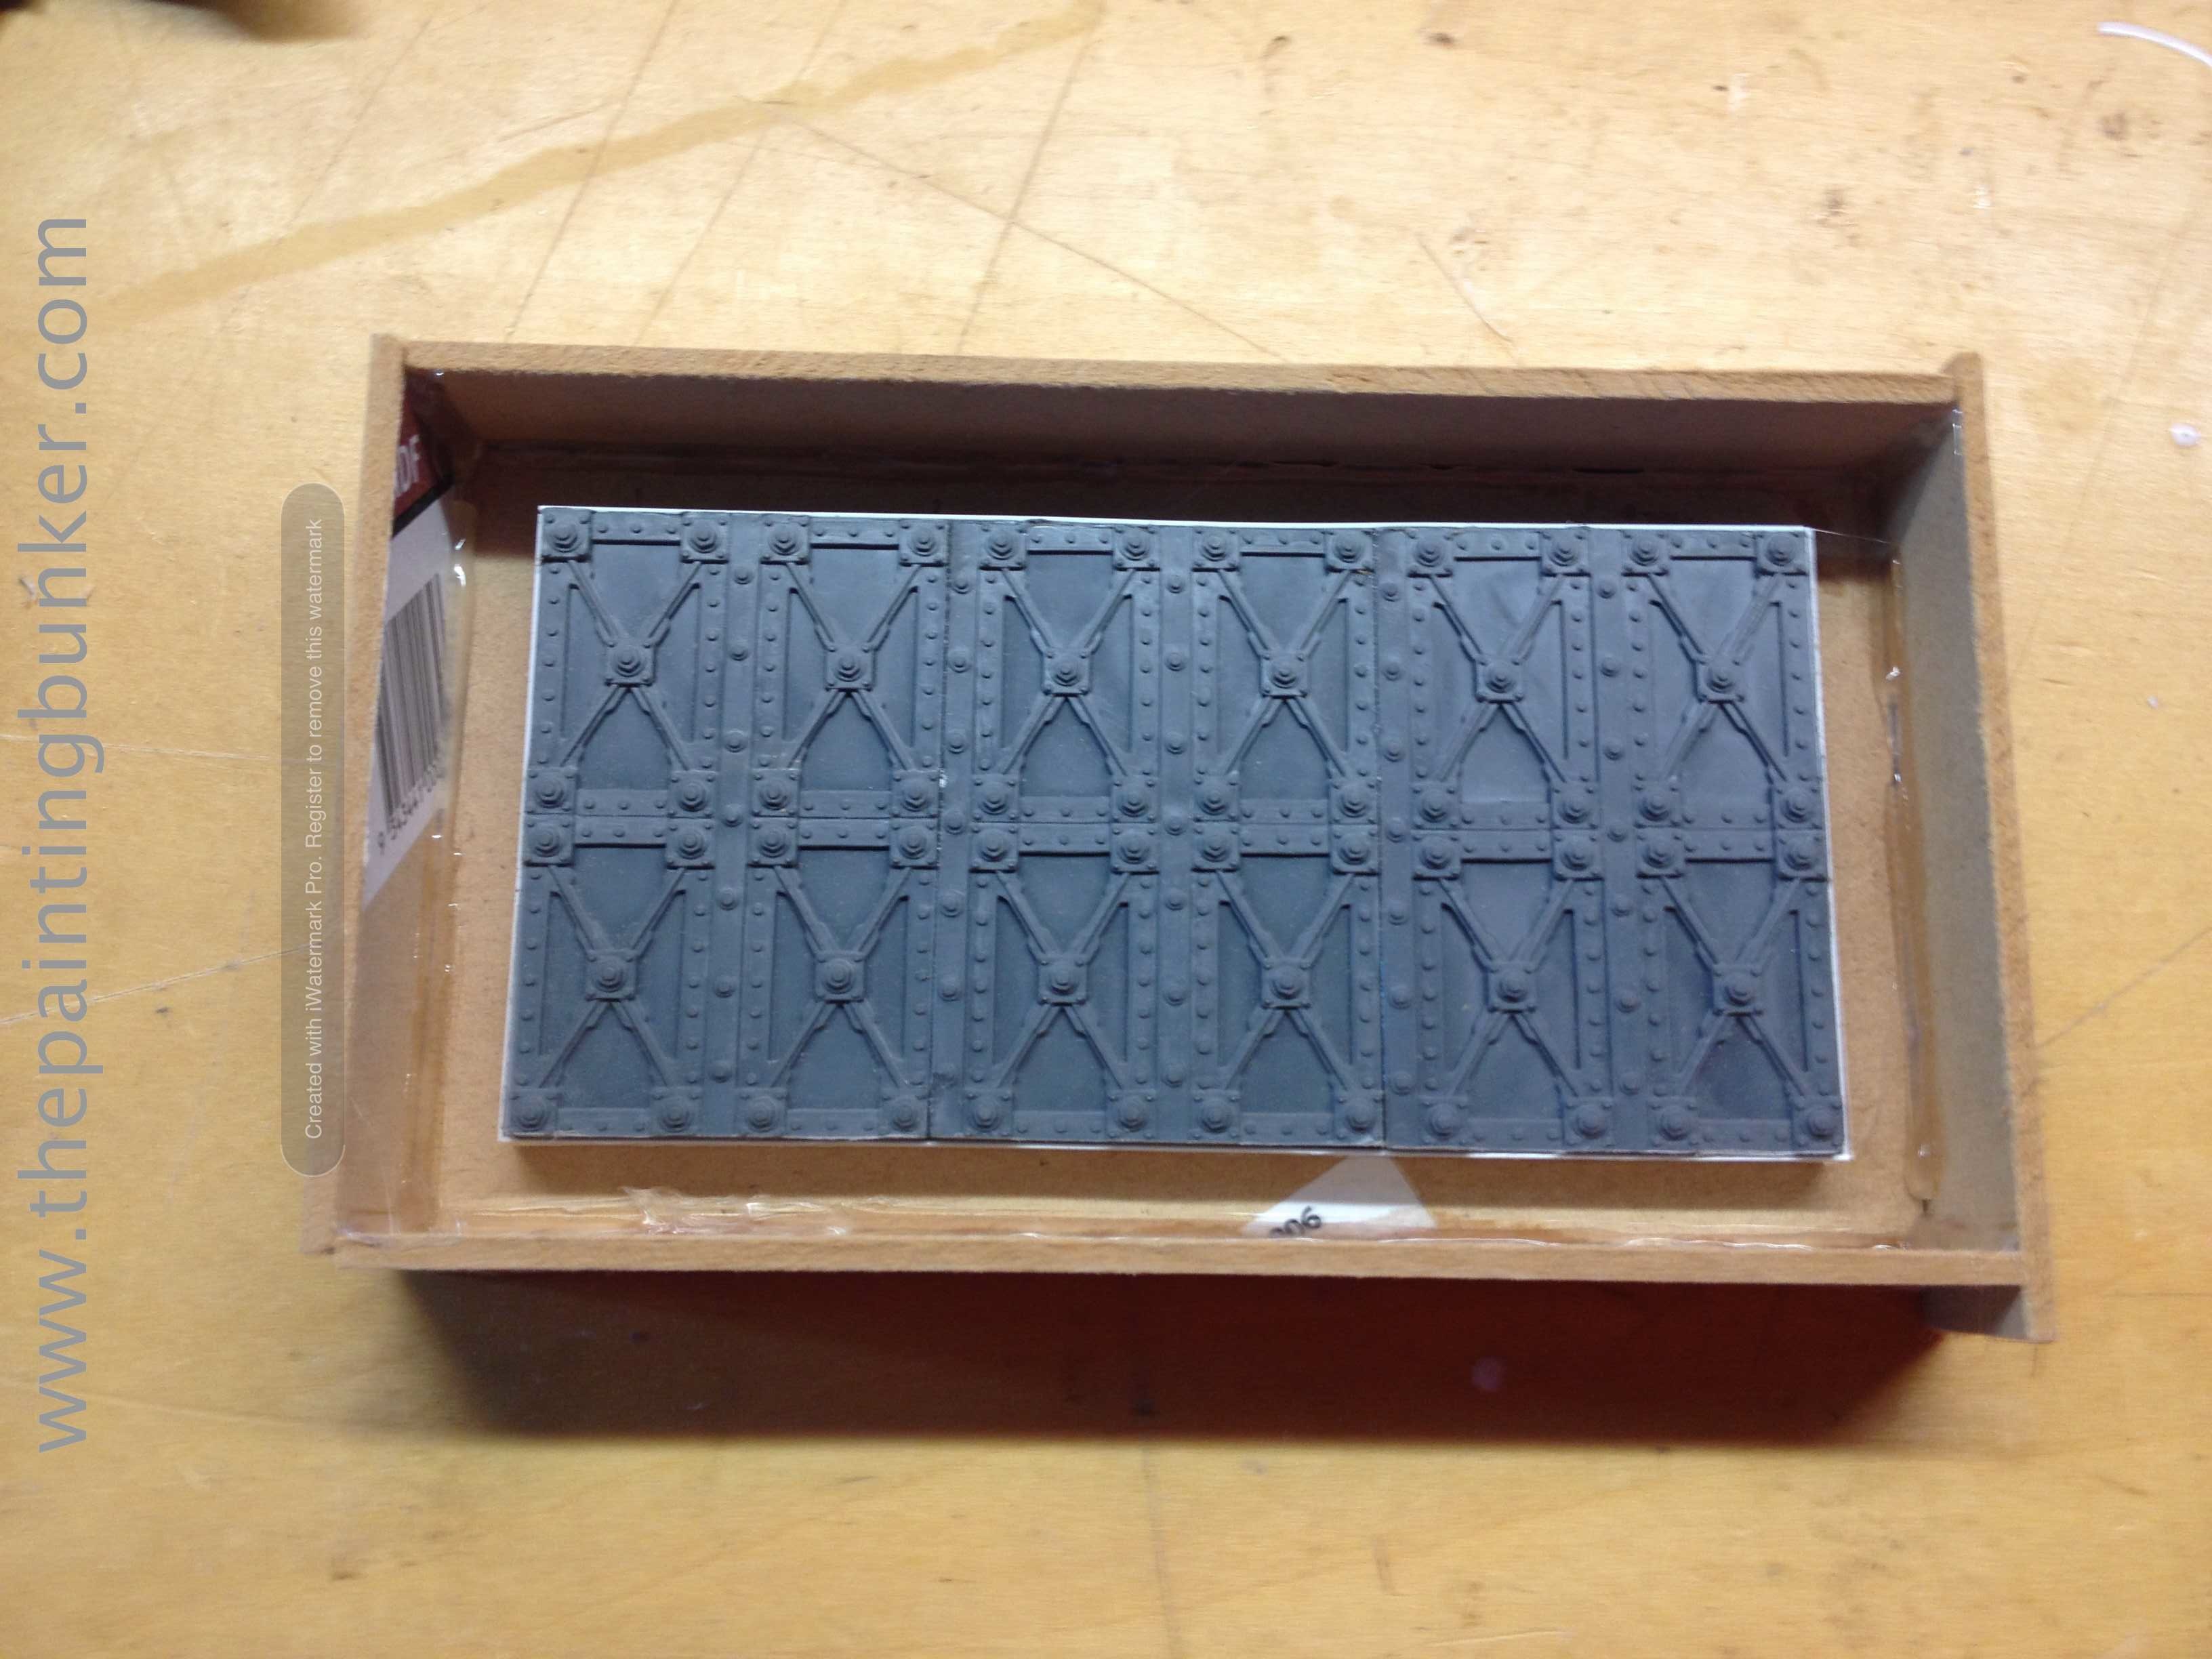
Because I needed about eight lengths, I decided to make a quick one piece mold of the newly constructed panel so I can make the appropriate amount of casts.
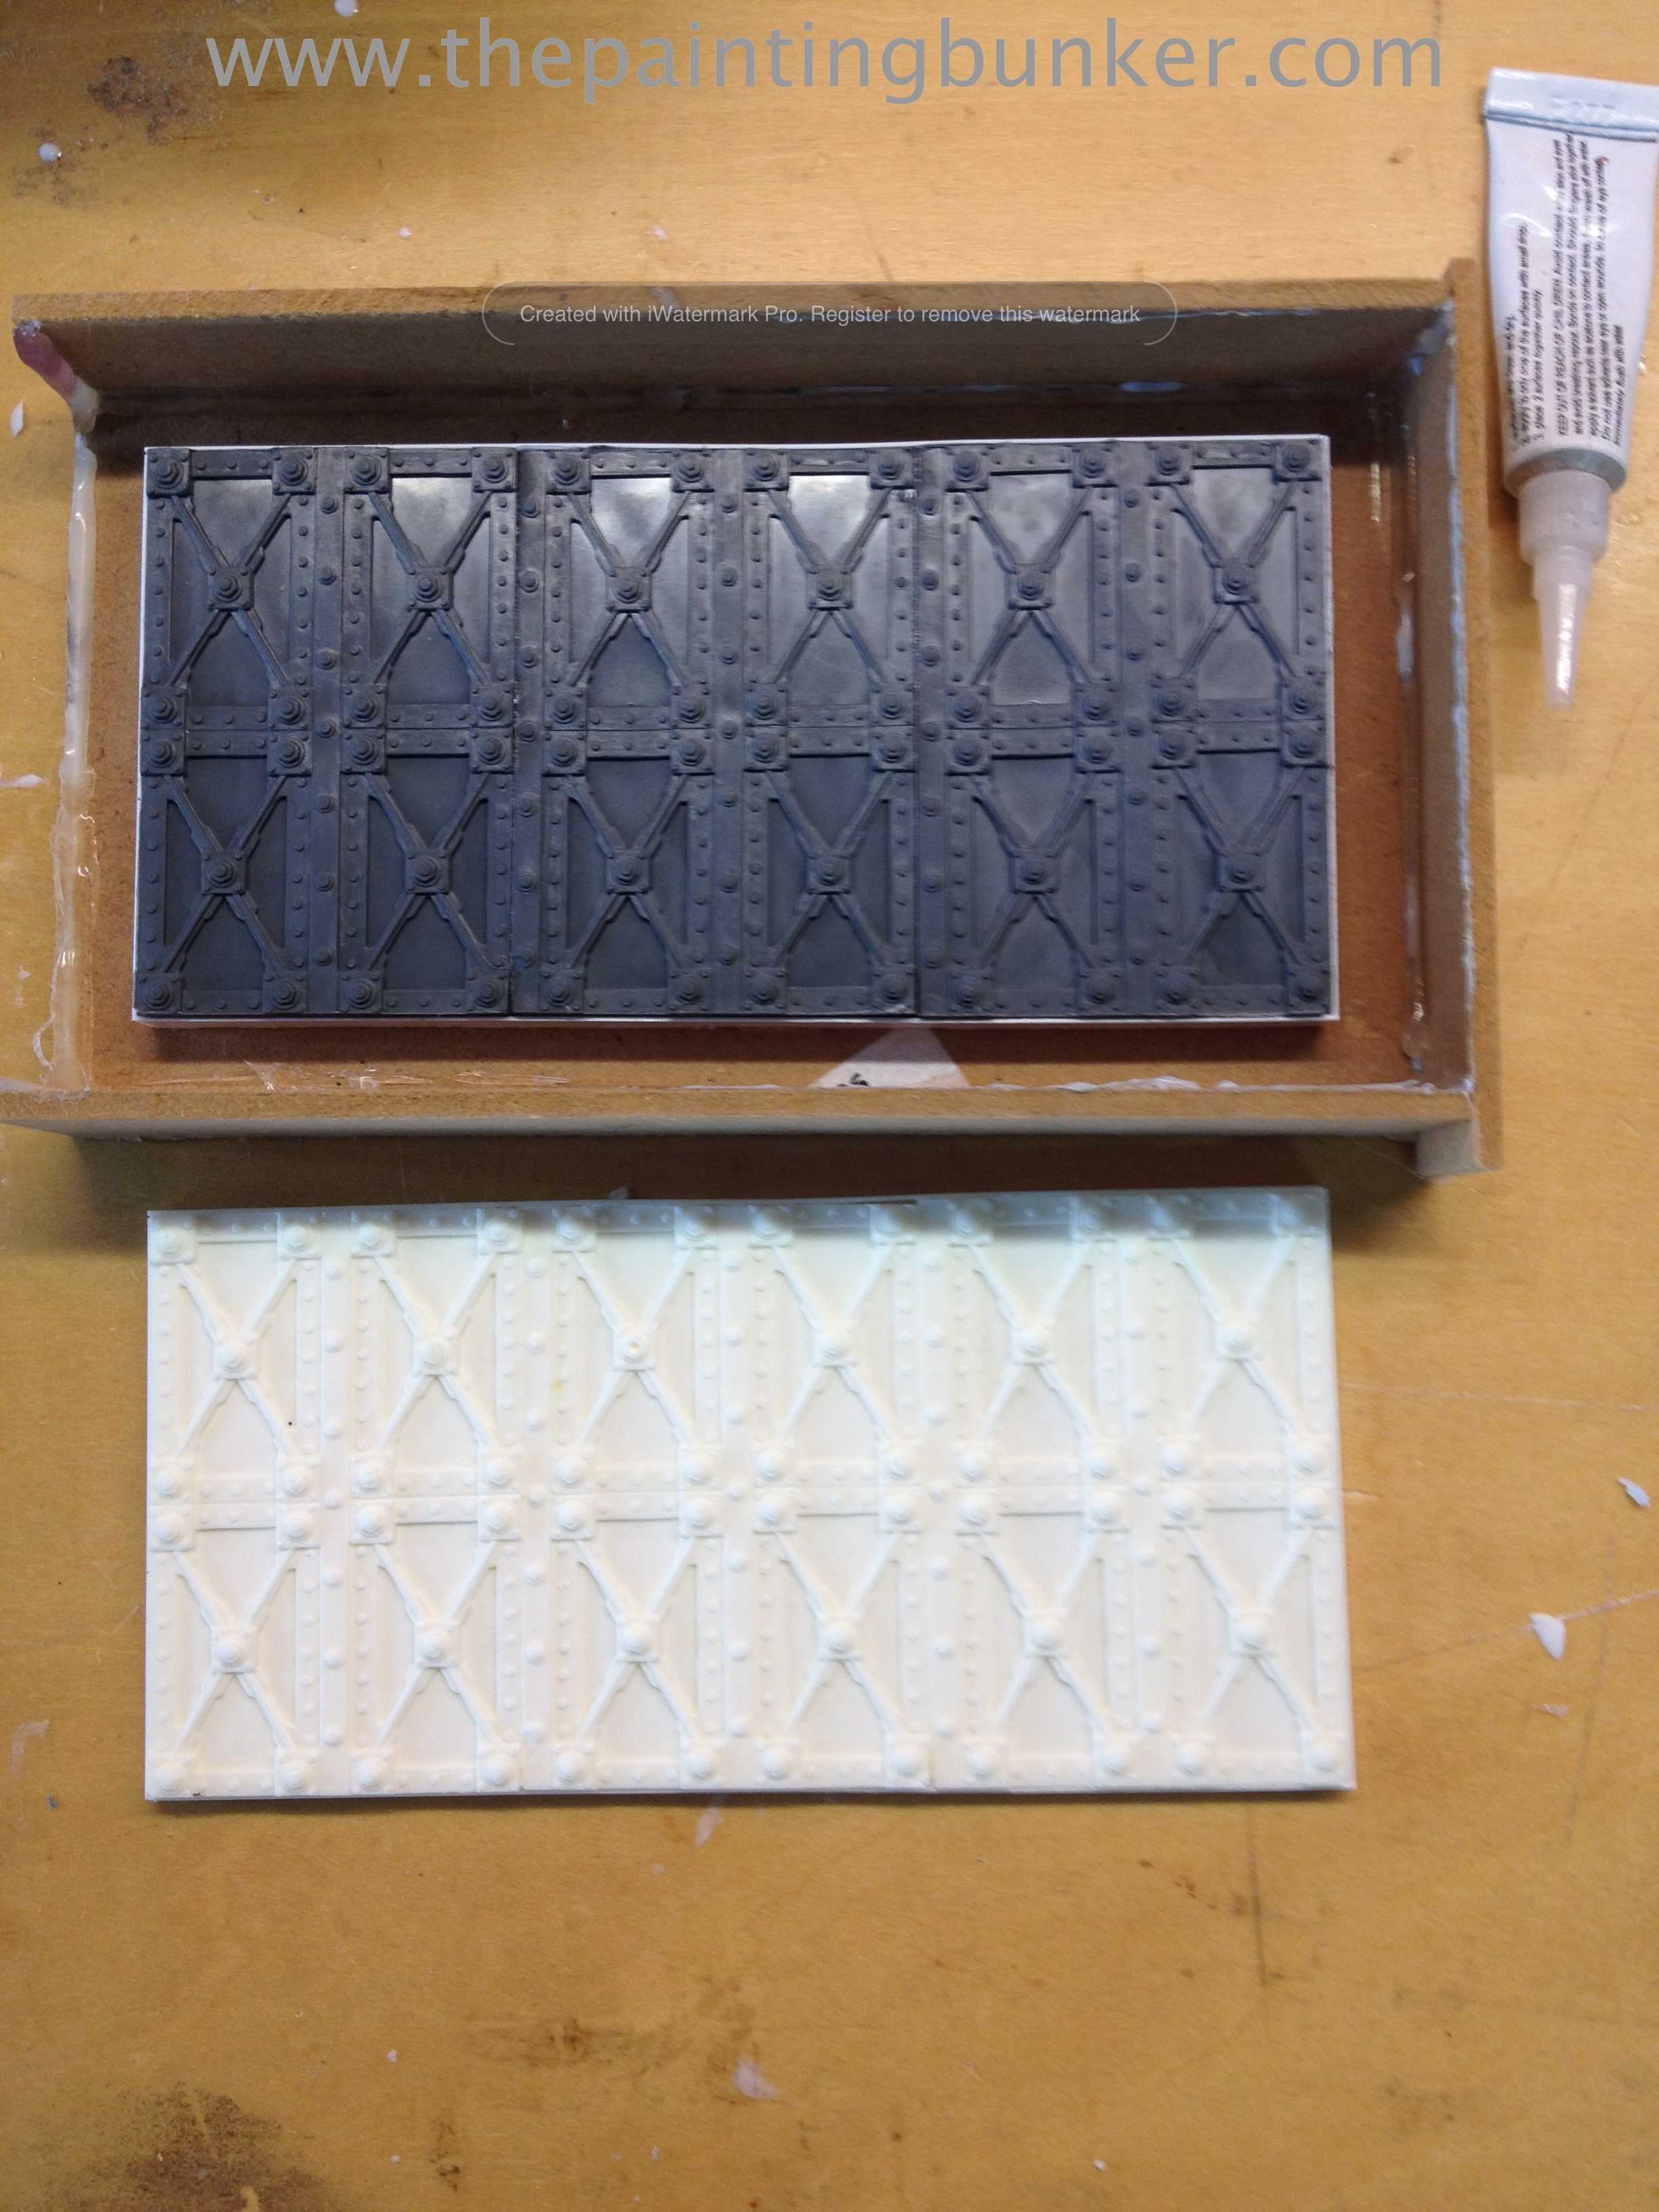
And the cast panel. These will come in handy later on too. They have a lot of character and will make useful bits later on…
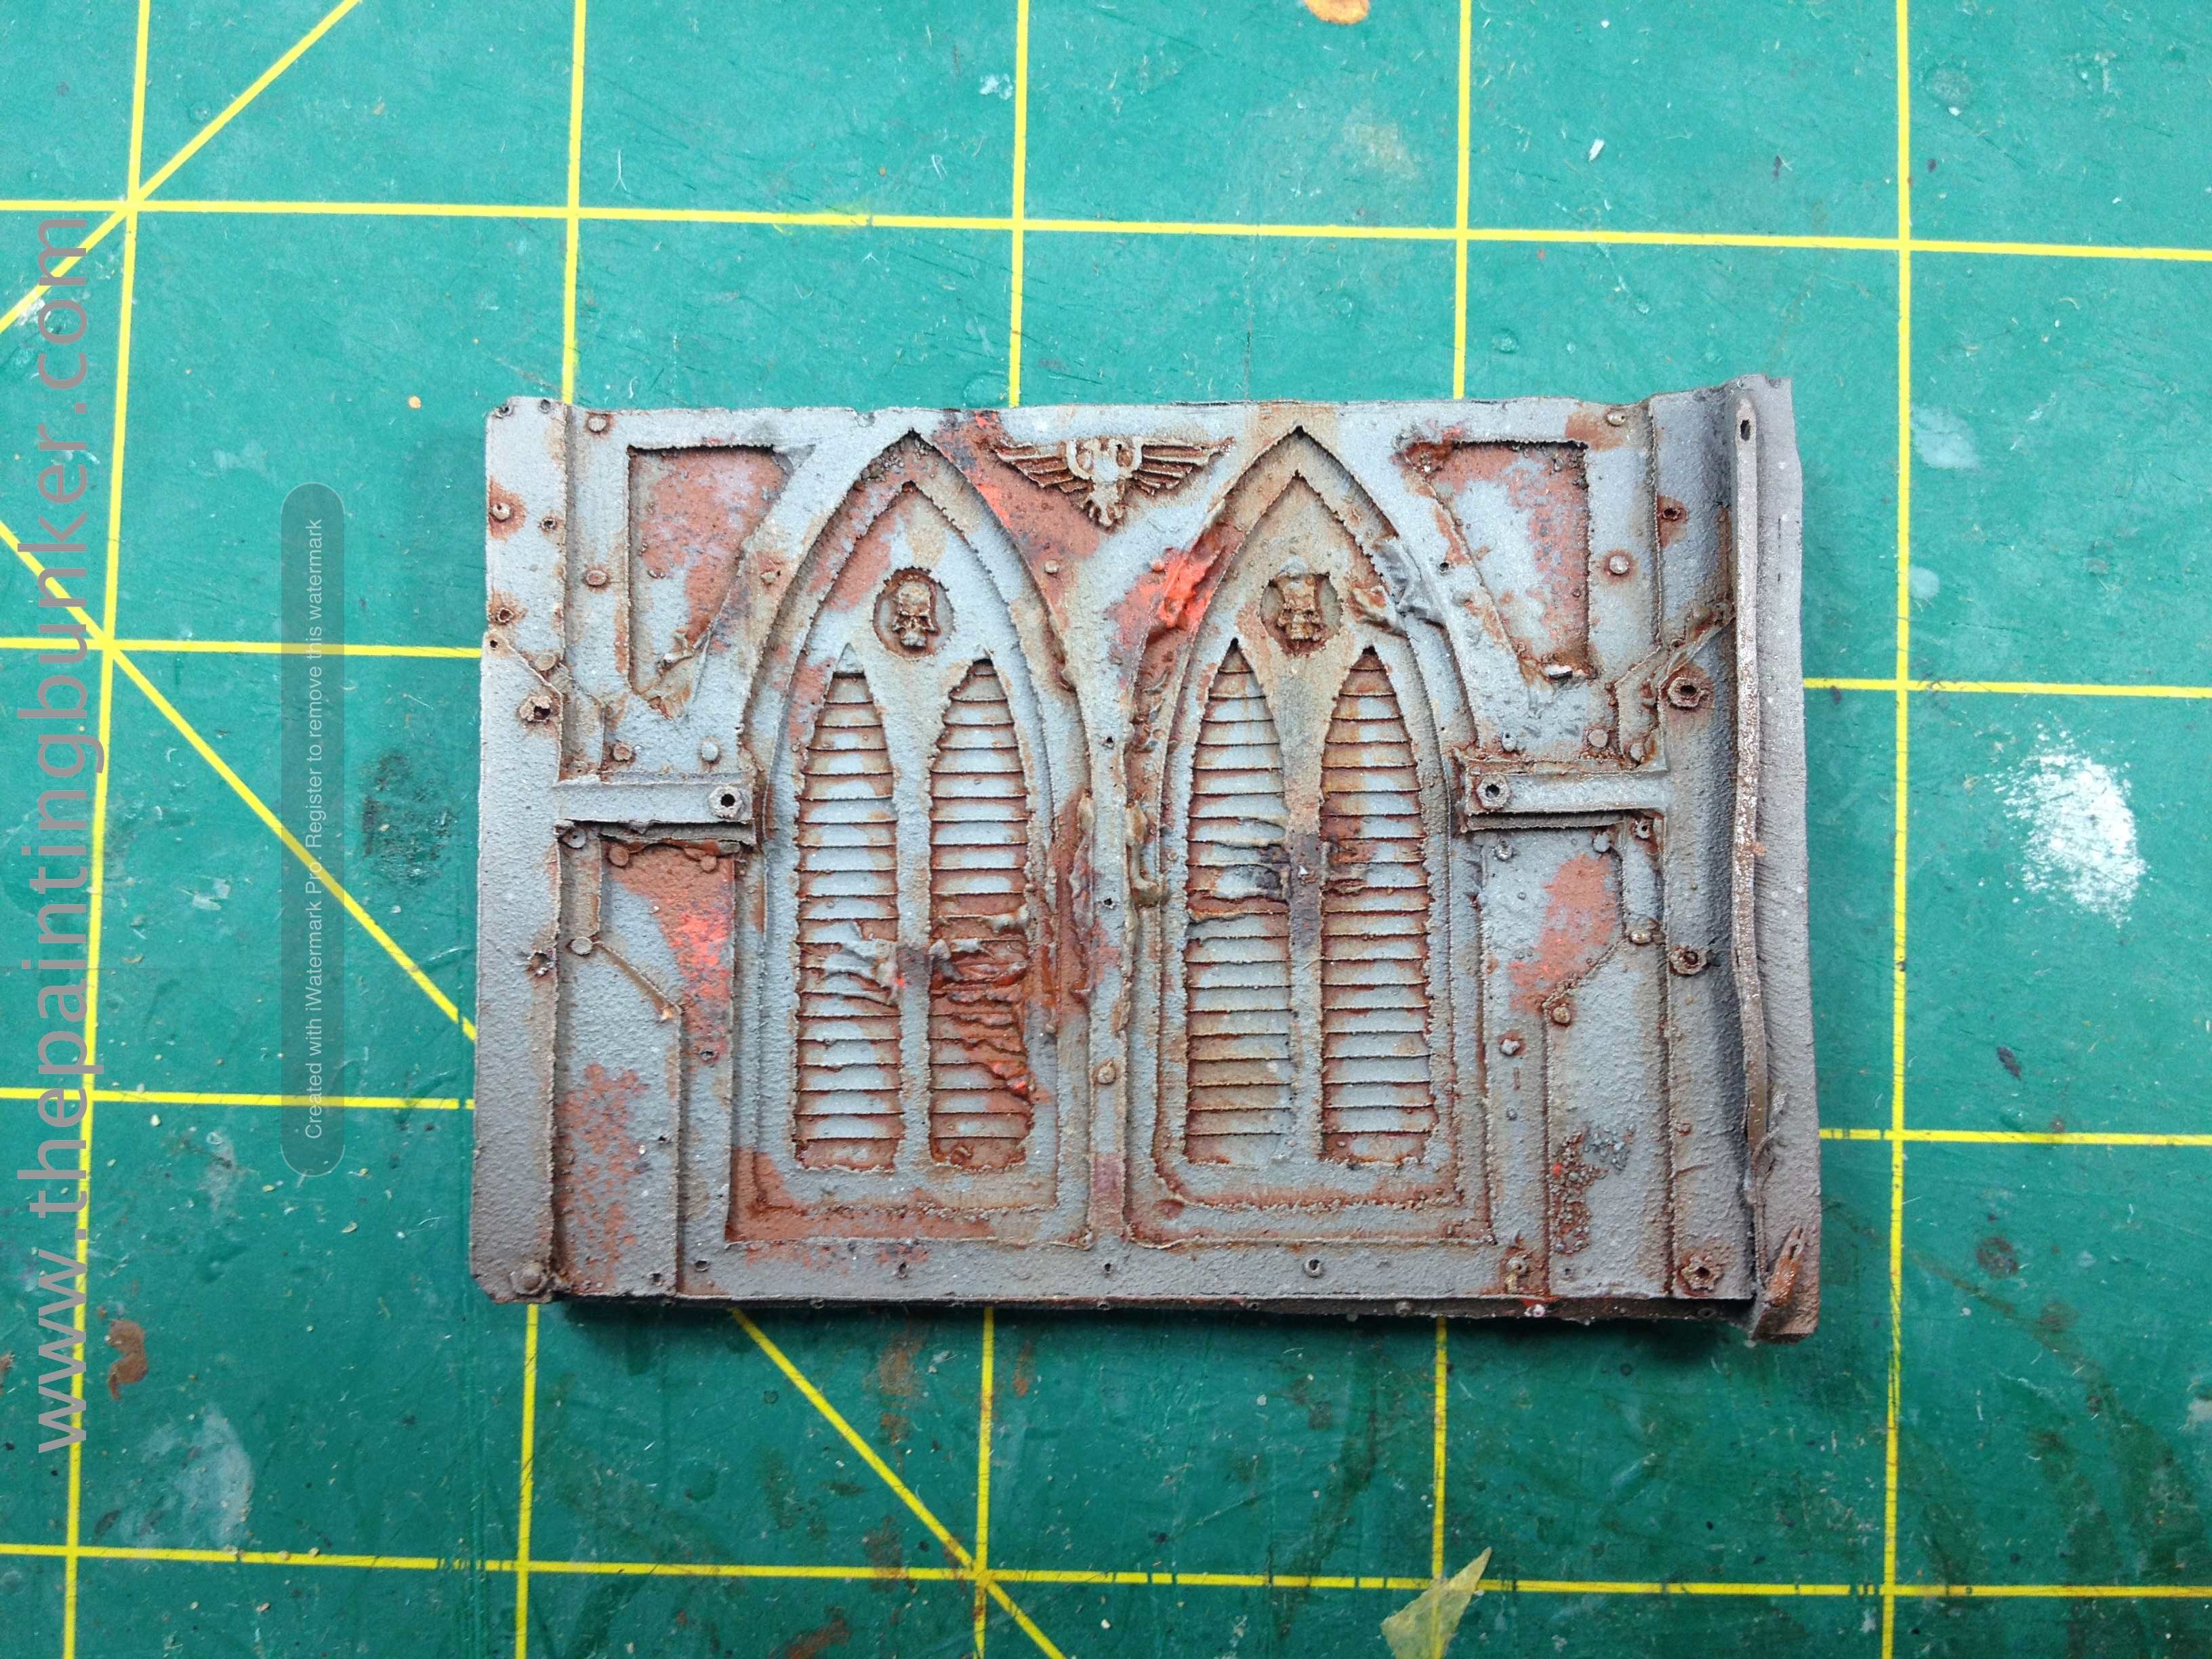
I also did a test paint scheme piece for the base. I want it to look very neglected (it is abandoned after all) I like how it came out.

Here is a close up of some of the scatter terrain. I really like the shipping container looking objects. Again, more Necromunda bulkheads glued together and cast.

The cast panel in place on the landing pad. In case you’re wondering, the basing material I use is kitty litter, and a type of small rocks that are used in reptile enclosures. I just like the consistency.

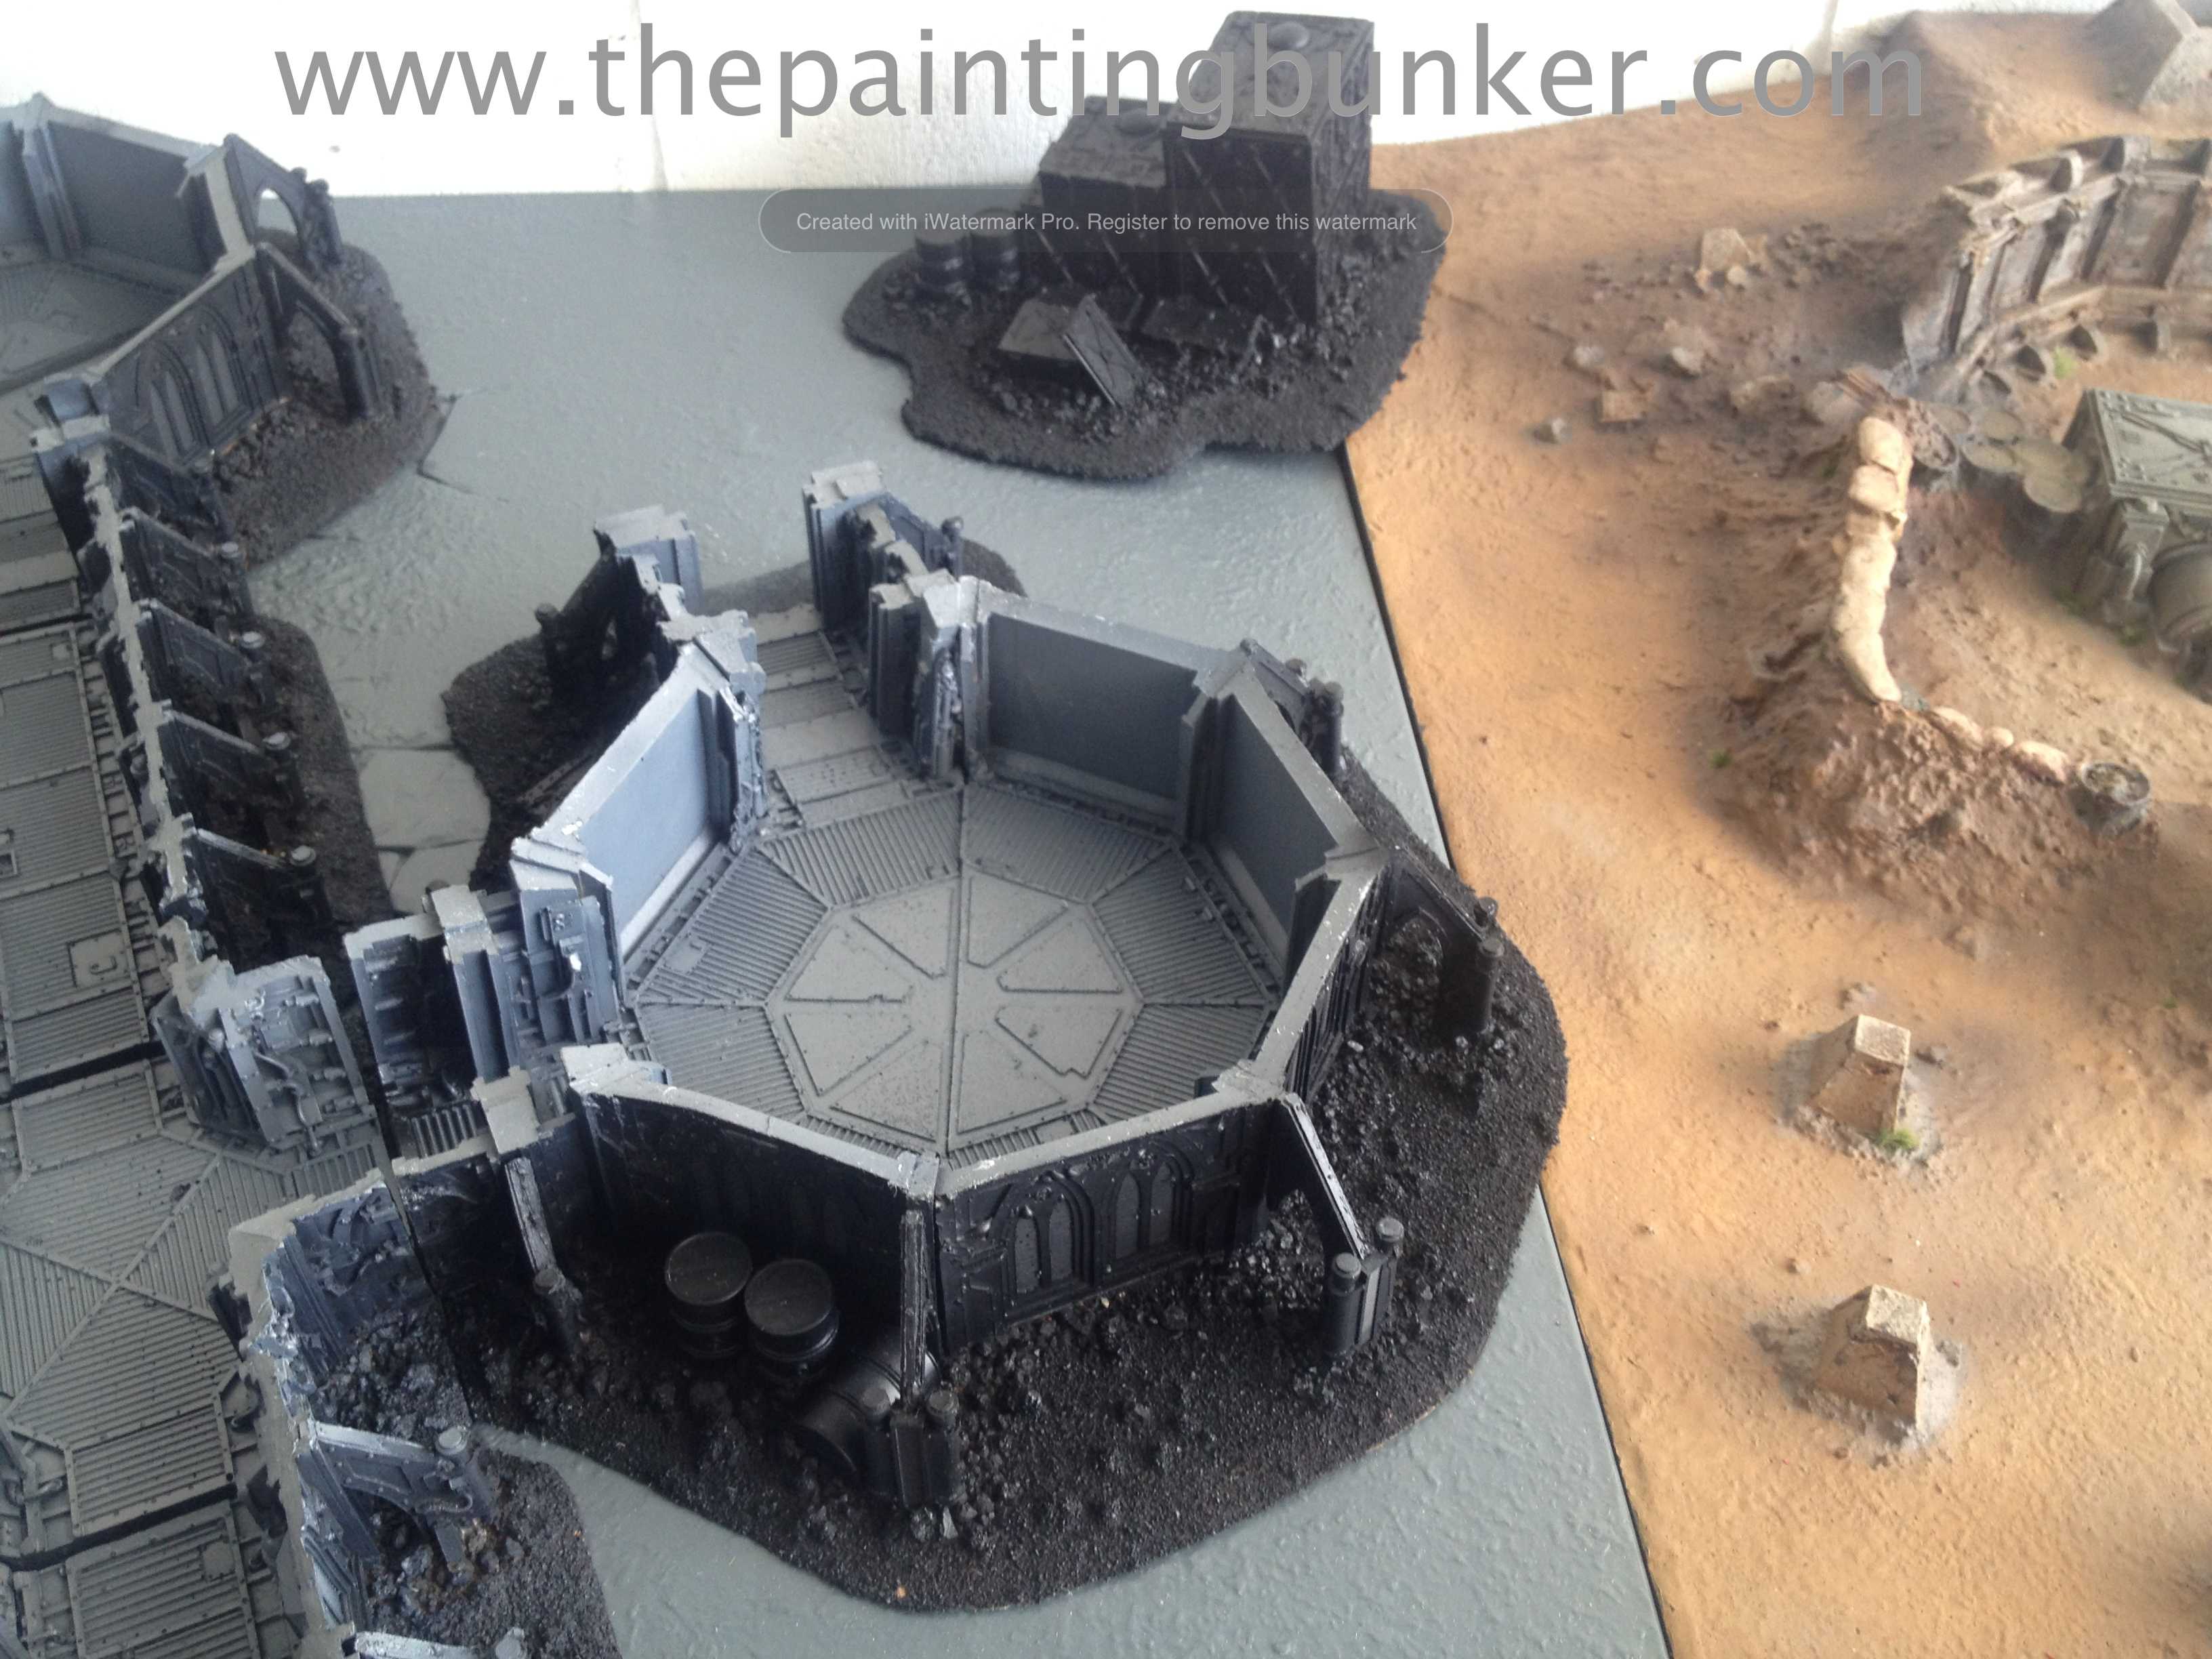
The rest of these photos are of the base assembled and undercoated. As I’ve mentioned, getting it to this stage was a massive mission. However it’s really pleasing to see it at this stage. I have to admit, when I saw it all assembled like this, it really renewed my enthusiasm for the project. It was waining…
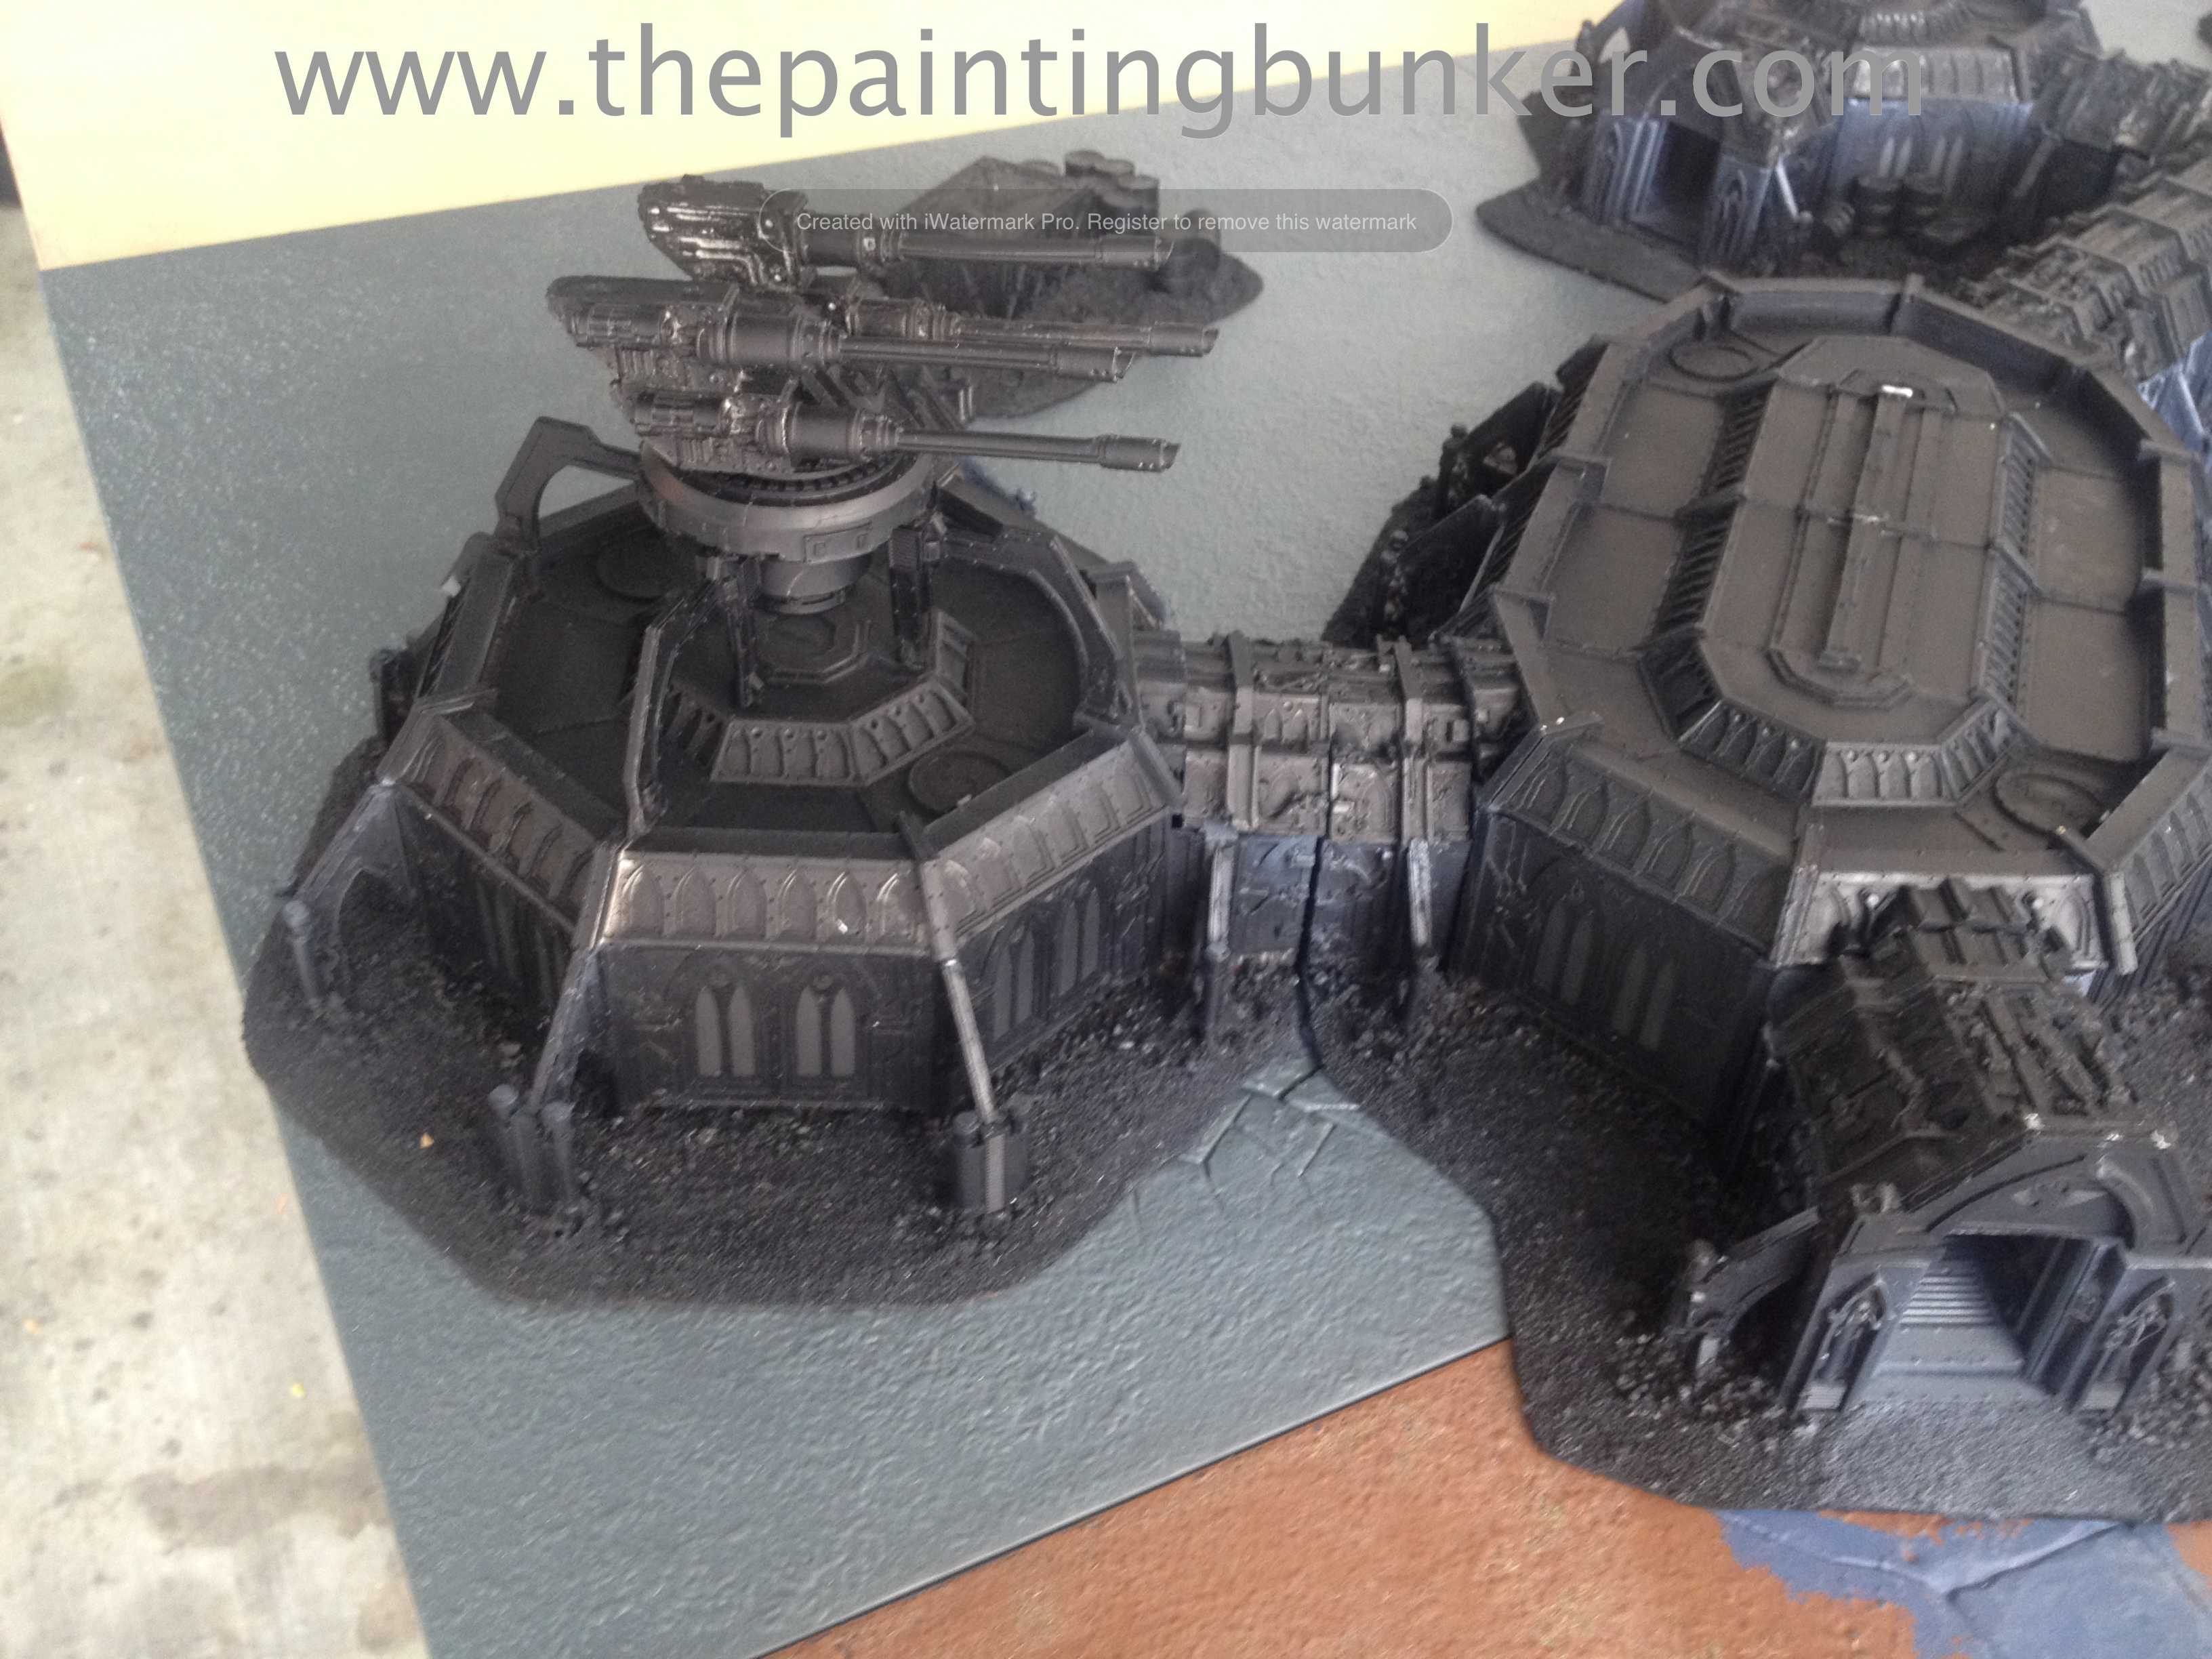


The next few photos reveal the interior. I’ve started undercoating it grey because I plan on painting the interior white.

So, next step is to start working on the interior. This is going to be a pretty straight forward part actually. Except for the interior panel inserts. Particularly the ones I’ve chosen for the ‘quad gun’ and ‘comms relay’ controls.
Ok, thanks for dropping in,
Until next post
John

Very nice stuff mate – I always liked the look of the base package – this is shaping up lovely.
The scatter terrain also looks great – really adds to the board to have decent scatter pieces.
Thanks mate. I agree, the scatter terrain is a nice addition. Provides a bit of narrative to the table as well.
An outstanding looking table you’re building there.
Very inspiring and well done, as always.
I’m curious about how you fix cat litter…
I’ve used it myself before but I’ve found it really difficult to get it to stick to the glue. While painting or even manipulating it afterward, pieces keeps falling off.
Do you, perhaps, dip the litter in diluted pva glue before using it?
Anyway, I have been following your blog for months / years even and I love it. Congrats, you rock.
Hi Sei,
Thanks for keeping up with my blog for all that time. Really appreciate it.
To stick down the kitty litter I paint on watered down PVA glue. There’s a binding agent in kitty litter that reacts to moisture. So once the watered down PVA has dryed, it’s rock solid
I really like how this is going. About to start my own and I was just wondering whats your method to fix warping with this thing?
Hey Kris! Good luck with this project! It’s such a difficult kit assemble. For the warping I’d use hot water or a heat gun. With the heat gun be cautious you don’t burn the resin though. Have fun, book now for your therapy sessions!
Cheers
John