Posts Tagged ‘Warhammer 40000’

This post will mostly be about the fabled hairspray technique.  Believe it or not, I’ve never actually used it before.  Not through not wanting to, just never having an opportunity.  Plus I’ve never actually been convinced of how successful it is as a technique.  Whats always concerned me is removing the sand, salt, sugar or whatever it is you choose to use.  So, this post is mostly about my adventures with this technique.

So what compelled me to use it?  Well, I want the exterior to look like its rusting.  When you see rust on car, trucks etc it generally starts at weld points, joints etc.  To replicated this I couldn’t use the sponge technique.  When you apply a sponge with paint on it, it is applied to raised surfaces.  Not internal corners or where two materials would theoretically join.  By using the sand and my applicator, I was able to ‘mask’ these joints using sand.  Hence, why I opted to explore using this technique.

IMG_346618

My chosen hairspray… VO5 sounded cool.  I made a small applicator out of paper to assist with more accurate placement of the sand.  By the way, I got the sand from a hardware store.  Nothing special.

IMG_346719

Making an applicator seemed like a good idea at the time…

IMG_346820

Did it work?  I think so.  However before I went hell for leather, I painted a small piece (below) and experimented with how I’d remove the sand.  Remember, I’ve actually based some of the sections of this model with craft wood.  I’ve also attached the basing material with PVA glue.  Both of these materials react poorly when exposed to moisture.

I wasn’t too concerned with the vast majority of the pieces of this kit getting wet.  They’re resin after all.  However I was concerned with the modules  This meant I had to be very careful removing the sand.

IMG_347221

As you can see from the two test pieces, the technique is quite affective.  The only thing I found I had to be careful of was using too much water.  This caused the paint to soften and come off.  So I found the best way was to apply a light coat of water, let it sit for a minute or two, and then with a tooth brush and wide flat paint brush, gently remove the sand.  It comes off quite easily.  Then I just gave it a quick rinse.

IMG_347322

IMG_347423

After I was satisfied with how the technique was going to work with the model, I then went ahead and added the sand to the rest of the pieces then painted them their top coat.  I was really happy with how it was all coming together at this stage.

IMG_347524

IMG_347625

IMG_347927

IMG_347826

IMG_348129

IMG_348028

IMG_348230

So, as you can see this base is really looking the business.  If I’d had my time over again I would have done a few things slightly differently.  The first one being not so liberal with the sand.  It’s a very small point however there are areas where I feel I went a little over the top.  The other thing I would have done is sealed the brown coat with a clear gloss.  I think this would have assisted in allowing the sand to come off with greater ease.  I don’t know this for certain, just theorising.

So from here, I’ll be applying a clear gloss coat to the model surfaces and applying oils…  until next post!

Thanks for dropping in

John

Welcome back to another Anphelion Base update.  Things are getting pretty serious now!  The models been cleaned and assembled (years of therapy ahead over that one).  It’s been based and undercoated, then the interior was painted.  Its now time to mask the interior and begin to paint the exterior.

First up, masking

IMG_345710

The photos of this stage will be fairly self explanatory, so I’ll dispense with the commentary

IMG_345811

IMG_345912

IMG_346013

IMG_346215

IMG_346416

IMG_346517

A pretty light on post.  I didn’t want to spend too much time describing what is essentially sticking tape to a model then spraying it.  However what I will say is that the model isn’t going to be brown.  This is the undercoat.  I’ll be using the hairspray technique as one of the weathering stages of this model.  But that will be in the next post…

Until then, thanks for dropping in

John

So, this is part two of this project.  Basically we’re up to under coating at this stage.  Assembly is a distant memory, however I feel that it will haunt me for the rest of my days.  It was seriously hard work.  A task I’m thankful I’ll probably only ever do once in my life.

Ok, lets get down to business.  One thing I really wanted to do to the landing pad is not to have a gap between the ground and the underside of the landing platform.  I also wanted to make whatever I put in that gap be suitable and fitting with the character of the base, and finally, be simple and easy to produce (I’m quite a lazy bugger you see)

IMG_338245

So what I settled on was getting some of the old Necromunda bulkheads.  Remember these?

Big Jim, if you’re reading this, thanks for donating them.

IMG_338952

So basically I chopped a bunch of them up up to make a panel wide enough to span the gap between the support pylons on the landing pad.IMG_339053

Because I needed about eight lengths, I decided to make a quick one piece mold of the newly constructed panel so I can make the appropriate amount of casts.

IMG_339154

And the cast panel.  These will come in handy later on too.  They have a lot of character and will make useful bits later on…

IMG_339255

I also did a test paint scheme piece for the base.  I want it to look very neglected (it is abandoned after all)  I like how it came out.

IMG_340062

Here is a close up of some of the scatter terrain.  I really like the shipping container looking objects.  Again, more Necromunda bulkheads glued together and cast.

Anphelion Base 10

The cast panel in place on the landing pad.  In case you’re wondering, the basing material I use is kitty litter, and a type of small rocks that are used in reptile enclosures.  I just like the consistency.

Anphelion Base 1

The rest of these photos are of the base assembled and undercoated.  As I’ve mentioned, getting it to this stage was a massive mission.  However it’s really pleasing to see it at this stage.  I have to admit, when I saw it all assembled like this, it really renewed my enthusiasm for the project.  It was waining…

Anphelion Base 2

Anphelion Base 3

Anphelion Base 4

Anphelion Base 5 Anphelion Base 6

Anphelion Base 7

The next few photos reveal the interior.  I’ve started undercoating it grey because I plan on painting the interior white.

Anphelion Base 8

Anphelion Base 9

So, next step is to start working on the interior.  This is going to be a pretty straight forward part actually.  Except for the interior panel inserts.  Particularly the ones I’ve chosen for the ‘quad gun’ and ‘comms relay’ controls.

Ok, thanks for dropping in,

Until next post

John

I haven’t really done that many posts on this blog that are actually a work in progress post.  Since moving from forums to my own blog I’ve mostly just brought you either finished projects or tutorials.  So I thought I’d mix things up a bit and bring you a series of posts around my new Forge World Greater Daemon of Khorne.  If you read my previous post you’d know that a good friend of mine actually gave me this model after he’d had if for a year or two and didn’t think he’d ever get to painting it.  Obviously I accepted his extreme generosity and ever since have been thinking through various ways I might approach painting this epic bad guy.  And a bad ass he is, make no mistake.  This is one seriously amazing sculpt and its a real pleasure studying the detail on it.  I really admire the talent and years of honing skill that it would take to produce something like this.

So lets get into it shall we?

As with any model this size (or indeed any model for that matter) preparation and having a plan are essential.  In terms of preparation ensure that the model is going to fit together properly, be sturdy and have no gaps etc.  In terms of a plan, how is it going to be painted?, whats the base going to look like?, are you going to paint it in pieces or as an assembled model?  Many of these questions need to be considered and answered clearly before you embark on a project.

For this model, I actually plan on using it in my upcoming World Eaters army for when I feel like running them as CSM, so it seems appropriate to have a Greater Daemon and also a few Blood Letters for good measure.

Apart from that, preparation is the next aspect to be considered.  Being such a massive model (its huge) I want to ensure that I’m not relying on simply super glue to keep the model together nor the simple joints that Forge World have created for the model.  Having strong bonds along key stress points is an important consideration with models like this.

Forgeworld Greater Daemon of Khorn WIP 1


So for all of the main joints on this kit, which are the left hip, both wrist joints, hips and wings, I have used 2mm spring steel to add that extra degree of support that I know I’ll be grateful for after I’ve used that bad ass in a few games.  Forgeworld Greater Daemon of Khorn WIP 2

No to rely totally on the strength of the steel, I also like to drill additional “key” holes.  What this does is allows the epoxy resin that I use to bond the pieces together to seep into the holes and assist with strengthening the mechanical bond of the pieces.  Forgeworld Greater Daemon of Khorn WIP 3

For this model I’m actually magnetising it to its base.  Why you ask?  Well its for two reasons, the first is to facilitate with painting and the second is a secret that you’ll just have to wait and see.  One aspect of this model that I’m not entirely happy with is the models attention to something thats in its immediate foreground.  Its so stooped over that its almost looking at its feet.  As I’ve mentioned before, I suspect but don’t know for certain that this model was sculpted to be posed with Hector Rex.  Hence why its appears to have its attention focused on something about man sized more or less at its feet.  I wanted to overcome this to a degree so that someone looking at the model can get a better look at the detail of the models front.  So I used cork floor tiles to “jack up” the front left foot, while keeping the back foot at normal base level.  It’s just a subtle thing, but as you’ll see it makes a massive difference in how the model now interacts with its audience.
Forgeworld Greater Daemon of Khorn WIP 4

Just getting the pose right.  Forgeworld Greater Daemon of Khorn WIP 5

So detail of the base.  I want it to look like a hellish battle field.  Only the most nightmarish of battle fields would enable a daemon of this stature be summoned.  Note the crushed Space MarineForgeworld Greater Daemon of Khorn WIP 6

A better view of the base.  I used a lot of different materials on this base, cork floor tiles, train set ballast, skulls and ceramic bricks from Secret Weapon Miniatures and as you’ll see in other pictures, Forge World brass etched barbed wire and an Imperial Eagle.

Forgeworld Greater Daemon of Khorn WIP 7

When it comes to glueing this pieces together I like to use small cramps to ensure that a strong bond it made.  Its a bit of an involved process but the results speak for themselves.Forgeworld Greater Daemon of Khorn WIP 8

Yeah, complicated.  Forgeworld Greater Daemon of Khorn WIP 9

Some of the base detail, almost complete.Forgeworld Greater Daemon of Khorn WIP 10

Just another detail shot.Forgeworld Greater Daemon of Khorn WIP 11

The base now with added barbed wire and the Greater Daemon stepping on a damaged Imperial EagleForgeworld Greater Daemon of Khorn WIP 12

A clearing image of the finished baseForgeworld Greater Daemon of Khorn WIP 13

This shot was taken just prior to undercoating.  As I mentioned there were a few pieces missing from the model so I had to make a few molds of those pieces today and then cast them up, if you look very closely you can see where they are as they’re white resin.  Forgeworld Greater Daemon of Khorn WIP 14Ok, thats me for the time being.  Hope you enjoyed this WIP post.  I think I might make it a bit more of a habit in the future.

Comments always welcome, and thanks for dropping in

John


This weekend at RAAF Base Amberly will see the annual Anzac Cup hosted by WW40k being held.  Its a 1950pt Warhammer 40,000 6th Ed tournament,  more details can be found here.  I’m playing with my Carcharodons and I’m looking forward to participating as the team who ran the ADFWGA Championships are behind this event, and if their last tournament was anything to go by it should be an awesome weekend.

The organiser of the event has asked me to bring along my Forge World Realm of Battle Cityscape board to have set up for display as well as some of my other models, including my Titans and a few others pieces from my collection.  So if you are able to drop in on the Saturday or Sunday and have a look it would be great to have your company.  As usual there will be a strong fund raising focus for Legacy over the weekend so if you can a small donation would be greatly appreciated by families of serving and past Defence Force Personnel.

Entry is free and there will surly be some amazingly painted armies battling it out over arguably the best tournament scenery in Australia for the Anzac Cup.  I’m sure its going to be a great weekend.

If you click on this LINK it will take you to the Google map for RAAF Base Amberly’s location if you are not familiar with the area.  Also below is a picture of where the event is being held on the Base.  The good thing is that you won’t need a Military ID to get in as the tournament isn’t being held in the secure area, so there will be no hassles for you coming along.  The only stipulation is that you cant wear thongs (flip flops for my American readers, incase you think Aussies walk around wearing G-Strings everywhere)

563593_10151377024397219_407639634_n

So it’d be great to see you along over the weekend and I’m sure you’ll be impressed with what you’ll see.  If you are not able to make it along, you’ll be able to live vicariously through my post tournament review that will surly follow next week sometime.

Hope to see you then, thanks for dropping in

John

So ever since I did the post on How to paint World Eater Space Marines I have a lot of positive feed back, in fact its been a very popular post.  One question that I’ve continually had was “how did you paint the face?” So I thought I’d do a quick tutorial on how to paint faces to a good table top standard.  Believe it or not, its not that hard and with a little patience and practice you’ll dramatically improve the presentiment of any miniature where flesh tones are present.

So lets take a look at the process.

OLYMPUS DIGITAL CAMERA

Step 1.

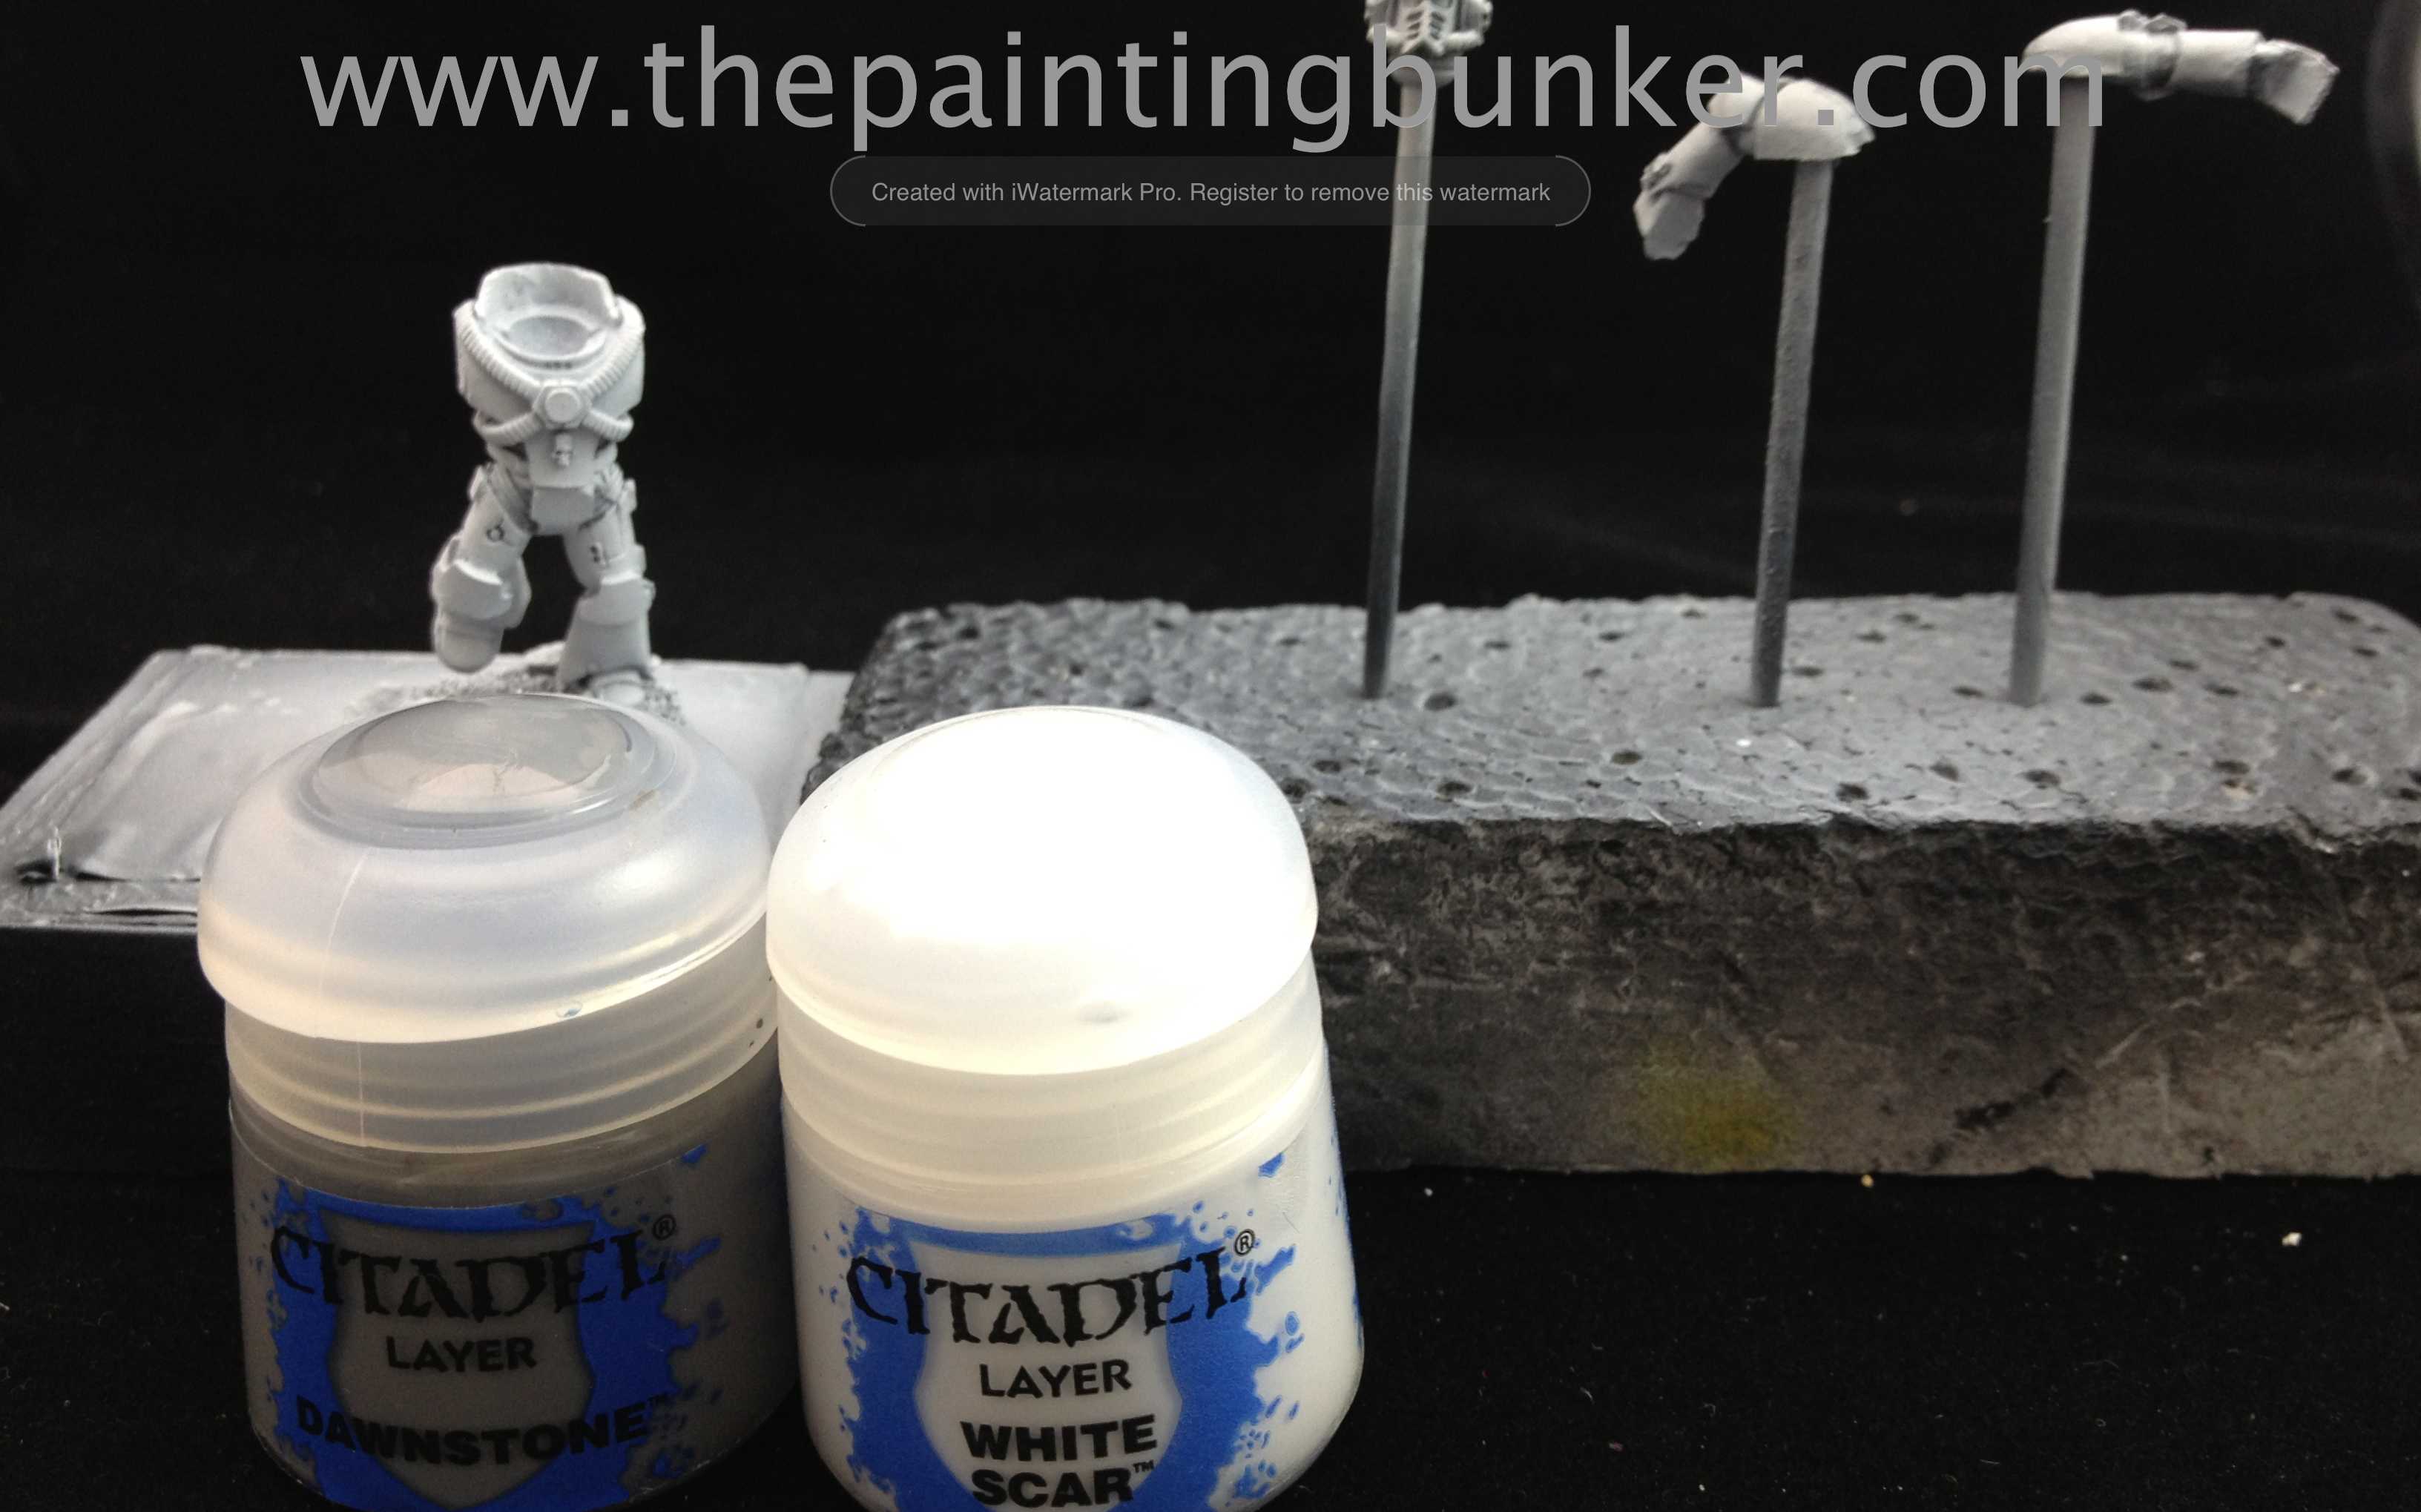
For the tutorial I’ll be using the old Citadel range of paints.  I do like the new range, however I’m buying to replace them with the new ones as I go so I’ve still got a fair few of the old range on hand.  But if you use the Citadel conversion chart if you don’t have any of the old paints you should be golden.

The paints & materials I’ve used are

  • Abaddon Black – Undercoat and detail
  • Tallarn Flesh – Base coat and component for highlights
  • Dwarf Flesh – For highlighting
  • Red Gore – A component colour for the lips
  • Ogryn Flesh – Base coat wash
  • Devlen Mud – Shading
  • White Scar – Eyes etc
  • W & N No 1 Brush
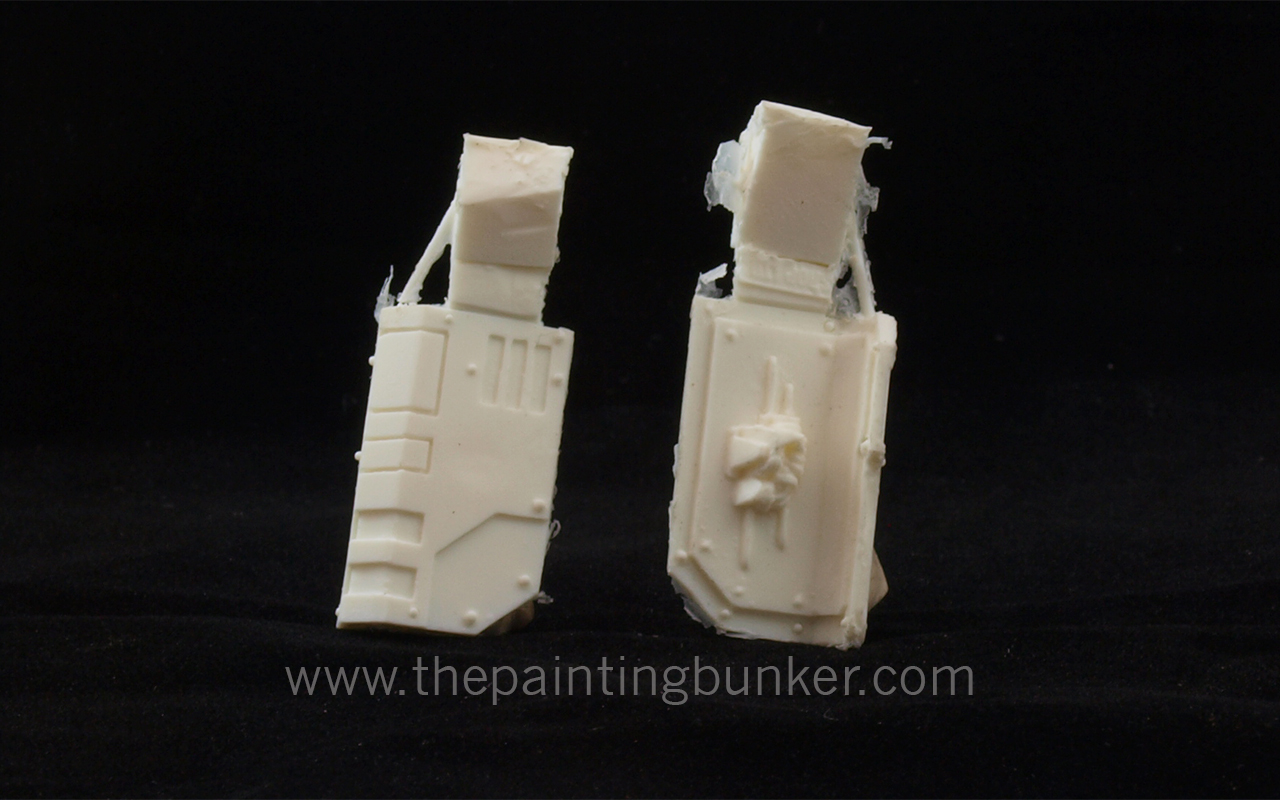
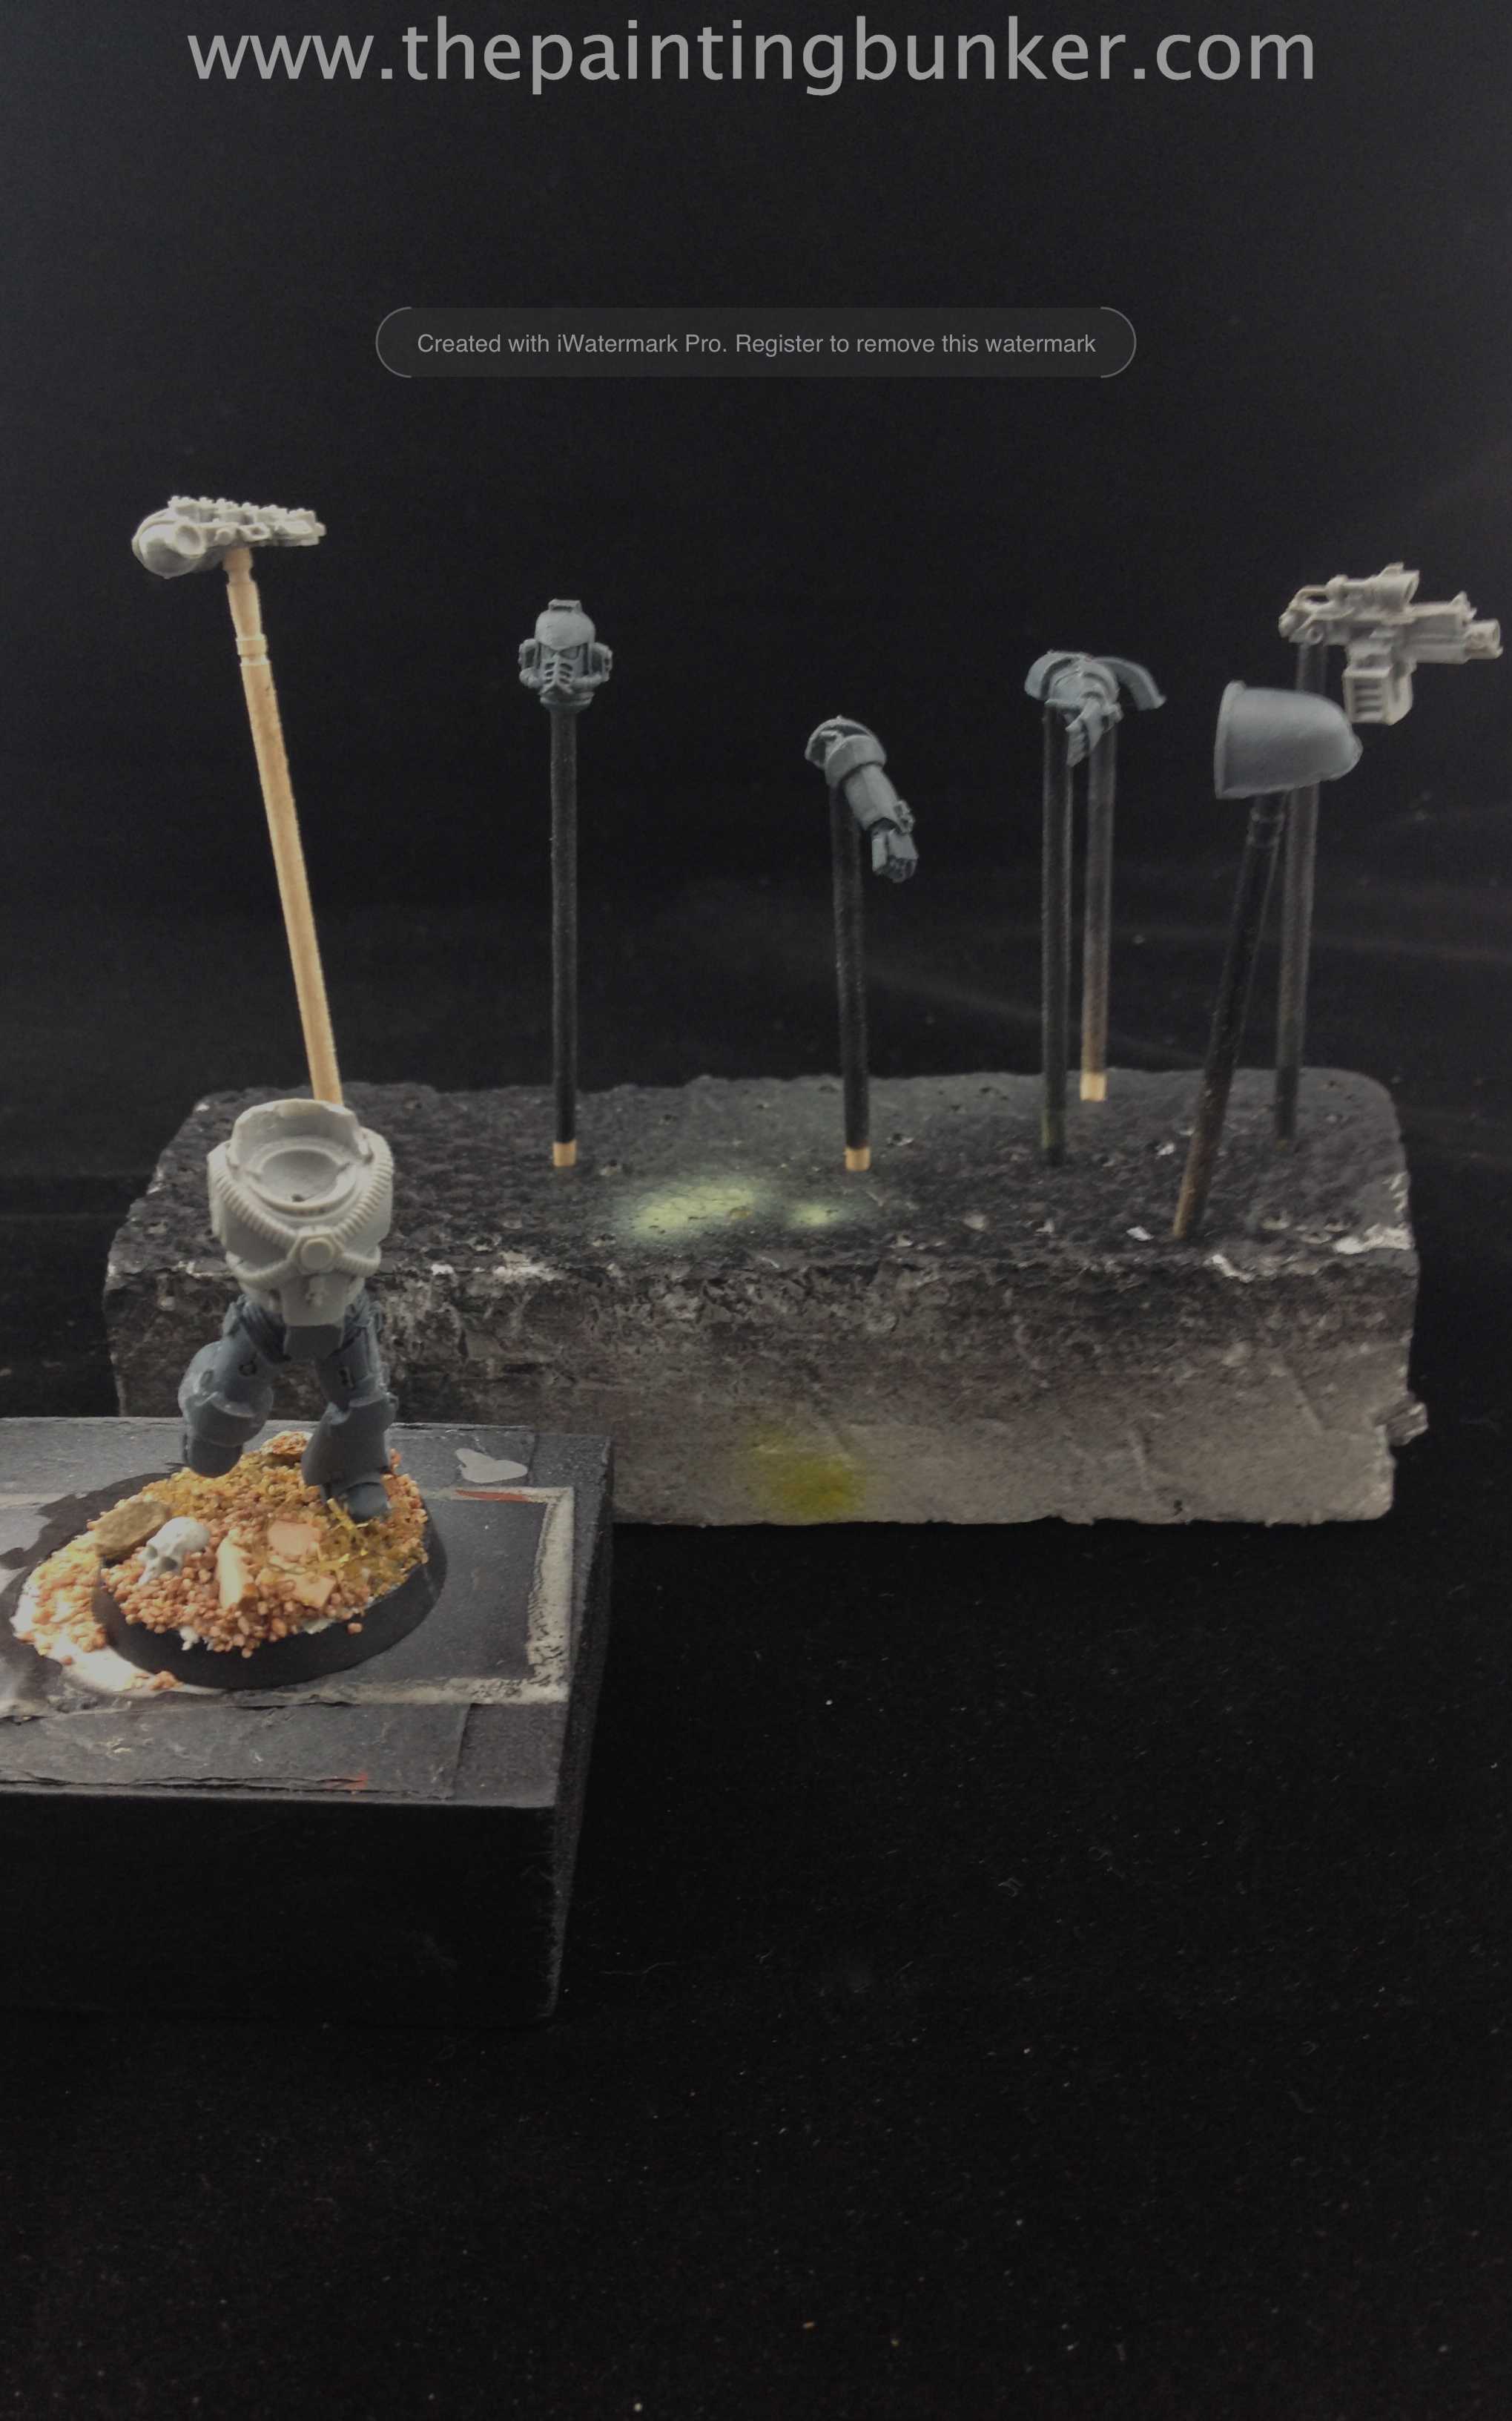
  • Marines Head – I like mounting pieces on tooth pics for ease of handling

OLYMPUS DIGITAL CAMERA

Step 2.  Undercoat

I’ve used Abaddon Black applied with an Air Brush, or use a spray can.  This is important and many of the small details on the face can be erased or compromised if you don’t apply the paint thinly enough.  I’m not saying it can’t be done with a brush, but it just makes your job harder if you do.
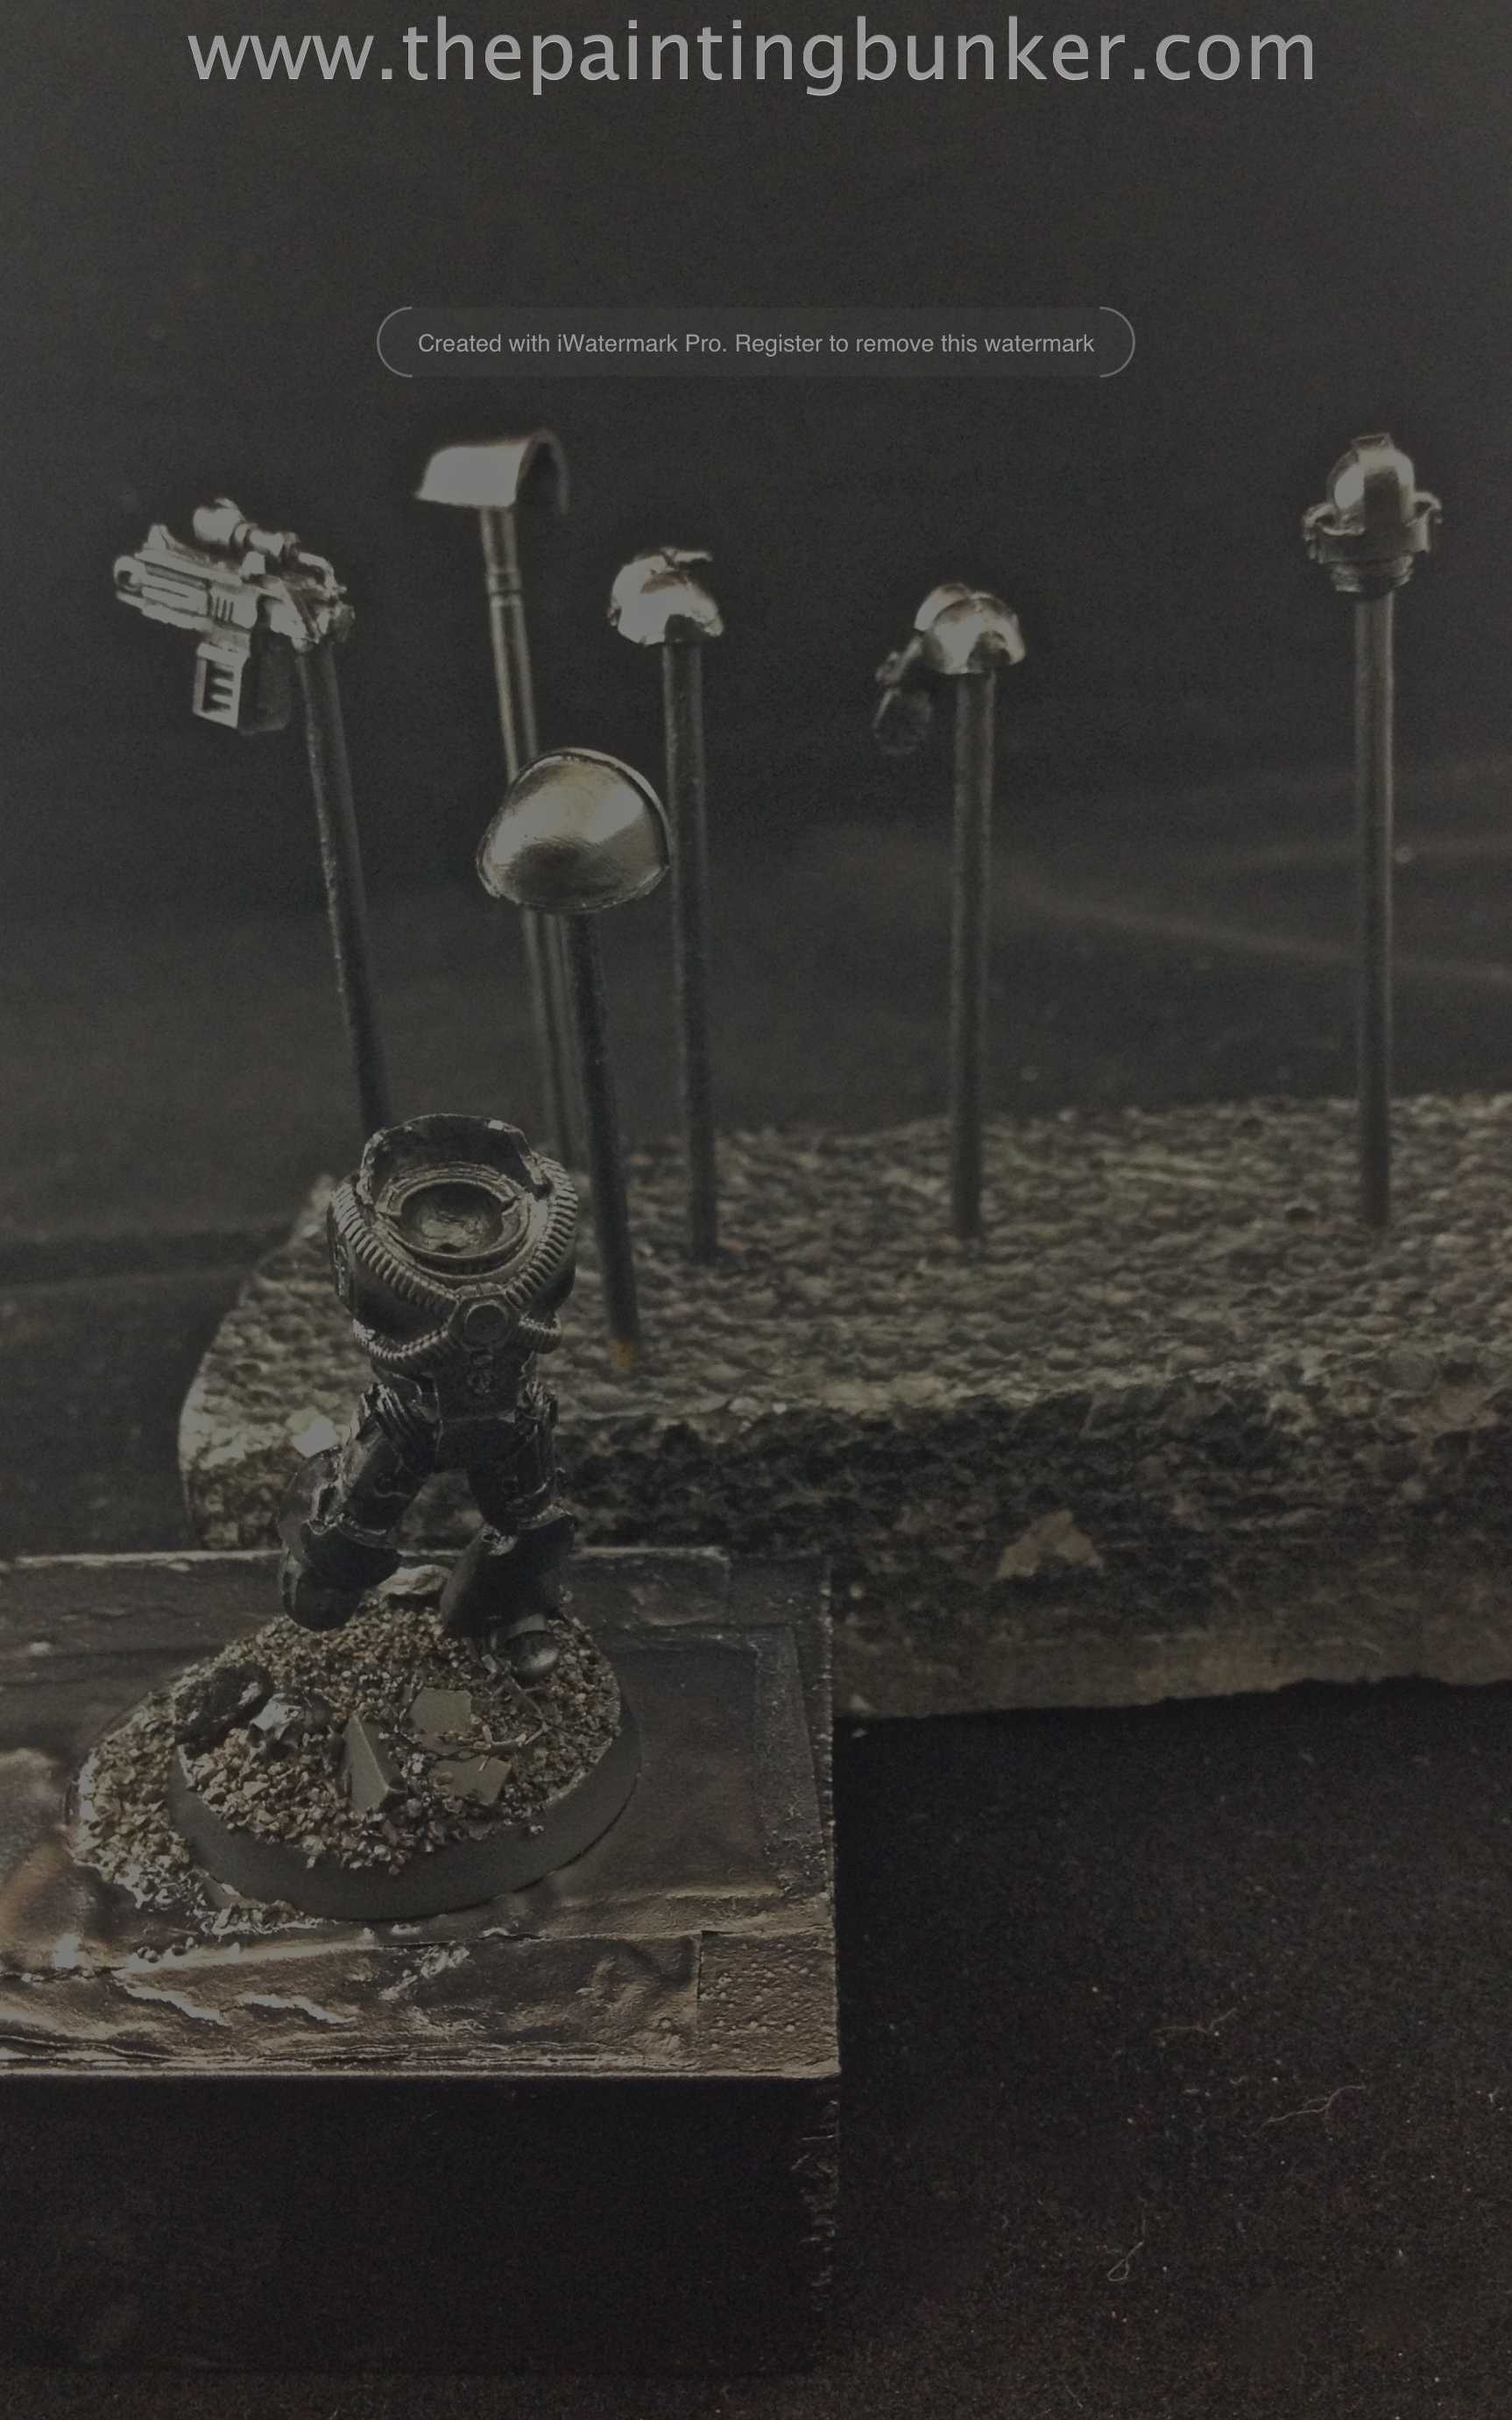
OLYMPUS DIGITAL CAMERA

Step 3.  Base coat

Again I’ve applied Tallarn Flesh with an air brush for the same reason that I applied Abaddon Black with an air brush, so as not to compromise any of the fine detail on the face.

OLYMPUS DIGITAL CAMERA

Step 4.  Wash

Using my W & N no 1 brush I applied a liberal amount of wash.  Don’t be scared to do this as you’ll find that when the medium dries (evaporates) all that will be left is the pigment in the recesses.  You want that to create definition.
How to paint Space Marine Faces 5

Step 5.  Re-apply the base coat

This is where you need to be mindful of a few things.  The first one is paint viscosity, and the second one is your brush condition.  Let me explain.  Where a lot of people fall down when painting flesh is that the paint has already started to dry when its being applied.  This makes the paint lumpy and has an inconsistent appearance in its application.  In some climates where the air is dry (< 30% humidity) you may need to use a wet pallet.  Or just do what I do and take a blob of paint out of the bottle (I live in a humid climate), put it on my pallet and mix in a bit of paint thinner.  This is really important, especially for skin tones, the reason is that our skin is sort of translucent and when we paint it to re-create that effect, we need to simulate this and the best way to do that is to make the paint thin.  I’ll get into more detail on this later, but for now, just make sure that your paint it thinned down a little so it flows better.

The second point you need to be aware of is your brush condition.  There are two aspects of this, the first is that your brush is set up to facilitate capillary action, and the second one is that the tip of the brush is the right shape.  Many painters don’t use their brush the way its meant to be used, and that is having a nice amount of paint on the whole brush (bristles) and then shape the brush tip so that it makes a nice fine point for painting.  A lot of guys I see dip the tip of their brush in the paint and use only that part.  This seriously limits the full capability of the brush and you are doing yourself a big disservice.  To help your brush facilitate capillary action, just make sure that before you dip it in paint (thinned down I hope) that you first dip your paint brush in some clean paint thinners first.  Remove the excess with a tissue or something then dip the paint brush in your thinned paint, using the same tissue shape the bristles so that you have a nice point.

You can now pick out the raised areas of the face with the Tallarn Flesh.  Before you do this take a few moments to consider where you’d like the paint to go by studying the face and its contours.  By having a plan of where you’d like the paint to do will dramatically improve your results.

OLYMPUS DIGITAL CAMERA

Step 6.  First Highlight

Mixing about 70% Tallarn Flesh with 30% Dwarf Flesh, begin highlighting the areas of the face that would naturally catch the light.  So areas like the ears, nose, chin, cheeks, brow.  Again, make sure you follow the points I make in Step 5 about paint viscosity and having your brush set up properly.  Paint viscosity is important for the next three stages.  As I mentioned before, skin is sort of translucent, so when you paint flesh tones, try and make your paint go on in very thin layers so that the edge of each layer of paint isn’t too contrasted against the previous one, and allows its colour to be blended with the previous colour that was applied.

How to paint Space Marine Faces 7

Step 7.  Second Highlight

Mixing about 30% Tallarn Flesh with 70% Dwarf Flesh, begin refining the highlighting of the previous areas of the face that you worked on in Step 6. Again, make sure you follow the points I make in Step 5 about paint viscosity and having your brush set up properly.

OLYMPUS DIGITAL CAMERA

Step 8.  Final Highlight

With straight Dwarf Flesh go and pick out the final areas where you want attention to be drawn to.  Tip of the nose, ears, brow and top of the cheeks.

How to paint Space Marine Faces 9

Step 9.  Lips

With a a mixture of about 60% Tallarn Flesh, and 40% Red Gore, apply a small amount to the lower lip.  This is very subtle but crucial to achieving a more realistic effect.

OLYMPUS DIGITAL CAMERA

Step 10.  Eye Shading

Place a small amount of Devlan Mud in each of the eye areas and a small amount under the bottom lip.  Again a subtle but crucial step.

OLYMPUS DIGITAL CAMERA

Step 11.  Pick out Details

Paint the actual eyes black in readiness for the white to be applied, paint around the collar, neck brace etc and the small stud on his forehead.  Highlight the collar etc as you would normally.
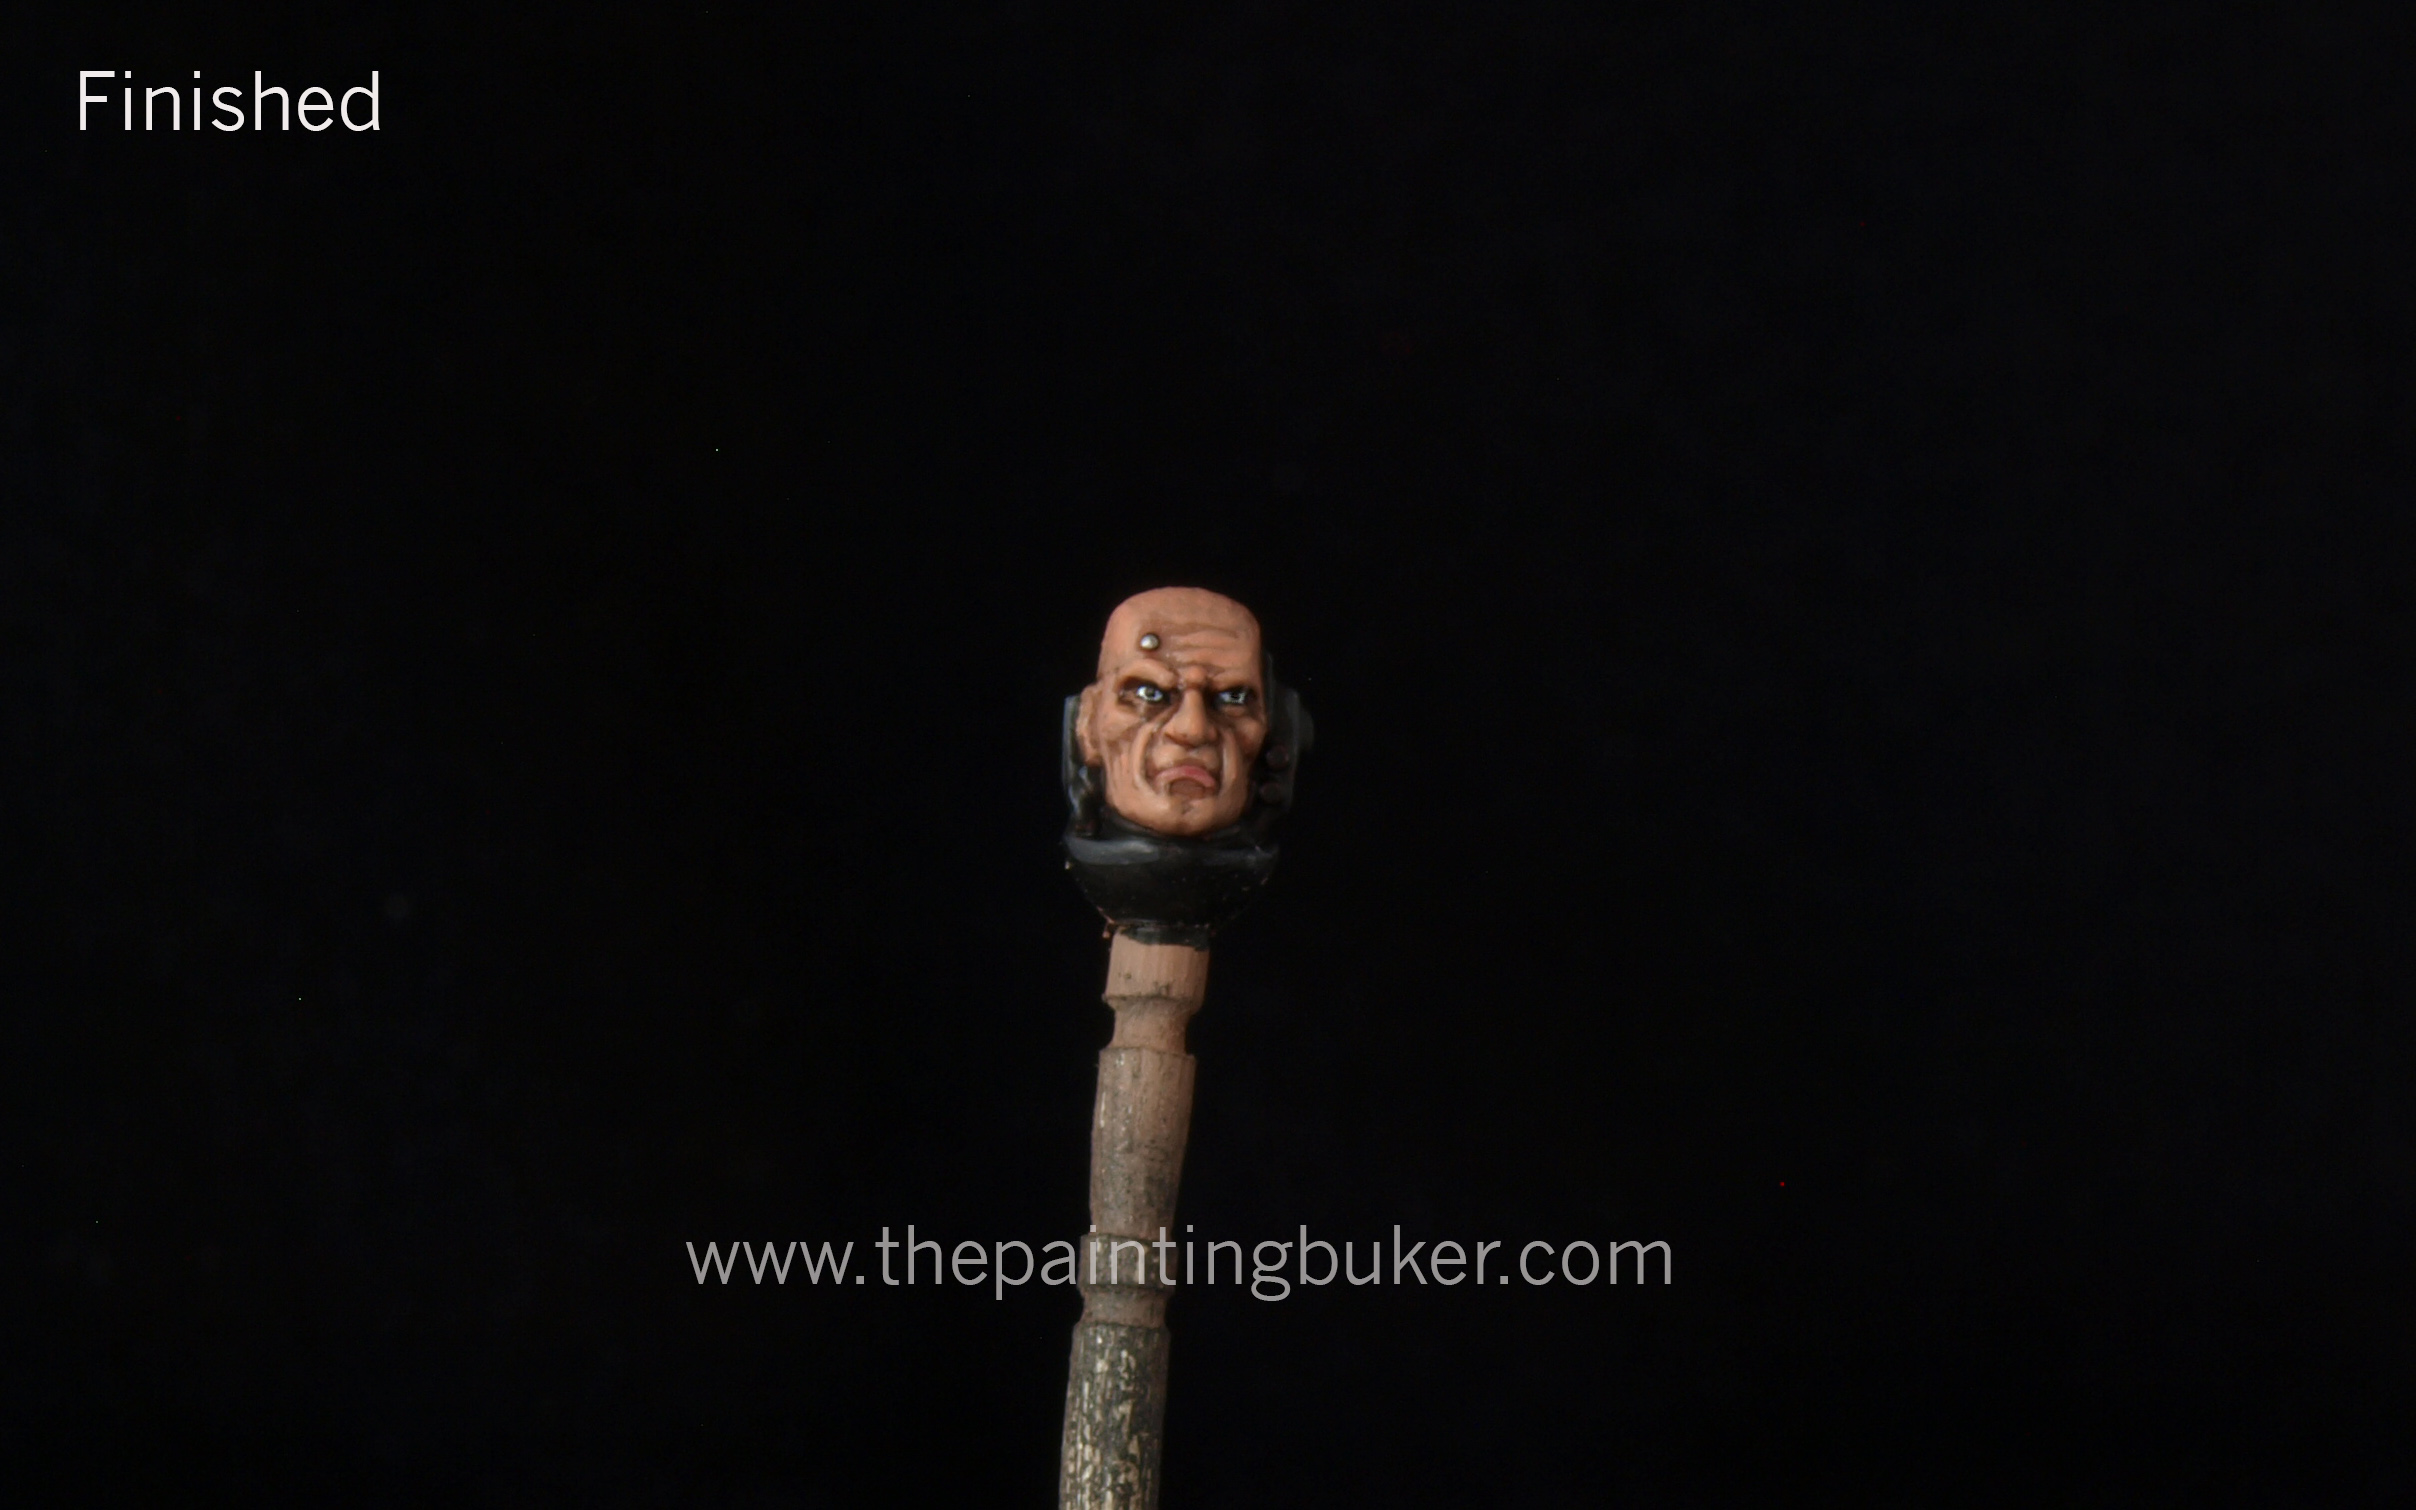
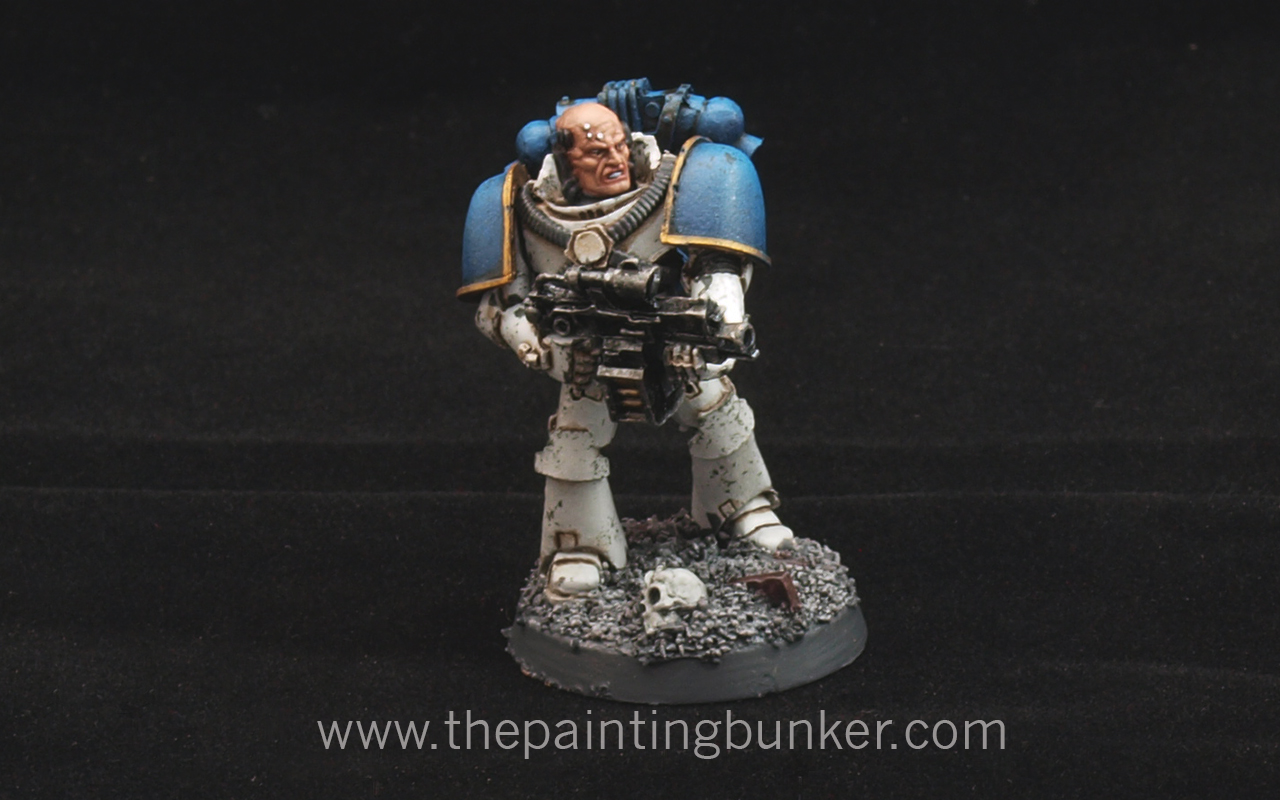
OLYMPUS DIGITAL CAMERA

Step 12.  Finished

Paint in the eyes with white, followed by a small dot of back.  This may take several attempts to get right.  Pick out the service stud with your choice of silver and finish up any other details you’d like attention paid to.
OLYMPUS DIGITAL CAMERAOLYMPUS DIGITAL CAMERA

So there you have it.  It’s doubtful that you’ll win a Golden Daemon trophy with this scheme, but it will with any luck improve the quality of your table top miniatures.

A few points to remember about painting flesh.  The first is no matter what tone of flesh you are wanting to achieve, always start with a warm flesh tone.  For example, if you look at the picture below of my Iron Hands Librarian, you’ll see he’s quite pale.  I still used Tallarn Flesh as the base colour, I just used a mixture of grey and bone to dull down the warmth of Tallarn Flesh.  This is a convention to be mindful of when painting flesh tones.  It seems that our eye is programmed to see flesh tones in a certain way and we accept simulations of flesh tones better when they have a warm base to start with.

Iron Hands Librarian

Thats me for now.  Hope you’ve found this helpful, and until next time chat later.

John Sutton, Brisbane, Qld

So I knocked this out this morning in a spurt of painting enthusiasm.  The truth be told, he’s been sitting on my painting table (we’ll in a dust proof box on a shelf next to my painting table) for close to 18 months now.  I’ve had this idea for how I wanted him to look for some time as his original purpose was to be apart of the “Death Knell” Apoc 40k formation for Space Marines.  Basically it consists of 5 x 5 man squads of TH/SS Terminators with a Lysander proxy, a Contemptor Dreadnought in a Lucious droppod and a Librarian in Terminator Armour with a Storm Shield.  It’s a pretty bad ass formation and really puts a dampener on your opponents day when it rocks up.  (To announce its arrival you use a orbital bombardment to “clear” the area where all the Terminators arrive)

For some reason I just never got around to painting him, and then when I finished my new storm shield after re-tooling the pattern from the original I did close to two years ago I got inspired to finish it off.  To be honest, I’m glad I did because its come out much better than I’d expected.  I even tried my hand at doing NMN with an airbrush on the Librarians Force Sword.

As you can see, I removed the models force stave? and replaced it with a massive force sword from the Grey Knight plastic kit I think, and I exchanged his “talk to the hand” hand with a storm shield.  In game terms this seems to be the most popular load out for this type of character when he’s rolling in his Terminator armour.  The pose actually looks quite good, better than I was expecting.

The pictures are not to a standard that I’m completely happy with because I’m having trouble with my camera at the moment and need to sit down and figure out whats going on but I haven’t been bothered to.  So I’ll have to look into it in the next week or so because its really getting on my nerves.  Pro tip, don’t let people fool around with your camera.

OLYMPUS DIGITAL CAMERA OLYMPUS DIGITAL CAMERA Librarian in Terminator Armour 3 OLYMPUS DIGITAL CAMERAOk, thats it for me now.  It’s coming up to Easter and over the holidays myself and Aaron from Forlorn Hope will be getting together for some hardcore, ungreased, man dollie action and taking the Cityscape board out for its madien voyage.  The plan is to have a 1950 point game on it with my Carcharodons V his Tyranids or Death Korps of Krieg (or both on separate occasions)  So my intention is to bring you a full battle report detailing blow by blow action with pictures accompanying that will melt your brain.  I’m really looking forward to this and it should be a lot of fun.

Until then, thanks for dropping in

John


Thats right, you read it correctly, I’m selling something.  We’ll trying to anyways…

Its an idea I’ve been toying with for some time now so I thought I’d put it out there and see what happens.

This is an alternate version of the Space Marine Terminator Storm Shield that I made some time ago for my Iron Hands army as I was really unhappy with the ones that come with the plastic kit, so I went about making my own.  I wanted them to still use the same “design language” that the Space Marine range uses so they would fit in but wanted it to look a bit more creditable and solid looking rather than the current one.

So to test the waters I’ve listed 10 packs of 5 on eBay for $12.95AUD each that includes FREE postage within Australia for the first 10 packs sold.

The Games Workshop Terminator model is shown for scale purposes only and isn’t included.

OLYMPUS DIGITAL CAMERA OLYMPUS DIGITAL CAMERA OLYMPUS DIGITAL CAMERA OLYMPUS DIGITAL CAMERAThis is what they look like when they come out of the mold.

So what you get in a pack is 5 unpainted, unassembled polyurethane resin storm shields.  As you can see, some cleaning will be required.

Did I mention FREE POSTAGE for the first 10 sold?

I’ve got a few other ideas for after market accessories in my head, and depending on the success of these will depend on whether or not they see the light of day.  So fingers crossed.

So go to my eBay account and buy a couple so I can pay for my tertiary education and not eat 2 minute noodles all week…

Thanks for dropping in

John

Hello everyone!

Its been a while since my last post as I’ve been busy with study, life and just well, I needed to take a bit of a break to recharge my painting mojo…  it came back pretty strong on Wednesday morning and I cracked open the bunker and went on a mini painting bender and smashed out two test models for my up and coming 30k World Eaters.  This is something that I’ve been thinking of for quite some time however for some reason I couldn’t decide in my mind exactly what I wanted to do in terms of how I was going to paint them.  I had a few different ideas for the white actually, and I was torn as to which method I’d ultimately use.

So I just decided to paint one model with each method and compare and contrast the results.  So sit back and I’ll take you though what I did and how I did it blow-by-blow.  Hope you enjoy it.  By the way, if you follow my Facebook page you’ll already have seen the end results, and if you don’t follow my Facebook page, go do it now….  I was actually so pleased with how both models turned out that I posted the pictures up on my Facebook page to show them off.

So here we go….

Let me begin by giving you some idea on where my head was at before I commenced painting these two models.  White is a tricky (tint, its not a colour) to paint and the colour that is under it has a very strong influence on how we perceive it.  The look that I want to achieve with my World Eaters is one that gives the viewer the impression that they have been in, or are in combat.  So lots of grime, dints, dust and grittiness.  However I don’t want them to look like they’ve just been thrown in a washing machine with a couple of bricks either.  Lets face it, Marines would get shot at a lot, firstly because they are generally numerically inferior to their opponent and secondly, it would take a lot of fire power to drop an Astartes.  Achieving this balance is a major technical and aesthetic challenge with white.

This is why I’ve gone for experimenting with two different base colours for the models.  One has a very light grey base colour, and the other has a very light brown base colour.  The light grey model ultimately had its panel lines cut it with a black oil wash, while the light brown model had its panel lines cut in with a dark brown oil wash.  So lets take a look at the stages and I’ll walk you through it.

As some of you who’ve followed my painting updates perviously will know, I’m really big on preparation and batch painting.  I like to create a system and document it when I paint an army so that if and when I revisit it I can reproduce it, and also its a devision of labor idea, where I attempt the use my time when painting an army as economically as possible.  However I like to keep in mind the end result and in painting models fast, I don’t like to compromise the finish either…  So I spend a bit of time preparing models before painting them, so that when I paint I can achieve a standard which I consider slightly above table top standard for my rank and file models.

How to paint World Eater Space Marines 1

So here we have stage one.  The body of the marine built, with its head, arms, backpack, shoulder armour and weapons attached or mounted on tooth picks which are held in place with polystyrene foam.  When I say mounted on what I mean is for items like the arms, backpack, head and weapon I actually drill a 2mm hole in them and just force the tooth pick into the hole.  This saves time glueing them onto the tooth pick and if I bump them and they fall off, I can just re-attach them.  Everything is cleaned up, barrels are drilled and the paint is ready.  I’ve got a clear picture in my mind of what I want the finished model to look like.

How to paint World Eater Space Marines 2

Black undercoat.  Nothing really revolutionary here. How to paint World Eater Space Marines 3

Once the black undercoat is applied I take the pieces that will be getting different treatments and fix them to separate foam plinths.  Here the bolters have been painted with Citadel Leadbelcher.    How to paint World Eater Space Marines 4

Just like the bolters I’ve segregated the shoulder armour and back packs.  One thing that isn’t shown in this picture is that they were actually all aligned to face the same direction they would when on the marine.  This will assist later when it comes time to shading them.  The base for the blue is Citadel Kantor Blue.  Once that had dried, I gave each piece a small highlight with Citadel  Caledor Sky, and then finally a even smaller highlight with 70% Caledor Sky and 30% White Scar.
How to paint World Eater Space Marines 5

The first marine is given his black undercoat a base coat of Citadel Dawnstone.  I didn’t go over board with coverage, as I want the black to remain in recesses etc to add to the  pre-shading of the white when it eventually goes over the top.  How to paint World Eater Space Marines 6

As per the stage above except with Citadel Baneblade Brown.How to paint World Eater Space Marines 7

The first coat of white.  I created a mix of 90% Citadel White Scar and 10% Citadel Dawnstone.  This stage you want to make sure that you apply the colour with a “top down” notion in mind.  Remember that most of the time the source or light (the sun) is above the marine, so we expect to see shadows in areas where shadows would normally be created in natural light.  So lightly dust this mixture on ensuring that you keep the model pointing up as you are painting it.  Don’t go over the top either, just like the Dawnstone, you want to make sure that the coverage isn’t complete, you want some Dawnstone, and if you’ve done the job right, some of the black to still be showing through.

Once that was done, I gave the model a very light coat of just straight White Scar to make the raised areas really pop.  You need to be very delicate with the paint application at this stage otherwise you run the risk of making the white too bright and ruining the effect you were trying to achieve by using the black and grey undercoat.
How to paint World Eater Space Marines 8

As above except with Citadel Baneblade brown.How to paint World Eater Space Marines 9

I then added chipping with a small sponge, painted in the detail and gave the models a coat of gloss varnish in preparation for oil washes.  How to paint World Eater Space Marines 10

I really like this picture for many reasons.  Mainly because it clearly demonstrates the distinct difference between the brown and grey undercoat.  I deliberately chose to use brown and black oil paint respectively on each model to further accentuate the undercoat colour coming through the white and thus further emphasise the two “looks” I was going for.  I actually think the one on the right would be a great base for a Death Guard….

Once i’d finished painting the bases, finishing up the detail etc, I gave each part a good coat of matt varnish, assembled each marine, hit it with some weathering powders and then gave it another hit with matt varnish.  Below are the pictures of the finished models.

OLYMPUS DIGITAL CAMERA

OLYMPUS DIGITAL CAMERA

OLYMPUS DIGITAL CAMERA

I’m really please with the results and very really anxious to get started on the army proper now.  I’ve decided to go with the grey undercoat after all that as I think it give a more authentic white and is in line with how I’d imagine the XII Legion to look.

What are your thoughts?

Thanks for dropping in, comments as always are very welcome.

John Sutton, Brisbane, Qld

Necrons

Posted: March 10, 2013 in Necrons
Tags: , , ,

There, I said it!

I’ve been wanting do to some painting recently of anything other than Imperium, which I focus on quite heavily… as you can see from the extensive Imperial armies I’ve collected…  So yesterday while I was in my local GW store picking up something for my upcomming 30k World Eaters I grabbed a box of Necron Warriors and thought I’d give them a hit.

I’ve long wanted to paint some Necrons having seen some really interesting looking armies painted up over the years that really capture the idea of “undead” robot warriors in 40k.  Although I don’t play, and don’t ever intend on playing Warhammer Fantasy battle, if I ever did it would have been Undead (or whatever they call them now)  I just like the idea of reanimated skelletons coming for you.  It must be the impression that Jason and the Argonauts (1963 version with the superb stop animation of Ray Harryhausen) or the Evil Dead series of movies left on me when I was much younger.

Whatever the case, I got my undead robot warrior fix and painted this bad boy this morning.  It may be a test mini for a new army, or it might be me just getting something off my chest.  Whatever it is, hope you enjoy it.

Necron Warrior

Necron Warrior 2

Necron Warrior 3

Necron Warrior 4


I have to admit, I’m quite pleased with how the Necron Warrior has turned out.  I really wanted to capture the ancient feel of background the to this army, however I didn’t want to over do it either, especially in the “glowing” department.  I’ve got some good ideas for some of the Necron vehicles too, so who knows maybe we’ll see some more of these in the future.  I actually painted two Necron Warriors however I only photographed this one because well, after you’ve seen one Necron Warrior, you’ve seen them all.  The two didn’t take that long to paint either, it took me a little under 2hrs for the two of them but this didn’t included assembly.

Comments?

Thanks for dropping in, until next time

John