I haven’t really done that many posts on this blog that are actually a work in progress post. Since moving from forums to my own blog I’ve mostly just brought you either finished projects or tutorials. So I thought I’d mix things up a bit and bring you a series of posts around my new Forge World Greater Daemon of Khorne. If you read my previous post you’d know that a good friend of mine actually gave me this model after he’d had if for a year or two and didn’t think he’d ever get to painting it. Obviously I accepted his extreme generosity and ever since have been thinking through various ways I might approach painting this epic bad guy. And a bad ass he is, make no mistake. This is one seriously amazing sculpt and its a real pleasure studying the detail on it. I really admire the talent and years of honing skill that it would take to produce something like this.
So lets get into it shall we?
As with any model this size (or indeed any model for that matter) preparation and having a plan are essential. In terms of preparation ensure that the model is going to fit together properly, be sturdy and have no gaps etc. In terms of a plan, how is it going to be painted?, whats the base going to look like?, are you going to paint it in pieces or as an assembled model? Many of these questions need to be considered and answered clearly before you embark on a project.
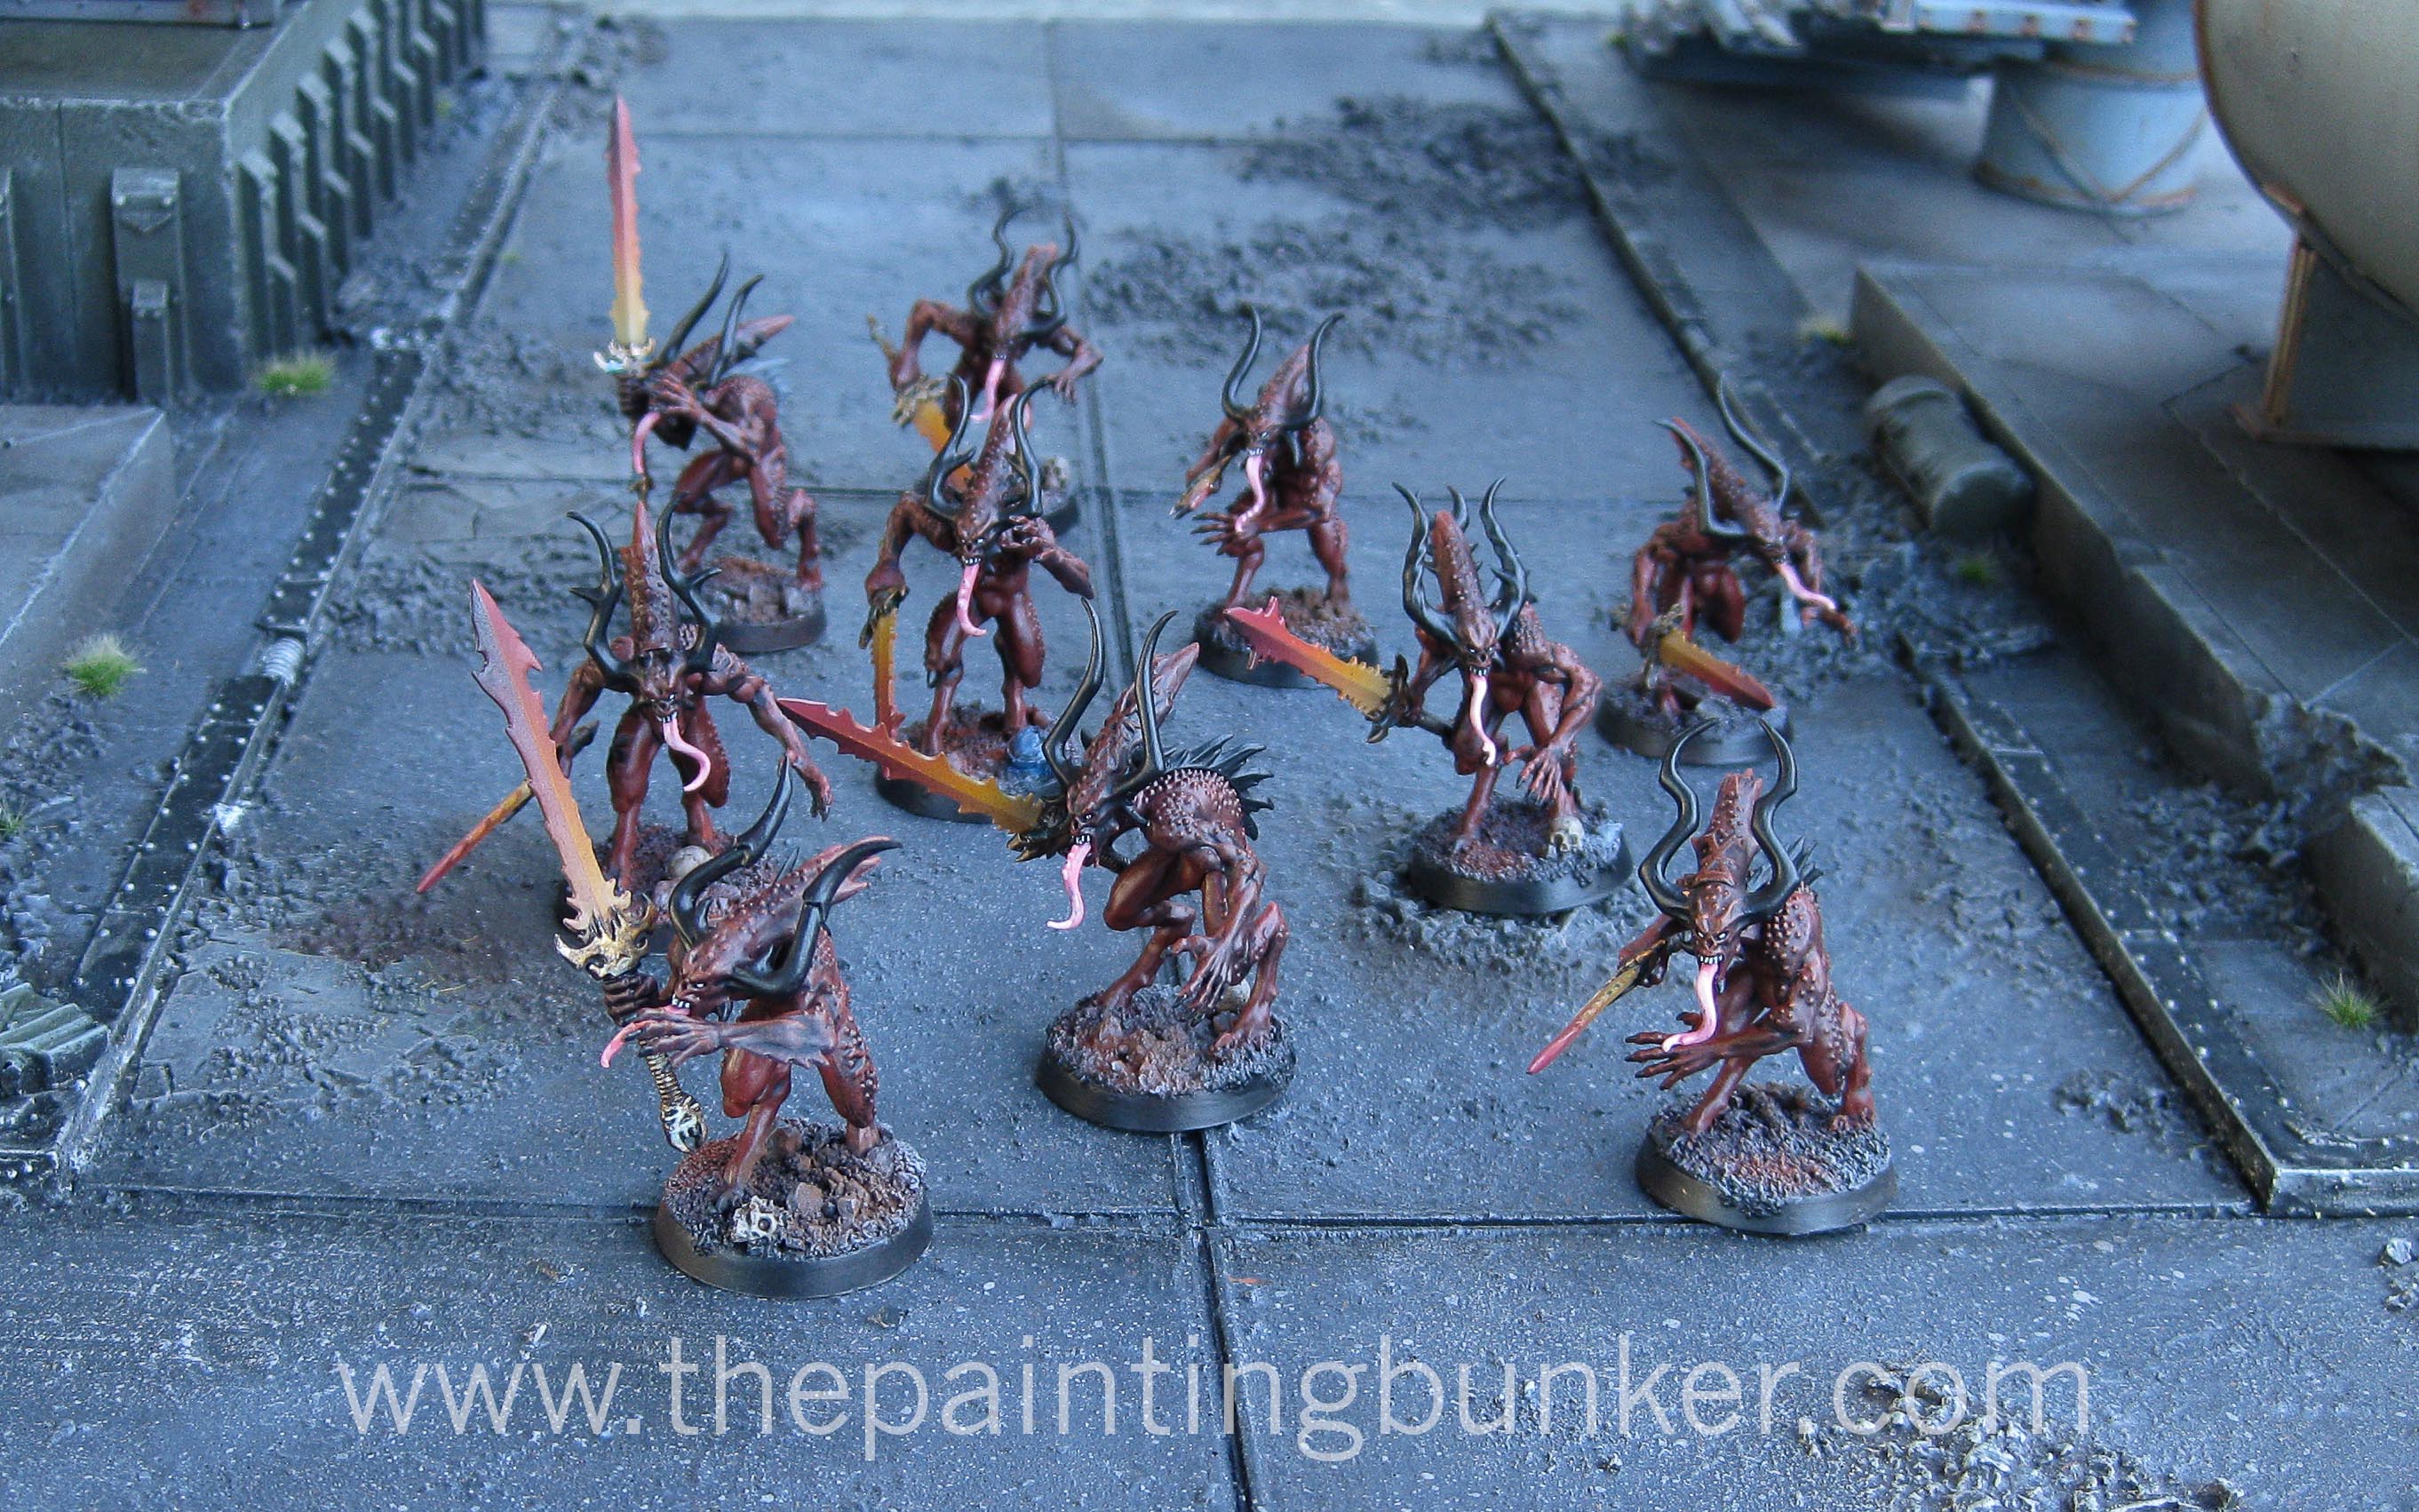
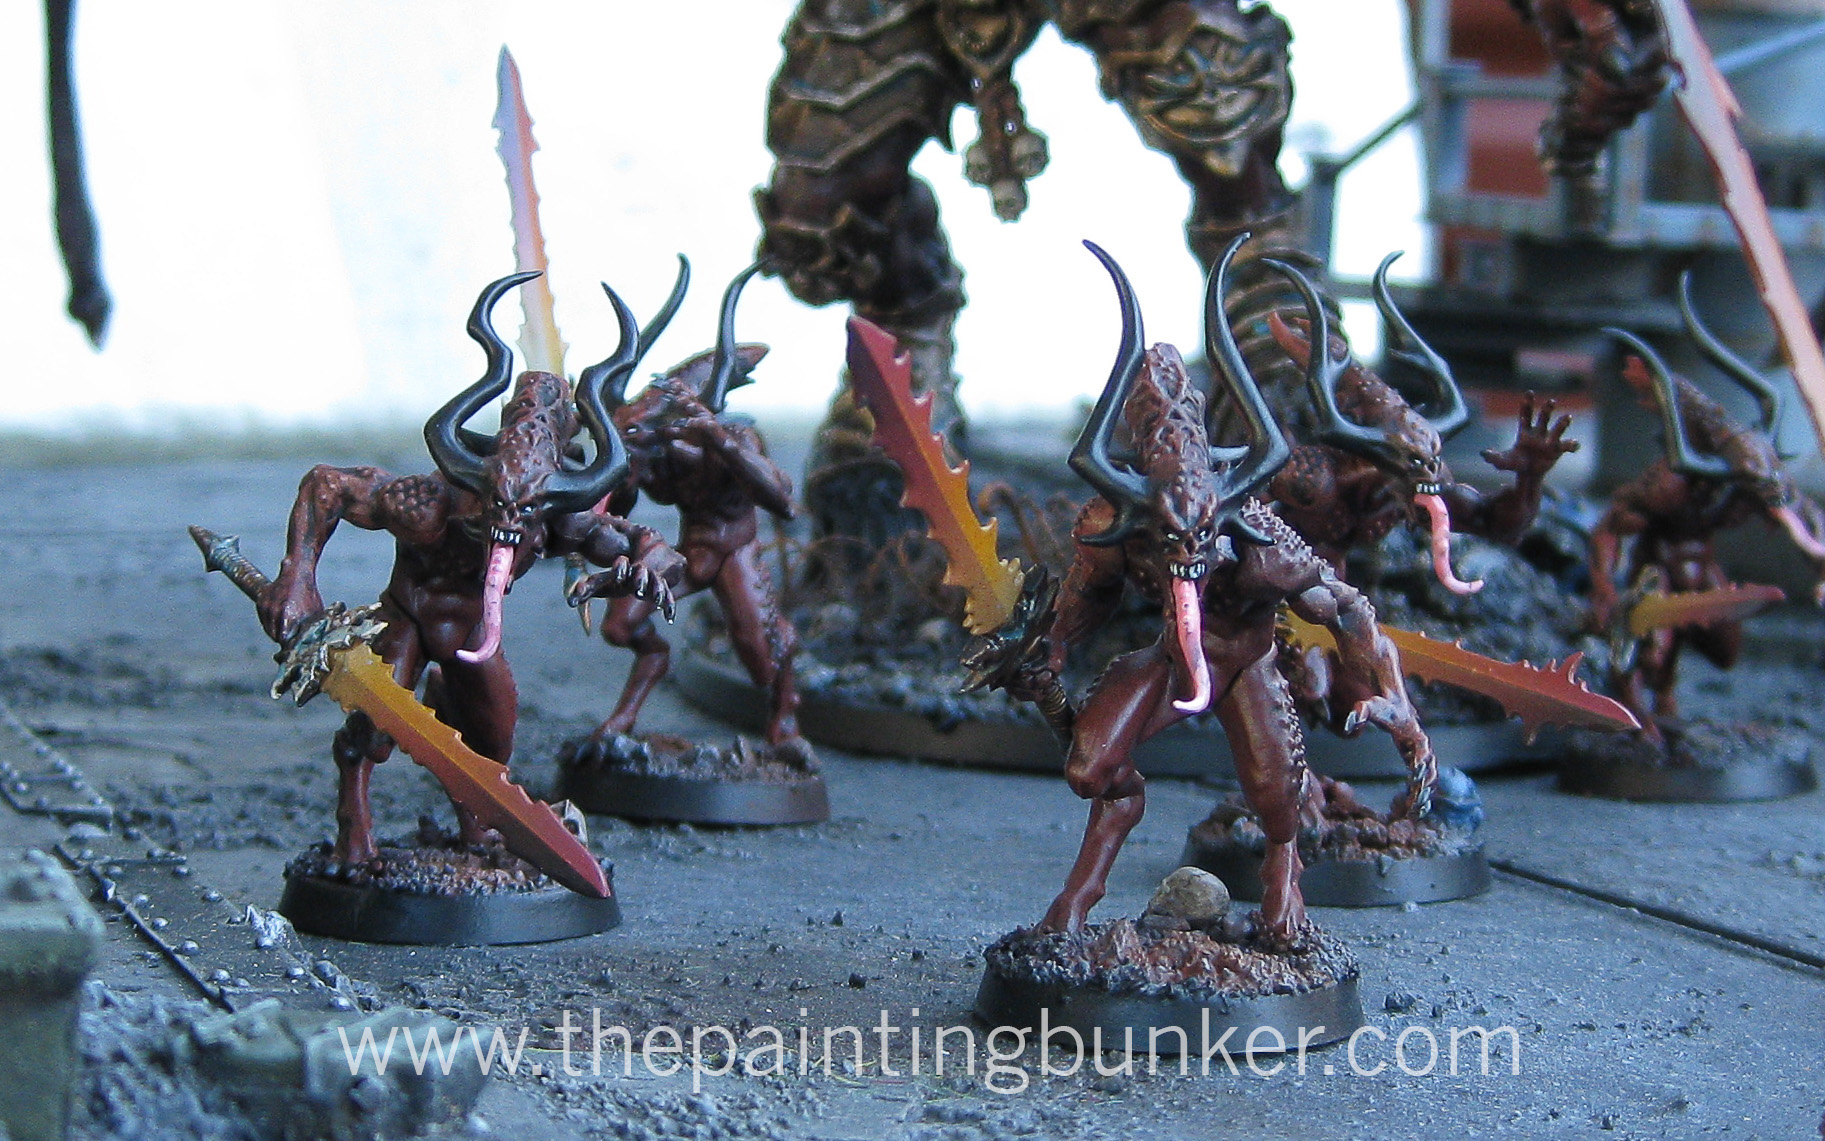
For this model, I actually plan on using it in my upcoming World Eaters army for when I feel like running them as CSM, so it seems appropriate to have a Greater Daemon and also a few Blood Letters for good measure.
Apart from that, preparation is the next aspect to be considered. Being such a massive model (its huge) I want to ensure that I’m not relying on simply super glue to keep the model together nor the simple joints that Forge World have created for the model. Having strong bonds along key stress points is an important consideration with models like this.
So for all of the main joints on this kit, which are the left hip, both wrist joints, hips and wings, I have used 2mm spring steel to add that extra degree of support that I know I’ll be grateful for after I’ve used that bad ass in a few games. 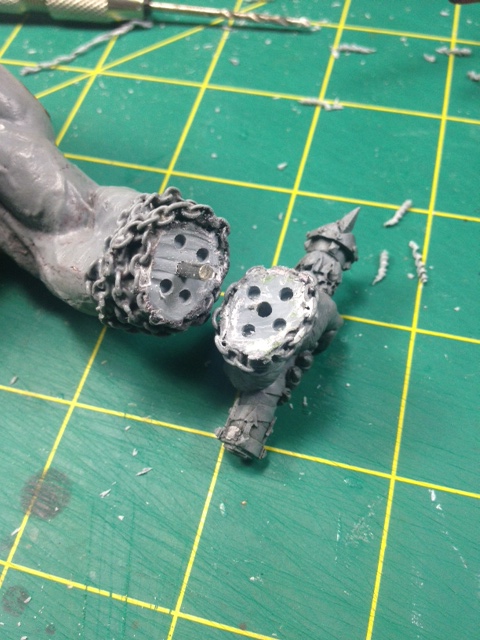
No to rely totally on the strength of the steel, I also like to drill additional “key” holes. What this does is allows the epoxy resin that I use to bond the pieces together to seep into the holes and assist with strengthening the mechanical bond of the pieces. 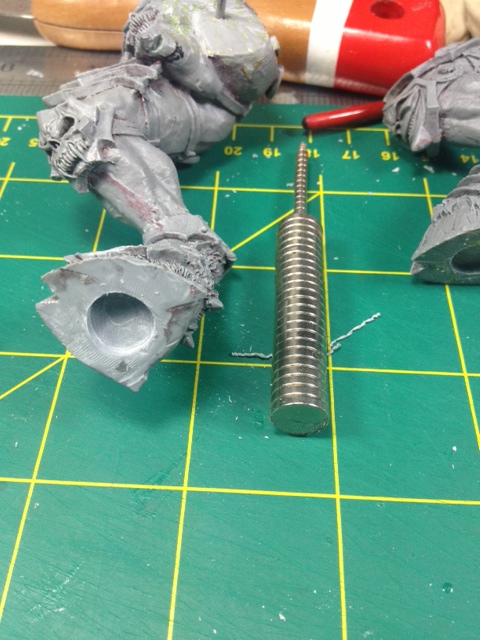
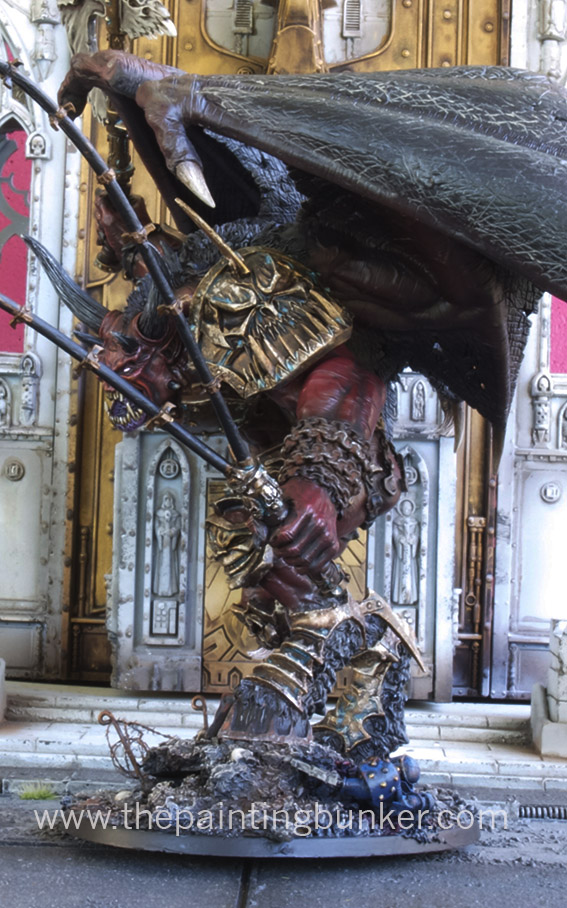
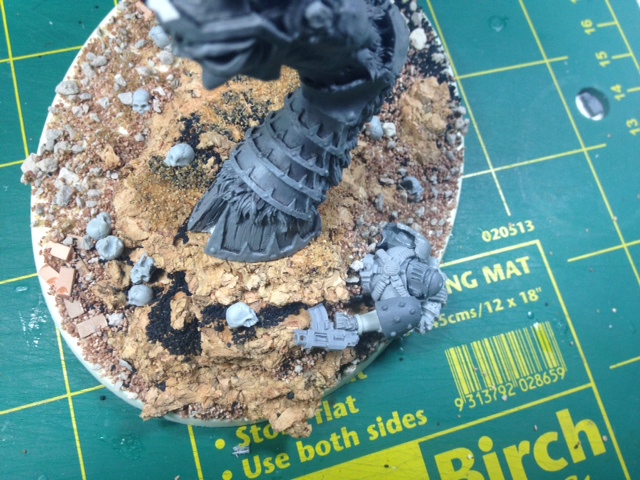
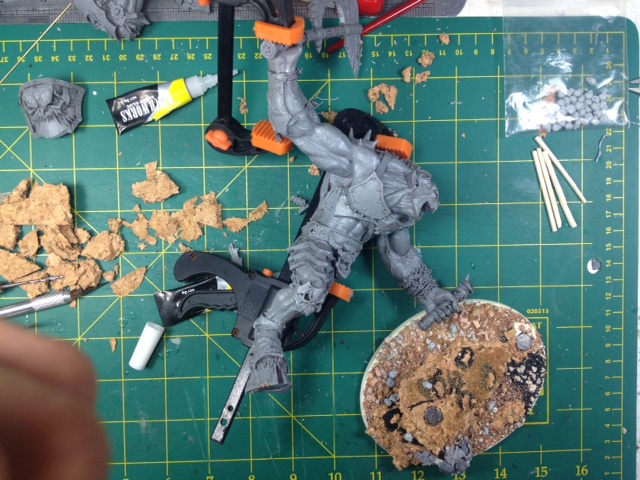
For this model I’m actually magnetising it to its base. Why you ask? Well its for two reasons, the first is to facilitate with painting and the second is a secret that you’ll just have to wait and see. One aspect of this model that I’m not entirely happy with is the models attention to something thats in its immediate foreground. Its so stooped over that its almost looking at its feet. As I’ve mentioned before, I suspect but don’t know for certain that this model was sculpted to be posed with Hector Rex. Hence why its appears to have its attention focused on something about man sized more or less at its feet. I wanted to overcome this to a degree so that someone looking at the model can get a better look at the detail of the models front. So I used cork floor tiles to “jack up” the front left foot, while keeping the back foot at normal base level. It’s just a subtle thing, but as you’ll see it makes a massive difference in how the model now interacts with its audience.

Just getting the pose right. 
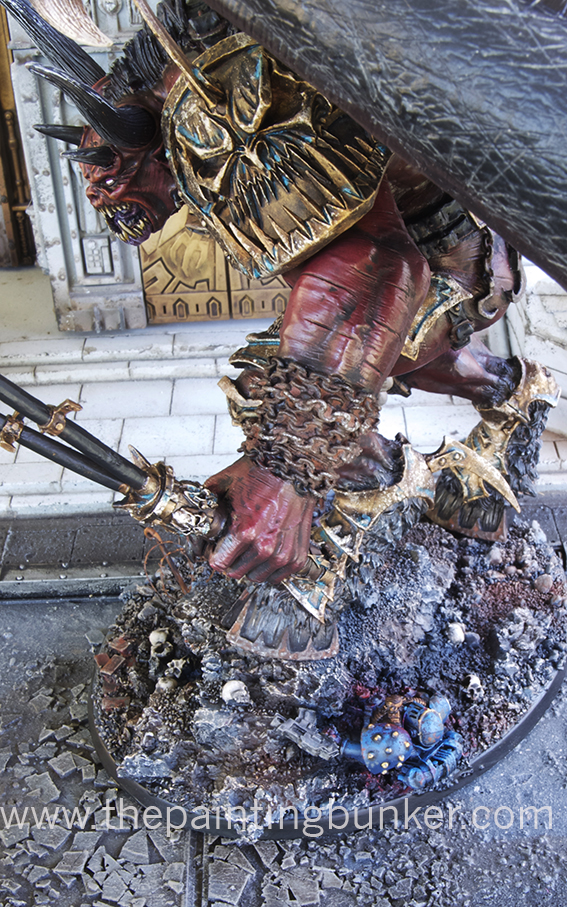
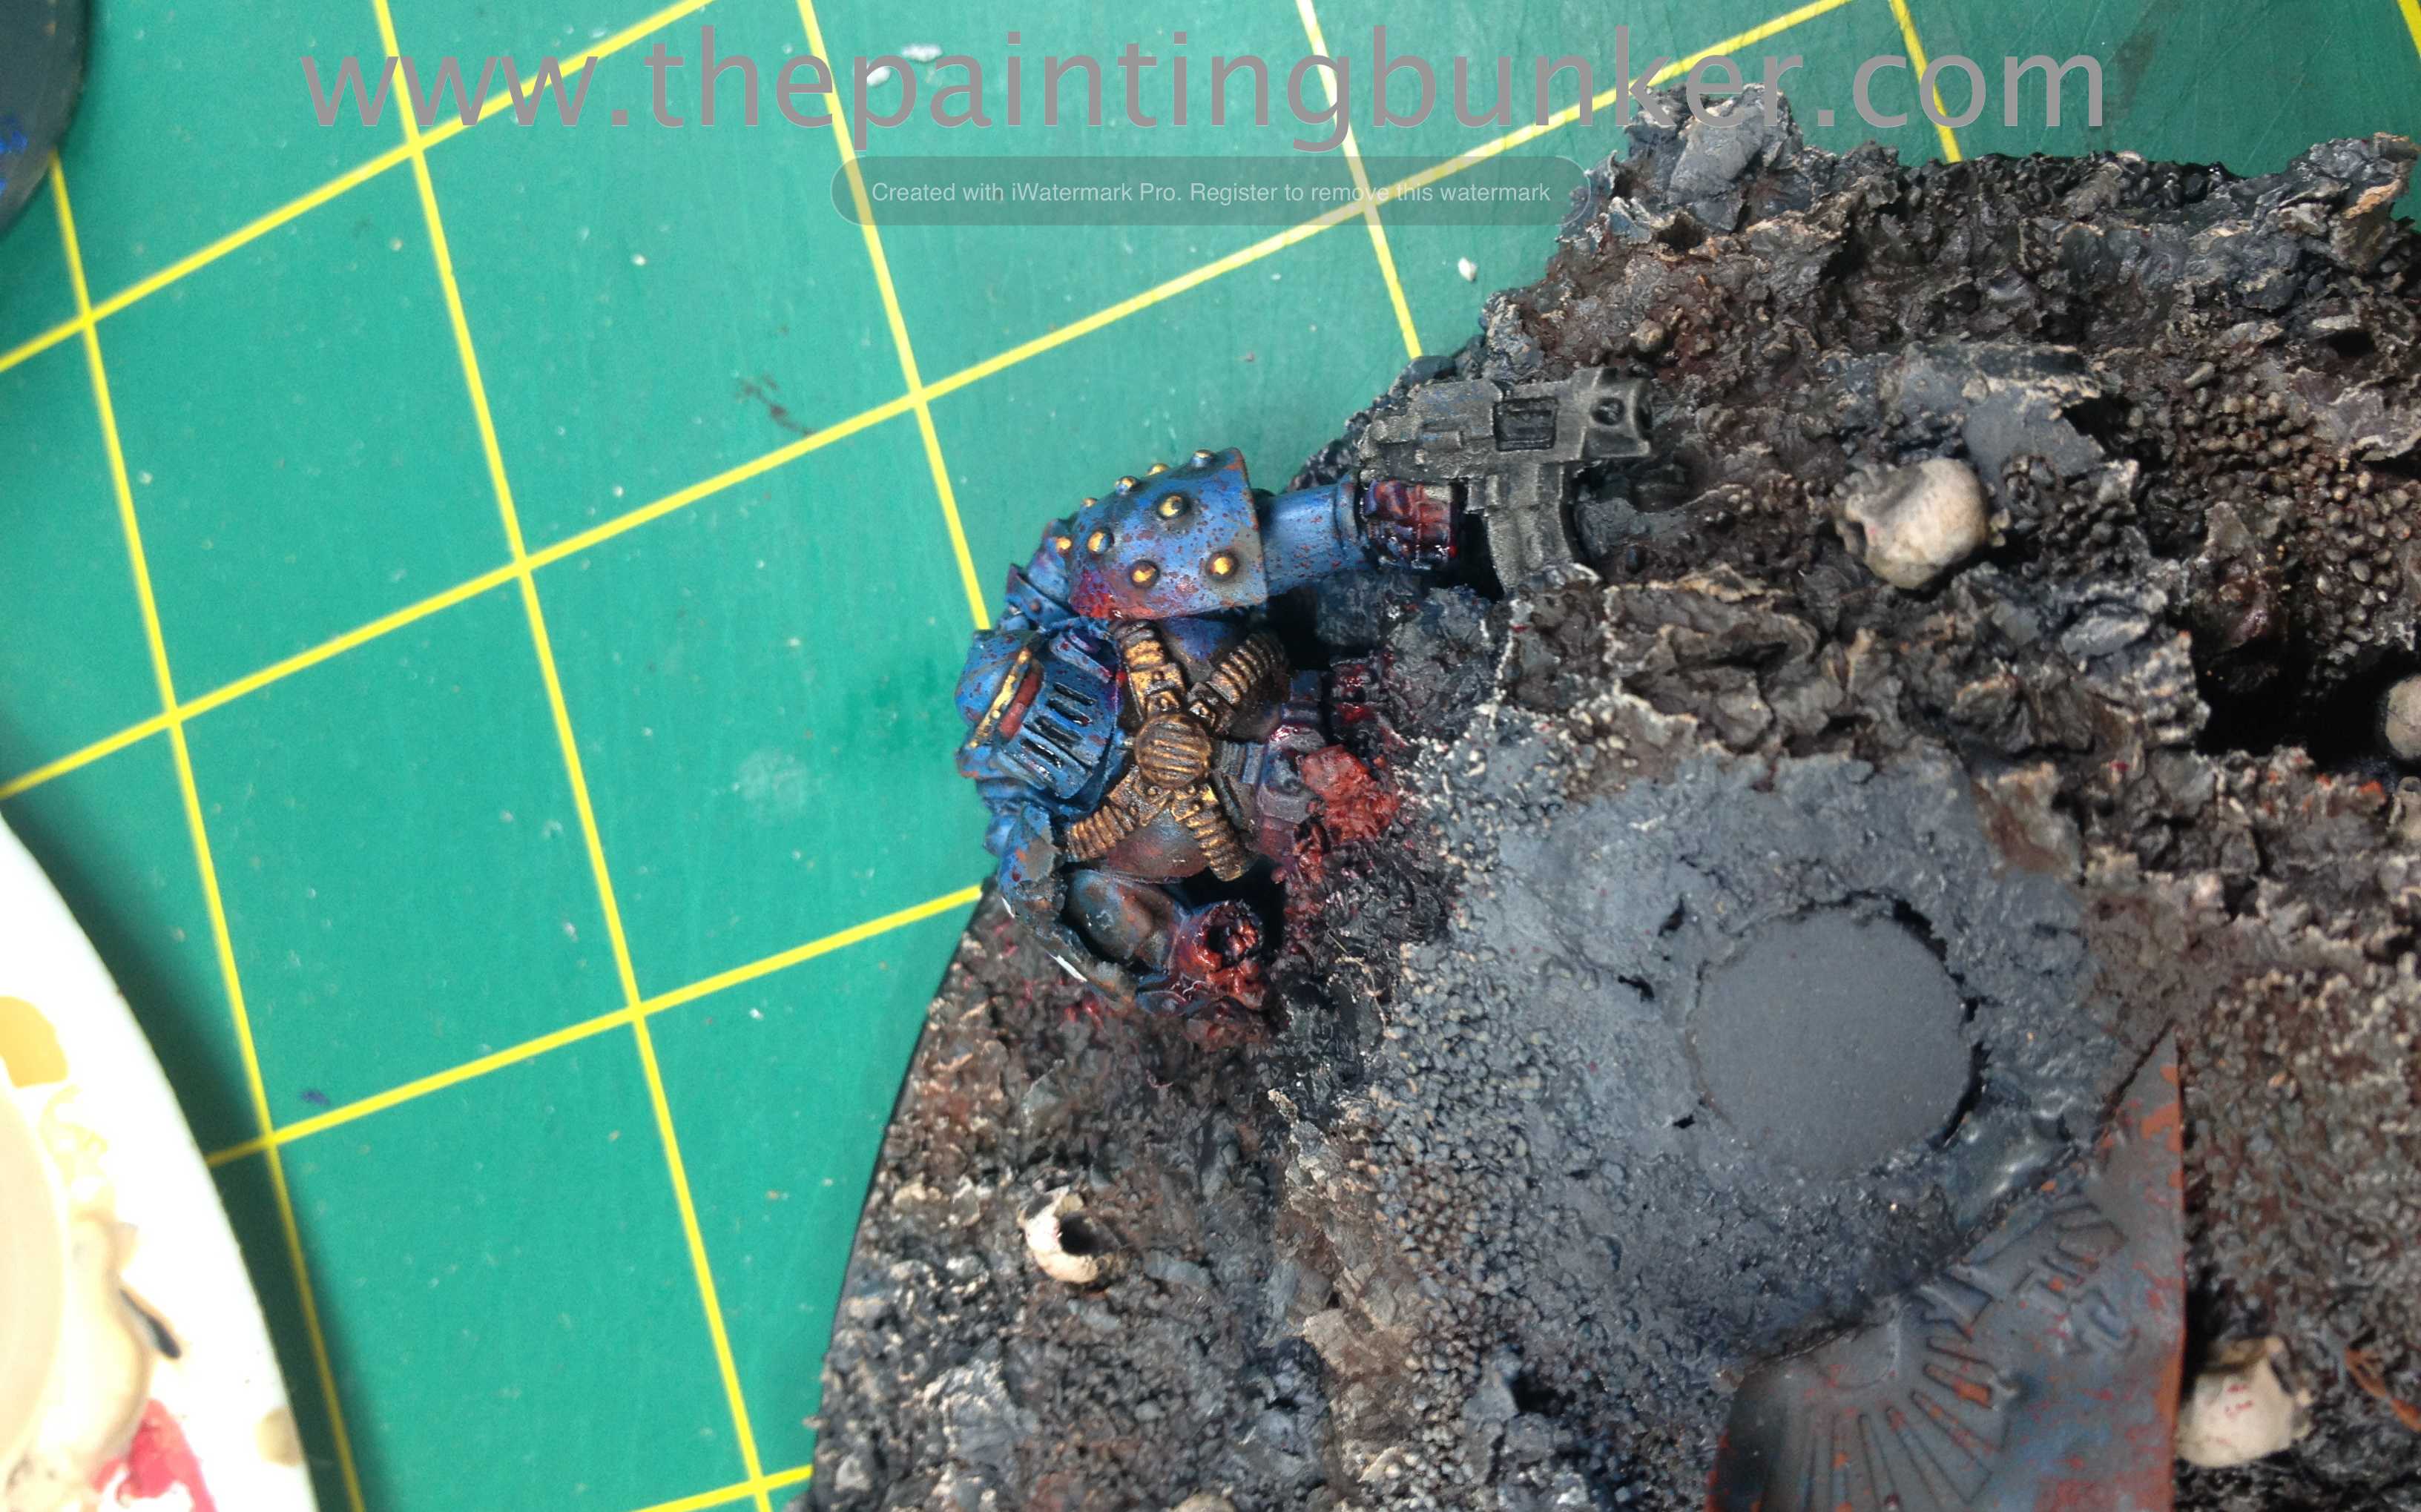
So detail of the base. I want it to look like a hellish battle field. Only the most nightmarish of battle fields would enable a daemon of this stature be summoned. Note the crushed Space Marine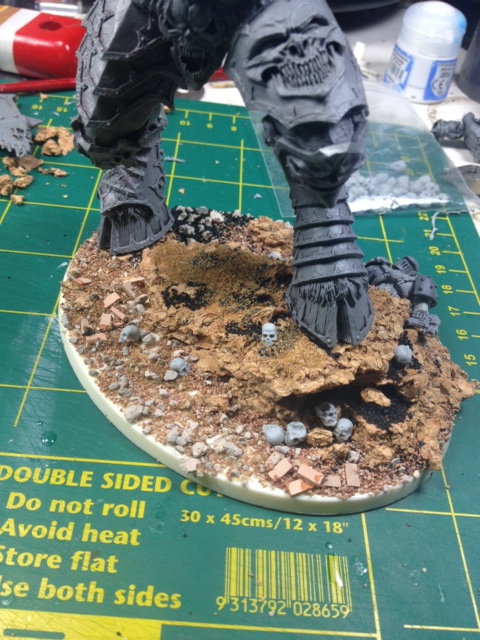
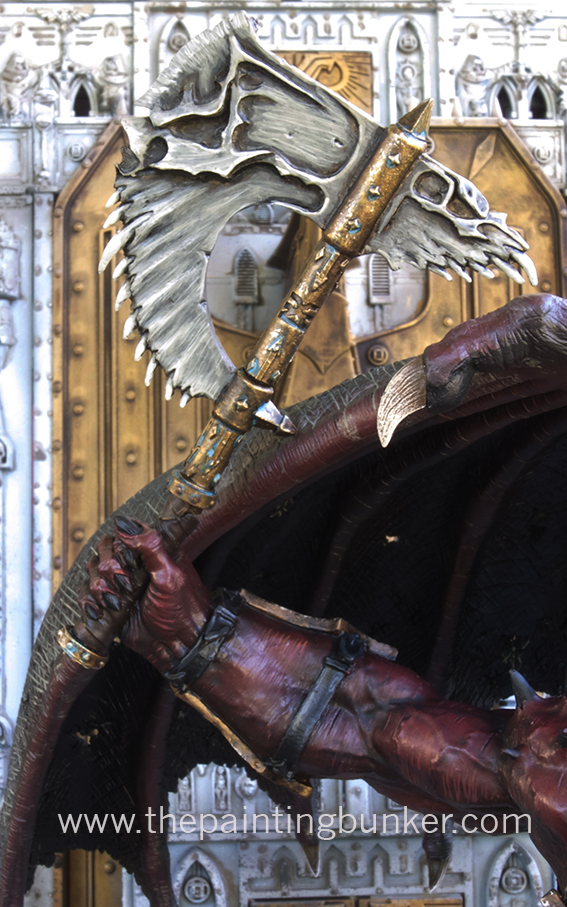
A better view of the base. I used a lot of different materials on this base, cork floor tiles, train set ballast, skulls and ceramic bricks from Secret Weapon Miniatures and as you’ll see in other pictures, Forge World brass etched barbed wire and an Imperial Eagle.

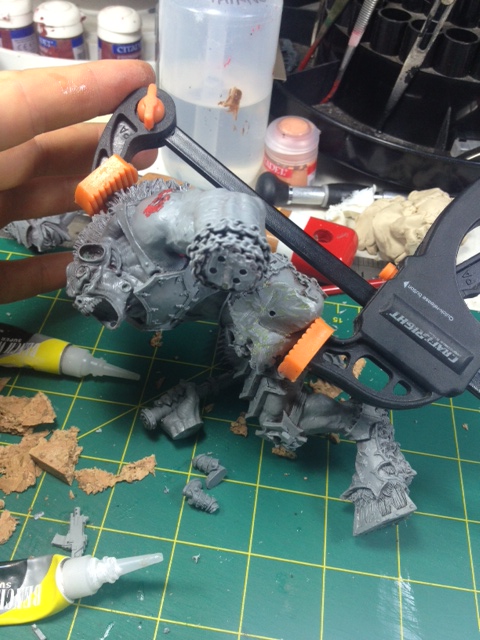
When it comes to glueing this pieces together I like to use small cramps to ensure that a strong bond it made. Its a bit of an involved process but the results speak for themselves.
Yeah, complicated. 
Some of the base detail, almost complete.
Just another detail shot.
The base now with added barbed wire and the Greater Daemon stepping on a damaged Imperial Eagle
A clearing image of the finished base
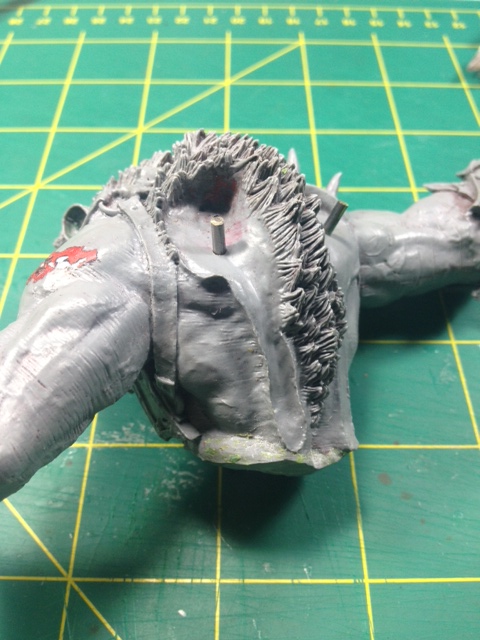
This shot was taken just prior to undercoating. As I mentioned there were a few pieces missing from the model so I had to make a few molds of those pieces today and then cast them up, if you look very closely you can see where they are as they’re white resin.  Ok, thats me for the time being. Hope you enjoyed this WIP post. I think I might make it a bit more of a habit in the future.
Comments always welcome, and thanks for dropping in
John


 Thanks for dropping in. Comments welcome