Archive for the ‘Anphelion Base’ Category

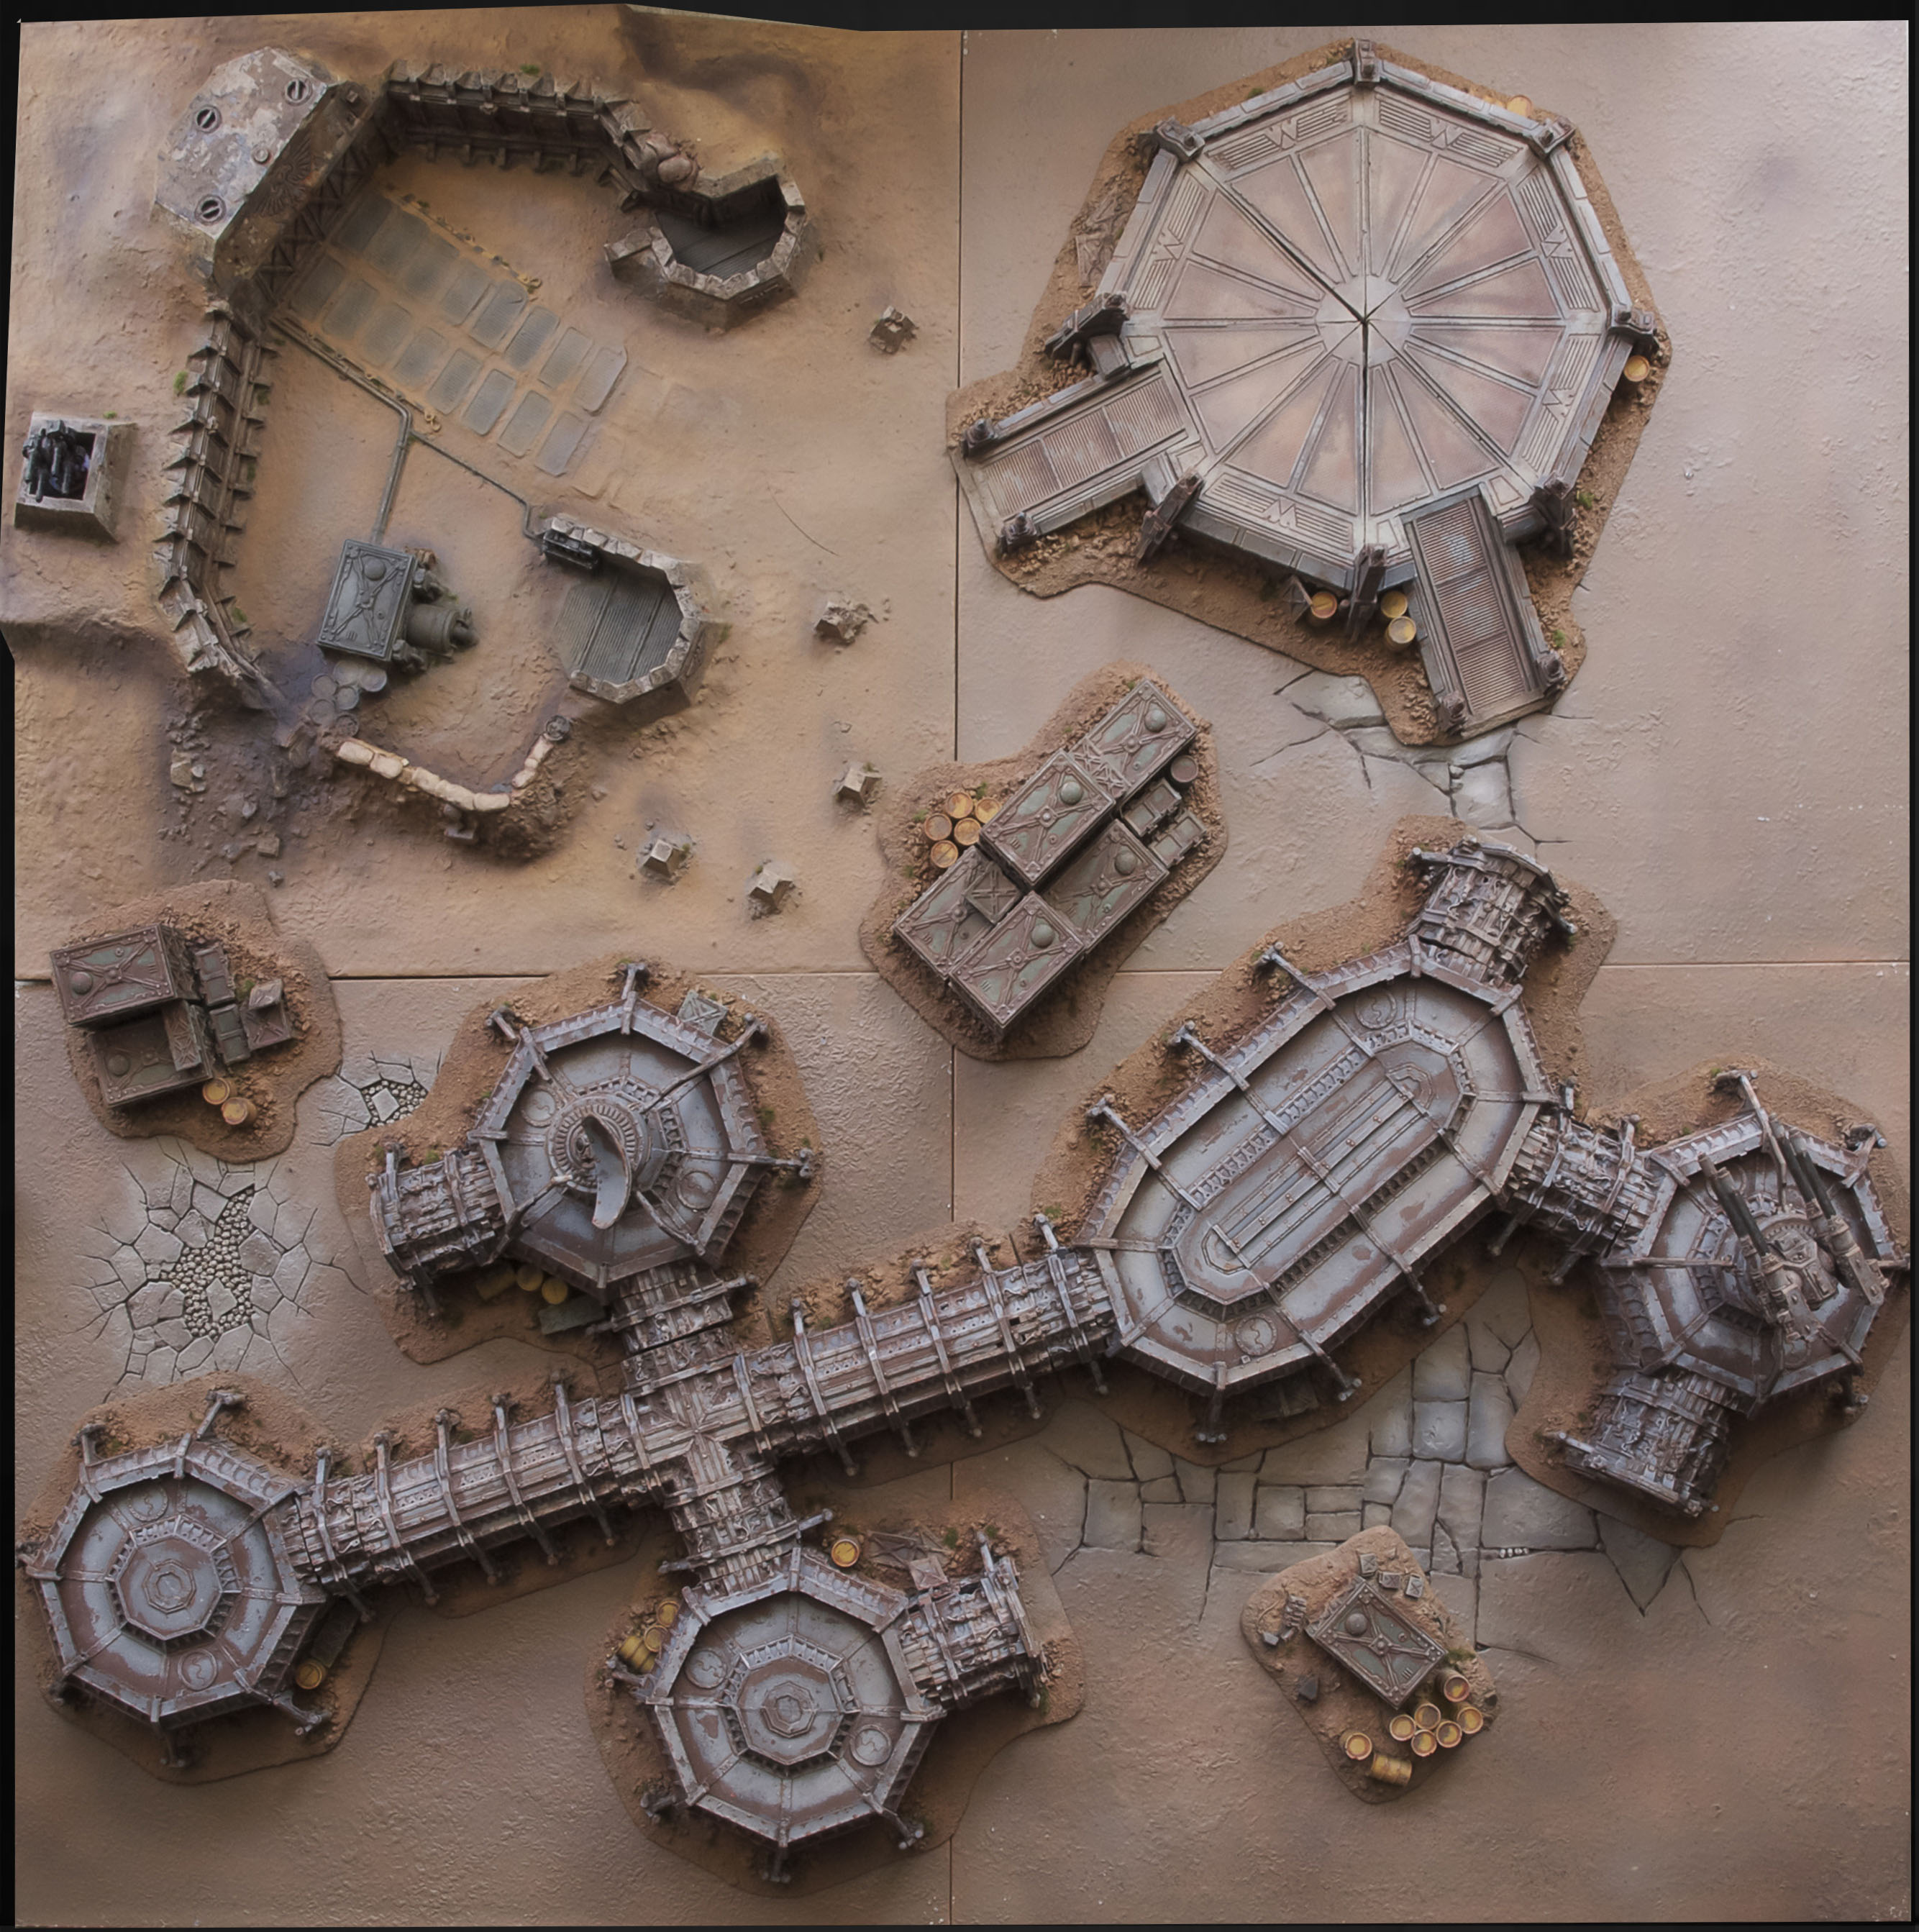
Well, its done.  What a mission it was too.  I have to admit, I’m quite pleased with the finished product.  I don’t know about you, but often when I’m half way through a project I get disheartened because I think its not going to turn out the way I want.  The temptation to not persevere  is high.  On many occasions with this project I was in that place.  However experience has now taught me to keep going.  As they say, when you’re going through hell, don’t stop!

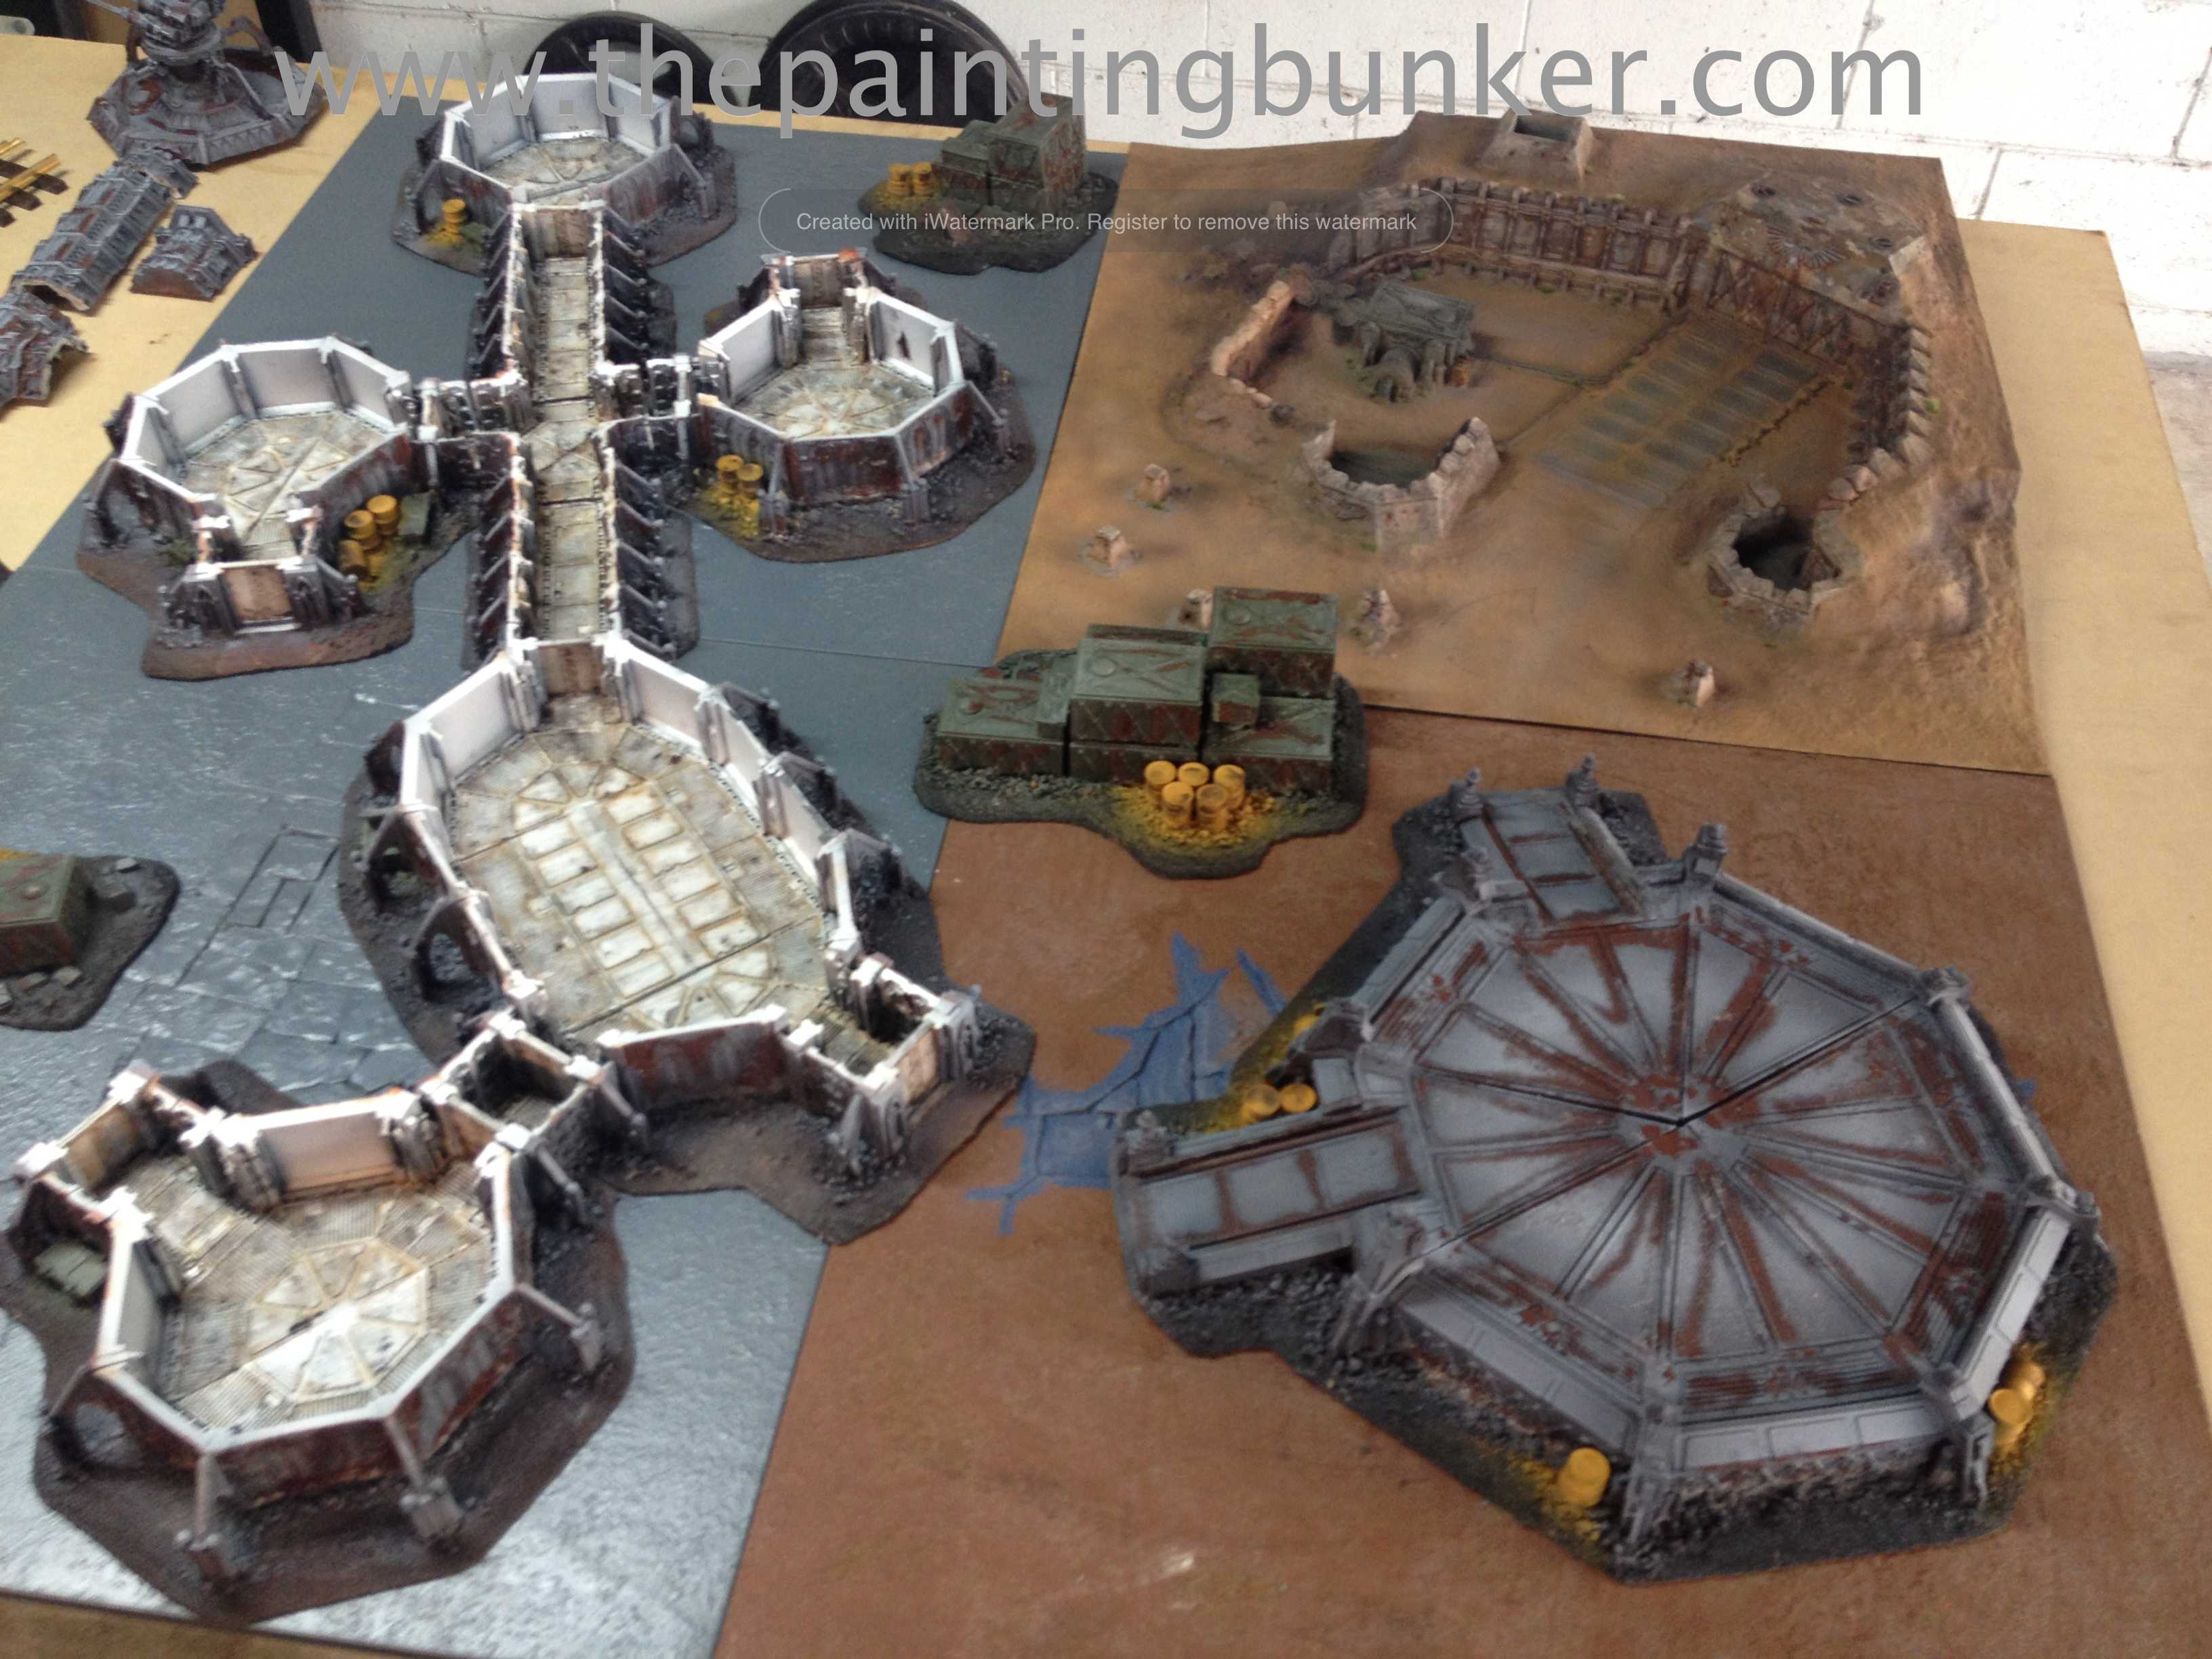
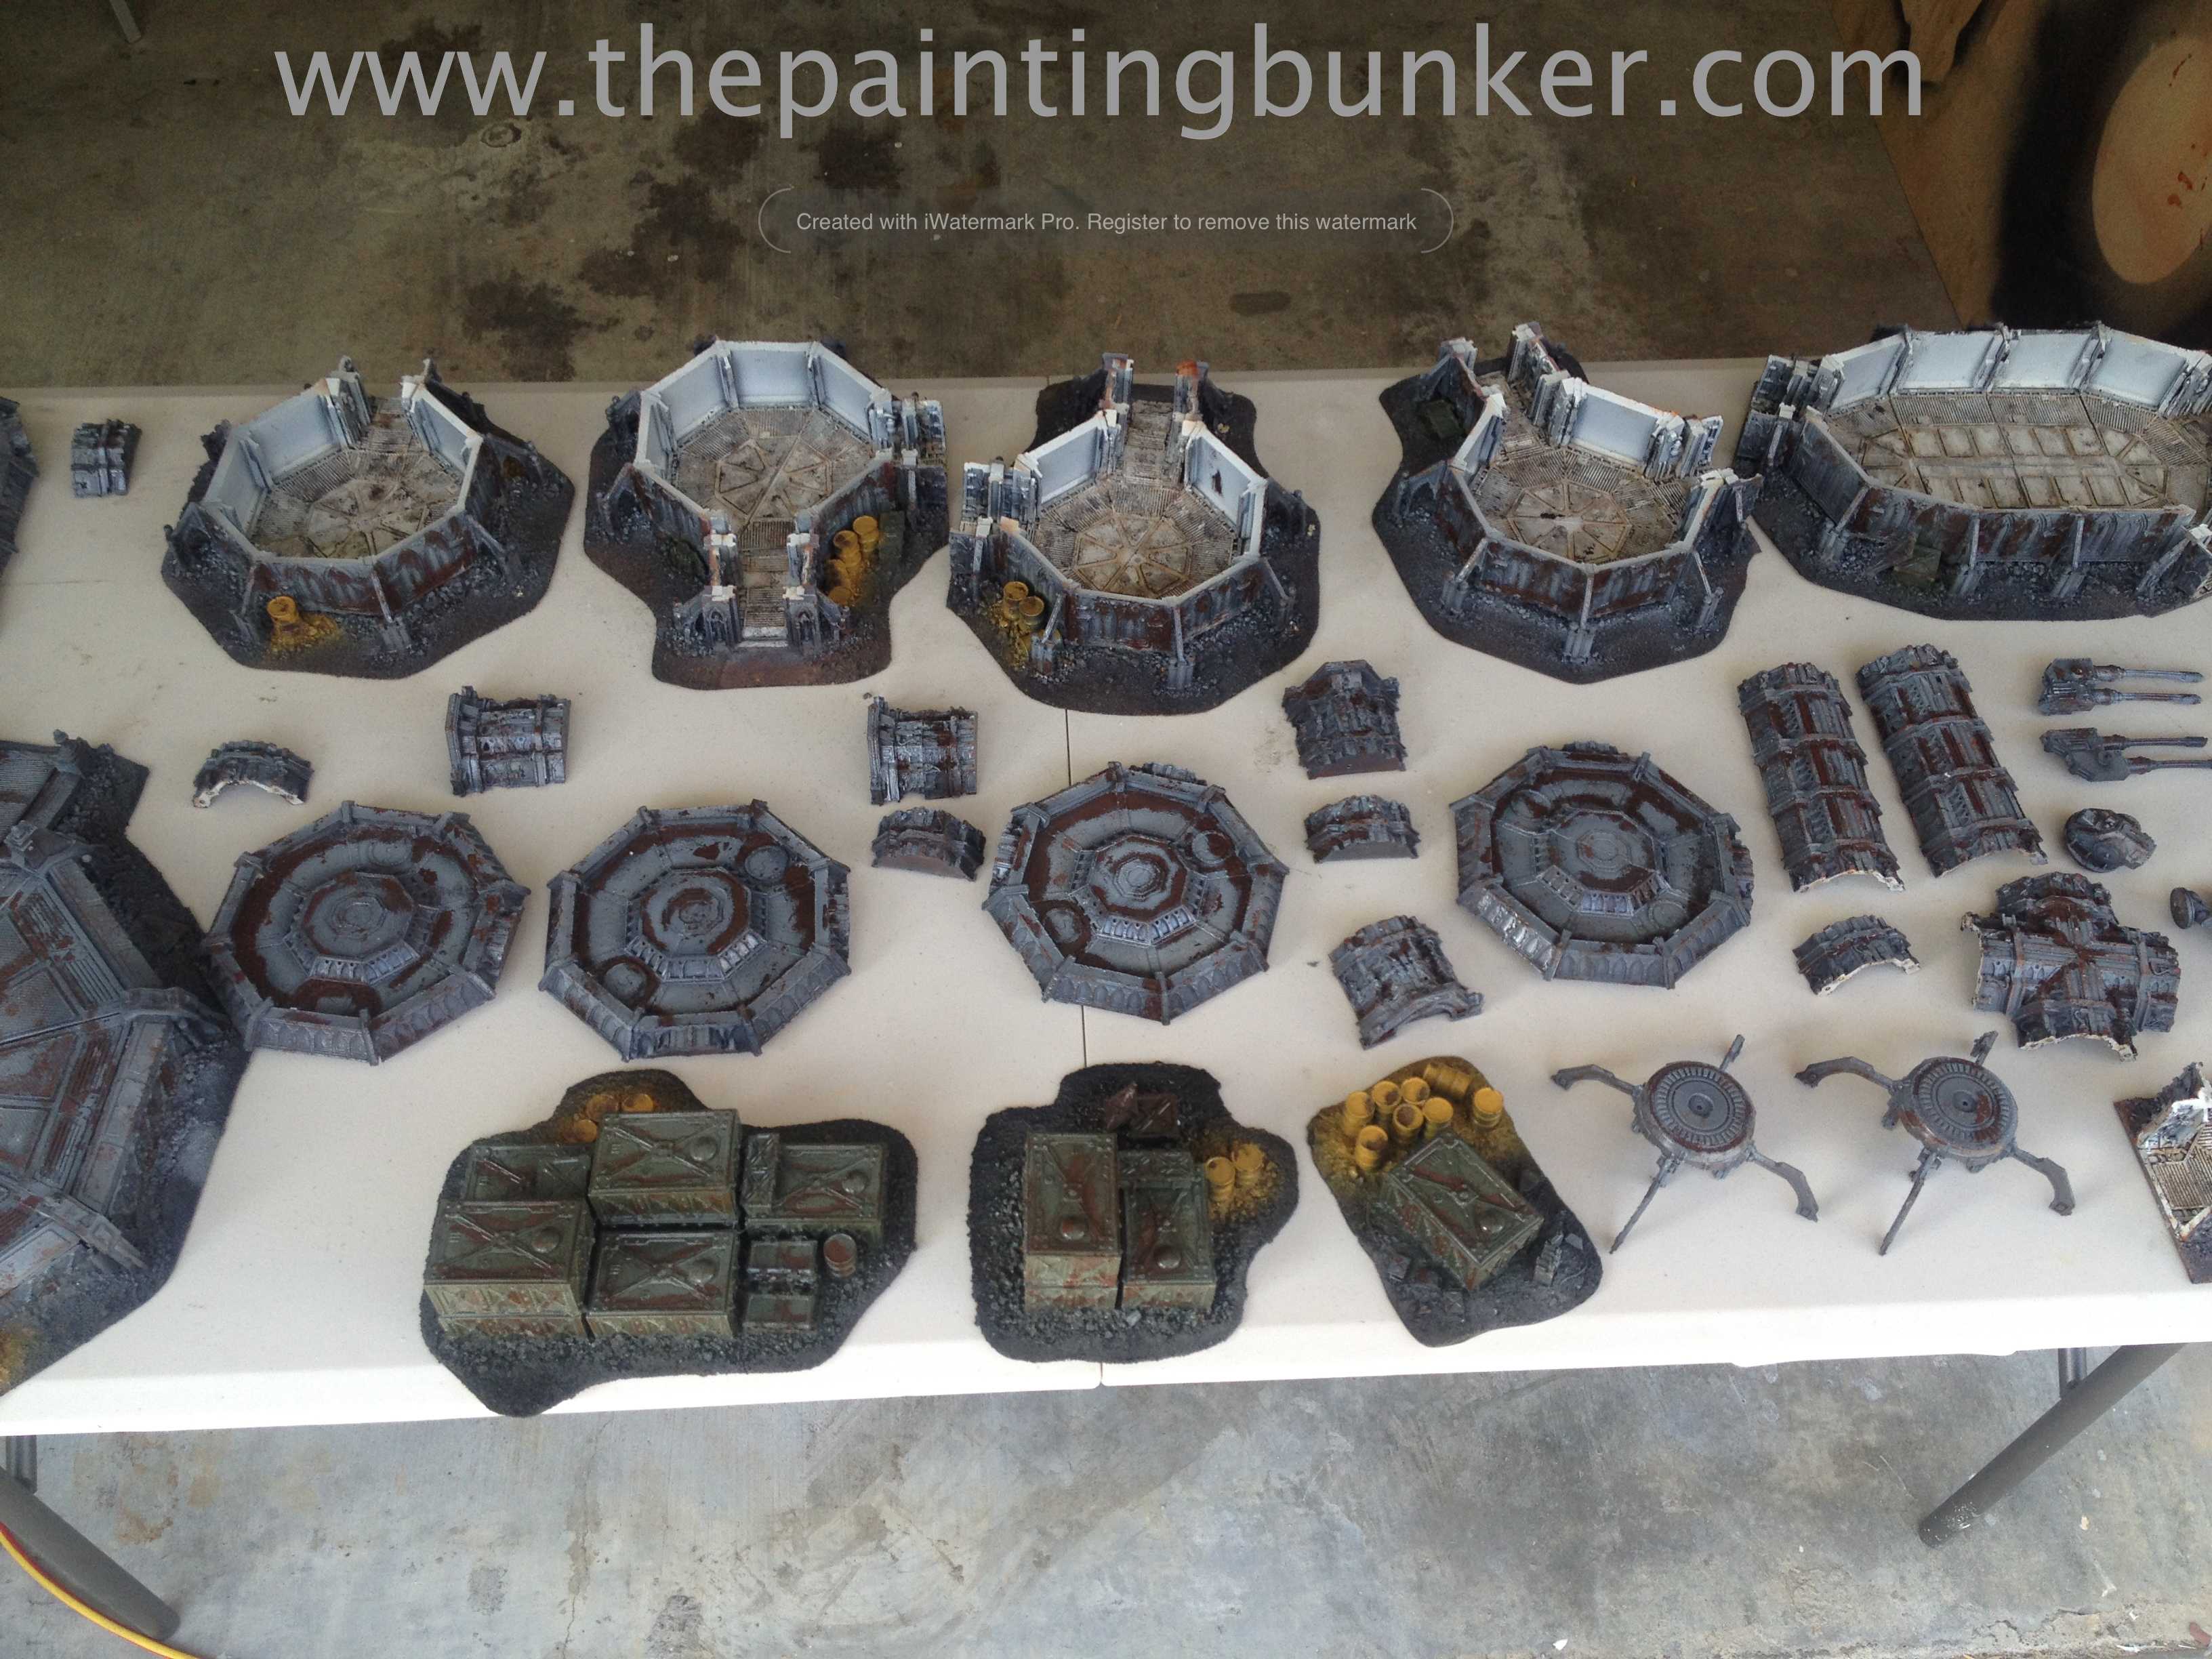
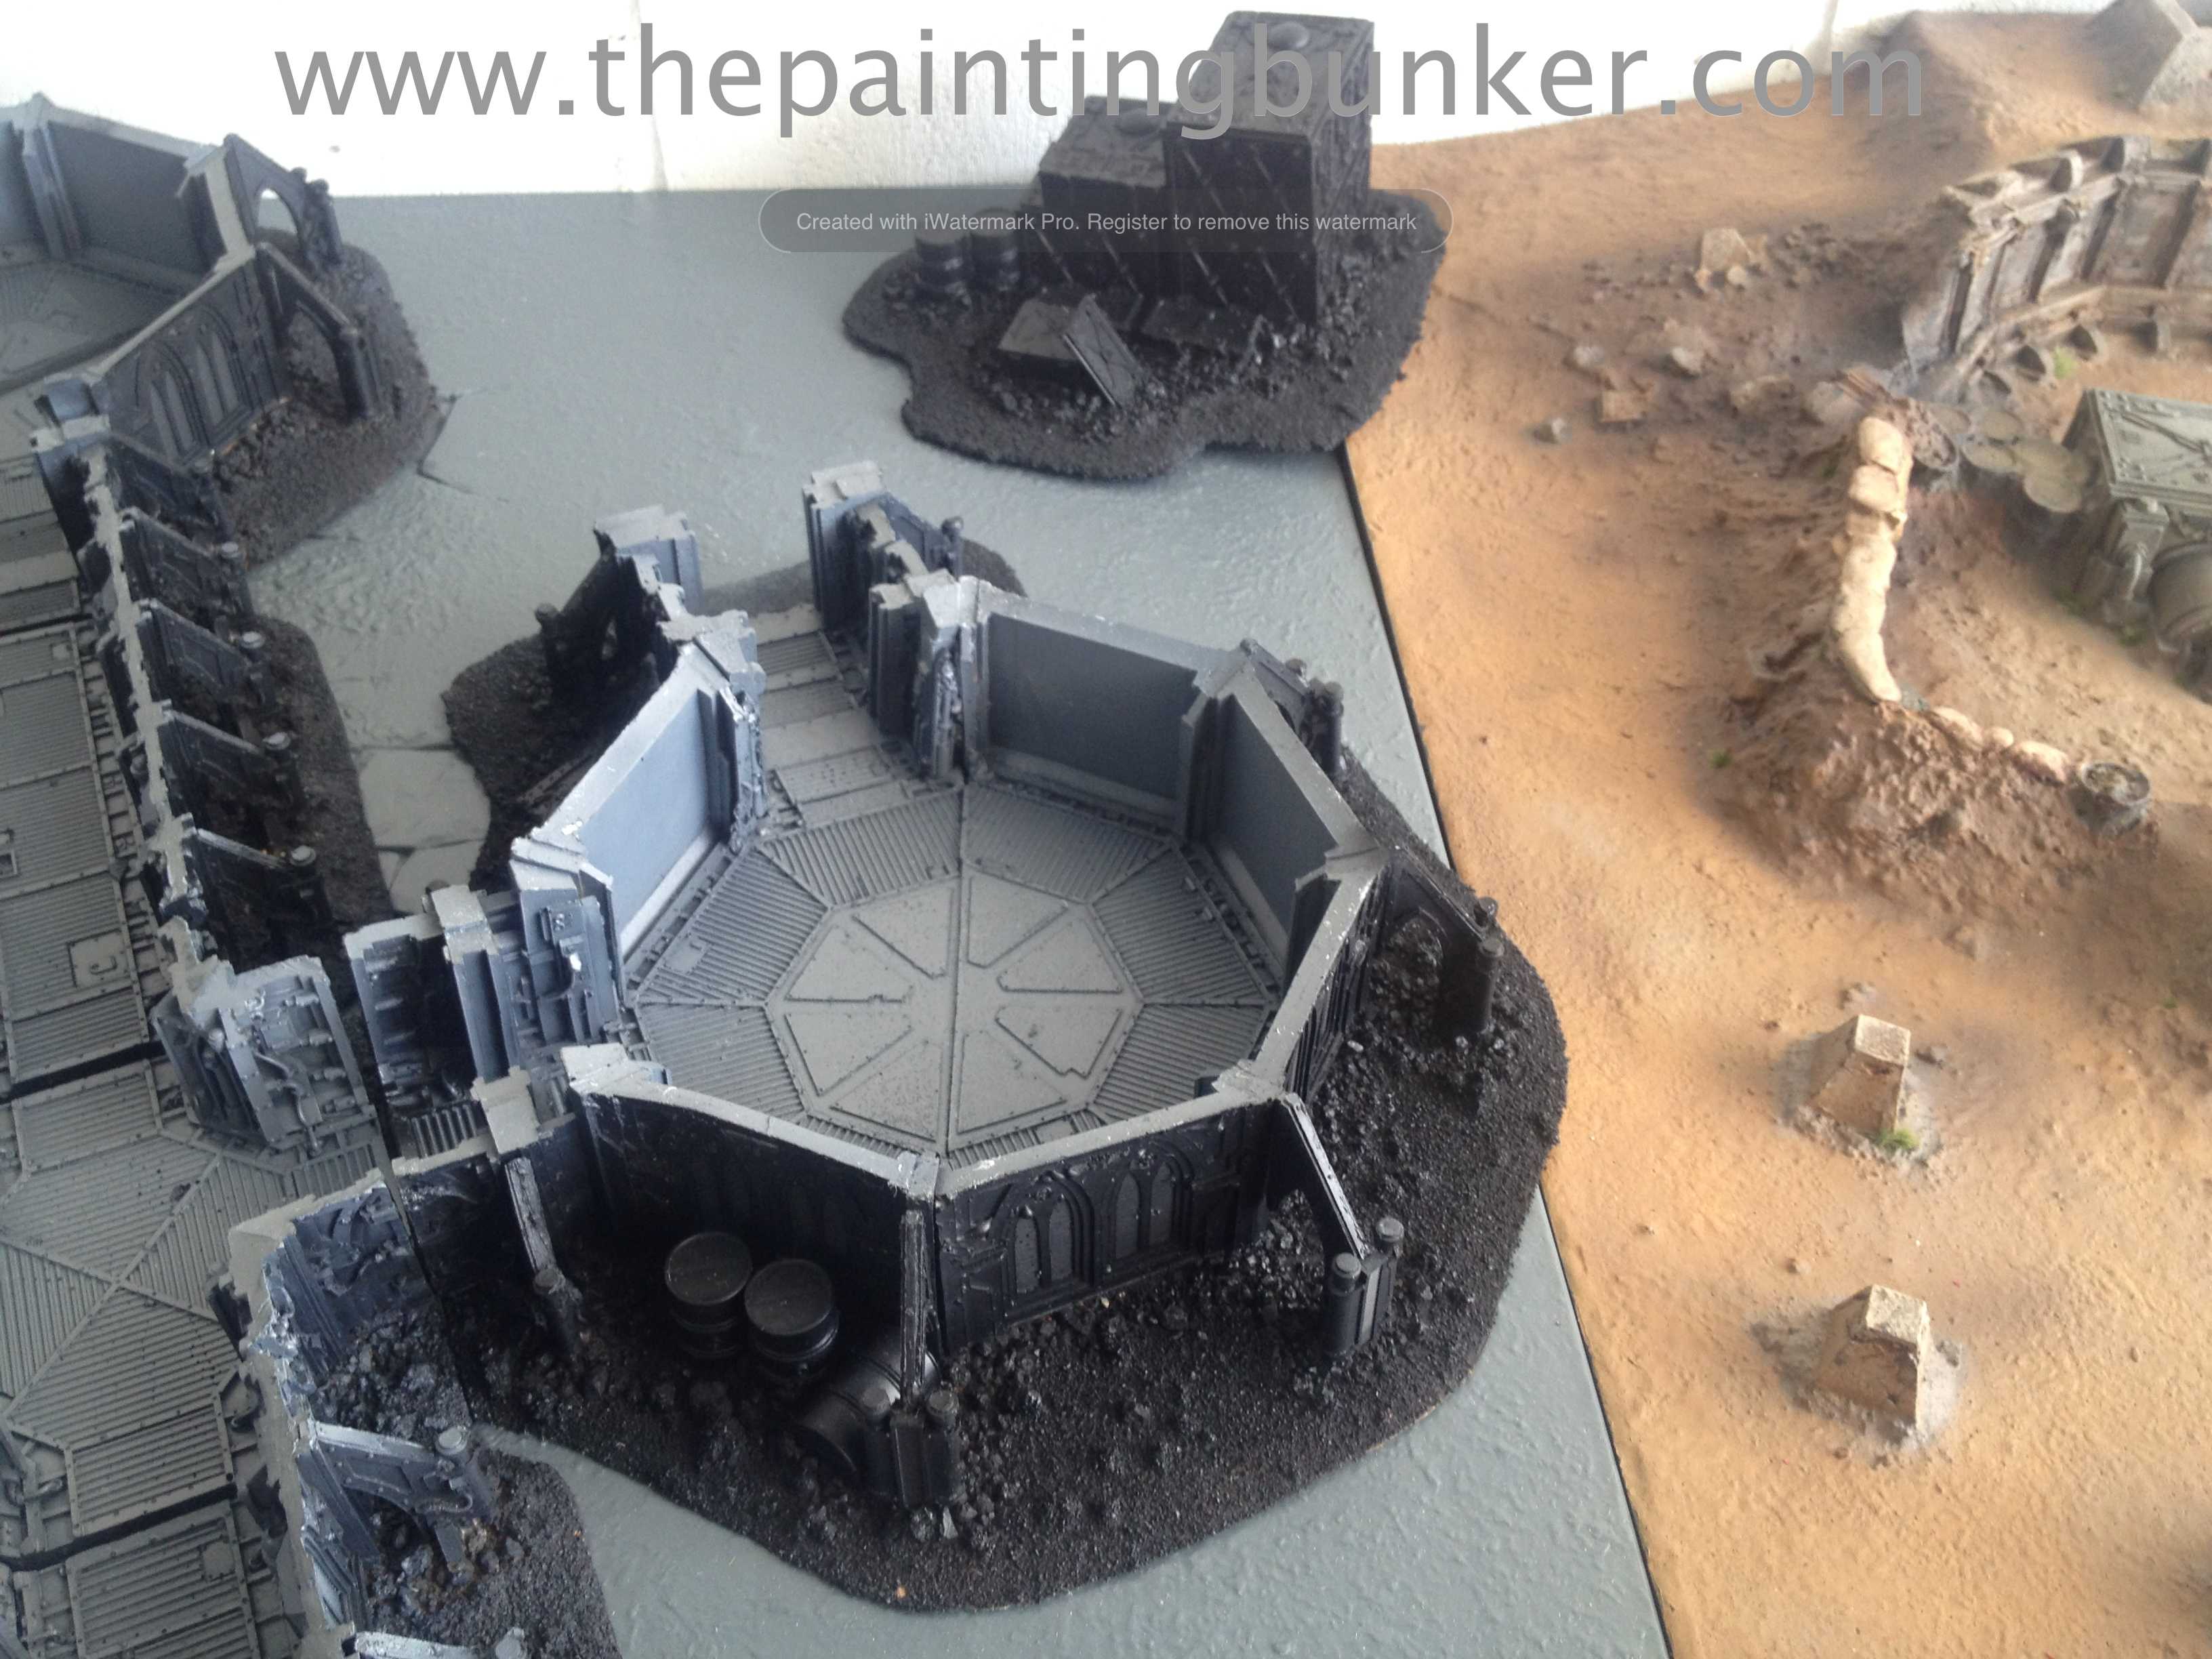
I actually finished this several weeks ago.  In that time, I’ve probably had about 10-12 games on it.  Its loads of fun to play on.  Having actual buildings, not ruins on the table is fun.  It throws up some interesting challenges.  The other unique aspect to playing on this board is that we use the Zone Mortalis rules from Horus Heresy Book 1 when fighting inside the Anphelion Base.  Again, this brings an interesting dimension to the game.  Its not all just woods, craters and ruins.  There are doors, ladders, emplaced weapons, comms relays, firestorm and shrapnel, reaction fire, impassable terrain, difficult and dangerous terrain to negotiate.  Basically, playing on a board with actual intact buildings is a pleasant change.

Also, you’ll notice that this is a 4 x 4 board.  I’m heading down this path for several reasons.  1.  It works for my tournament that I’ll be running shortly.  2.  Its the best size for 1000pt games, which I tend to play more of these days as I feel its more tactical and 3.  Quicker build times.  I’ve actually built another 4 x 4 table which I’m just in the process of finishing off as you read this…  I’ve called it ‘Air Strip One’  You’ll see some pictures shortly.

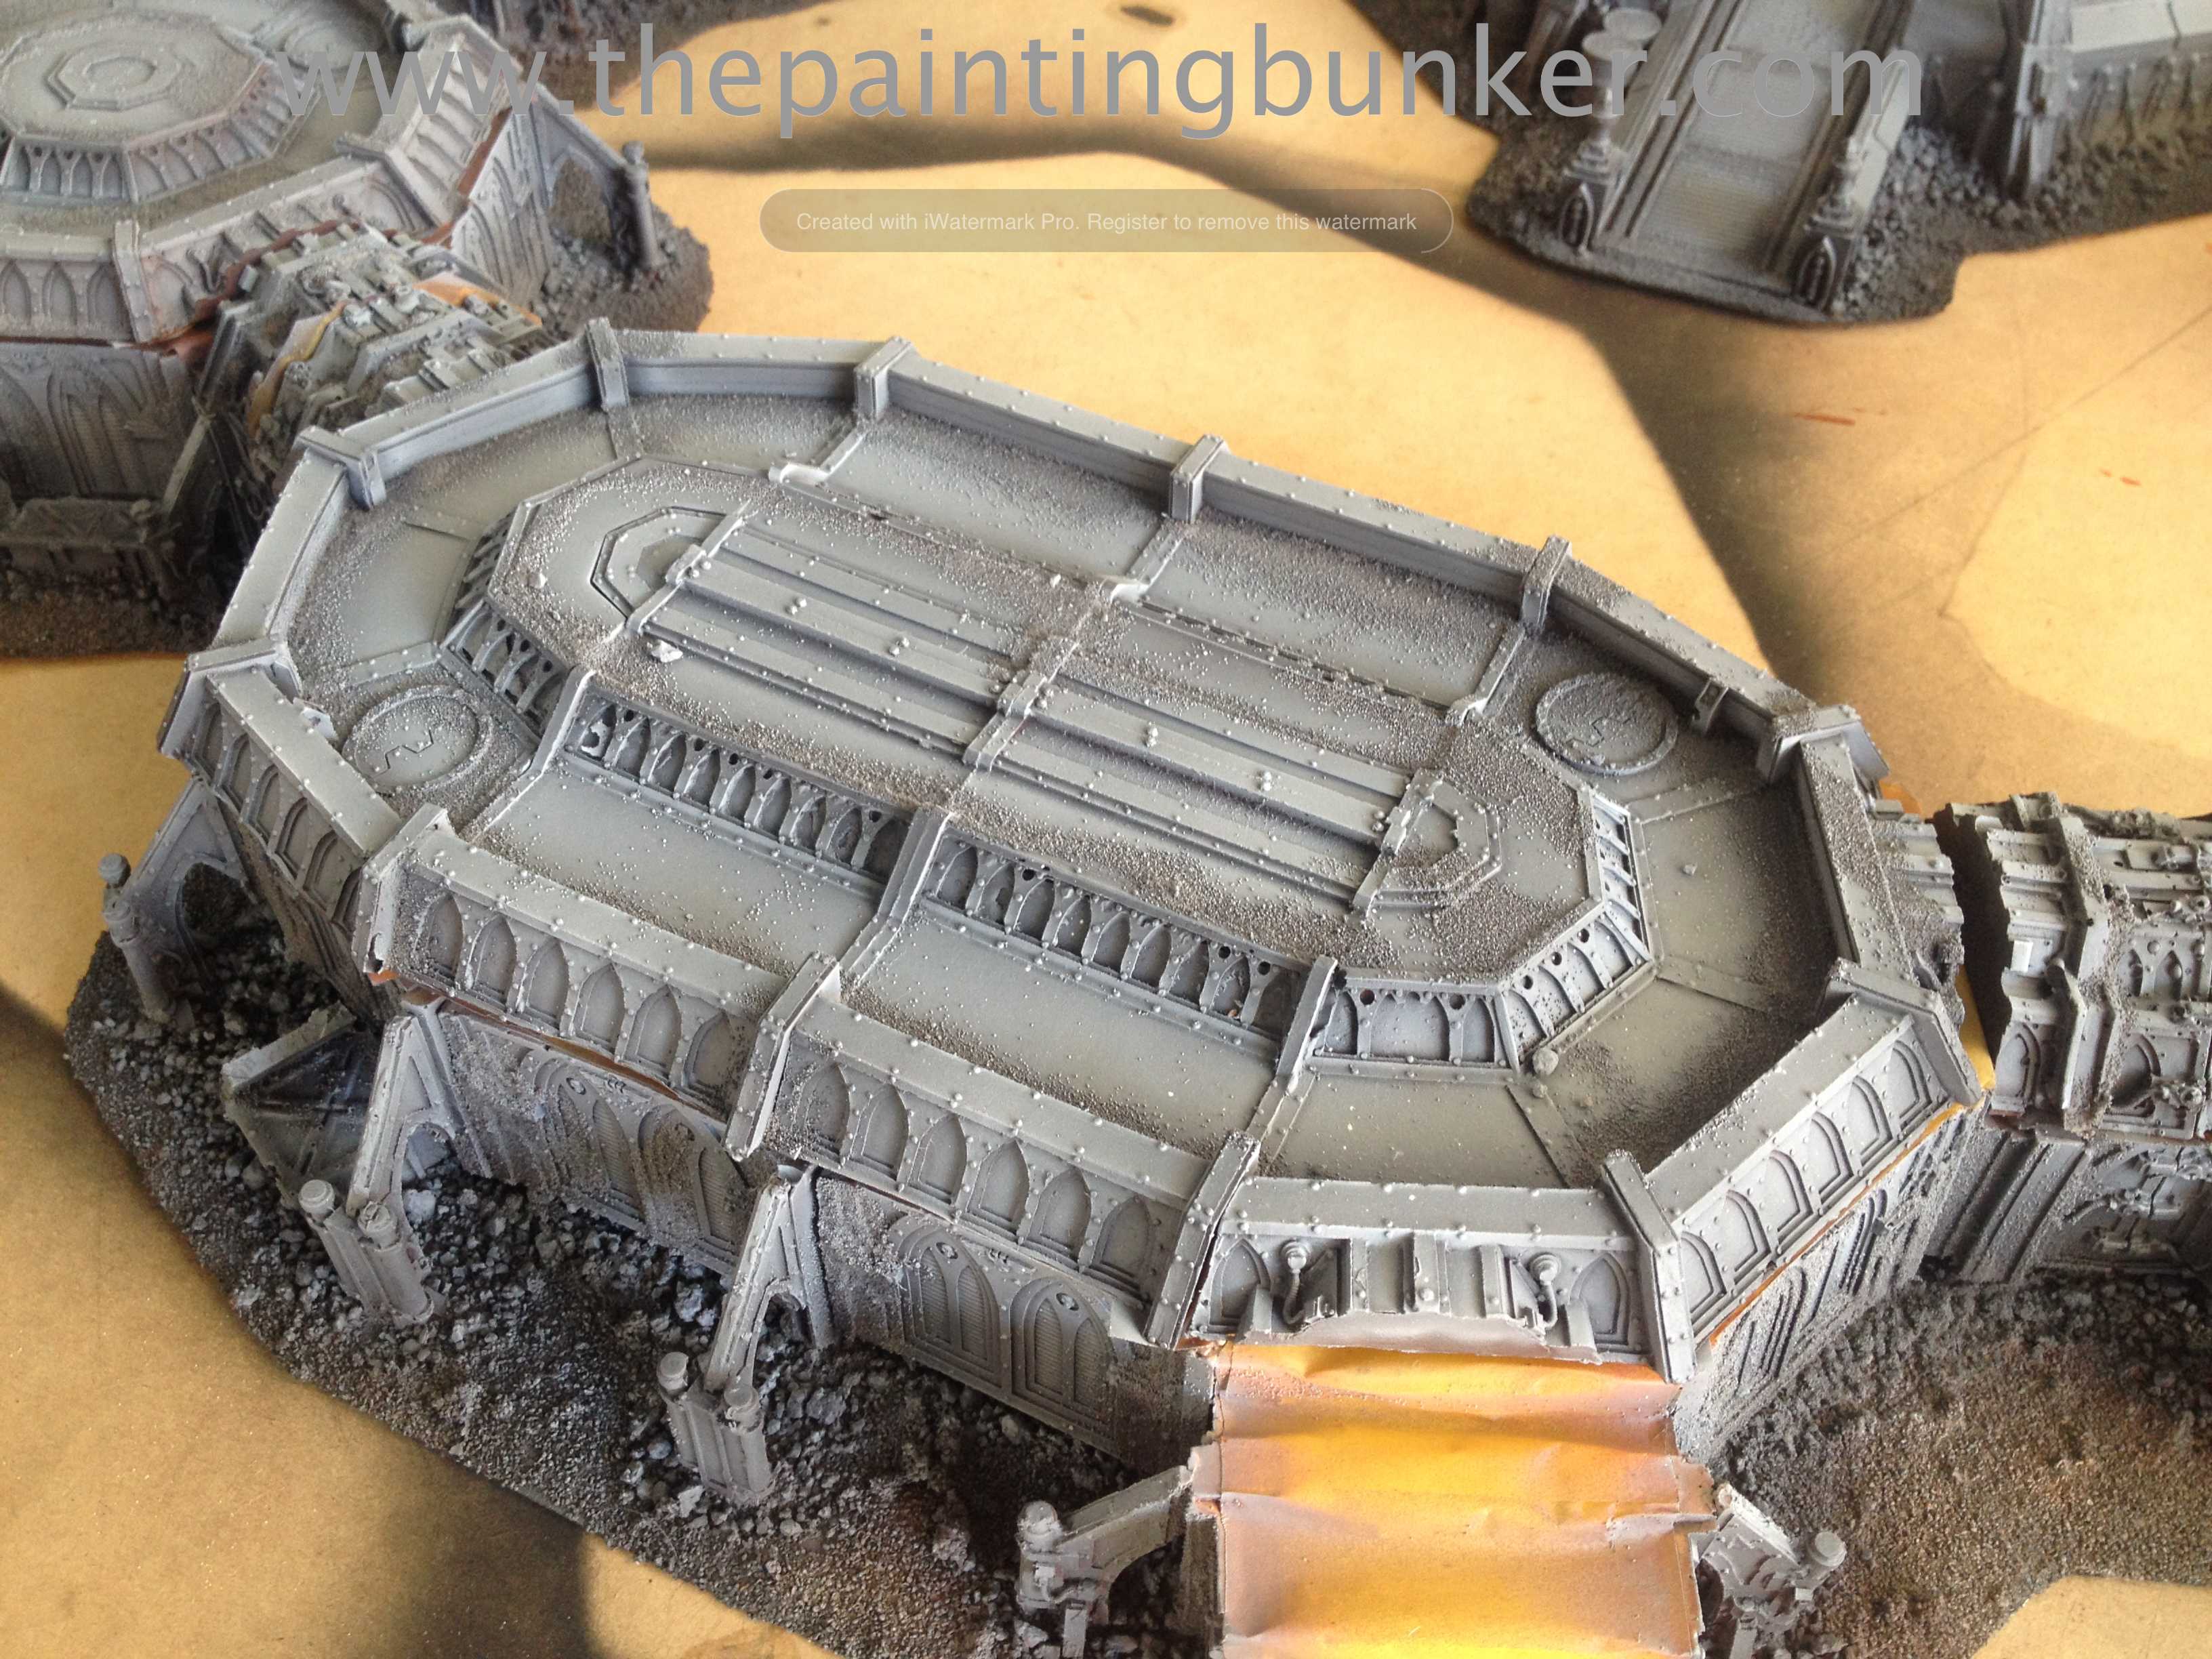
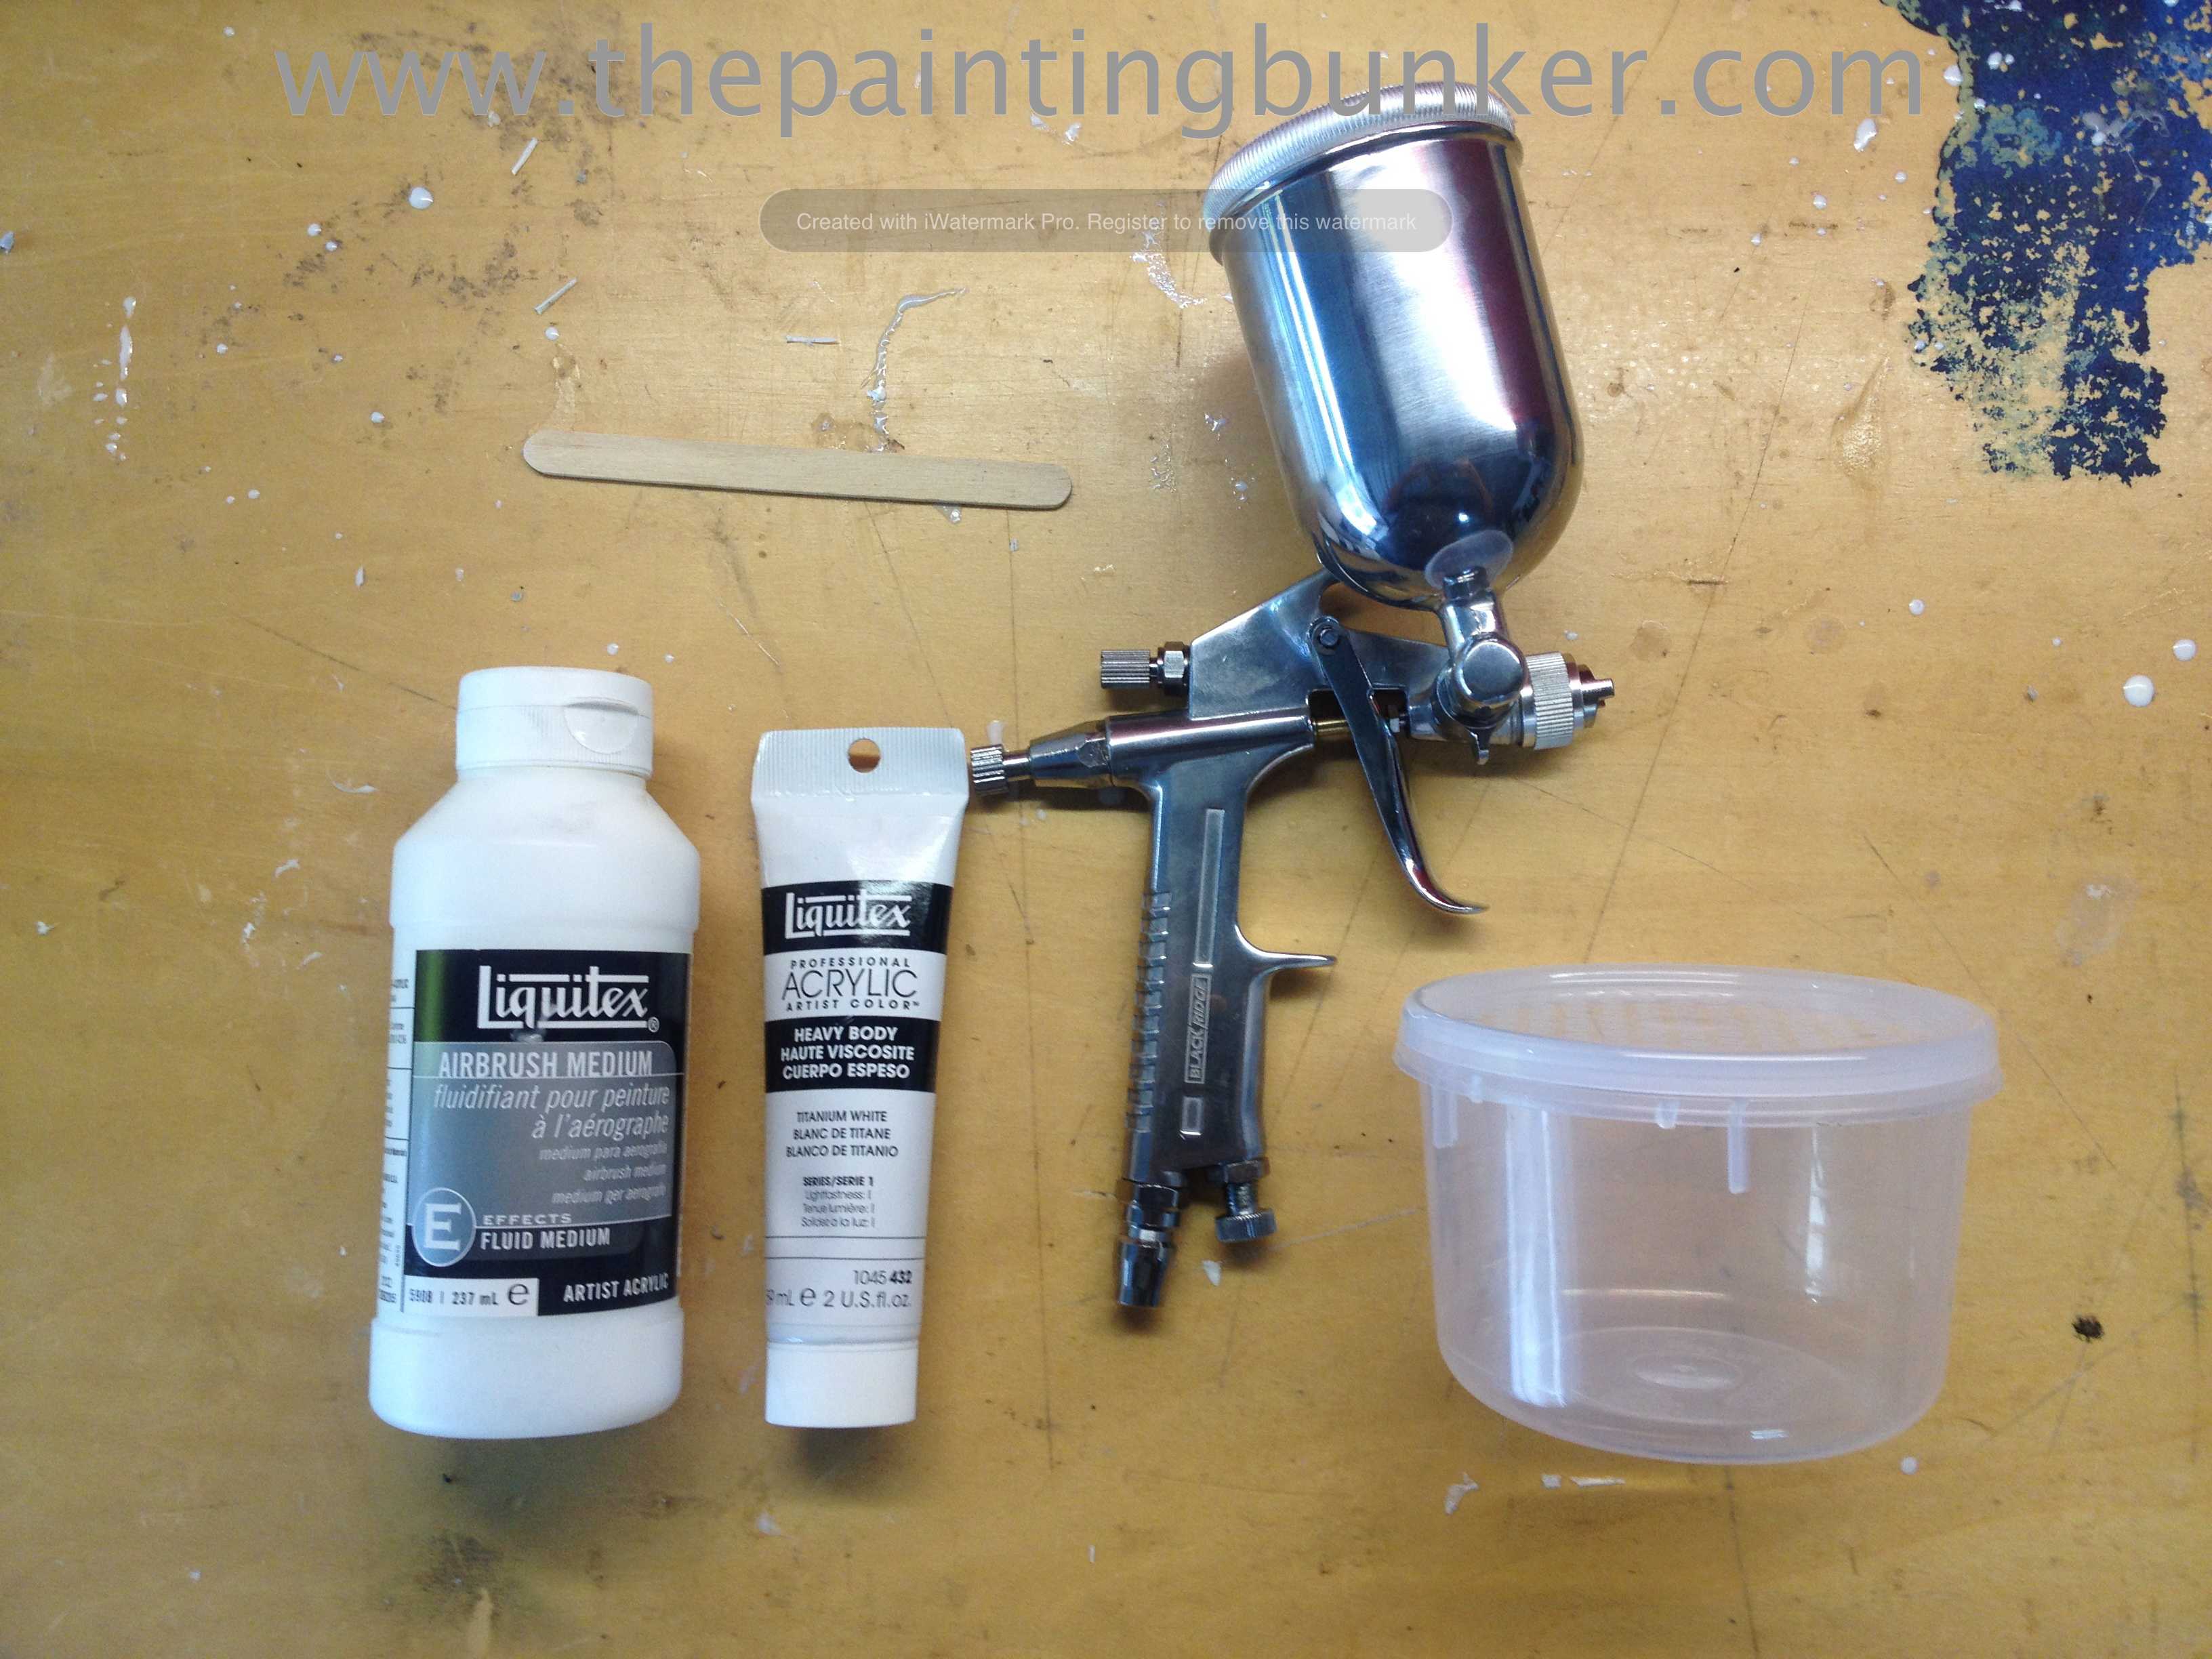
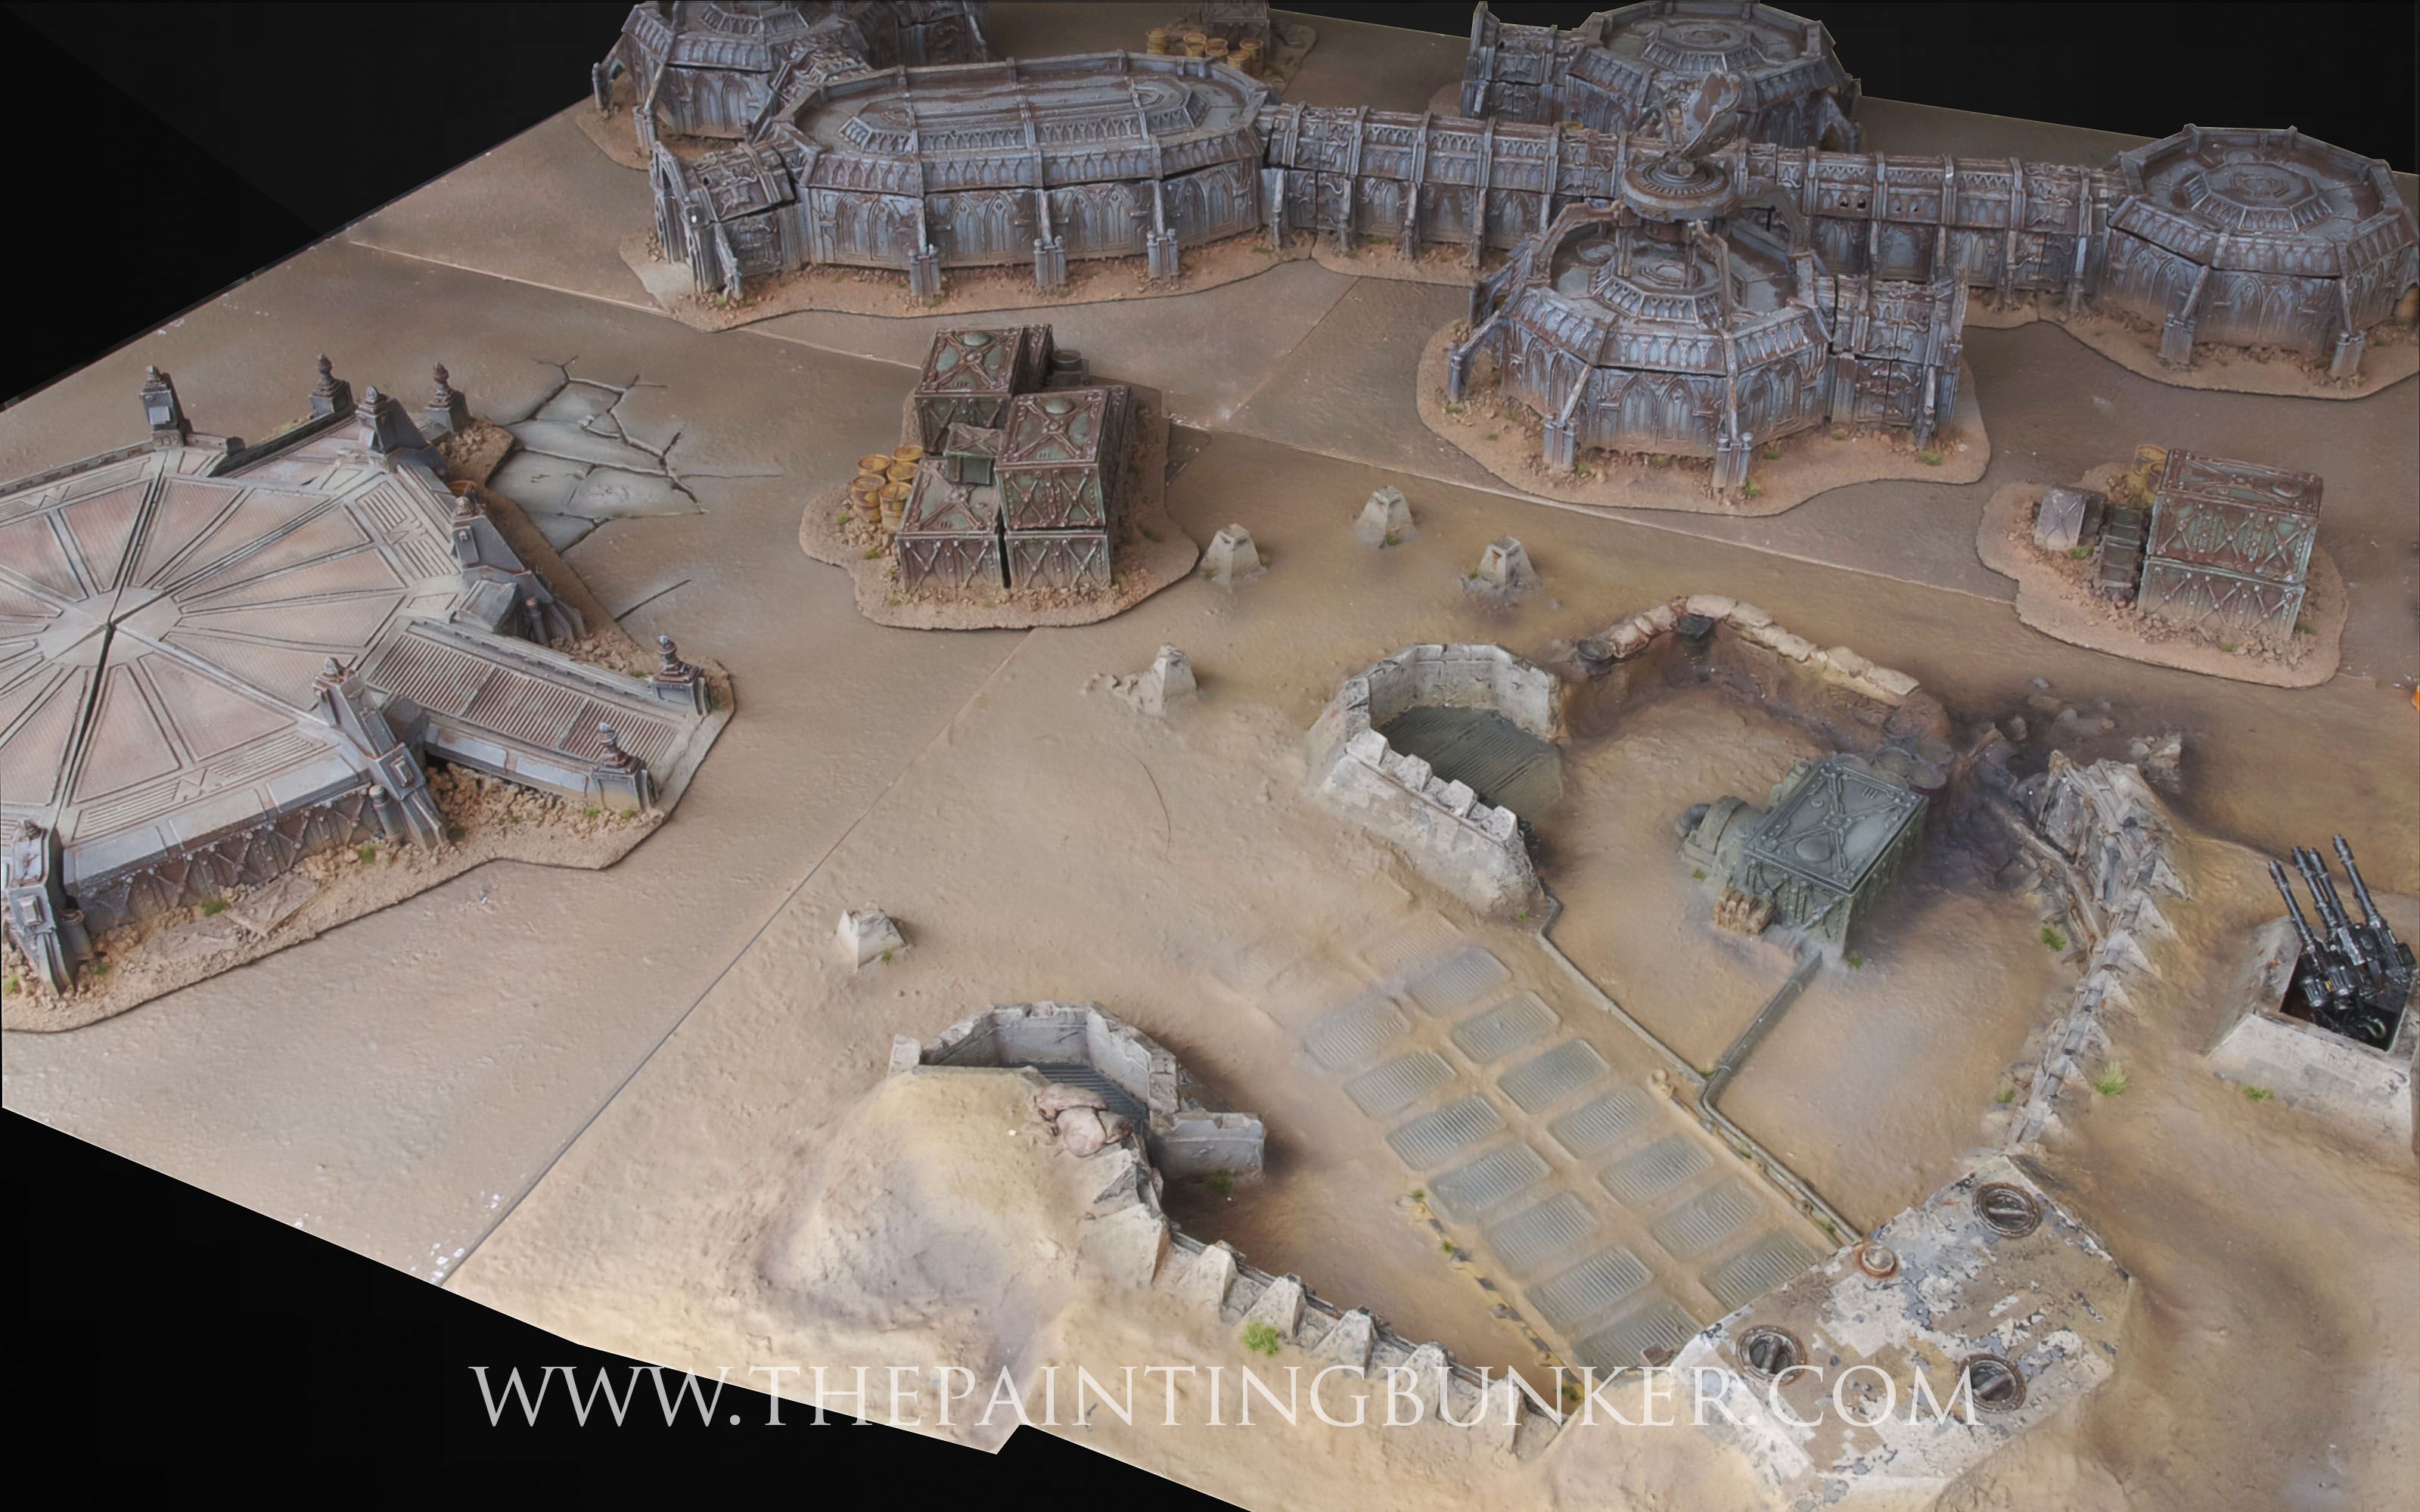
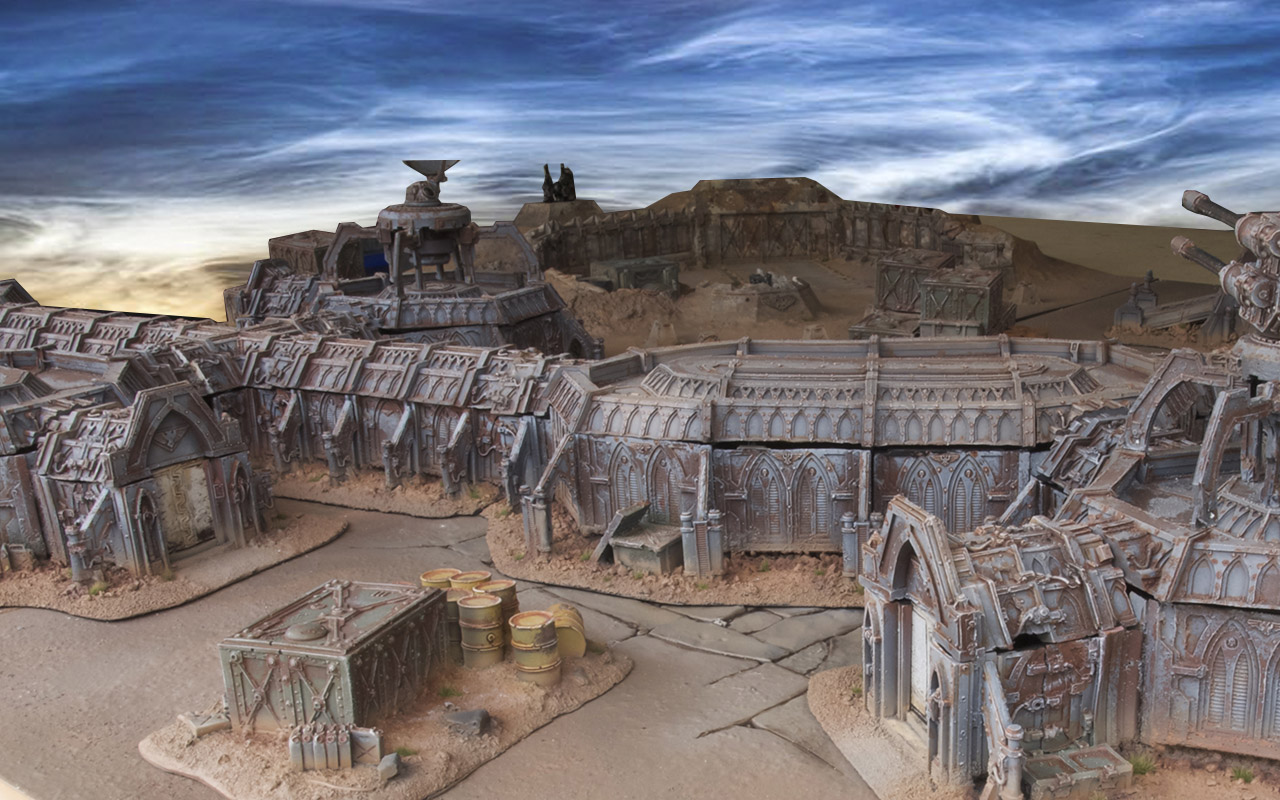
Ok, enough chit chat.  Here are the pictures.
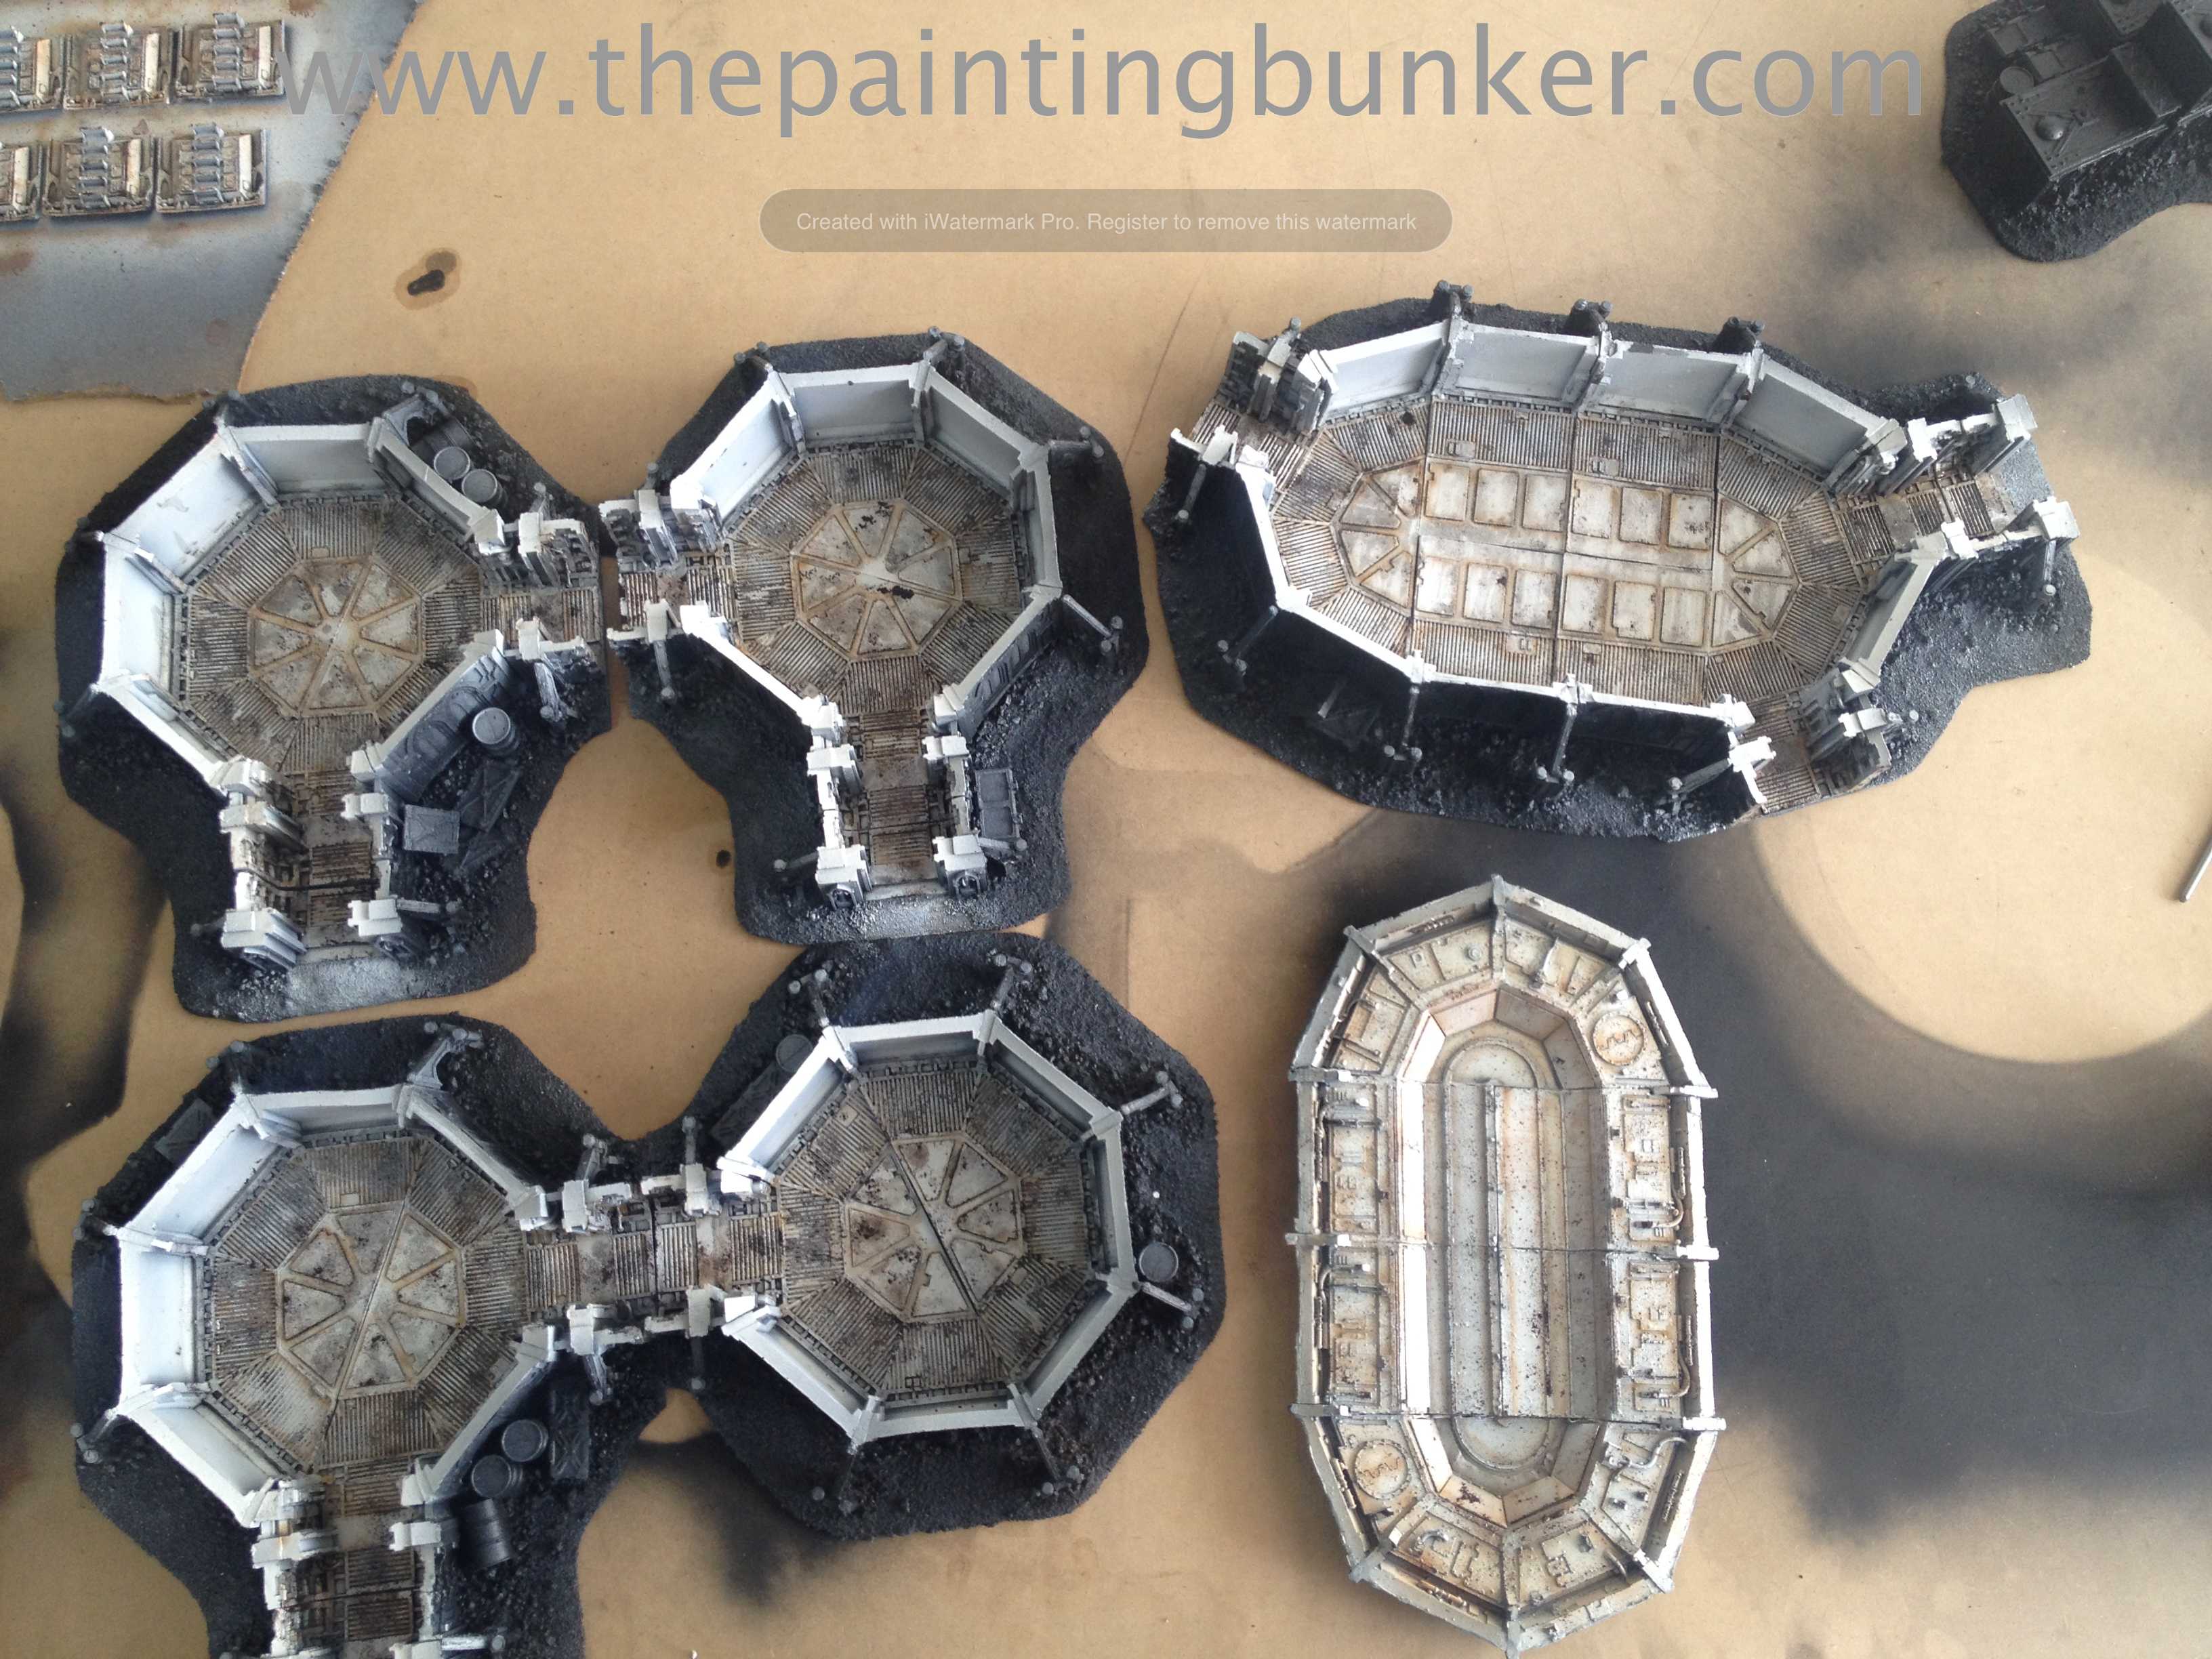
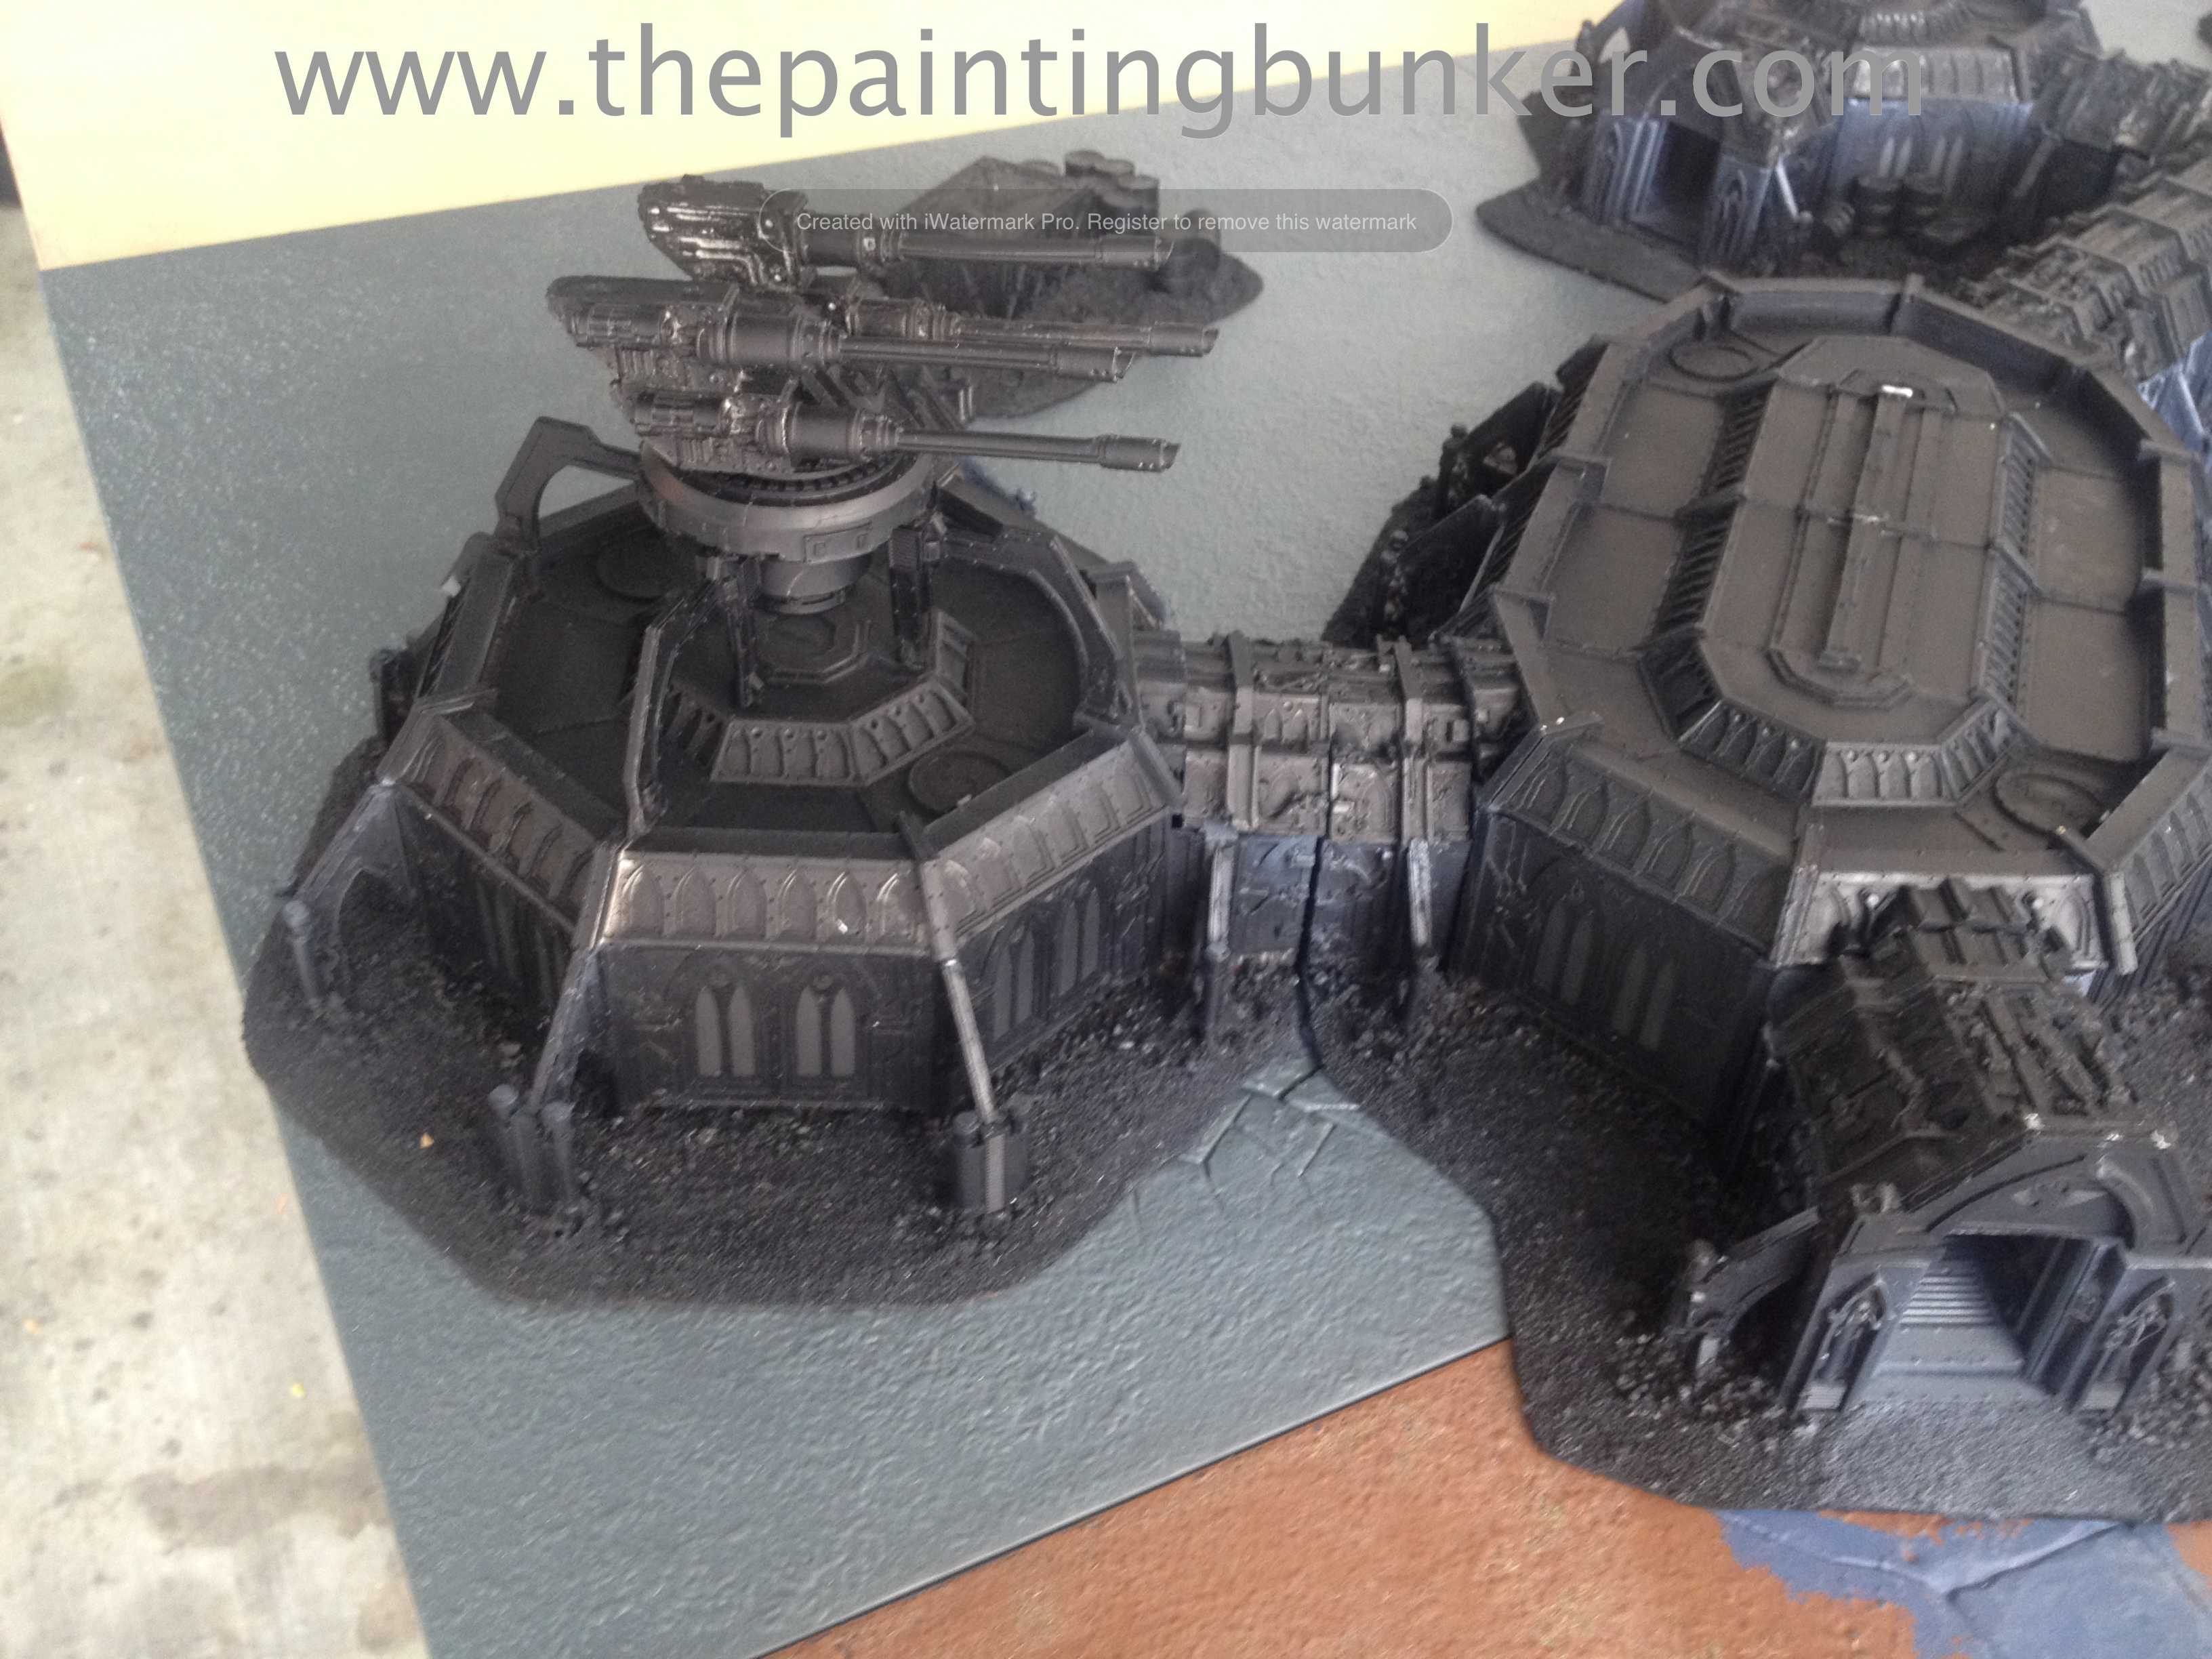
Behold!

Table 3

Forge World Anphelion Base 1

Forge World Anphelion Base 2

Forge World Anphelion Base 4

Forge World Anphelion Base 5

Forge World Anphelion Base 6

Forge World Anphelion Base 7

Forge World Anphelion Base 8

Forge World Anphelion Base 3

Well folks, there you have it.  One Forge World Anphelion base.  Now, I have some good news, and some bad news.  The good news is this.  I’m trying to get my friend, Aaron, over at Forlorn Hope to come over with his Tyranids so we can have a proper Nid v Guard bash on this table, and of course bring you a battle report.  However he doesn’t get to Brisbane all that much and we had it all planned for last Saturday, however I had to cancel due to another commitment.  So I’m anxious to have that game and do a battle report for you all.  Help me, help you and get Aaron to Brisbane with his Nid so we can have this game.  Fill out the poll below to show your support.

Now to the bad news.  Its almost back to school for me, and that means less painting and modelling, so that means less posting… I’ve still got a few more posts up my sleeve yet, AND I’ve got my tournament to run in March too.  So you’ll definitely be hearing about that.  While we are talking about The Emperor’s Legions.  If you happen to be free on Saturday the 15th of March, feel free to drop into the Holland Park Hotel, Brisbane to check it out.  You’ll see probably the best painted armies from some of the most talented painters around in one place at one time.  All of the players that are attending are super excited and there will be much rivalry and good times had on the day.   It’d be great to see as many of you as possible and put some faces to names.

Ok, until next time thanks for dropping in

John

This post will mostly be about the fabled hairspray technique.  Believe it or not, I’ve never actually used it before.  Not through not wanting to, just never having an opportunity.  Plus I’ve never actually been convinced of how successful it is as a technique.  Whats always concerned me is removing the sand, salt, sugar or whatever it is you choose to use.  So, this post is mostly about my adventures with this technique.

So what compelled me to use it?  Well, I want the exterior to look like its rusting.  When you see rust on car, trucks etc it generally starts at weld points, joints etc.  To replicated this I couldn’t use the sponge technique.  When you apply a sponge with paint on it, it is applied to raised surfaces.  Not internal corners or where two materials would theoretically join.  By using the sand and my applicator, I was able to ‘mask’ these joints using sand.  Hence, why I opted to explore using this technique.

IMG_346618

My chosen hairspray… VO5 sounded cool.  I made a small applicator out of paper to assist with more accurate placement of the sand.  By the way, I got the sand from a hardware store.  Nothing special.

IMG_346719

Making an applicator seemed like a good idea at the time…

IMG_346820

Did it work?  I think so.  However before I went hell for leather, I painted a small piece (below) and experimented with how I’d remove the sand.  Remember, I’ve actually based some of the sections of this model with craft wood.  I’ve also attached the basing material with PVA glue.  Both of these materials react poorly when exposed to moisture.

I wasn’t too concerned with the vast majority of the pieces of this kit getting wet.  They’re resin after all.  However I was concerned with the modules  This meant I had to be very careful removing the sand.

IMG_347221

As you can see from the two test pieces, the technique is quite affective.  The only thing I found I had to be careful of was using too much water.  This caused the paint to soften and come off.  So I found the best way was to apply a light coat of water, let it sit for a minute or two, and then with a tooth brush and wide flat paint brush, gently remove the sand.  It comes off quite easily.  Then I just gave it a quick rinse.

IMG_347322

IMG_347423

After I was satisfied with how the technique was going to work with the model, I then went ahead and added the sand to the rest of the pieces then painted them their top coat.  I was really happy with how it was all coming together at this stage.

IMG_347524

IMG_347625

IMG_347927

IMG_347826

IMG_348129

IMG_348028

IMG_348230

So, as you can see this base is really looking the business.  If I’d had my time over again I would have done a few things slightly differently.  The first one being not so liberal with the sand.  It’s a very small point however there are areas where I feel I went a little over the top.  The other thing I would have done is sealed the brown coat with a clear gloss.  I think this would have assisted in allowing the sand to come off with greater ease.  I don’t know this for certain, just theorising.

So from here, I’ll be applying a clear gloss coat to the model surfaces and applying oils…  until next post!

Thanks for dropping in

John

Welcome back!

With undercoating complete, its now time to get down to business.  I always knew this was going to be a big job.  From previous experience making scenery I knew that I had to do a few things a bit differently painting wise to last time.  I ran up a small fortune in paint.  Using those little Citadel paints to paint huge pieces of scenery is not only tedious but also very expensive.  Also, modelling airbrushes are just not designed to paint large amounts of flat surfaces, they lack the paint capacity.

So, off I went to my local art store to investigate other possibilities paint wise, and to my local automotive store to look at other methods of paint application.  Below is a photo of what I came up with.

IMG_34431

I’ve actually used Liquitex paints before.  Back in my Vinyl 1/4 action hero painting days.  They’re very high quality and also importantly, affordable.  In addition, they also have a range of additive for their paints.  Gel mediums, matte and gloss varnishes etc, plus as you can see in the picture, an airbrush medium.  I thought I’d give it a shot.  I also purchased a HPLV touch up spray gun from the automotive store.  It has a 100ml reservoir, much better than my airbrushes 10ml.

IMG_34442

A close up of the paint and airbrush medium for those of you who like specifics.

IMG_344501

So I purchased a few containers from the local supermarket and got mixing.  I made up about 100ml, didn’t really know how much I’d actually need, but this seemed like a lot!

IMG_344602

So after a bit of wrestling with the paint gun this is what I came up with.  The airbrush medium was ok, however I found that it really helped if I added some mentholated sprits to the mix.  The alcohol helps application as it evaporates quicker than the airbrush medium and therefore assists in paint coverage.  Overall very happy with the results.

IMG_344703

Just a bit of cutting in with a brown ink

IMG_344804

More cutting in of the wall panels… it was a tedious job.

IMG_344905

As you know, my plan for this base is that its been abandoned.  Therefore I want the internals, and externals to be very  weathered and decrepit after decades (centuries) of neglect.

IMG_345006

IMG_345408

After a quick gloss varnish, I applied some oil paints to complete the effect.

IMG_345307

A close up of a ‘pod’ or whatever they’re called.  As you can see, it pretty derelict (derelicte)

I’m pretty happy with how this is coming along.  My next step is the mask up all of the interior surfaces and get ready for painting the exterior.  This is going to be a massive job.

Ok, thats it for now.  Until next time, thanks for dropping in

John

Well, I finished off these recently.  I’m actually very happy with the outcome.  As I mentioned in my pervious post, this is something that I’ve wanted to do for some time now.  Just seems like a novel idea.  They’re now molded and cast. The originals are kept in storage, the models in these pictures are casts.  As you can see from the pictures I’ve added roman numeral decals to them.  I got them from the Space Marine transfer sheet.  I’ve done this for the mission in the 6th ed 40k rule book, The Scourging.  I figure that once the objectives are placed on the table and just before the game begins, my opponent and I can randomly generate the objective values

ie objective I = 3, II = 2, III = 4, IV = 1, V = 3 and VI = 2.  This can be randomly generated each game.

Anyway, hope you enjoy the pictures.

World Eater Objective Marker Back World Eater Objective Marker Front

Until next time, thanks for dropping in

John

So, this is part two of this project.  Basically we’re up to under coating at this stage.  Assembly is a distant memory, however I feel that it will haunt me for the rest of my days.  It was seriously hard work.  A task I’m thankful I’ll probably only ever do once in my life.

Ok, lets get down to business.  One thing I really wanted to do to the landing pad is not to have a gap between the ground and the underside of the landing platform.  I also wanted to make whatever I put in that gap be suitable and fitting with the character of the base, and finally, be simple and easy to produce (I’m quite a lazy bugger you see)

IMG_338245

So what I settled on was getting some of the old Necromunda bulkheads.  Remember these?

Big Jim, if you’re reading this, thanks for donating them.

IMG_338952

So basically I chopped a bunch of them up up to make a panel wide enough to span the gap between the support pylons on the landing pad.IMG_339053

Because I needed about eight lengths, I decided to make a quick one piece mold of the newly constructed panel so I can make the appropriate amount of casts.

IMG_339154

And the cast panel.  These will come in handy later on too.  They have a lot of character and will make useful bits later on…

IMG_339255

I also did a test paint scheme piece for the base.  I want it to look very neglected (it is abandoned after all)  I like how it came out.

IMG_340062

Here is a close up of some of the scatter terrain.  I really like the shipping container looking objects.  Again, more Necromunda bulkheads glued together and cast.

Anphelion Base 10

The cast panel in place on the landing pad.  In case you’re wondering, the basing material I use is kitty litter, and a type of small rocks that are used in reptile enclosures.  I just like the consistency.

Anphelion Base 1

The rest of these photos are of the base assembled and undercoated.  As I’ve mentioned, getting it to this stage was a massive mission.  However it’s really pleasing to see it at this stage.  I have to admit, when I saw it all assembled like this, it really renewed my enthusiasm for the project.  It was waining…

Anphelion Base 2

Anphelion Base 3

Anphelion Base 4

Anphelion Base 5 Anphelion Base 6

Anphelion Base 7

The next few photos reveal the interior.  I’ve started undercoating it grey because I plan on painting the interior white.

Anphelion Base 8

Anphelion Base 9

So, next step is to start working on the interior.  This is going to be a pretty straight forward part actually.  Except for the interior panel inserts.  Particularly the ones I’ve chosen for the ‘quad gun’ and ‘comms relay’ controls.

Ok, thanks for dropping in,

Until next post

John