 - Neuntöter ♂")


")
Hello everyone,
This is a post I’ve been thinking about for some time. Two things have prompted me into action. The first one is recently I’ve had a few people actually send me questions that more or less fall into this category. I thought I could help a little by just putting down a few ideas on getting started rather than answering all the questions individually. That way there will be something to refer to in the future. I’ve also made a shopping list PDF that you can download at the end of the article.
The second reason is how much positive feedback I’ve had from my How to buy an Airbrush setup post. When I wrote that I never thought it would have gotten as much air time as it has. It seems some people thought my ideas were helpful. Maybe my ideas on painting area setup will be too.
So I’ve actually been on a pretty hardcore (coffee fuelled) modelling bender for the last few weeks. The fruits of which you’re seeing now, plus a few others to come. I actually finished off what I was working on a few weeks ago now and its given me pause to consider what I’d like to work on. I’ve still got plenty of World Eaters to paint, plus another project I’m going to start in the not too distant future which I haven’t announced yet. However in the mean time, before getting back into painting, I thought I’d share some of my thoughts on setting up a painting area.
This post is mainly aimed at the beginner, so its a very basic guide. Getting into this hobby can be initially quite overwhelming. There are the rules to get your head around, all of the amazingly detailed models available and of course seeing the exceptionally aspirational painting that accompany those models can be quite daunting. Especially after you have your first go at painting one yourself. Finally, some of the starter kits and painting area accessories commonly available are not, in my opinion, very good.
So I’ll break the areas that I think need attention down into four categories.
1. Painting space
2. Painting space setup
3. Painting Accessories
4. Paints, Brushes and extras
So lets begin with the first area, the painting space. The most important aspect to your painting space is it needs to be permanent. It doesn’t have to be big, expensive or even new. Just somewhere that you don’t have to pack up and pull down every time you paint. Mine is actually in my garage! A space of 1200mm x 600mm is more than enough. In Australia you can buy this desk for $78. I actually saw a desk at K-Mart the other day for $29! How the hell they do that is anyones guess.
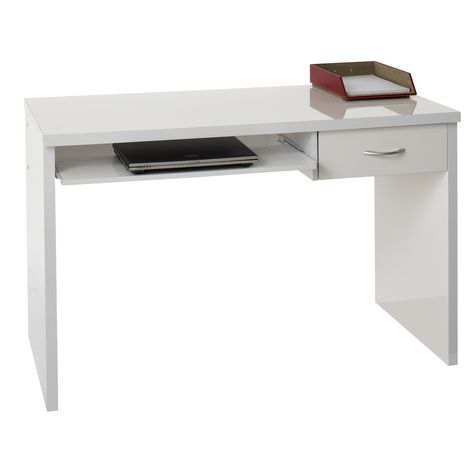
This desk will be more than adequate for your needs and won’t take up a lot of space either. What it does mean though is that you can have your painting space set up and projects laid out. You’ll know that if the urge to paint comes along, you can just sit down and get stuck into it. No sitting down at the dining room or coffee table, setting up, getting disturbed etc.
Forget those portable painting stations that sit in your lap. Not only are they a woefully inadequate in terms of workspace, but they also promote terrible ergonomics. Seriously, they’re crap.
Next up is Painting Space Setup. This is the area where I see most guys come unstuck. What to have besides paint and brushes at their table. The first thing you must get (besides a permanent space) is a lamp. I can not emphasise this enough. Get a lamp, and one with a daylight globe. Having proper task lighting is absolutely critical. Not only does it mean that you can paint day or night. There are also a few other reasons that this can not be over looked. The first (and most important) is your eyesight. Painting models in sub-optimal lighting will ruin your eyesight, and by the time your in the late 30’s you’ll be in serious trouble. Thats not cool. Even if you paint in broad daylight next to a window in your bedroom, you’re damaging your eyes. Count on it. If you really doubt what I’m saying, speak to an optometrist.
The other reason a lamp with a daylight globe is necessary is colour perception. Colour and how we perceive it is a massive topic that is far outside the scope of this post. All you really need to know is that the globe you put into your lamp need to be daylight globes (5000k) and ideally from a non incandescent source. This just means that the globes don’t get hot when you use them, thus drying your paint prematurely. Don’t use fluorescent lamps or straight warm or cool house globes. They’ll severely distort the look of the colours you’re putting on the model. There are several specific types of lamps now made for hobbyist, some using LED as the light source and have built in magnifiers.
 This one commonly available from modelling stores for around $60. I personally do not like them as I find the magnifier difficult and impractical plus they get in my painting space because of their size and lack of adjustably. I use on my table three (3) commonly available desk lamps that I buy from a large retail hardware chain here in Australia. I use three for several reasons. First is to get enough task light for my subject, and the second is contrast. By having light coming from three different directions, I avoid shadows and ‘flat’ areas in my lighting.

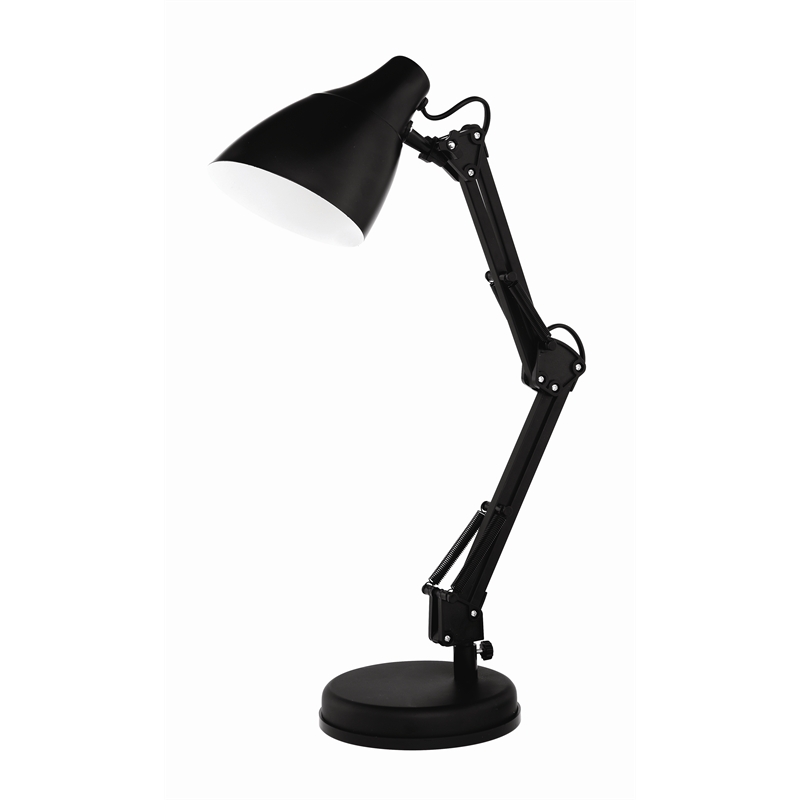
This is the lamp and globe I use. The lamps cost about $20 each and the globes are about $5 each. So I have three set up, one in the centre, one on the top left and right hand side of the painting area.
Next up is a cutting matt. There are many different types available now, I get mine from a craft store, its A3 in size and cost about $20. These just proved a nice surface to cut on so you don’t damage the desk or the blade you’re cutting with.
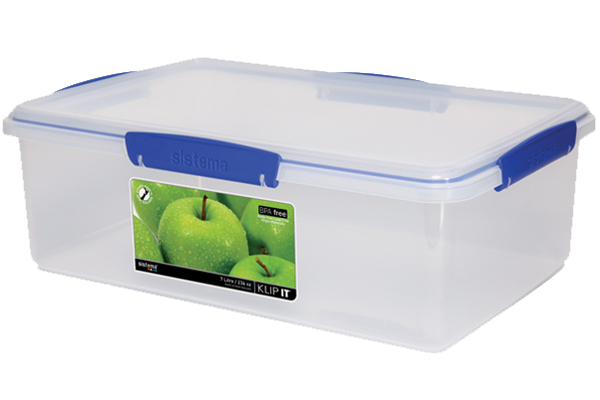
 The final item you need is a storage container. I use Sistema 7 litre storage containers. Get one or two of these so that between painting sessions your models wont get dust on them etc. Sounds finicky but is well worth it. Sometimes I may not paint for a month or two. Think about how dusty your house gets if you don’t clean it regularly. Well, that dust will end up on your models if you don’t protect them. We recently had some summer bush fires about 100km from where I live. The amount of airborne particles increased dramatically. If I didn’t keep my unpainted models in an airtight container that ash would have settled on them. These are about $15 each.
Now lets move onto Painting Accessories. This is basically two organisational aids. The first is a paint carousel. Now, there are many paint organisers on the market. Most not commercially available are the tier variety, or paint stadium as I like to call them. The reason I don’t like these is that they take up too much space compared to the amount of paint they hold. They take up valuable real estate on your desk. This is the one I use. It holds 80 paints and is very economical. It costs about $70. It’s also capable of storing many different brands of paint too. I got mine from here

The other item I have on my desk is this rotary tray. For basically the same reason as the paint carousel, except this is where I keep my brushes, clippers, knives, tweezers etc. I got it from the same place. It costs about $30.

Finally its Paints, Brushes and extras. We’ll start with paints. I use the Citadel range. I’ve been using the Citadel range of paints for close to 20yrs. Until they changed their range recently, I would never have swapped. However I’m not completely happy with some aspects of the new range, so I may change in the future. So, what to buy? To start off with all you need to do is buy a neutral red, blue and yellow, plus a black and white. You may also want to get a bone colour, brown and finally a cool and warm grey. The last three suggestions are actually difficult to mix, so its easier to just buy them. Get a light and dark metallic silver and gold too. Finally, get a red, blue, yellow, black and brown ink (Siena).
Brushes. You can spend a fortune in this area. I do not claim to be an expert on brushes either (or anything else for that matter!) However I know what I like brush wise. I like to get Winson & Newton Water Colour Sceptor 101 Brushes What I like about them is they’re readily available and good value. I typically use a #0, #1 & #3. Looking after brushes is very important. This is especially true when using acrylics. At the beginning of every paint session make sure you have fresh water for washing your brushes out with. Also, if you’re going to be using one colour for a prolonged period, wash it out very regularly. Brushes work on capillary action. Make sure paint doesn’t dry around the region when the ferrule and brush meet. This will spell disaster for the brush. So keep it clean and free from dried paint building up and your brushes will last you a long time.
I also like to buy some super cheap brushes that you get in the $1 shop. I like to get them for just random jobs like putting PVA glue onto a base or whatever. It means that my good painting brushes only get used to paint with and not trashed.

Winsor & Newton Sceptre Water Colour Brushes. They have a distinctive red handle
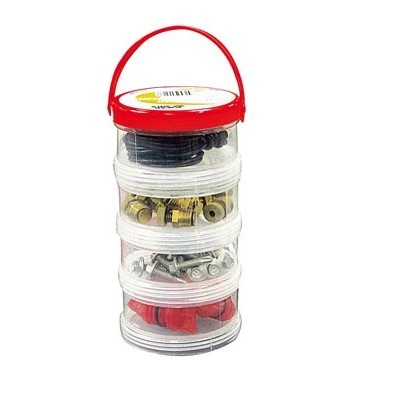
Extras. Here is a short list of other things I think everyone who’s starting out should get their hands on. The first item is some stackable storage containers. I use these to keep basing materials in. I don’t buy basing kits, I just make my own. Far more interesting and cost effective. So one container I keep sand in, the other some kitty litter, the other some random model bits and the last one bits of cork, skulls, slate and whatever. I pick these up from an automotive store for about $2 each. Very handy
Painting palettes. I get these from the $1 store (while I get my cheap brushes). They’re $1 each and much cheaper than the brand name option. Get a couple, they come in handy.

Last but not least, a hobby knife with a #11 blade, some good quality side cutters, a small pot of PVA glue and some tubes of Super Glue. I actually get these from the $1 store too. The clippers are meant for ladies manicures and the hobby knife is located generally not too far from the cheap brushes and palettes. Again, don’t buy the Brand name option.
Well, thats it folks. I know getting into this hobby can be daunting. There are so many things to think about, however having a permeant work space with good lighting is essential. I can not overstate how important a good task like is. Then just get a few basics that will serve you for years to come. Now, this shopping list runs about about $440-ish. However remember, these are largely one off purchases. So don’t get overwhelmed by it.
If you like this hobby, these items will be used countless times and the cost will pale into insignificance compared to the value they’ll bring. Plus, they are a solid foundation for expanding what you may want to get in the future. Like an Air Brush
If you’d like to download the list as a PDF, click here
I hope this beginners guide to setting up has helped. If you have any questions, please post them in the comments section and I’ll be happy to respond to them.
Thanks for dropping in
John

Is all that going to fit on that desk ? lol If its anything like my desk it will be bending at the legs. Nice article.
Thanks for all that. Where do you get your lamps and globes from? I live in Aus myself and haven’t seen anything yet at the prices you’re mentioning!
Hey Elf, i just got it all from Bunmings. Cheers.
Thank you so much for this, John. My 17 yo son has been painting warhammer figures for about 5 years. I want to give him a private working space in the smallest bedroom (spare room). Googled for ideas and found your blog. Can’t tell you how useful this is. I feel I know exactly how to do this now. Thanks again 👍
Hi Rosemary, I’m so pleased to hear that my article was helpful.
Cheers
John