


This post will mostly be about the fabled hairspray technique. Believe it or not, I’ve never actually used it before. Not through not wanting to, just never having an opportunity. Plus I’ve never actually been convinced of how successful it is as a technique. Whats always concerned me is removing the sand, salt, sugar or whatever it is you choose to use. So, this post is mostly about my adventures with this technique.
So what compelled me to use it? Well, I want the exterior to look like its rusting. When you see rust on car, trucks etc it generally starts at weld points, joints etc. To replicated this I couldn’t use the sponge technique. When you apply a sponge with paint on it, it is applied to raised surfaces. Not internal corners or where two materials would theoretically join. By using the sand and my applicator, I was able to ‘mask’ these joints using sand. Hence, why I opted to explore using this technique.
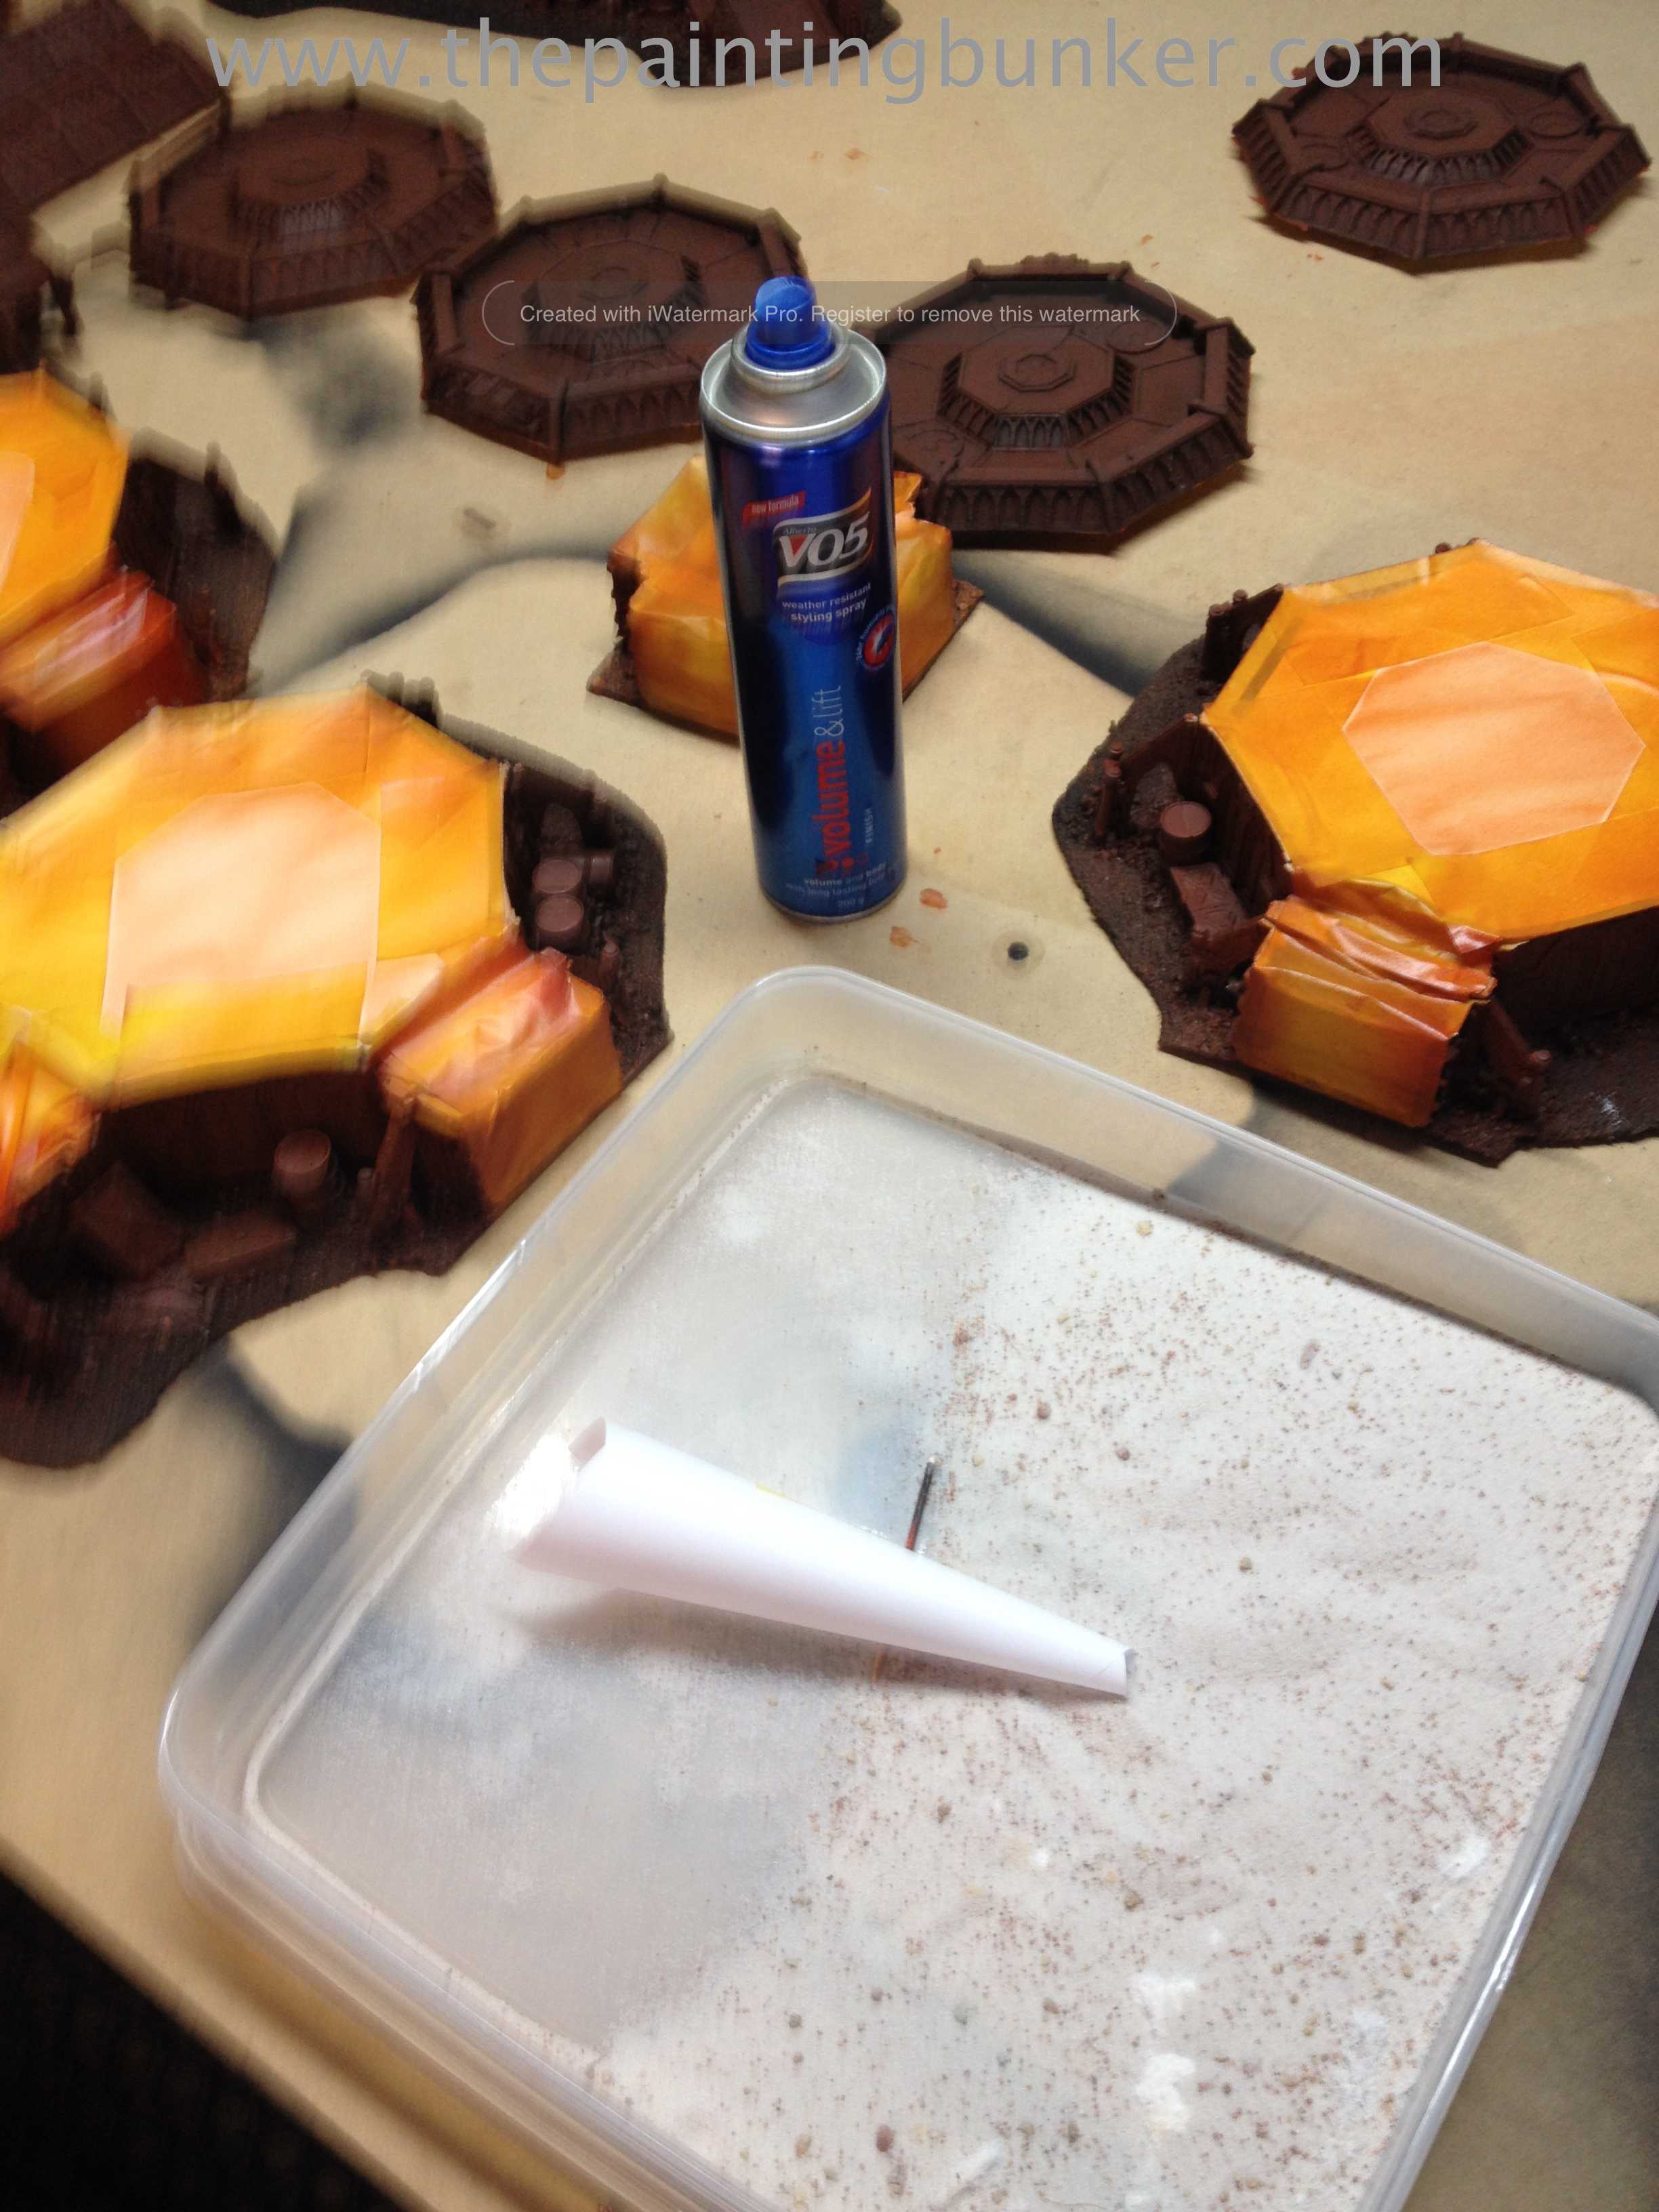
My chosen hairspray… VO5 sounded cool. I made a small applicator out of paper to assist with more accurate placement of the sand. By the way, I got the sand from a hardware store. Nothing special.

Making an applicator seemed like a good idea at the time…

Did it work? I think so. However before I went hell for leather, I painted a small piece (below) and experimented with how I’d remove the sand. Remember, I’ve actually based some of the sections of this model with craft wood. I’ve also attached the basing material with PVA glue. Both of these materials react poorly when exposed to moisture.
I wasn’t too concerned with the vast majority of the pieces of this kit getting wet. They’re resin after all. However I was concerned with the modules This meant I had to be very careful removing the sand.

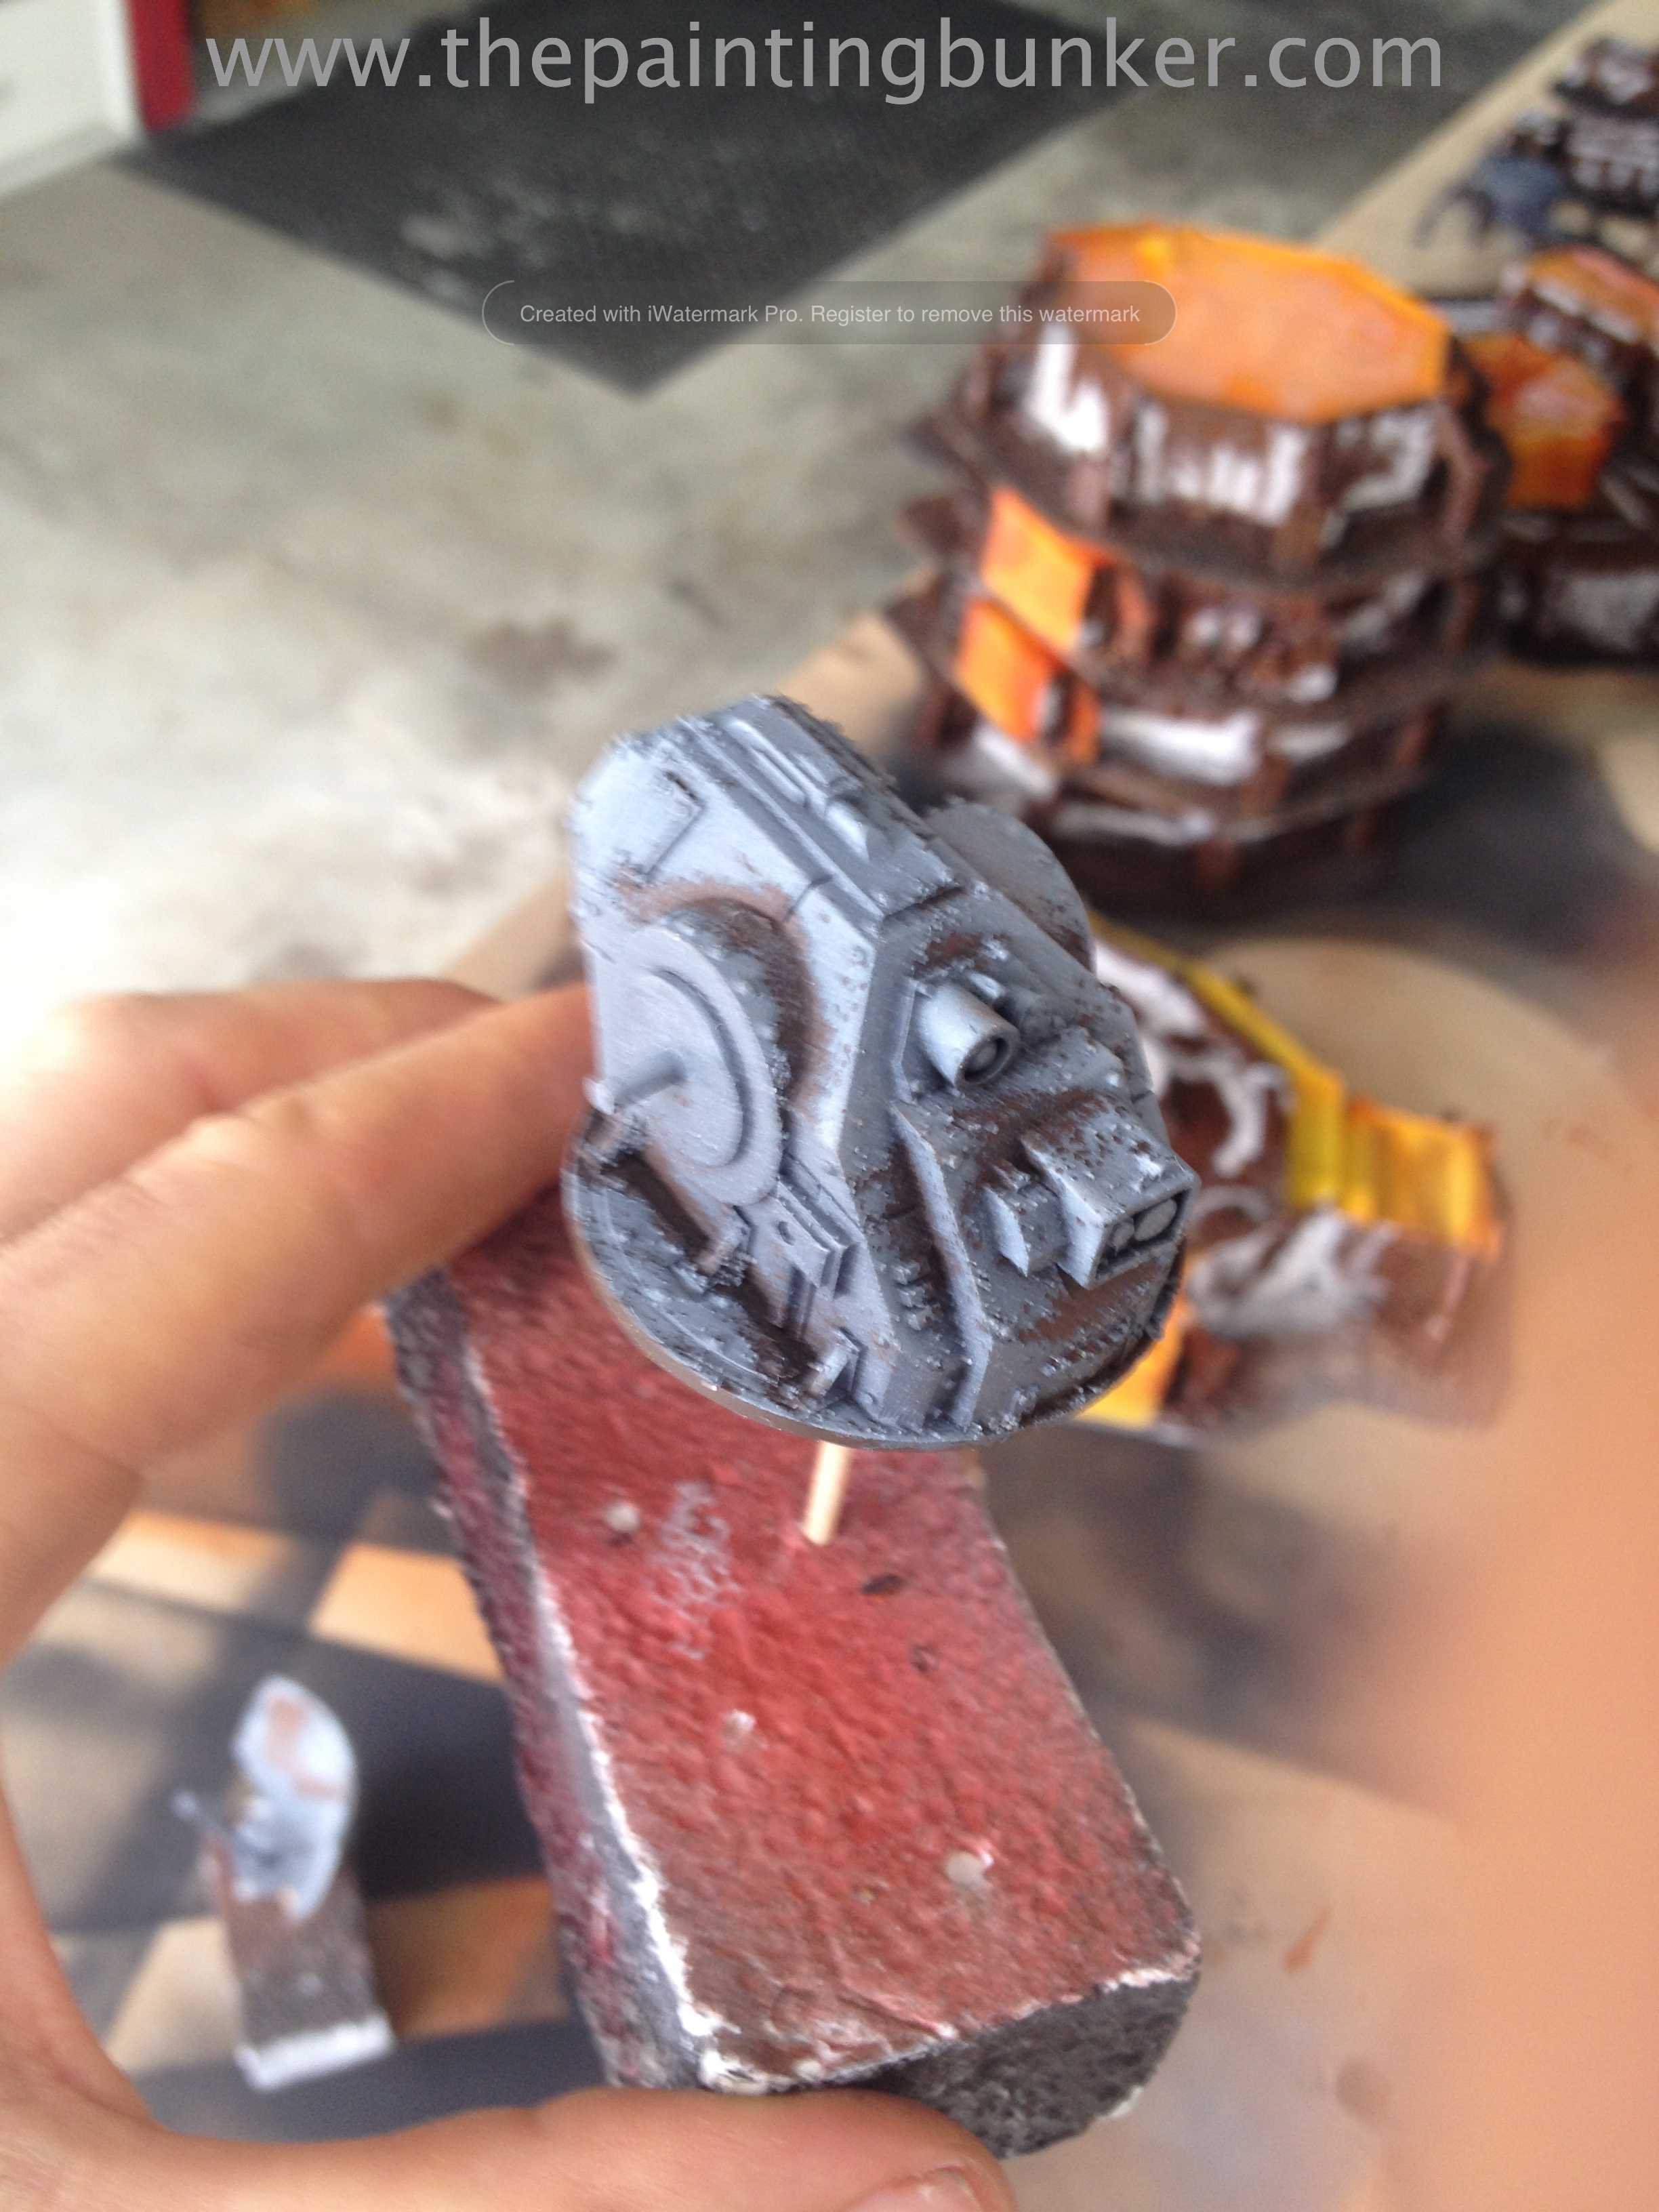
As you can see from the two test pieces, the technique is quite affective. The only thing I found I had to be careful of was using too much water. This caused the paint to soften and come off. So I found the best way was to apply a light coat of water, let it sit for a minute or two, and then with a tooth brush and wide flat paint brush, gently remove the sand. It comes off quite easily. Then I just gave it a quick rinse.
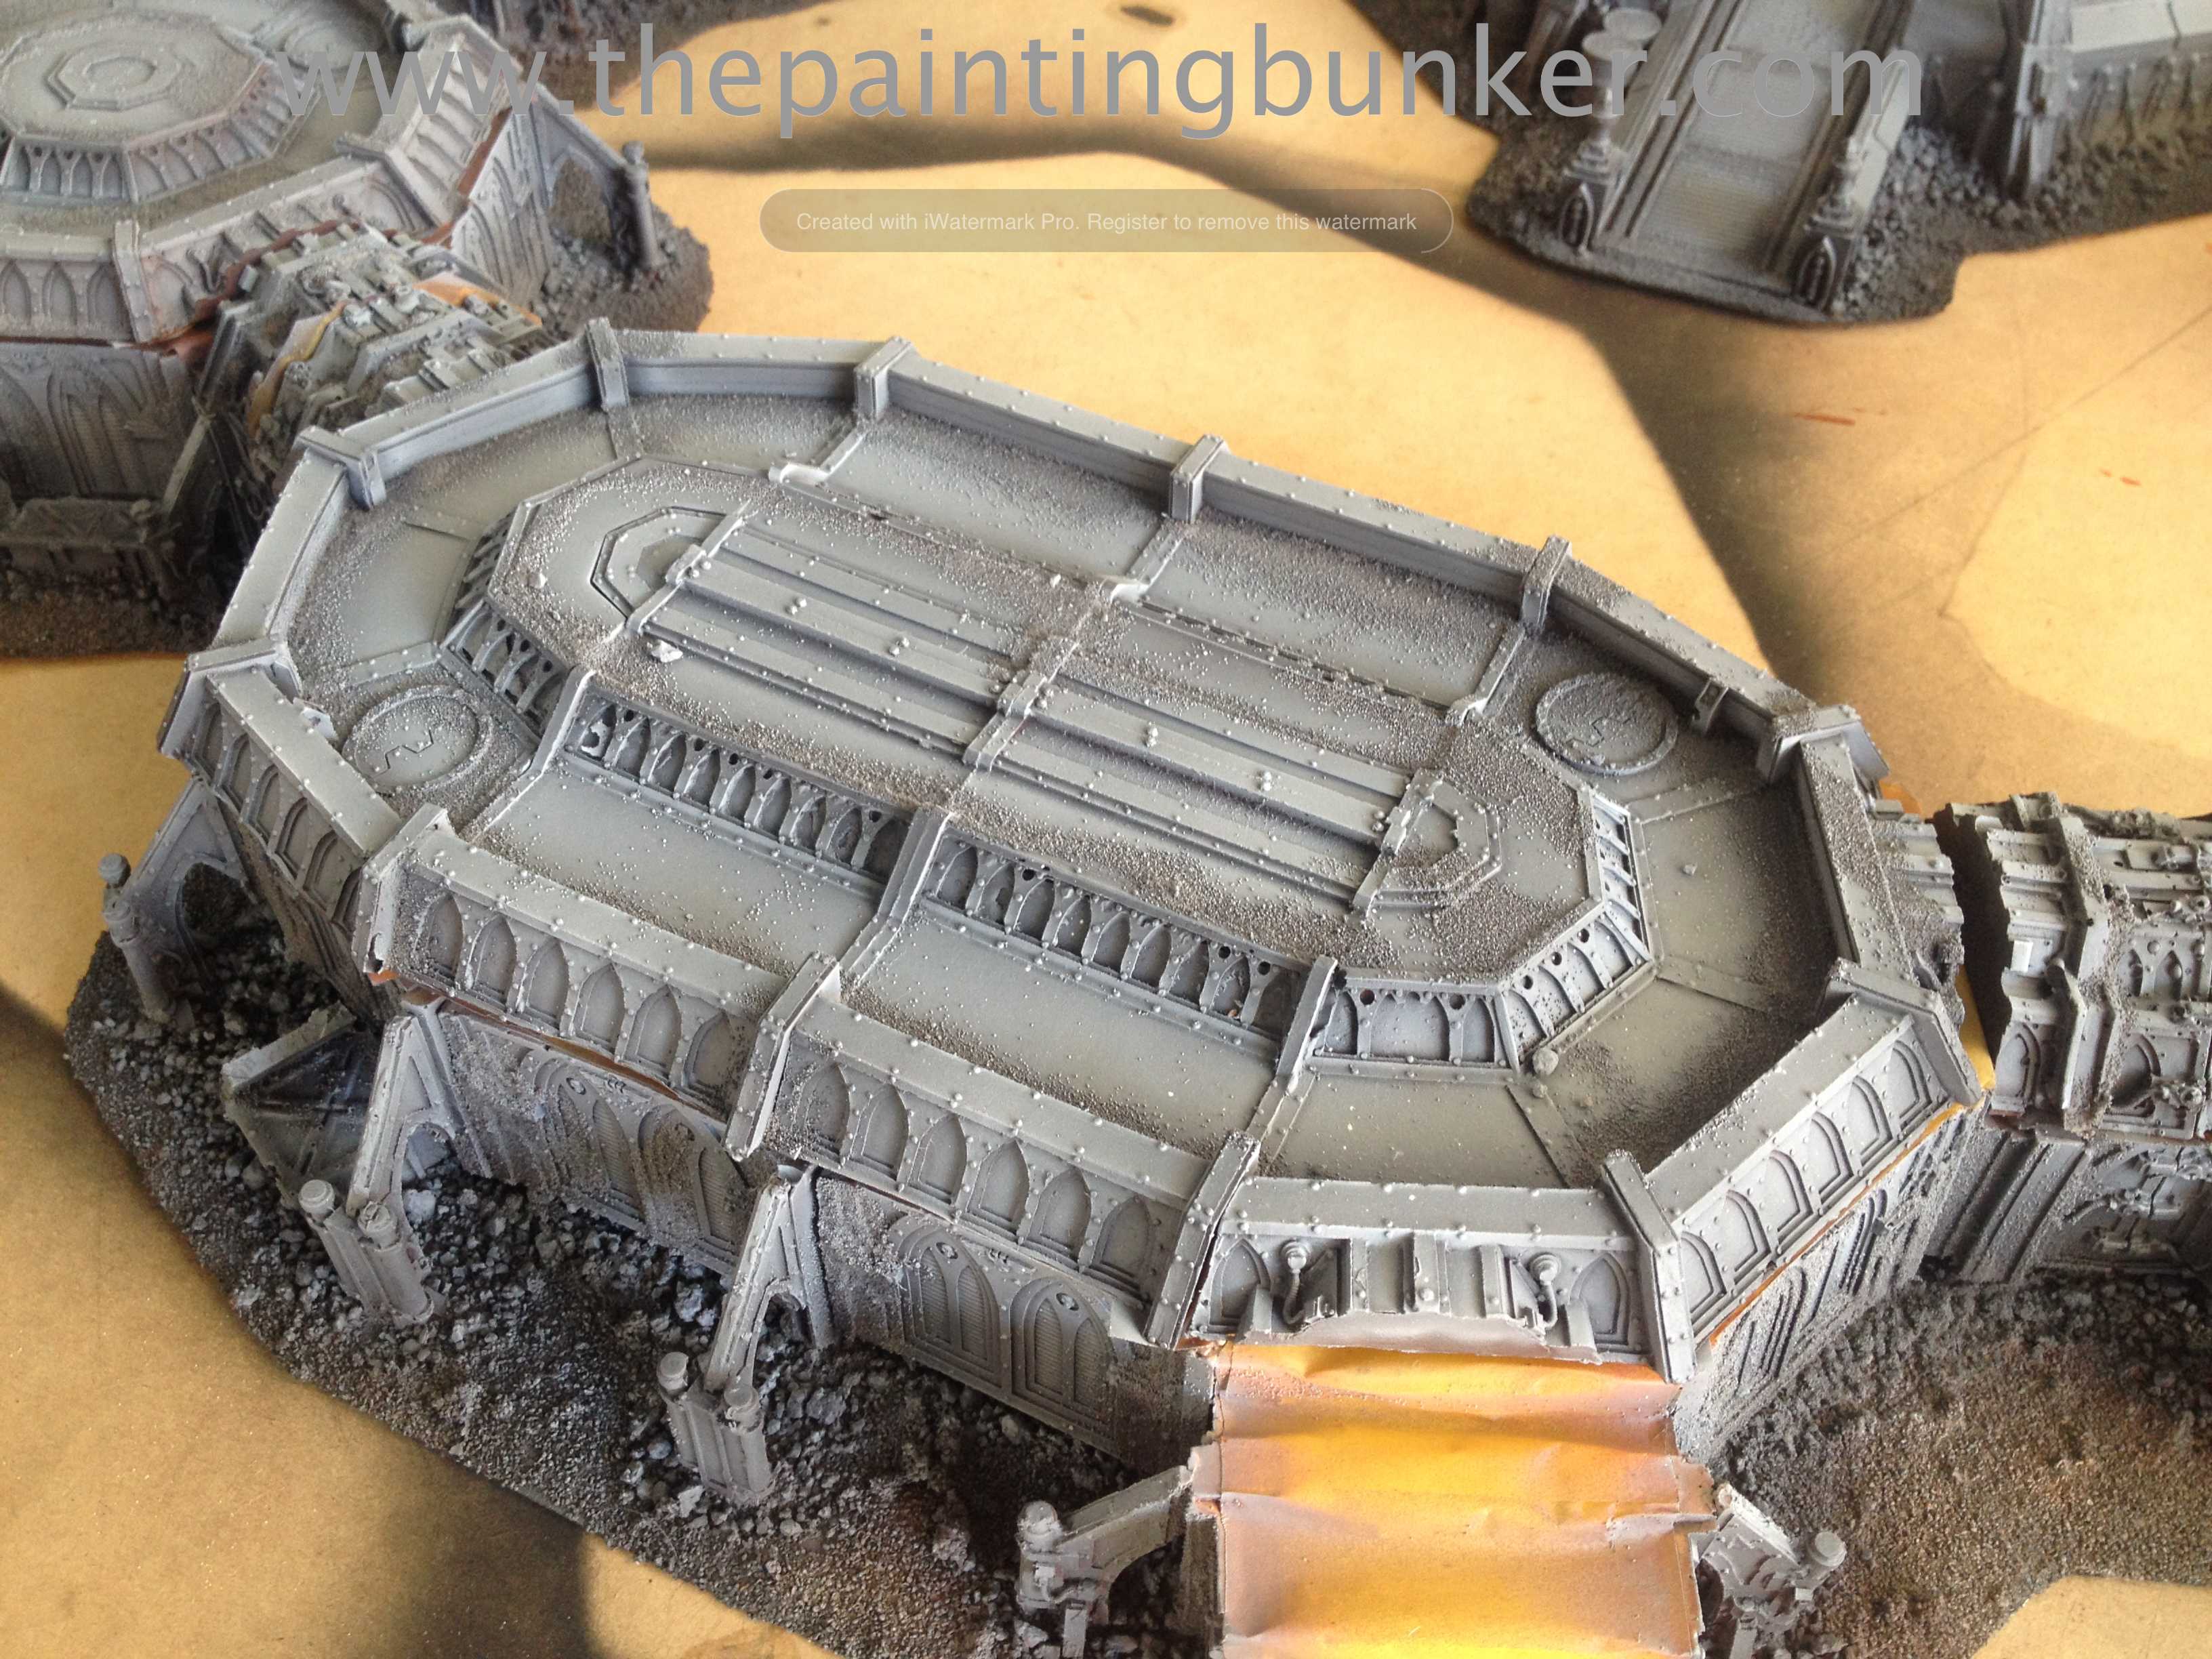
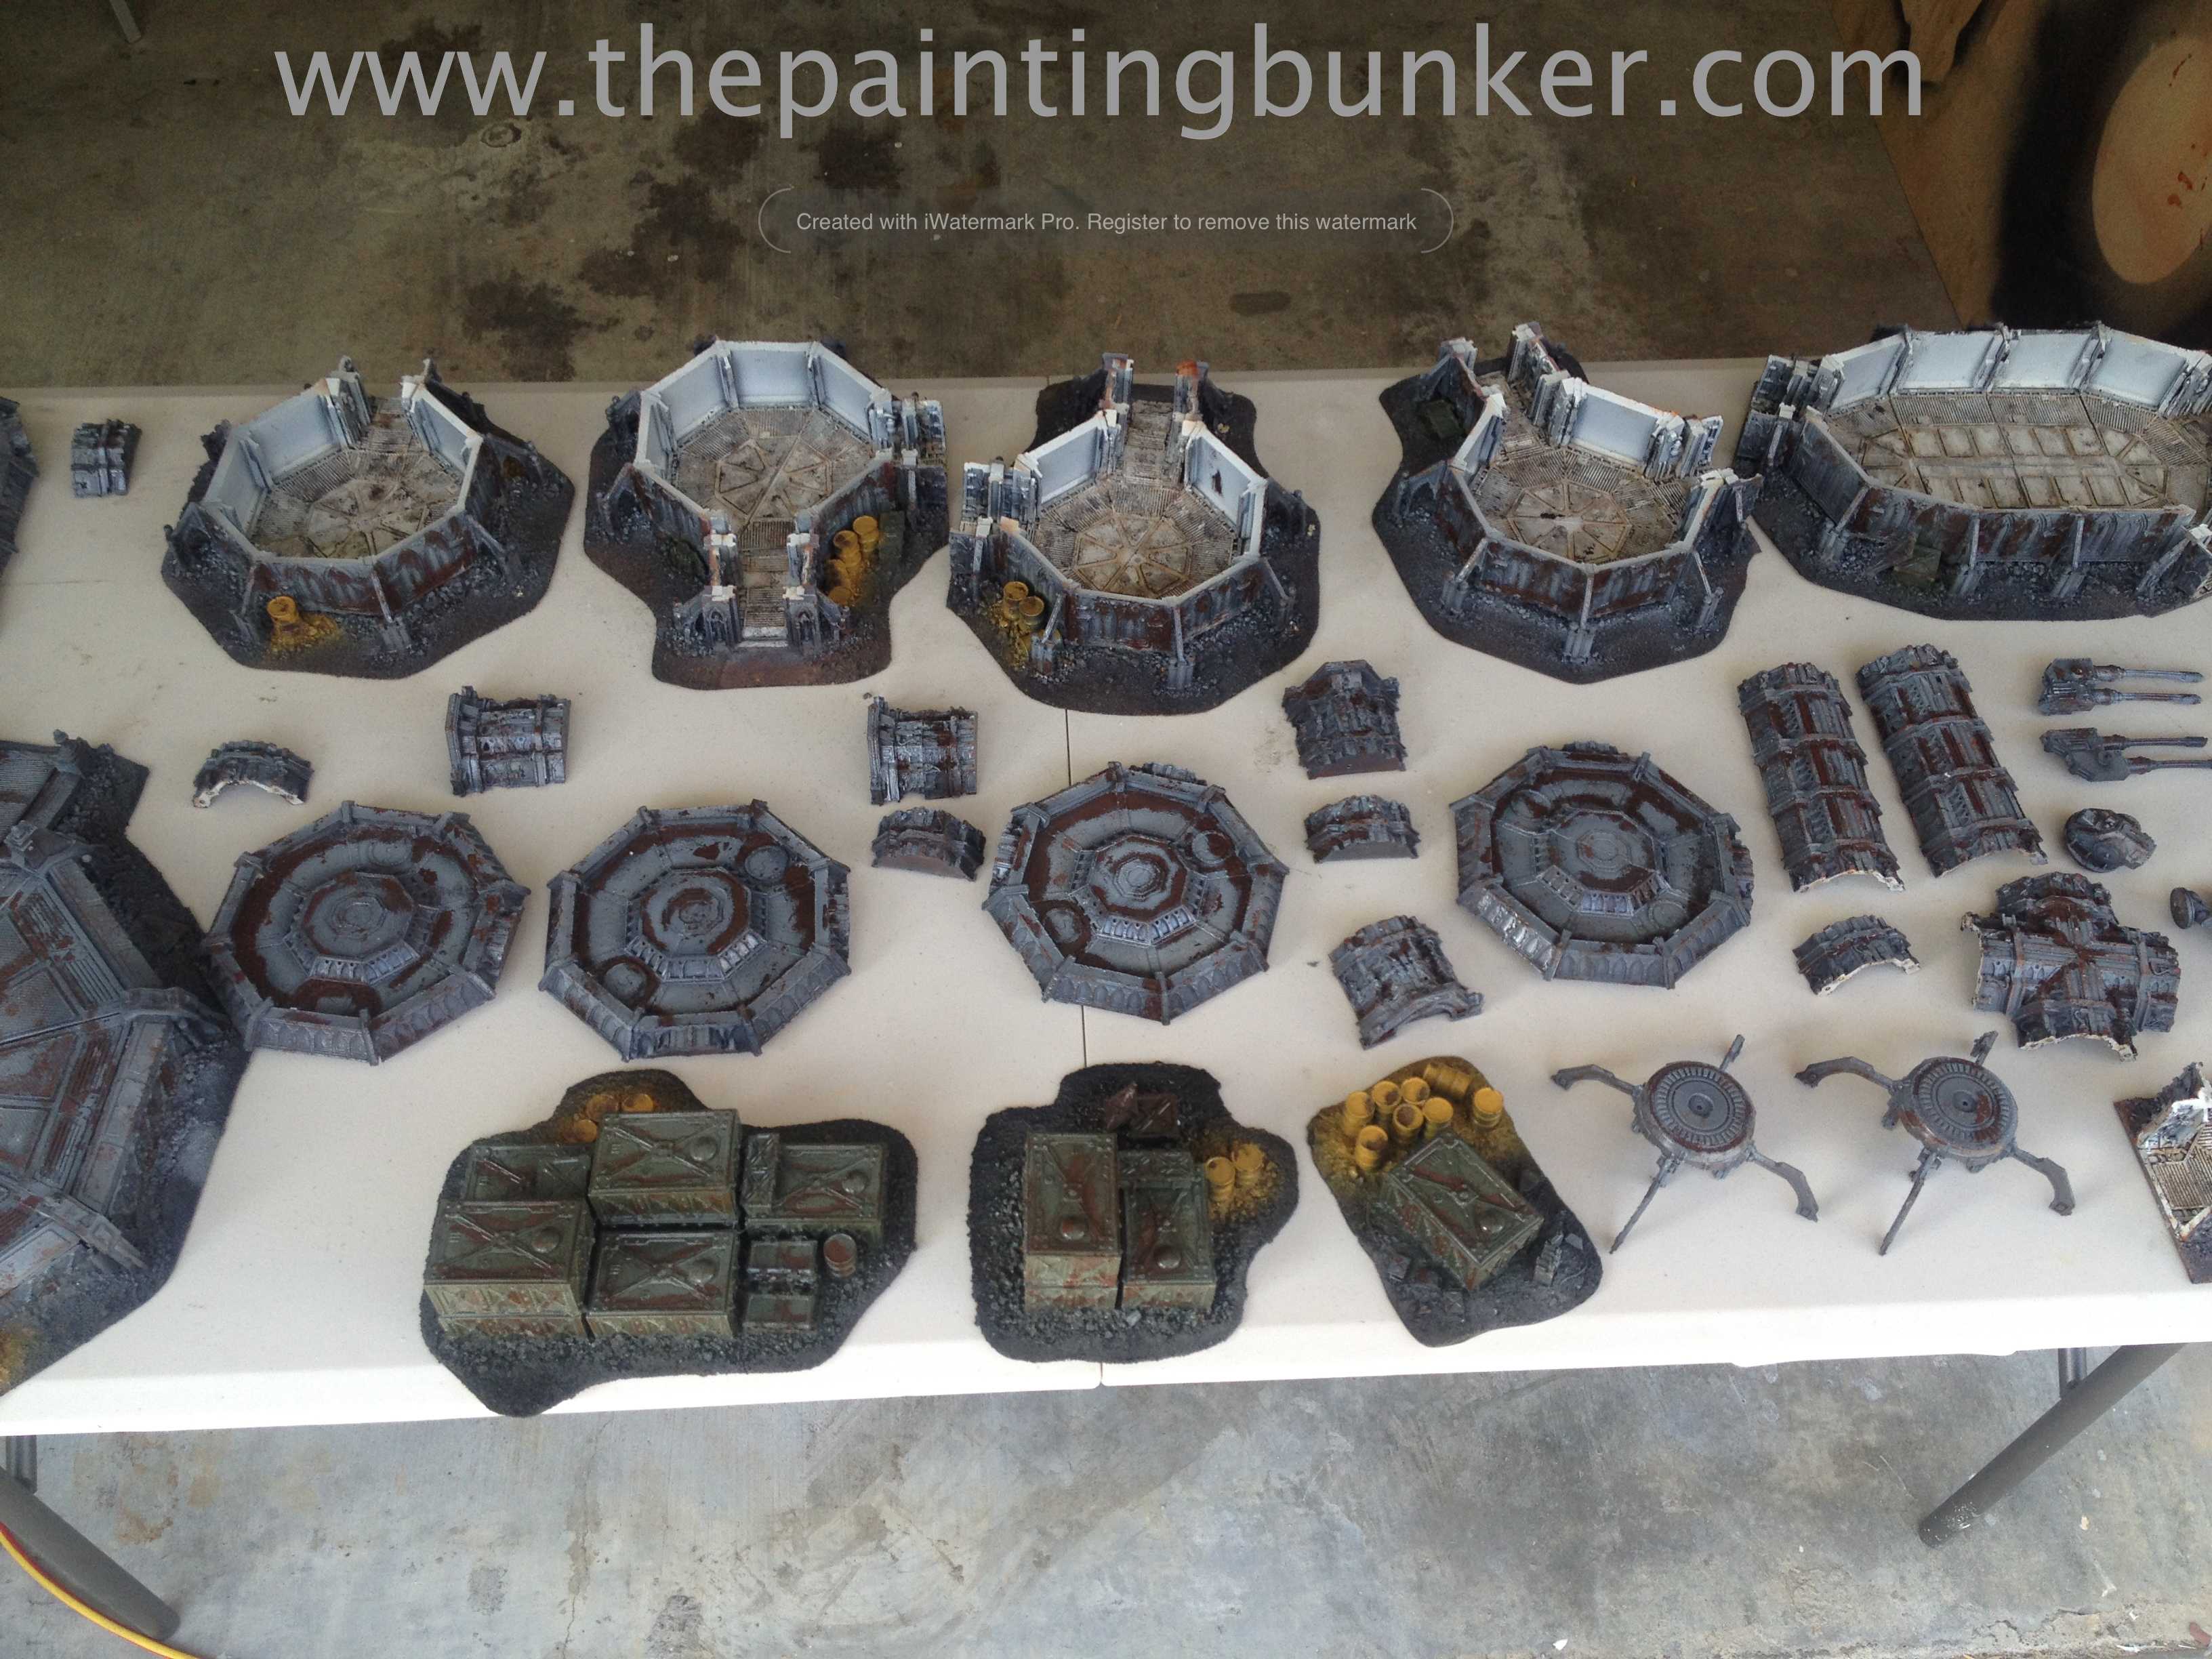
After I was satisfied with how the technique was going to work with the model, I then went ahead and added the sand to the rest of the pieces then painted them their top coat. I was really happy with how it was all coming together at this stage.


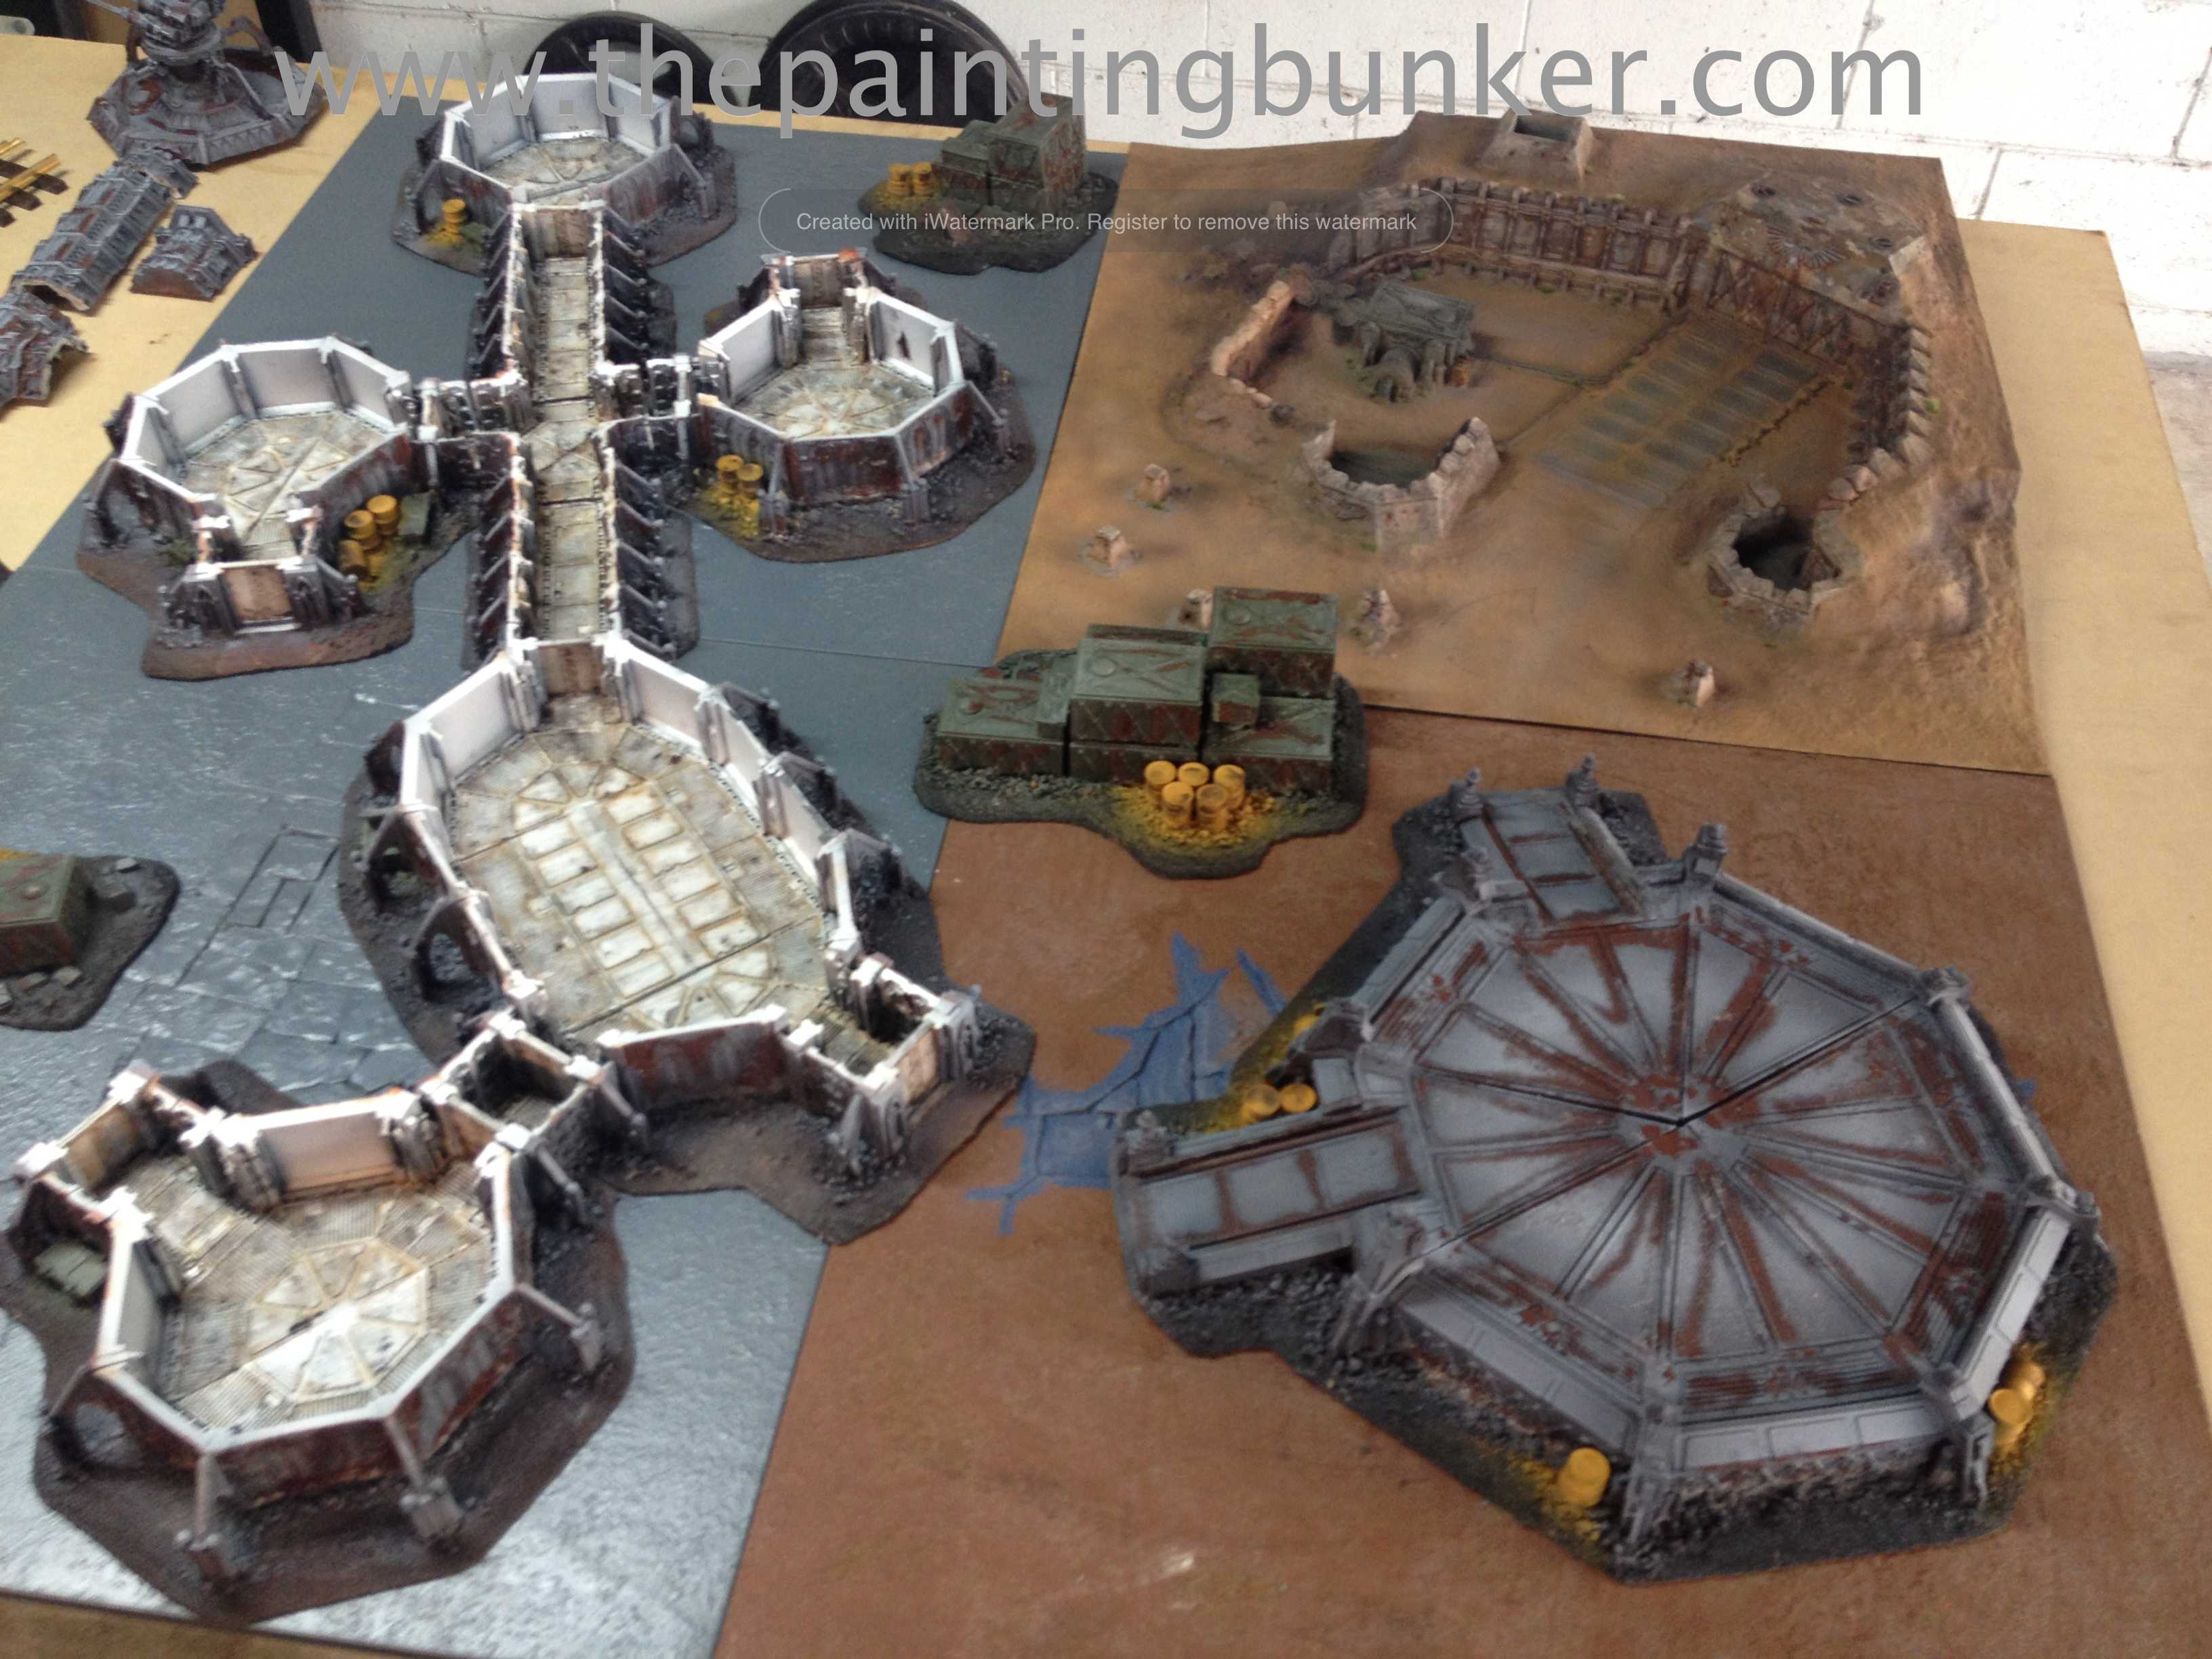


So, as you can see this base is really looking the business. If I’d had my time over again I would have done a few things slightly differently. The first one being not so liberal with the sand. It’s a very small point however there are areas where I feel I went a little over the top. The other thing I would have done is sealed the brown coat with a clear gloss. I think this would have assisted in allowing the sand to come off with greater ease. I don’t know this for certain, just theorising.
So from here, I’ll be applying a clear gloss coat to the model surfaces and applying oils… until next post!
Thanks for dropping in
John

Looks bad ass man! Do you think finer sand would make much of a difference? For smaller models the grainy sand might look a bit thick?
Not really sure. The sand I used was quite fine. I doubt I’d actually use it on a man sized model, I don’t think this technique really lends itself to models of that size
[…] Forge World Anphelion Base project pt5. […]