So I had quite a busy week last week at work and didn’t really have any time to do anything other than wake up, eat breakfast, work, go home, eat dinner sleep repeat. It was a really good week though, I like being busy and I got some amazing results, however it didn’t leave much time for hobby… which blows, hard. It did however allow me to reflect on a few aspects of the hobby that I’ve been wanting to discuss for some time, however have been too busy doing my Realm of Battle Cityscape Board to have any time to write some posts about it. So after a seriously busy week at work I’ve decided to take the weekend off head over the Stradbroke Island to get my chilax on, recuperate and enjoy the remaining warm weather before Autumn arrives shortly.
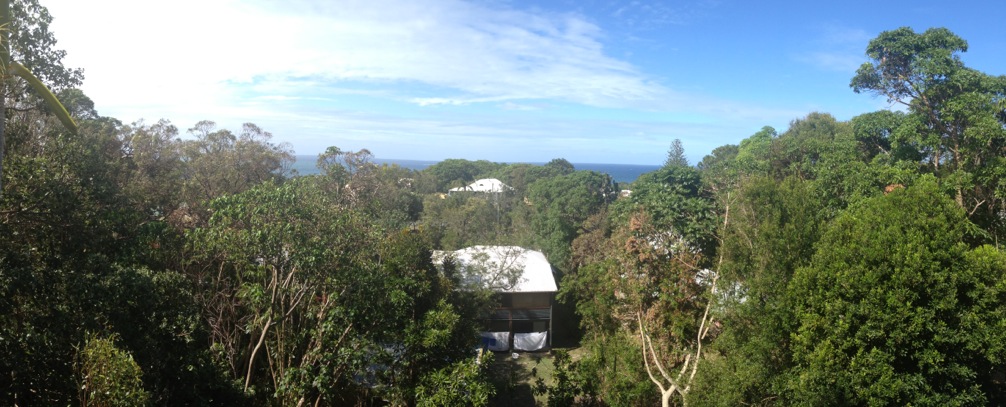
This is the view from the place I’m staying at… perfect northerly view over the Pacific Ocean…

Over the past few weeks I’ve had quite a few questions on Airbrush set up, what one to buy, where to buy it, what else you’ll need and so on. The amount of confusion on this topic was made even more apparent to me when I did an Airbrushing tutorial at the ADFWGA Championships in 2012 to raise funds for Legacy. Many, if not all of the participants were very keen to learn about how to use an Airbrush, however I realised that more time needed to be spent discussing the considerations when investing in an Airbrush to make a positive advance in your hobby results. There seems to be lots of good, and not so good ideas out there on what is a sound way forward on this topic. As always with these things too, its the questions not asked which are often the most important so I want to look at a few of these too.
My aim with this post isn’t to impart practical skills for using an Airbrush, perhaps that will be a post for another day. My aim with this post is to help you to choose and set up as best as possible Airbrush kit that you can use and maintain for many years and bring your hobby result to new, higher standards. This post is aimed more for hobbiest who have not yet bought an Airbrush, or for someone who has, but is still getting mediocre results from using it due to not understanding how to set it up properly.
Because of my background, I’m a big believer in quality training. It’s where everything should start. It ensures that you don’t develop poor habits or beliefs and also puts your learning curve on a steeper gradient as (hopefully) the person(s) delivering the training have already made lots of mistakes or are drawing their training on people who have already made lots of mistakes and can give you best practice, or as a minimum, a solid foundation for you to build your own experience base. You can put the finest instruments in the world in the hands of someone who’s had no training and the results will be a botch, however you can put poor to average instruments in the hands of a competent well trained professional and that person will produce a masterpiece, or at the minimum a result well above the standards of most. So before you do anything, get some training on how to Air Brush.
When I was in high school, my school offered to seniors one afternoon a week where you could go to a tertiary learning institution (community college, TAFE) and do short courses on basically anything you like. Not being terribly interested in school, rather than further my academic credentials I decided to further my hobby skills. So I did a 6 week Airbrushing course. It was the best thing I ever did for my hobby and the skills I learnt from that course have served me very well over the years. The great thing about these courses is that you get good quality instruction, all the materials, including the Airbrush are supplied and the training consists of theory, that is then put into perspective through practical application. I can’t remember how much it cost, but it was less than $200 and gave me a solid foundation that I have built on considerably since then. I would strongly urge you to consider some form of recognised formal training (YouTube doesn’t count!) on Airbrushing before embarking on purchasing one for your own use.
So now you’ve done that, the next thing to do is delve into the confusing world of buying your first set up. To break things down a little more, I’ll discuss the five components of what you need to have a quality, thorough set up at home. I would urge you to consider acquiring all of these components, not just the last two. Those five components are:
- Painting Area
- Maintenance Supplies
- Painting & Mixing Accessories
- Compressor
- Airbrush
So let’s look at each component in more detail.
The Painting Area
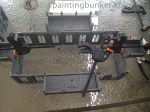
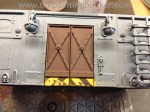
Ideally this should be a permanent place where you can paint. Why? Well Airbrushing is a very equipment intensive aspect to our hobby and all the items you need to use take up space. A small table will do the job, and it needs to have good natural or artificial light with a window close by. A very important feature of any quality Airbrush set up is a spray booth. The two main reasons why you should have a spray booth is to stop overspray going everywhere, and to assist in removing airborne paint particles from the immediate vicinity of the subject (the thing you are painting) The one I use has an extraction fan with a flexible hose that I have ducted out a window. It also has a series of filters that prevent paint particles clogging up the extraction fan. It also has a small turntable which allows me to put my subject on and move it about without having to touch it. As you can see from the picture, my area isn’t big and doesn’t take up a lot of room, and nor should it, but it is functional. I’ve got my spray booth, an area above it to keep useful items, a turn table and a clear space off to one side to set my subject down before and after its been painted.

This is the spray booth I use, depending on where you get it, it’ll cost around $200 – $250 There are others on the market too which are collapsable so if you can’t set it up in a permanent location it can be moved and packed up. The key point is that its a suitable workspace for Airbrushing that safely and effectively removes overspray. The other good aspect to using a spray booth is that other members of the household (specifically the Trouble & Strife) will like it as it makes a dramatic improvement on how much overspray ends up where it shouldn’t.
Maintenance Supplies
This is one area of using an Airbrush that I see most new users run into problems. Like any instrument, be it a car, a bike, a piano or fishing rod, if you don’t maintain it properly it will let you down no matter how well made it is. Below is a list of items you’ll need to properly maintain your new Airbrush. Before I go on, I’m a big fan of automotive stores, they contain all manner of useful stuff we can use, so if I put AMS after an item, that means I buy it from there (its generally WAY cheaper too than from a specialty hobby supplier).
- Brake fluid in a tightly sealed lunch box sized container – Brake fluid is an interesting substance, it will remove paint, however it wont damage or degrade rubber. This is very important for an Airbrush as within all Airbrushes are very small rubber seals that once damaged or broken will seriously degrade its performance. When I want to thoroughly clean my Airbrush after a big painting session, I strip it down (including the nozzle) and place all the parts that came into contact with paint into the brake fluid bath. I’ll leave it there for a few hours and then remove it, and with the items listed below (tooth picks, cotton tips, toilet paper, tooth brush, and specific Airbrush cleaning brushes) I’ll clean excess paint from the Airbrush. I get my brake fluid from an AMS.
- Tooth Picks – I use these to get into all the fine areas where paint accumulates on an Airbrush. You can use metal picks etc (such as dental tools) however I’ve found that the hard metal picks available tend to damage or scratch the fine internal details of an Airbrush. Wooden tooth picks are the go, plus they have tonnes of other uses in our hobby too, such as mounting fine parts for, you guessed it, painting.
- Cotton Tips – Again, good for getting into hard to reach places that you don’t want to scratch or damage.
- Toilet Paper – for wiping off parts and cleaning up minor spills.
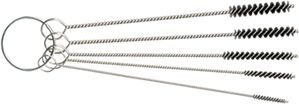
- Airbrush cleaning brushes – They look like very fine pipe cleaners, a good set has about five different sizes and will last for the life of the Airbrush.

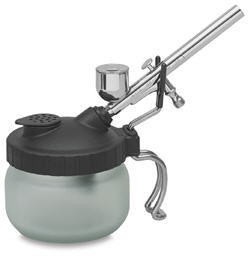
- Table top cleaning station – This is basically an empty glass jar with a lid on it that you can put the end of the Airbrush into and use it to “blow out” colours between colour changes. This keeps the Airbrush clean during a painting session. Make sure there is no paint, or fragments of dried paint whatsoever in the Airbrush between colours. Dried fragments of paint are the single biggest cause of poor performance with an Airbrush.
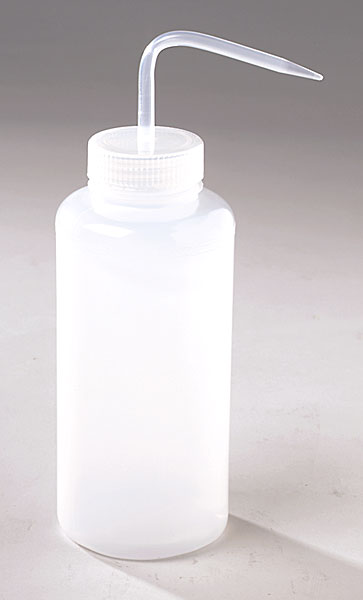
- Wash bottles – I use three. One filled with demineralised water, the other filled with Tamiya X-20-A thinner and the other filled with Artists Turpentine. You can buy wash bottles from Airbrush suppliers but they are as dear as poison, so I get mine from Tattoo suppliers, much cheaper. I use wash bottles as opposed to just regular bottles as you can control how much fluid comes out with more accuracy from a wash bottle (requires pressure rather than gravity to get the fluid out) I use the demineralised water between paint colours to get all the paint out, then give it a quick blow out with the Tamiya thinners in the table top cleaning station before moving onto my next colour. I also quickly get a tooth pick or cotton tip and remove any paint build up from the nozzle protector.
- Disposable rubber gloves – A must for any hobbiest. You don’t want half the stuff we use getting on your hands and absorbing into your skin. You also don’t want to get paint on your hands either as you may transfer it onto the subject.
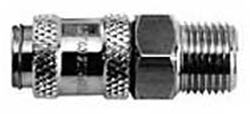
- Quick release coupler – Although not technically a maintenance tool, it assists tremendously in helping to keep your set up working well. What it basically enables you to do is remove your Airbrush from the air source without breaking the airtight seal. Its a miniature Nitto fitting if you’re familiar with them. Why is this helpful? When you want to clean the Airbrush, you can just disconnect it, disassemble it, put it in the cleaning bath and not worry about air escaping from the hose, or breaking the air tight seal you created when you fitted the airbrush to the hose in the first place. If you buy them from the specialty hobby store, expect to pay about $40+, but from the AMS they go for less than $10. Not essential, but very convenient to have.
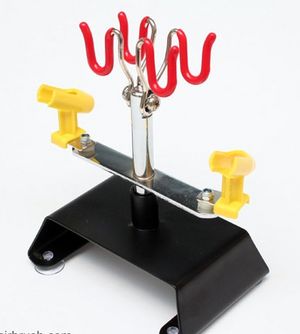
- Airbrush holder – Some airbrush compressors come with these, however I like to have a purpose built one on my desk so I can keep my air brush in it when not in use. Again, from the specialty hobby supply shop expect around $40, from the AMS, $15…
- Airbrush lubricant – Used on a regular basis to keep your Airbrush needle and trigger from sticking or binding, contains no petroleum or silicone additives and can be used on all parts of the airbrush. It will not affect or react with any water-based, lacquer-based, or enamel-based paints. Very useful and often overlooked. Again dear as posion from the hobby shop, cheap as from the AMS.
Painting & Mixing Accessories
Again this is an often overlooked area of owning an Airbrush, but one of those things that will make life so much easier and results so much better. Having a few of these inexpensive items will make such a massive difference to your experience and results with your Airbrush.
- The most IMPORTANT thing you need – A quality spray mask – I can not over emphasise how important it is to use a spray mask when using an Airbrush, if you are going to use an Airbrush, use a Spray Mask. Acrylic paint is a polymer, which we call plastic. When acrylic paint vapour is inhaled, it sticks to the bronchus of your upper respiratory system. Once its there, its there for life. This is not good. Don’t buy the cheap and nasty spray mask, get one that is specifically for spraying acrylic paints. I buy mine from a hardware store as they are better quality and you guessed it, less expensive than the hobby store. The good ones have a life span, make sure you keep track of how often its used and replace it when necessary.
- Acrylic thinners – There is a lot written about this topic. Some good, some seriously bad. Lets address the seriously bad advice first. Use Windex (window cleaner). This does have its merits, however, window cleaner contains ammonia. When ammonia vapour is inhaled it can cause very nasty respiratory infections. Ammonia is a very caustic and hazardous. Just don’t use it, and anyone who says to use it to thin your paint doesn’t know their ass from their elbow when it comes to Airbrushing so politely excuse yourself from the conversation. A good thinner for paint basically should achieve two roles. The first is to ideally diffuse the medium that the pigment is suspended in (water or a water like substance in the case of most acrylics) thus increasing the ratio of medium to pigment. A good substance to use for this is alcohol (not the drinking type). The reason, as opposed to using water to thin paint, is quite a technical one. Very basically though, a water molecule is quite an open one, and alcohol molecules are able to slip between them, what this effectively does is reduce the paint’s viscosity (making it more “runny”), but proportionally does not reduce the amount of pigment density, therefore creating better and more consistent coverage when applied from an airbrush. Basically, just use alcohol to thin your paints. The next role a good thinner does is reduce the surface tension of the paint. Why is this important? Again, its a very technical answer, but it comes down to making the paint more wet, or slippery, thus helping it move through the Airbrush and coat the subject. An example of a wetting agent is detergent. Think about when you wash your hair with shampoo, versus just putting water on it from under a tap. The detergent in your shampoo helps the water become more slippery and move around more, better covering your hair. Same with paint. So using just rubbing alcohol (often recommended on the interwebs) isn’t the whole answer, it needs a wetting agent. So you can make your own paint thinner using alcohol and a very small amount of detergent (less than a drop) or you can just buy Tamiya A-20-X thinner. I just just buy the stuff. Heaps easier….
- Pipettes – I buy them in a box of 1,000. They are 3.5ml in size, disposable and very, very convenient. Great for taking paint out of a paint pot and mixing it with thinners. Will stop you pouring the paint into a mixing jar, which in turn minimises waste and keeps your paint pots clean. They are also good for moving the thinned paint from the mixing jar into the airbrush in precise no mess amounts.
- Mixing Jars – I get them in boxes of 200, they are made of glass, 30ml in size, have plastic lids and are great. So useful around the painting bunker. When bought in these quantities, they cost less than .40c and they are indispensable. They can also be washed after they’ve been used too. Awesome stuff. By having air tight lids too, you can keep mixed paint for long periods of time as well. I buy them from commercial packaging suppliers, CosPac is an example of just such a company here in Australia.

- Wash bottles – previously mentioned.
Compressor
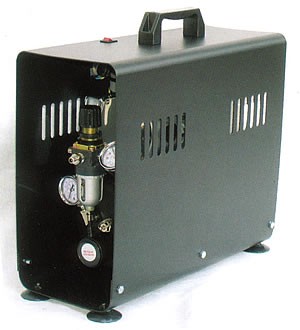
This is actually a very simple aspect to buying an Airbrush. Buy one that has these components. 1. Holding Tank, 2. Regulator, 1/8″ outlet valve. Most modern Airbrush compressors have all these features plus a few more and also basically run silent. Some compressors even come with a hose and an airbrush all in one box. Good stuff. Great for beginners. The first airbrush compressor I used was actually a shop compressor, it did the job very well and was very inexpensive (compared to an airbrush specific one) and had the dual use of being able to power air tools (which is handy for me). Today I use an Airbrush specific air compressor, it has two air outlets (I use two Airbrushes), a holding tank and a regulator with inbuilt moisture trap (its very humid where I live). Expect to pay upwards of $200 for one with the three features I’ve mentioned. Mine was closer to $400, however this is once piece of kit that isn’t to be scrimped on. Buy quality and take care of it, and it should last well over a decade (or more) you can buy ones that have all the features that I mentioned but don’t have a holding tank. I would strongly recommend just saving a bit more and delaying your purchase until you have the means to get one with a holding tank. Long term (remember their lifespan?) its a much better way to go, and you will not outgrow it, you will outgrow a compressor without a hold tank.
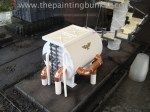
This is the Compressor I use now….
Airbrush
This is the final consideration that needs to be made when getting your set up, and in my opinion for the new Airbrusher, the easiest. There are a few considerations that we need to take into account when deciding what type of Airbrush to buy that will best suit our needs. A few questions to ask yourself are: What is my subject matter? What is my skill level? What is my budget? How serious am I about my hobby? What sort of results do I want to achieve? What sort of results am I capable of achieving?
Let me run you through a quick scenario to help me illustrate a point that many hobbiest overlook (as far as I can see anyway). Think back to when you bought your first car. Unless you were fortunate enough, most of us got a car that was cheap (most likely second hand) and had a few miles on it. It may have even had a scratch or two. Was it our dream car? Doubt it. Was it a high performance car? Very unlikely. Even if budget wasn’t the most important consideration, getting say a BMW M3 as your first car probably wouldn’t have been a wise decision. Why? Well, when you first get your car license you don’t have much driving experience and the likelihood of being involved in a minor fender bender was high, even if you managed to avoid it, you might scuff the wheels parking it, or not knowing about car maintenance, not properly appreciate what it takes maintenance-wise to own a car like that. In addition, your skill at driving a car would have been well below the performance threshold of such a car, so you could never come close to unlocking its potential, and besides, apart from being seen in a car like that, it just wouldn’t have been a smart idea to have such a car.
So why go and buy a $200 – $300 Airbrush as your first Airbrush? This is one area of getting an Airbrush that really frustrates me. I see guys go and buy an Airbrush that costs even over $100 because it can do such and such, yet in reality, very few people have the skills initially to actually use the features of these airbrushes. Let me explain.
Airbrushes were originally used to touch up photos, then they were used to create art (late 60’s early 70’s), both of these tasks require tremendous amounts of skill from the user, and amazingly precise engineering in terms of the Airbrush. Skill takes training and time to develop and precise engineering costs money to produce.
As modellers, the subjects that most of us want to paint, and the effects that we want to achieve with a sound level of competency, doesn’t take tremendous amounts of skill, or amazingly precise engineering. Furthermore, I guarantee you that you will trash your first Airbrush through misuse. You’ll drop it (minor fender bender) you’ll bend the needle tip (scuff the rims) leave dried paint in it (forget to service it, or get the wrong type of service) or a hundred other reasons why you’ll just ruin it and have to go buy a new one. Guaranteed. Also as I mentioned, you won’t, when you first begin, have the skills to realise a lot of the performance potential of the $100 – $300 Airbrushes, nor do you need to. Let’s face it, you won’t be painting the eye lens of a space marine with an Airbrush, even if you had the skill.
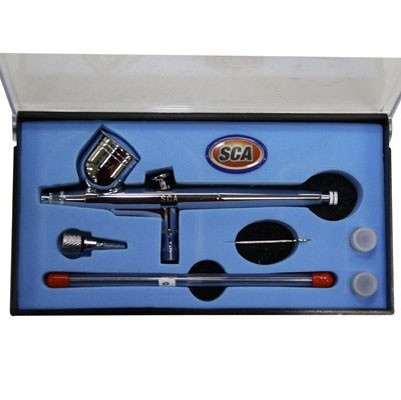
So all you need to get when you buy an Airbrush is a two stage, gravity fed Airbrush with removable nozzle and needle, ideally with a 1/8″ thread to attach a bradded hose (with quick release coupler). There are many, many on the market now that fit this description and with the type of models we paint they are ideally suited. The ones I use, I get from, you guessed it a AMS and cost around $50, in fact, they are currently on special and are selling for $38. They come with 3 needles, and corresponding nozzles, and that same AMS sells all of the items that I’ve mentioned in this post. The quality of these Airbrushes is extraordinarily high, however they just don’t have a fancy brand name on them (but look surprisingly similar…). When cared for properly too, they will last years and years. So don’t blow your budget on paying top dollar for an Airbrush that just doesn’t suit what we are doing, save your money and get the items mentioned in points 1, 2 and 3 of this post. That is where the results will be created, having the right accessories, coupled with the right training. So many hobbiest neglect getting all of the accessories and just rush out and buy an Airbrush and compressor and wonder why they get frustrated. It doesn’t need to be like that.
The Airbrush I use these days…
So to wrap up this post, before you go out and buy an Airbrush set up, get some training first. I’m not talking about watching a few YouTube videos that some random has put up, I’m talking about accredited training from a recognised training establishment. Its the solid foundation you need to set yourself up for success when using an Airbrush. Next, get the right equipment. Make sure you have an extractor (spray booth) and spray mask when painting, use the right thinners, not the cheap ones, and have the right maintenance tools to keep the airbrush clean and running smoothly. Finally, once you have all these things squared away, get a good compressor with all the features, and finally, choose an Airbrush. It doesn’t need to be expensive to get good results, especially for what we do.
I hope you’ve gotten something from this post, and congratulations if you’ve gotten this far, my word count says I’m up to 4,077 words… nice.
If you have any questions or queries, post them as a comments and I’ll be sure to answer them as best I can.
Until next time, thanks for stopping in
John Sutton, Brisbane, Qld


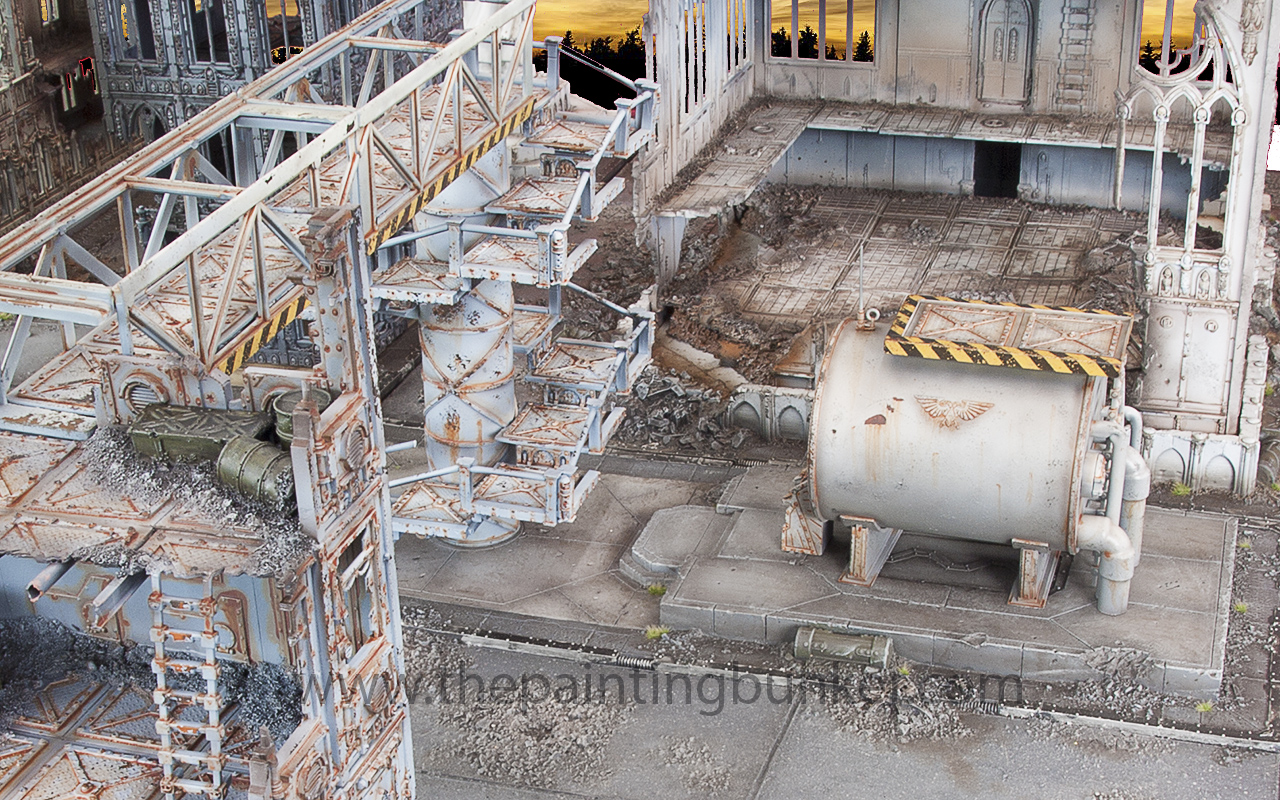
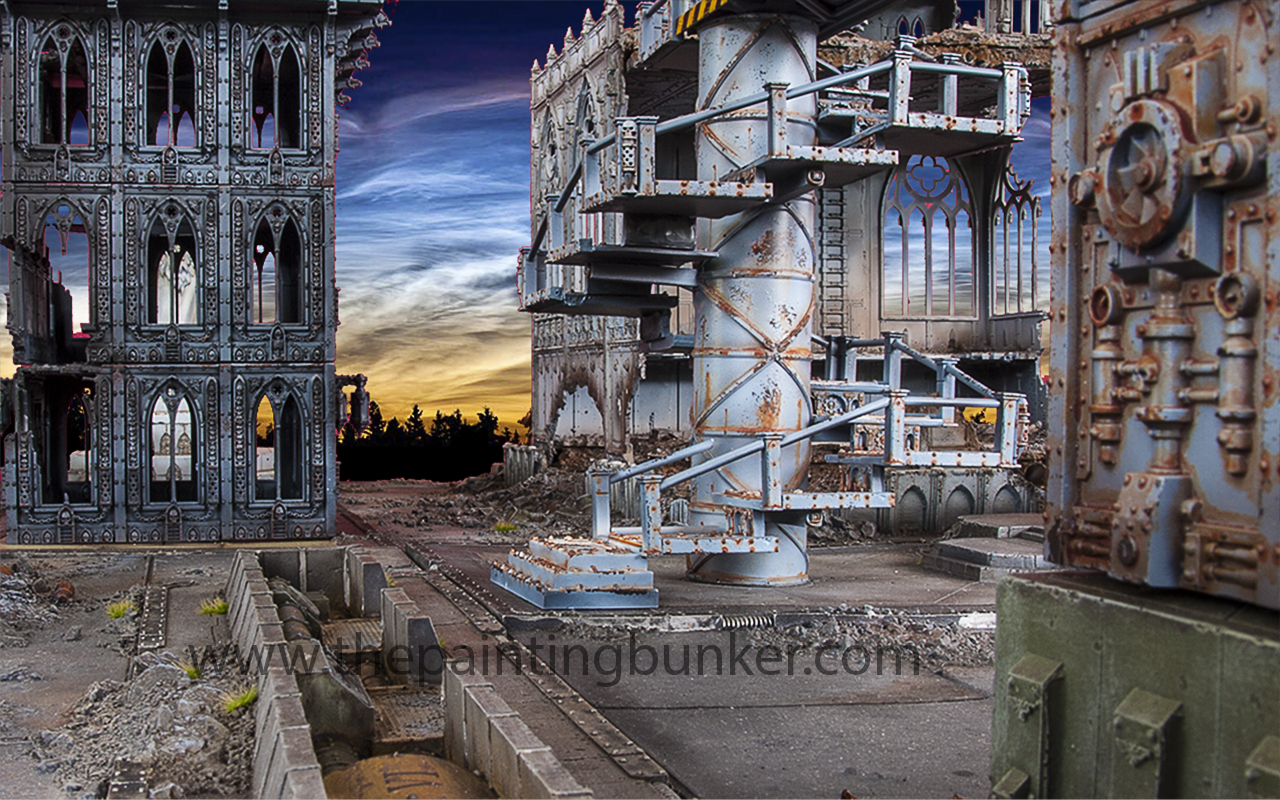
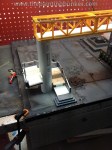
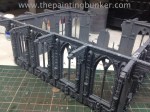
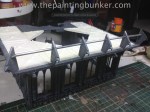
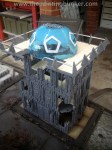
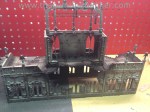
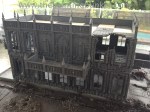
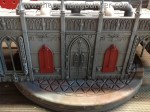
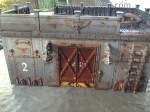
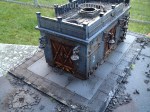
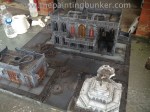
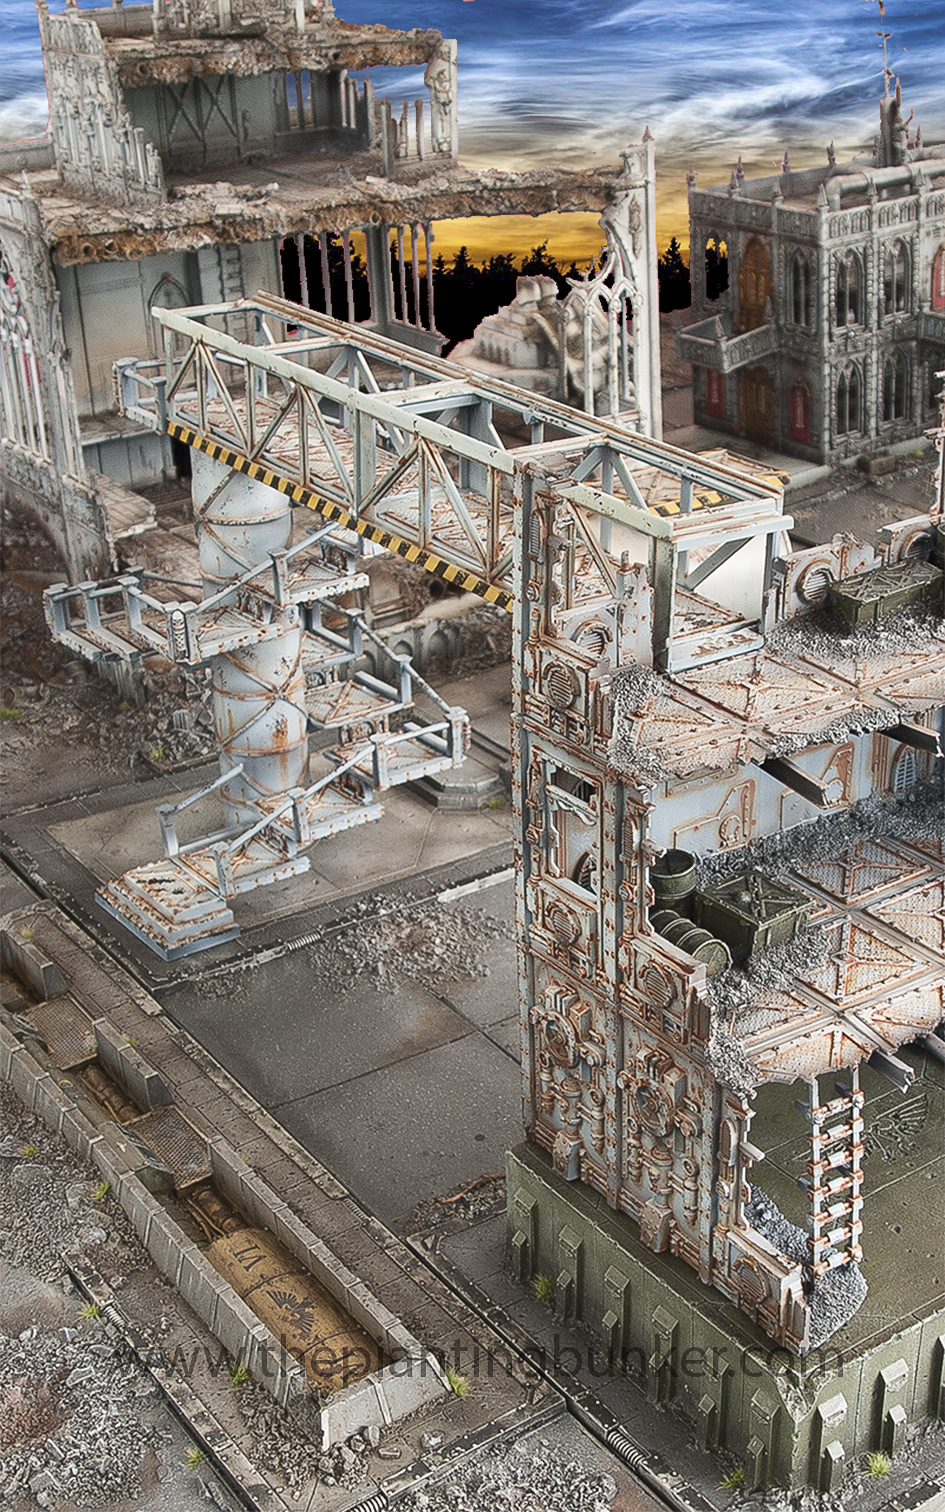 The overpass of doom and spiral stair case of despair… As some of you will remember one of the first boards I did was of a giant crane that I purchased for $35!!! (can you believe it!) from Toys’r us. Well, when I built that crane I had two of the centre sections left and I always planned on using them on one of the other boards. With the last board of the industrial precinct about to commence I thought it would make sense to use it somewhere on it, and seeing as it looked a bit like a walk way, I thought it would be interesting having it spanning over the large double lane road that runs through the centre of this board. I knew one of the ends of the walk way would run into a building, however I had to really put my thinking cap on to work out where the other end would go.