Posts Tagged ‘Space Marines’

I’ve been wanting to make some awesome objective markers for my World Eaters army for some time now.  I got a bolt of inspiration when I was painting Angron.  On his base (as well as Fulgrims and Ferrus Manus) are dead and dying space marines.  I thought to myself that these models would make great objective markers.  However the thought of desecrating a Primarchs base was too much to contemplate (especially the $$).  However after a lot of thought I decided just to do it… and this is what I came up with

World Eaters Objective Markers

In this photo, they are still not finished, but it’ll give you a pretty good idea of where I’m going with them.  The white plates are for dice to rest on so players can indicated what mysterious objective they represent.  I actually plan on molding these and making casts of them once they’re complete.  I plan on giving them away to participants at The Emperors Legions, a 1000pt, 30k comp I’m running in March of 2014.

Thats it for now, thanks for dropping in

John

So, that time of the year has rolled around again where I’ve made the epic journey upto Townsville for the annual ADFWGA fund raiser.  Do you remember last years post?

I’ve not really participated in that many tournaments in 2013, in fact, I’ve not even played that many games.  I’m more about 30k or social playing 40k these days.  However, the ADFWGA put on a great show, and its for a very good cause.  This year the 40k tournament was 1750pts and I took my Iron Hands.  I didn’t use the new mini dex however.

I also ran the painting workshop, which this year was focused on batch painting.  I believe we raised $500.  Also, one of the guys who attended won an airbrush set up in the raffle at the end of the comp!

So I’ll let the pictures do the talking…

ADFWGA donation

So all the models and paint for the painting tutorial were generously donated by Battle station Ipswich.  Roughly about $700 worth.  Extremely generous

IMG_328801

The painting workshop in full swing.  There were many skill levels and painting backgrounds represented.  Everyone learned some new skills and had a good time.  It was a seriously long day though.  I was exhausted! Having only gotten back from my trip to Europe 3 day prior didn’t help either… Next year I’ll stick to painting sides of tanks!

IMG_328902

IMG_329003

The calm before the storm.  One thing I really like about the ADFWGA comps is how well they are organised.  They are by far and away the bench mark for tournaments in Australia.  No other events even come close to touching these comps.  IMG_329104

The scenery is always very high quality too.  The tables have a great admin area on them to put your army, books etc.  They even have a table to follow so you dont forget any pre-game admin, like warlord traits etc.  Very helpful, especially for people like me who don’t play that often anymore…

IMG_329305

As usual, the armies are all really interesting and high quality.  This one was one of the more interesting ones.  Its and Eldar Exodite army.  Tones of converting and custom work were put into this army to get it looking right.  Not only that, but the paint job was excellent too.  Sadly the owner didn’t manage to get it finished in time, so they were ineligible for a prize etc.  Pity.  Pardon my crappy iPhone photos.

IMG_329406 IMG_329507 IMG_329608

IMG_329709

This was an army I actually played against.  I was really impressed with the paint job.  It was well thought out and skilfully executed.  I was genuinely shocked that it didn’t get a better painting score, or even a place for that matter.

Lots of nice blending and freehand work.  But yeah, Eldar.  My least favourite army to play against…IMG_329810 IMG_329911 IMG_330012

So overall I came 6th.  Which I was seriously surprised at.  I only won two games, and drew the other three.  My army list was just a very basic marine one.  I did however have A LOT of stand off fire power.  Which worked quite well actually, however I didn’t really have anything that could deliver the killing blow.  No heavy hitters that could get up into the enemies grill.

The Iron Hands also got second place for the painting comp too.  Which again, seriously surprised me.  The Iron Hands are quite an old army now, and I’ve come along way technically and creatively since I first painted them.  So to get that sort of score was pretty overwhelming.  I wish I’d actually taken the World Eaters and played them as CSM.  But I just didn’t have the time to paint what I wanted… And my Iron Hands army is MASSIVE, so lots of different choices available to me.

So overall the weekend was a great success.  The ADFWGA raised over $12,000 for Soldier on and many good games were had.  A big improvement on last years efforts, raising $10,000.

Next stop, the ANZAC Cup in April

John

Just another very quick post of a recently finished project that I’ve not had the time to photograph properly.  I really like this model, and its also great in the game too, however it has been taken down by a few very lucky shots in the few games that I have used it….

This model is often criticised for being difficult to assemble. I didn’t really have any dramas putting it together personally it just takes a little patience and a heat gun on hand as you are gluing it together.  I’ve now assembled two of these and I’m very happy with how they’ve both turned out.

I’m anxiously awaiting the release of the next book from Forge World detailing the Istvaan V Massacre…

Iron Hands Stome Eagle 1 Iron Hands Stome Eagle 2 Iron Hands Stome Eagle 3 Iron Hands Stome Eagle 4

Well, its been a long time coming but I finally got around to it.  I’ve started painting my 30k World Eaters army.  Bit late maybe, but who cares, they’re going to be bad ass.  I’ve actually been quite busy this last week or two with painting and modelling however I’ve been so focused on painting and modelling I’ve neglected to do any posts.  Plus the weather has been seriously crap here in Brisbane this last week so the light hasn’t been very conducive to taking good quality photos.  I did manage to get some pictures of my finished squad of 10 Blood Letters of Khorne and my Iron Hands Storm Eagle, however I had the wrong exposure setting on my camera and the pics turned out seriously crap.  So once the light improves here I’ll do up a post each for those two completed projects.

Anyway…  Back to the XII Legion.  So this is a pretty ambitious project for me, however instead of tackling it all in one hit, I’ve broken it down into smaller pieces to make it a bit more manageable.  I’ve actually gone and purchased over 5000pts worth of resin crack for the army, however I’m not going to attempt to paint them all at once…. I did think about it though… Plus, I’d like to enter Armies on Parade (September 28 in Australia) this year too and I figured having another Horus Heresy era army in the competition wouldn’t hurt…

Moving right along, the first lot of units on the painting table for the World Eaters are:

1.  Angron (of course),

2.  Terminator Squad,

3.  Rampager Squad,

4.  Legion Heavy Support Squad,

5.  Spartan Assault Tank (pimp mobile for the Terminators),

6.  Storm Eagle Gunship, and

7.  Contemptor Dreadnought

Heres what all that looks like in a box after I cut off all the tabs, pour point etc incase you’re wondering….

IMG_262401

So lets take a look at these units shall we…  By the way, the pics are pretty poor quality so please bear with me

Angron

Can I just say this model is amazing.  I know its been done to death on the interwebs but I just have to have a chop at it too (pardon the pun).  The detail is astonishing and Simon Egan well and truly exceeded everyones expectations with this model.  I won’t bang on too much about it but I’m seriously looking forward to painting this model.

IMG_265229

Terminator Squad

I knew very early on I wanted the squad sergeant to be based on the Tyberos model of Carcharodon fame.  This was for several reasons, the first is I really like the stance of this mini, and secondly, it has no Imperial Eagle on the breast plate.  As you may know, only the Emperors Children were allowed to have the Aquila on their breast plate, and the final reason is I like the studs on the armour and its baroque look, and well… its just a cool model and its character really suits that of the World Eaters.

This opened up an interesting can of worms for me as the terminator models I wanted to use for the actual squad are the Tartaros pattern terminator squad.  When I purchased these models, the Legion Tartaros pattern squad were not available so I had the armour I wanted, but the torsos were festooned with Aquila’s and the legs had no studs on them.  I also had a bunch of left over Tyberos models from when I did my Carcharodon army a year or two ago.  So I decided to go and make the torso from the Tyberos model the torso for the Tartaros squad. This required a fair bit of cutting, drilling and chopping but I got their in the end.  I also added studs to the legs and power fists of the models.  I’m pretty happy with the overall result.  Here are some pics, and also I’ll included a thumb nail gallery of the progress shots I take with my phone as I’m going along.  As I’ve mentioned previously I do these mostly for myself so I can remember how to I did something if I need to go back to it at some point in the future so they are not the most wonderfully framed shots.

I really like the squad sergeant (the whole squad will have the same should pads too)


IMG_265027


The squad preped and ready for undercoating

IMG_265128

Rampager Squad

These bad boys are the blood thirsty crazy psychopaths that have had the Butchers Nails implants. I guess they eventually went on to become Khorne Berzerkers… seems to fit.  I tried to have as many Chain Axe variants as I could for this squad and I made the squad leader out of an actual Rampager with a massive two handed Chain Axe.  I actually see these guys more as a Legion Tactical Squad that have just swapped their Bolters for Chain Weapons and Bolt pistols as opposed to a real Rampager squad, but for the sake of this post, lets just call them Rampagers.  I made sure they are all shod in MKII armour, which the XII Legion favoured.

IMG_266743

Legion Heavy support squad

The army needs someone to do the heavy lifting, so I thought some heavy weapons would be a good idea at this point.  So I threw in some plasma cannons.

IMG_266138

Spartan

This is one seriously bad ass tank.  If you haven’t read the Betrayal rule book yet, you may not know that in 30k these tanks were hard hitting, teeth pulling mo fo’s.  With a few upgrades they are practically indestructible, easily capable of delivering up to 12 Terminators to the enemies door step to wreak havoc whist along the way delivering hammer blows to the enemy.  So I decided to go balls out with this bad boy and stick practically every upgrade you can put on a Spartan on this model.  One in particular that I’ve wanted to do on a Landraider for some time is a dozer blade so this was a good opportunity to give it a shot.  This is perhaps what I am most proud of on this model, I hope it turns out ok once its all painted.  I intend on painting the interior of this model so the hull isn’t assembled yet. A few other obvious upgrades I’ve added to this model are a remote weapons platform for the multi melta and HK missile, frag assault launchers and track upgrades.  Behold

IMG_267550

The dozer bladeIMG_264926

Track upgrade

IMG_266642

Storm Eagle Gunship

Just cos they’re cool (that gap in the hulls been filled by the way)

IMG_267348

Assembling this kit is a real punish…

IMG_266844

Finally…  The Contemptor Dreadnought

So I’ve had this idea for a Contemptor for some time now that involves said Contempotor back handing a marine across the battlefield with a massive iron bar.  Yep, brutal.  It was sort of inspired by the cover of the Black Library Book Betrayer.  I wanted the base to tell a small story too…  So basically the dreadnought has been swatting marines with a random I beam that he’s found somewhere along the way.  A marine is behind some make-shift battlefield barricade frantically trying to hold off the assaulting force, and this dreadnought has just rocked up under fire and smacked this marine with massive I beam out from behind his cover.  You can see on the base spent bolter casings and an unloaded bolter on one of the drums.

IMG_265734


IMG_265633IMG_265936

Thats it for now.  Thanks for dropping in, hope you’ve gotten something from this post.  As usual, comments welcome.

Until next time

John


So ever since I did the post on How to paint World Eater Space Marines I have a lot of positive feed back, in fact its been a very popular post.  One question that I’ve continually had was “how did you paint the face?” So I thought I’d do a quick tutorial on how to paint faces to a good table top standard.  Believe it or not, its not that hard and with a little patience and practice you’ll dramatically improve the presentiment of any miniature where flesh tones are present.

So lets take a look at the process.

OLYMPUS DIGITAL CAMERA

Step 1.

For the tutorial I’ll be using the old Citadel range of paints.  I do like the new range, however I’m buying to replace them with the new ones as I go so I’ve still got a fair few of the old range on hand.  But if you use the Citadel conversion chart if you don’t have any of the old paints you should be golden.

The paints & materials I’ve used are

  • Abaddon Black – Undercoat and detail
  • Tallarn Flesh – Base coat and component for highlights
  • Dwarf Flesh – For highlighting
  • Red Gore – A component colour for the lips
  • Ogryn Flesh – Base coat wash
  • Devlen Mud – Shading
  • White Scar – Eyes etc
  • W & N No 1 Brush
  • Marines Head – I like mounting pieces on tooth pics for ease of handling

OLYMPUS DIGITAL CAMERA

Step 2.  Undercoat

I’ve used Abaddon Black applied with an Air Brush, or use a spray can.  This is important and many of the small details on the face can be erased or compromised if you don’t apply the paint thinly enough.  I’m not saying it can’t be done with a brush, but it just makes your job harder if you do.

OLYMPUS DIGITAL CAMERA

Step 3.  Base coat

Again I’ve applied Tallarn Flesh with an air brush for the same reason that I applied Abaddon Black with an air brush, so as not to compromise any of the fine detail on the face.

OLYMPUS DIGITAL CAMERA

Step 4.  Wash

Using my W & N no 1 brush I applied a liberal amount of wash.  Don’t be scared to do this as you’ll find that when the medium dries (evaporates) all that will be left is the pigment in the recesses.  You want that to create definition.
How to paint Space Marine Faces 5

Step 5.  Re-apply the base coat

This is where you need to be mindful of a few things.  The first one is paint viscosity, and the second one is your brush condition.  Let me explain.  Where a lot of people fall down when painting flesh is that the paint has already started to dry when its being applied.  This makes the paint lumpy and has an inconsistent appearance in its application.  In some climates where the air is dry (< 30% humidity) you may need to use a wet pallet.  Or just do what I do and take a blob of paint out of the bottle (I live in a humid climate), put it on my pallet and mix in a bit of paint thinner.  This is really important, especially for skin tones, the reason is that our skin is sort of translucent and when we paint it to re-create that effect, we need to simulate this and the best way to do that is to make the paint thin.  I’ll get into more detail on this later, but for now, just make sure that your paint it thinned down a little so it flows better.

The second point you need to be aware of is your brush condition.  There are two aspects of this, the first is that your brush is set up to facilitate capillary action, and the second one is that the tip of the brush is the right shape.  Many painters don’t use their brush the way its meant to be used, and that is having a nice amount of paint on the whole brush (bristles) and then shape the brush tip so that it makes a nice fine point for painting.  A lot of guys I see dip the tip of their brush in the paint and use only that part.  This seriously limits the full capability of the brush and you are doing yourself a big disservice.  To help your brush facilitate capillary action, just make sure that before you dip it in paint (thinned down I hope) that you first dip your paint brush in some clean paint thinners first.  Remove the excess with a tissue or something then dip the paint brush in your thinned paint, using the same tissue shape the bristles so that you have a nice point.

You can now pick out the raised areas of the face with the Tallarn Flesh.  Before you do this take a few moments to consider where you’d like the paint to go by studying the face and its contours.  By having a plan of where you’d like the paint to do will dramatically improve your results.

OLYMPUS DIGITAL CAMERA

Step 6.  First Highlight

Mixing about 70% Tallarn Flesh with 30% Dwarf Flesh, begin highlighting the areas of the face that would naturally catch the light.  So areas like the ears, nose, chin, cheeks, brow.  Again, make sure you follow the points I make in Step 5 about paint viscosity and having your brush set up properly.  Paint viscosity is important for the next three stages.  As I mentioned before, skin is sort of translucent, so when you paint flesh tones, try and make your paint go on in very thin layers so that the edge of each layer of paint isn’t too contrasted against the previous one, and allows its colour to be blended with the previous colour that was applied.

How to paint Space Marine Faces 7

Step 7.  Second Highlight

Mixing about 30% Tallarn Flesh with 70% Dwarf Flesh, begin refining the highlighting of the previous areas of the face that you worked on in Step 6. Again, make sure you follow the points I make in Step 5 about paint viscosity and having your brush set up properly.

OLYMPUS DIGITAL CAMERA

Step 8.  Final Highlight

With straight Dwarf Flesh go and pick out the final areas where you want attention to be drawn to.  Tip of the nose, ears, brow and top of the cheeks.

How to paint Space Marine Faces 9

Step 9.  Lips

With a a mixture of about 60% Tallarn Flesh, and 40% Red Gore, apply a small amount to the lower lip.  This is very subtle but crucial to achieving a more realistic effect.

OLYMPUS DIGITAL CAMERA

Step 10.  Eye Shading

Place a small amount of Devlan Mud in each of the eye areas and a small amount under the bottom lip.  Again a subtle but crucial step.

OLYMPUS DIGITAL CAMERA

Step 11.  Pick out Details

Paint the actual eyes black in readiness for the white to be applied, paint around the collar, neck brace etc and the small stud on his forehead.  Highlight the collar etc as you would normally.
OLYMPUS DIGITAL CAMERA

Step 12.  Finished

Paint in the eyes with white, followed by a small dot of back.  This may take several attempts to get right.  Pick out the service stud with your choice of silver and finish up any other details you’d like attention paid to.
OLYMPUS DIGITAL CAMERAOLYMPUS DIGITAL CAMERA

So there you have it.  It’s doubtful that you’ll win a Golden Daemon trophy with this scheme, but it will with any luck improve the quality of your table top miniatures.

A few points to remember about painting flesh.  The first is no matter what tone of flesh you are wanting to achieve, always start with a warm flesh tone.  For example, if you look at the picture below of my Iron Hands Librarian, you’ll see he’s quite pale.  I still used Tallarn Flesh as the base colour, I just used a mixture of grey and bone to dull down the warmth of Tallarn Flesh.  This is a convention to be mindful of when painting flesh tones.  It seems that our eye is programmed to see flesh tones in a certain way and we accept simulations of flesh tones better when they have a warm base to start with.

Iron Hands Librarian

Thats me for now.  Hope you’ve found this helpful, and until next time chat later.

John Sutton, Brisbane, Qld

Thats right, you read it correctly, I’m selling something.  We’ll trying to anyways…

Its an idea I’ve been toying with for some time now so I thought I’d put it out there and see what happens.

This is an alternate version of the Space Marine Terminator Storm Shield that I made some time ago for my Iron Hands army as I was really unhappy with the ones that come with the plastic kit, so I went about making my own.  I wanted them to still use the same “design language” that the Space Marine range uses so they would fit in but wanted it to look a bit more creditable and solid looking rather than the current one.

So to test the waters I’ve listed 10 packs of 5 on eBay for $12.95AUD each that includes FREE postage within Australia for the first 10 packs sold.

The Games Workshop Terminator model is shown for scale purposes only and isn’t included.

OLYMPUS DIGITAL CAMERA OLYMPUS DIGITAL CAMERA OLYMPUS DIGITAL CAMERA OLYMPUS DIGITAL CAMERAThis is what they look like when they come out of the mold.

So what you get in a pack is 5 unpainted, unassembled polyurethane resin storm shields.  As you can see, some cleaning will be required.

Did I mention FREE POSTAGE for the first 10 sold?

I’ve got a few other ideas for after market accessories in my head, and depending on the success of these will depend on whether or not they see the light of day.  So fingers crossed.

So go to my eBay account and buy a couple so I can pay for my tertiary education and not eat 2 minute noodles all week…

Thanks for dropping in

John

Hello everyone!

Its been a while since my last post as I’ve been busy with study, life and just well, I needed to take a bit of a break to recharge my painting mojo…  it came back pretty strong on Wednesday morning and I cracked open the bunker and went on a mini painting bender and smashed out two test models for my up and coming 30k World Eaters.  This is something that I’ve been thinking of for quite some time however for some reason I couldn’t decide in my mind exactly what I wanted to do in terms of how I was going to paint them.  I had a few different ideas for the white actually, and I was torn as to which method I’d ultimately use.

So I just decided to paint one model with each method and compare and contrast the results.  So sit back and I’ll take you though what I did and how I did it blow-by-blow.  Hope you enjoy it.  By the way, if you follow my Facebook page you’ll already have seen the end results, and if you don’t follow my Facebook page, go do it now….  I was actually so pleased with how both models turned out that I posted the pictures up on my Facebook page to show them off.

So here we go….

Let me begin by giving you some idea on where my head was at before I commenced painting these two models.  White is a tricky (tint, its not a colour) to paint and the colour that is under it has a very strong influence on how we perceive it.  The look that I want to achieve with my World Eaters is one that gives the viewer the impression that they have been in, or are in combat.  So lots of grime, dints, dust and grittiness.  However I don’t want them to look like they’ve just been thrown in a washing machine with a couple of bricks either.  Lets face it, Marines would get shot at a lot, firstly because they are generally numerically inferior to their opponent and secondly, it would take a lot of fire power to drop an Astartes.  Achieving this balance is a major technical and aesthetic challenge with white.

This is why I’ve gone for experimenting with two different base colours for the models.  One has a very light grey base colour, and the other has a very light brown base colour.  The light grey model ultimately had its panel lines cut it with a black oil wash, while the light brown model had its panel lines cut in with a dark brown oil wash.  So lets take a look at the stages and I’ll walk you through it.

As some of you who’ve followed my painting updates perviously will know, I’m really big on preparation and batch painting.  I like to create a system and document it when I paint an army so that if and when I revisit it I can reproduce it, and also its a devision of labor idea, where I attempt the use my time when painting an army as economically as possible.  However I like to keep in mind the end result and in painting models fast, I don’t like to compromise the finish either…  So I spend a bit of time preparing models before painting them, so that when I paint I can achieve a standard which I consider slightly above table top standard for my rank and file models.

How to paint World Eater Space Marines 1

So here we have stage one.  The body of the marine built, with its head, arms, backpack, shoulder armour and weapons attached or mounted on tooth picks which are held in place with polystyrene foam.  When I say mounted on what I mean is for items like the arms, backpack, head and weapon I actually drill a 2mm hole in them and just force the tooth pick into the hole.  This saves time glueing them onto the tooth pick and if I bump them and they fall off, I can just re-attach them.  Everything is cleaned up, barrels are drilled and the paint is ready.  I’ve got a clear picture in my mind of what I want the finished model to look like.

How to paint World Eater Space Marines 2

Black undercoat.  Nothing really revolutionary here. How to paint World Eater Space Marines 3

Once the black undercoat is applied I take the pieces that will be getting different treatments and fix them to separate foam plinths.  Here the bolters have been painted with Citadel Leadbelcher.    How to paint World Eater Space Marines 4

Just like the bolters I’ve segregated the shoulder armour and back packs.  One thing that isn’t shown in this picture is that they were actually all aligned to face the same direction they would when on the marine.  This will assist later when it comes time to shading them.  The base for the blue is Citadel Kantor Blue.  Once that had dried, I gave each piece a small highlight with Citadel  Caledor Sky, and then finally a even smaller highlight with 70% Caledor Sky and 30% White Scar.
How to paint World Eater Space Marines 5

The first marine is given his black undercoat a base coat of Citadel Dawnstone.  I didn’t go over board with coverage, as I want the black to remain in recesses etc to add to the  pre-shading of the white when it eventually goes over the top.  How to paint World Eater Space Marines 6

As per the stage above except with Citadel Baneblade Brown.How to paint World Eater Space Marines 7

The first coat of white.  I created a mix of 90% Citadel White Scar and 10% Citadel Dawnstone.  This stage you want to make sure that you apply the colour with a “top down” notion in mind.  Remember that most of the time the source or light (the sun) is above the marine, so we expect to see shadows in areas where shadows would normally be created in natural light.  So lightly dust this mixture on ensuring that you keep the model pointing up as you are painting it.  Don’t go over the top either, just like the Dawnstone, you want to make sure that the coverage isn’t complete, you want some Dawnstone, and if you’ve done the job right, some of the black to still be showing through.

Once that was done, I gave the model a very light coat of just straight White Scar to make the raised areas really pop.  You need to be very delicate with the paint application at this stage otherwise you run the risk of making the white too bright and ruining the effect you were trying to achieve by using the black and grey undercoat.
How to paint World Eater Space Marines 8

As above except with Citadel Baneblade brown.How to paint World Eater Space Marines 9

I then added chipping with a small sponge, painted in the detail and gave the models a coat of gloss varnish in preparation for oil washes.  How to paint World Eater Space Marines 10

I really like this picture for many reasons.  Mainly because it clearly demonstrates the distinct difference between the brown and grey undercoat.  I deliberately chose to use brown and black oil paint respectively on each model to further accentuate the undercoat colour coming through the white and thus further emphasise the two “looks” I was going for.  I actually think the one on the right would be a great base for a Death Guard….

Once i’d finished painting the bases, finishing up the detail etc, I gave each part a good coat of matt varnish, assembled each marine, hit it with some weathering powders and then gave it another hit with matt varnish.  Below are the pictures of the finished models.

OLYMPUS DIGITAL CAMERA

OLYMPUS DIGITAL CAMERA

OLYMPUS DIGITAL CAMERA

I’m really please with the results and very really anxious to get started on the army proper now.  I’ve decided to go with the grey undercoat after all that as I think it give a more authentic white and is in line with how I’d imagine the XII Legion to look.

What are your thoughts?

Thanks for dropping in, comments as always are very welcome.

John Sutton, Brisbane, Qld

Hey everyone,

Heres something to get you very excited.  My good friend, fellow blogger and painter extraordinaire who’s models have featured on the front page of Games Workshops blog found their way to The Painting Bunker today and we couldn’t help ourselves so we staged a few shots for your viewing pleasure.  I think you’ll agree with me in that these pictures look amazing.

We are actually planning on fighting the campaign from the Betrayal when I get these boards finished and have painted my World Eaters, so this is just a taste of things to come.

Behold!

Sons of Horus on Cityscape 1 Sons of Horus on Cityscape 2 Sons of Horus on Cityscape 3 Sons of Horus on Cityscape 4 Sons of Horus on Cityscape 5Hope you enjoy!

Cheers

John

So, CanCon 2013 has come and gone.  It’s been a big weekend, having not been to this event in over 12 years. In some regards glad its over and happy to be home.  So lets break it down blow by blow.  Firstly, let me just quickly explain what CanCon is for those of you who are not familiar with it.  CanCon is a 3 day Wargaming, Roleplaying, Card Game, Board Game convention that is held over the Australia Day long weekend in Canberra each year.  It’s been going for something like 30 years and is a big event on the calendar of practically every person who’s into gaming.  Virtually every wargame in every scale you can think of is represented at CanCon in one form or another, and this year I participated in the Warhammer 40,000 event.

For 40k CanCon 2013 it was a 1850pt event with no comp, and 40k approved Imperial Armour units were allowed.  It’s 8 games over the three days, with 3 games on the Saturday, 3 games on the Sunday and two games on Monday, one in the morning and two in the afternoon.  The first two games on Saturday are random draw and the rest of the games are seeded after that based on battle points alone.  At the end of the event your battle points are modified by up to 20% for sportsmanship and painting respectively, and then the winner and other places are determined.

CanCon attracts some of the best 40k players in Australia and this year of the 130 players, 30 were ranked in the top 100 players according to RankingsHQ, of those 30, 8 were in the top 20.  So the competition was pretty stiff, and the stakes were high for the more competitive players because a strong final placing in CanCon almost assures an invite to the High Lords of Terra comp held later on in the year.

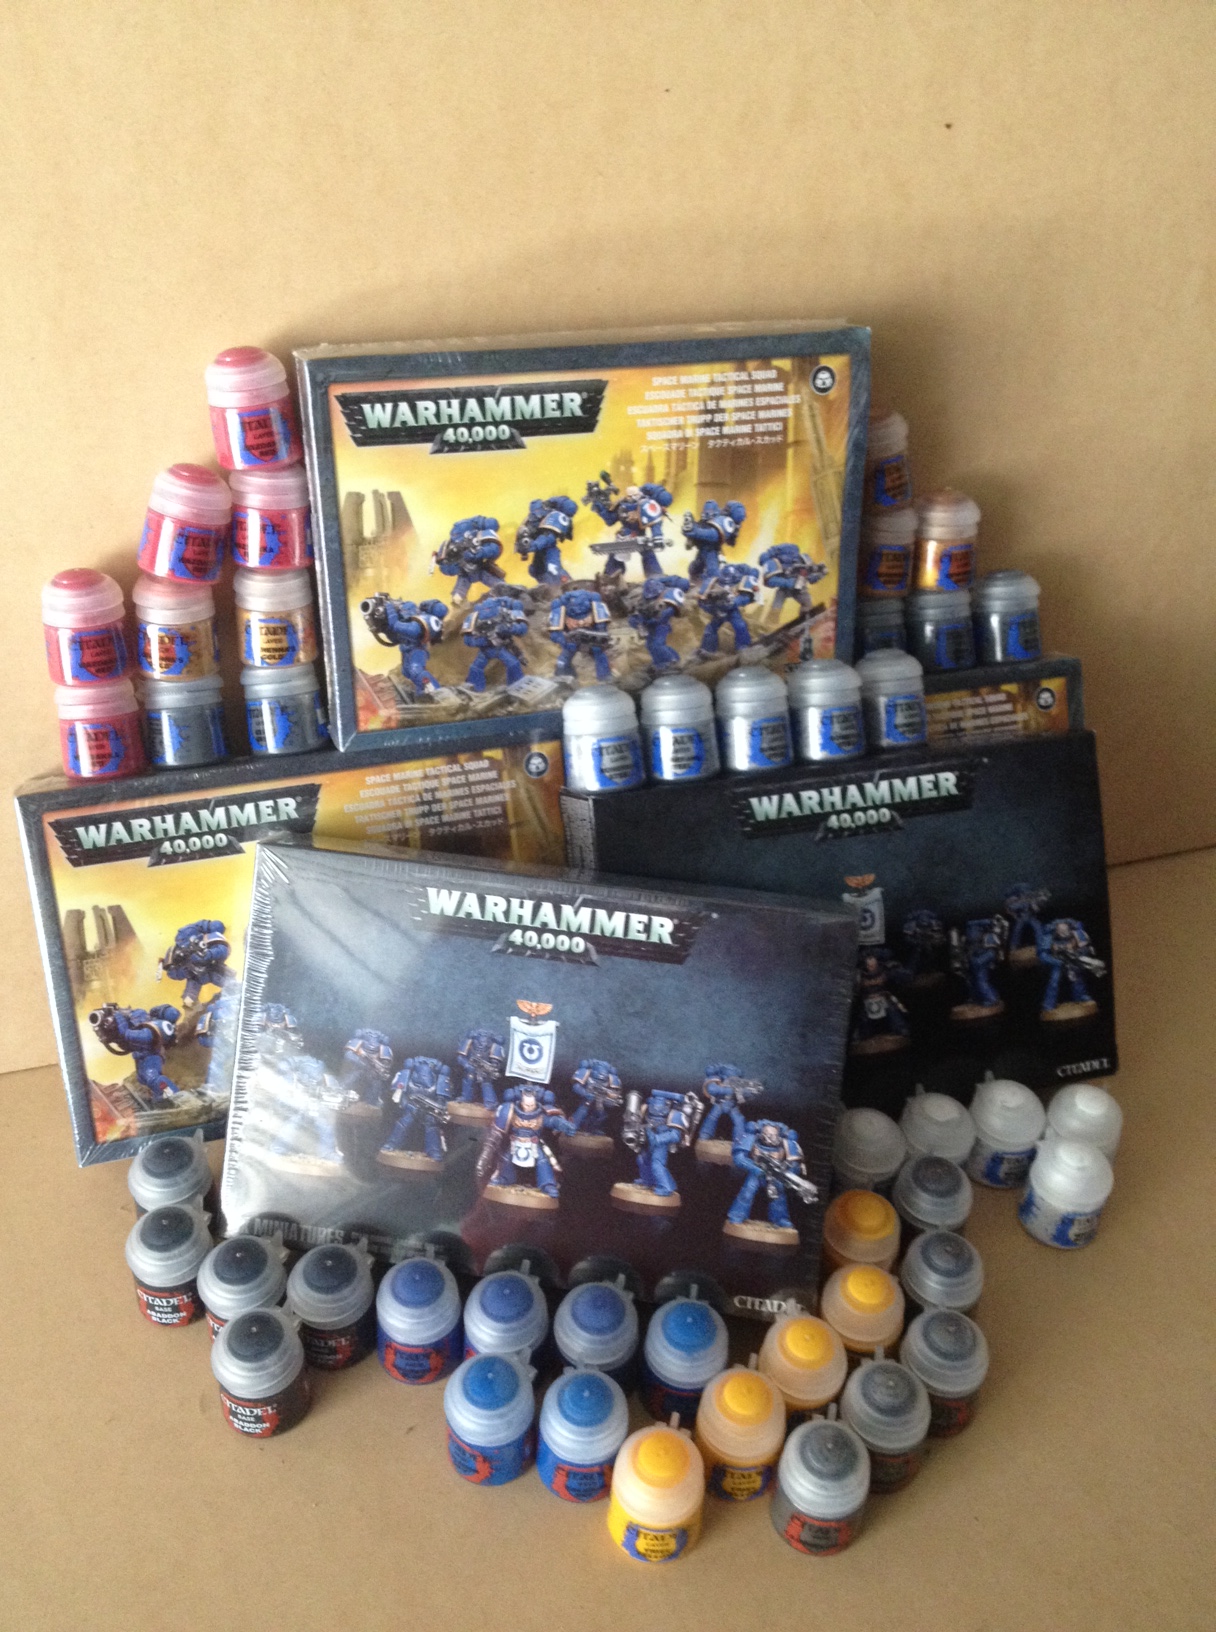
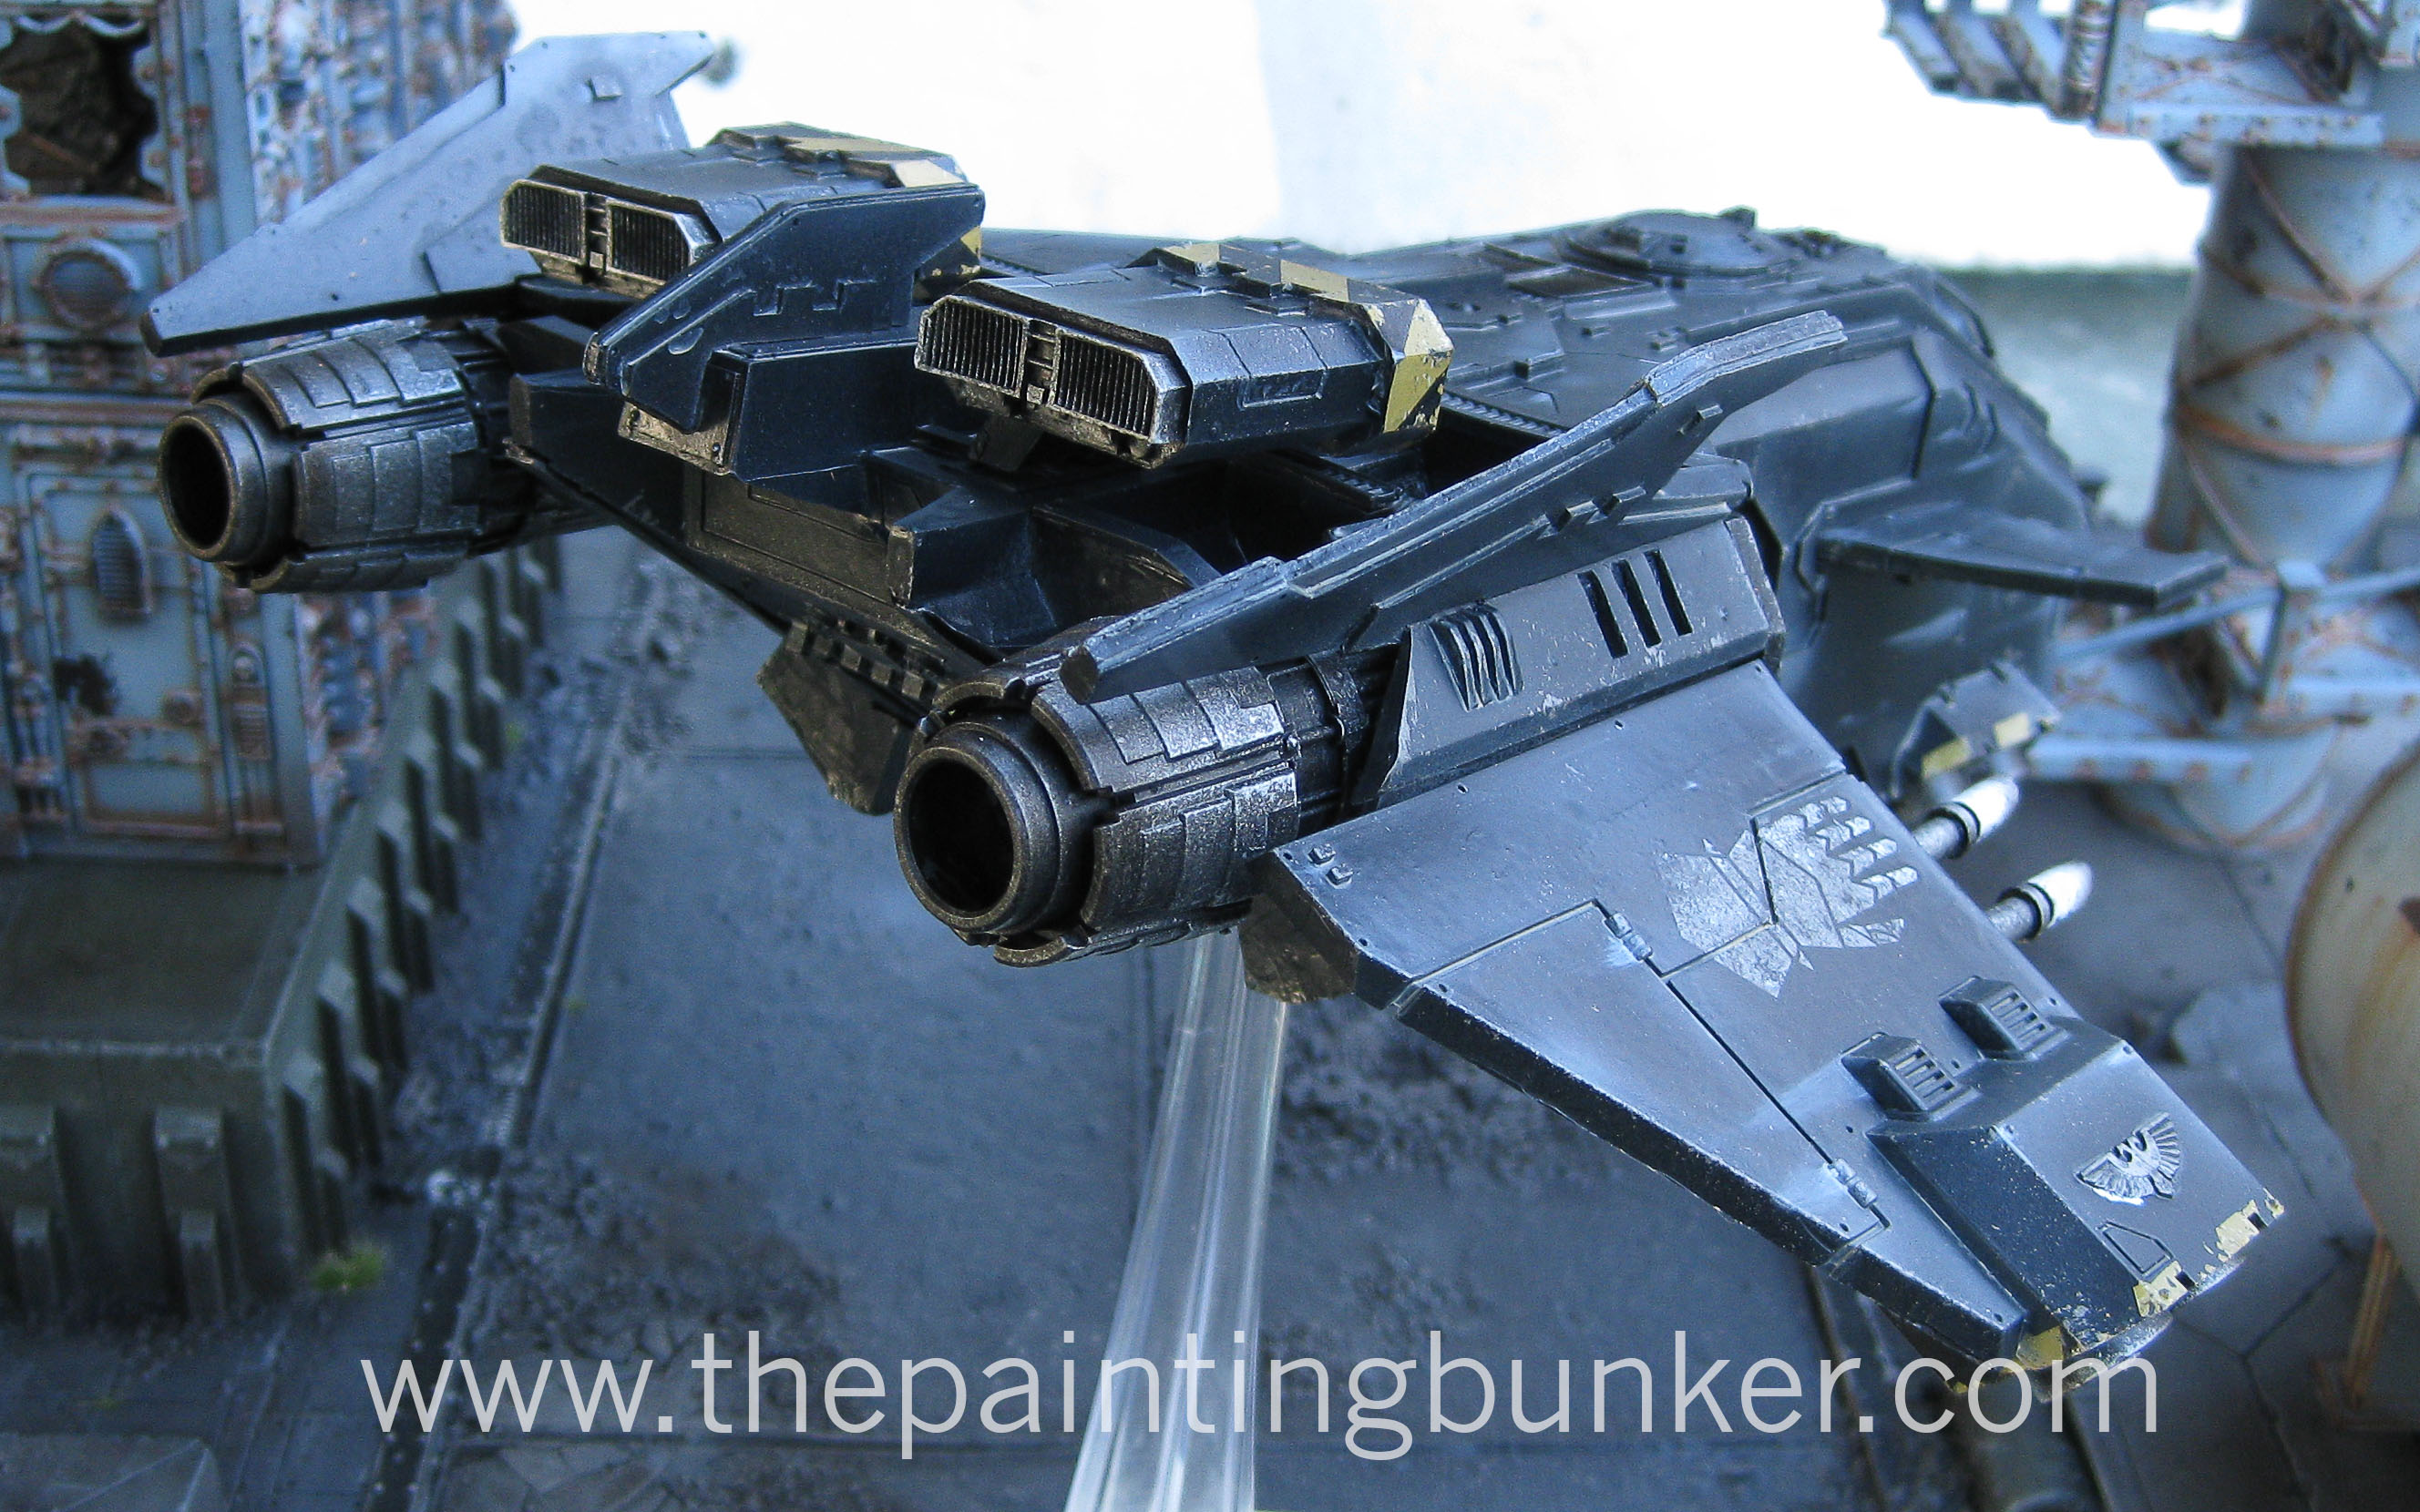
So, lets look at my list first.  Now, I consider my list actually a fluffy list, meaning its based on a theme I believe would be very consistent with how I perceive a Space Marine army would fight.  It’s a bit of a ‘one trick pony’ but that one trick is pretty nasty indeed.  It’s a full drop pod list that works on the basis that Marines would send their form of artillery in first to suppress the enemy, then once this is achieved they would launch the assault proper with massed infantry to neutralise and seize the objective(s), with close air support to maintain air superiority.  I don’t see Marines using tanks and static formations to get into protracted symmetrical conflicts.  They turn up to the fight, smash their opponent in the face with a brick, then run off with his wallet, putting the boot in just to be sure he doesn’t give chase.

The only slight deviation I took from this idea is that I would have preferred to used a Storm Eagle for the close air support however I didn’t have one painted so I had to use Imperial Guard Allies to achieve this aspect of my list.

So, how did it play out?

Game 1.  Chaos Space Marines – Minor Win

This was an interesting army as it featured many 1st ed CSM models in the list.  So I really enjoyed looking at it, brought back a lot of memories.

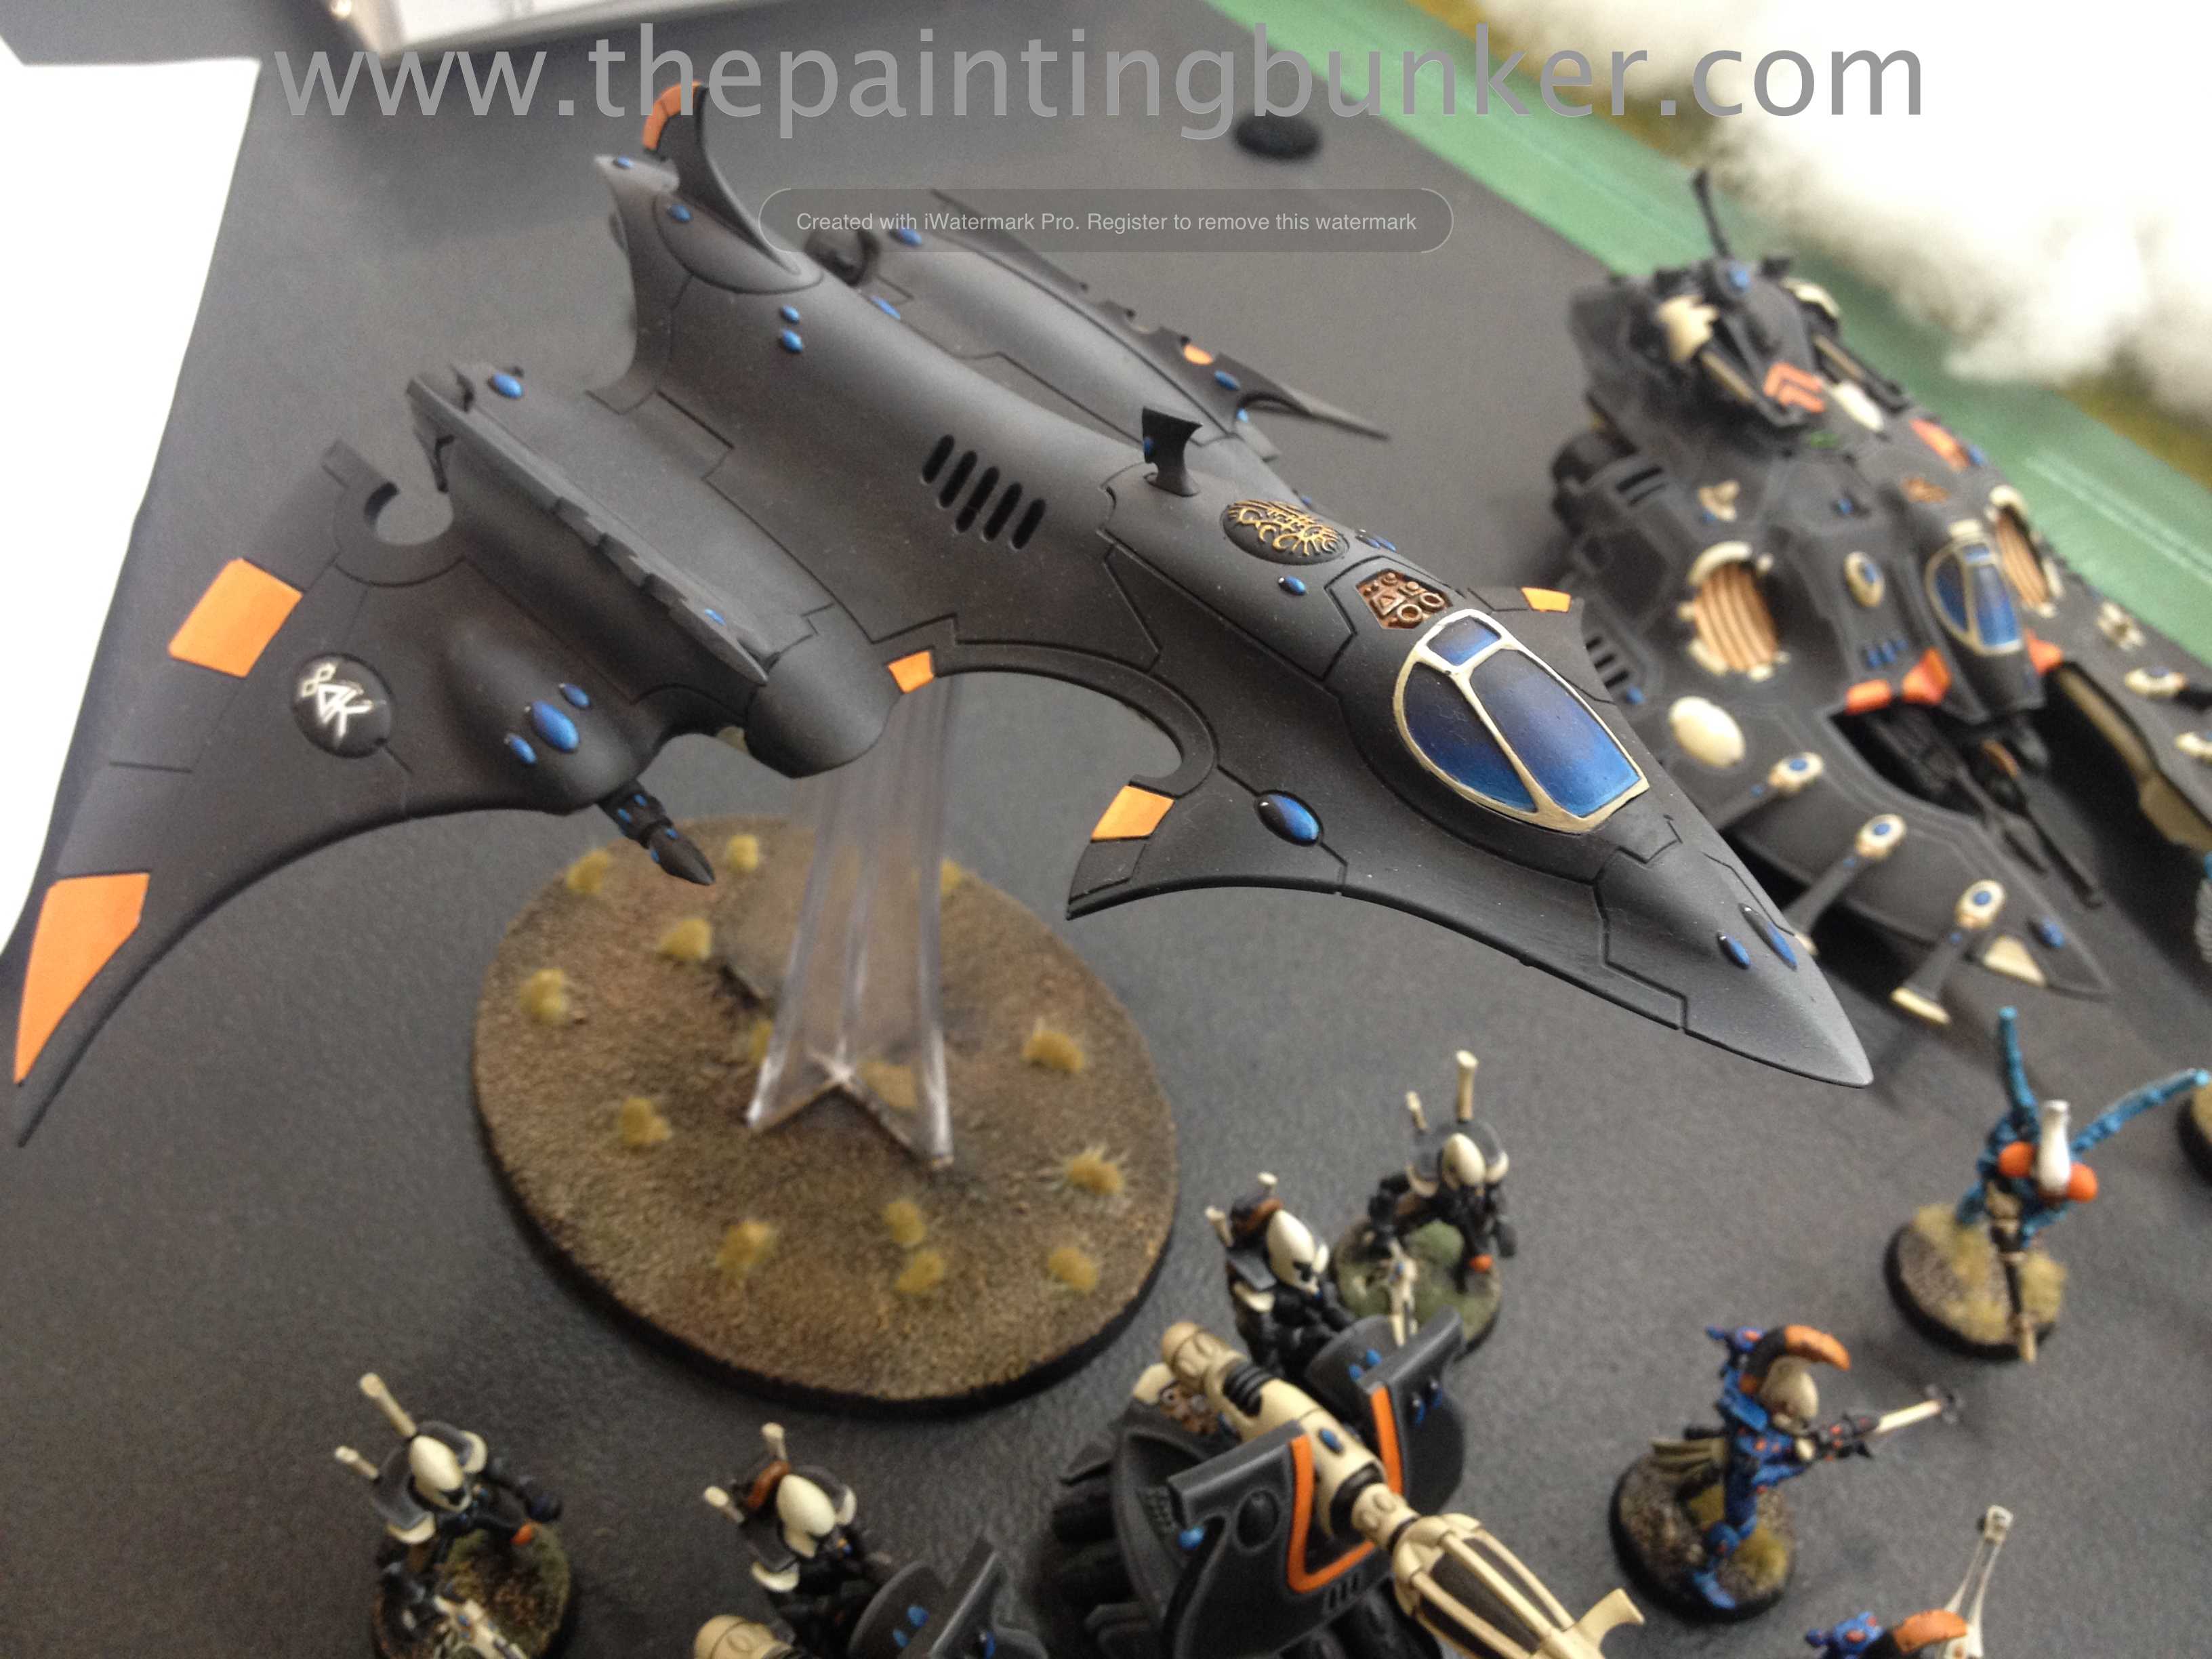
Game 2.  Eldar – Major Win

This was a fun game, it was a nicely themed army with Wraith Guard and Wraith Lords en mass.

Game 3.  Dark Eldar – Major Win

My opponent actually ended up finishing quite highly in the overall placings (6th overall), getting highest score for Xenos for a non placing army.  However during this game, he didn’t appreciate the impact of putting his army so close together in the deployment zone.

Game 4.  Orks – Major Win

This was a great looking Ork army with many interesting conversions.  Sadly though, the orks really copped a pasting from the Deathwind’s and I got extremely lucky with a few rolls that went in my favour which spelt the end of for the Orks

Game 5.  Chaos Space Marines – Minor Win

This was a very interesting game.  At first things were really going my way, what I didn’t destroy with shooting, ran off the board after breaking in close combat.  Then came the two Hell Drakes.  These two managed to kill all but 3 of my marines by turn 5.  Before their arrival I had around 30 on the board.  If it wasn’t for Lysander getting the warlord trait allowing him to be a scoring unit things wouldn’t have been as rosy.  Still a very hard fought game.

Game 6.  Grey Knights – Minor Win

This army had Cotez with 5 x 10 man GK squads with 4 psycannons in each.  He also had a squad of 10 hench man.  This was a very tough game.  Even though I managed to kill all but 3 of the Grey Knights by the end of the game I still only managed a minor win.

Game 7.  Necrons – Major Loss

Yeah, Necrons… nuff said

Game 8.  Imperial Guard with Grey Knight Allies – Minor Win

I’d had my fill of 40k by this stage and so had my opponent.  I was glad when the game ended.

So in the end I managed 5th place out of about 130 players, by far my best placing in terms of size of players and talent at a comp.  Which considering I was using marine list with apart from the 4 Imperial Armour, was pretty basic.  So I am quite pleased with my result.  Would I have done things differently?  Yeah, for sure.  I would have liked to have had a Storm Eagle, I would have done a few moves differently with the Necrons in the 7th game.  But overall it was a great learning experience in terms of tactics and army composition.

The final placings were

1st – David Teoh – Necrons

2nd – Joshua Leondaris – Daemons

3rd – Joshua Pope – Dark Eldar

4th Chris Turk – Necrons

Best Imperial Army – Me – Space Marines

Best Xenos – Andrew Wynen – Dark Eldar

Best Sports – Joshua Diffey

Players Choice – David Travers (couldn’t hear what army he painted when it was announced)

Overall, as far as the event was concerned I was very disappointed.  It didn’t live up to my expectations given the size and longevity of the event.  Let me qualify a few observations of areas that were lacking when I compare them to other events I’ve attended.

Terrain – This for me was by far the biggest let down.  For an organisation the size of the CGS that runs an event the size of CanCon with the amount revenue they must generate from CanCon, they STILL rely on terrain lent to them from the larger gaming community.  Wouldn’t it be sensible to reinvest some of the revenue into their own tables and hire a storage shed to keep it between comps or even hire it out to other event organisers to create an income stream.  I can not stress enough how much of a let down this aspect of the tournament was for me.  Even just limit the amount of players so that you get quality over quantity.

At $50 per player and 130 players, that means $6,500 in revenue was generated.  Prize pool was $2,000, with a large proportion of it donated by the Combat Company, The Games Capital & Milsims.  I really think much more could have been done in this department.  Big let down.

Organisation – Although the tournament ‘happened’ it could  have happened a lot better with just a few minor improves.  None of the tables had an ‘admin area’.  Most tournaments I’ve been to have been played on 8 x 4 tables with a 1 x 2 section at each end cordoned off for the players to keep templates, models, drinks etc.  I’ve even been to tournaments where key aspects of the game flow and terrain adjudications have been fixed to this area for easy reference.  There was non of this at CanCon.  Each table had a stapled together set of pages with this on it, but they went missing, and there was no admin area on the tables.

Also, for an event this size, 130 players, the round draws were printed out on A4 pieces of paper and sticky taped onto walls in two places.  You can imagine what this looked like when 130 players wanted to find out where their next game was.  It was ridiculous.  Seriously.  Hire a projector, ask a friend for one, buy one and book it as a capital purchase for CGS.  Its not like it will never get used again.   Printing out the draw on a few pieces of A4 paper and sticky taping them to the wall is far from an acceptable stand for an event of this calibre.

One last point on organisation.  Timings and announcements.  Neither of which were done well.  If you know you’re going to be having to communicate to about 130 people in a giant hall with about 500 people in it, yelling won’t cut it.  Get a PA or something, see my remarks regarding a projector for possible solutions to this problem.

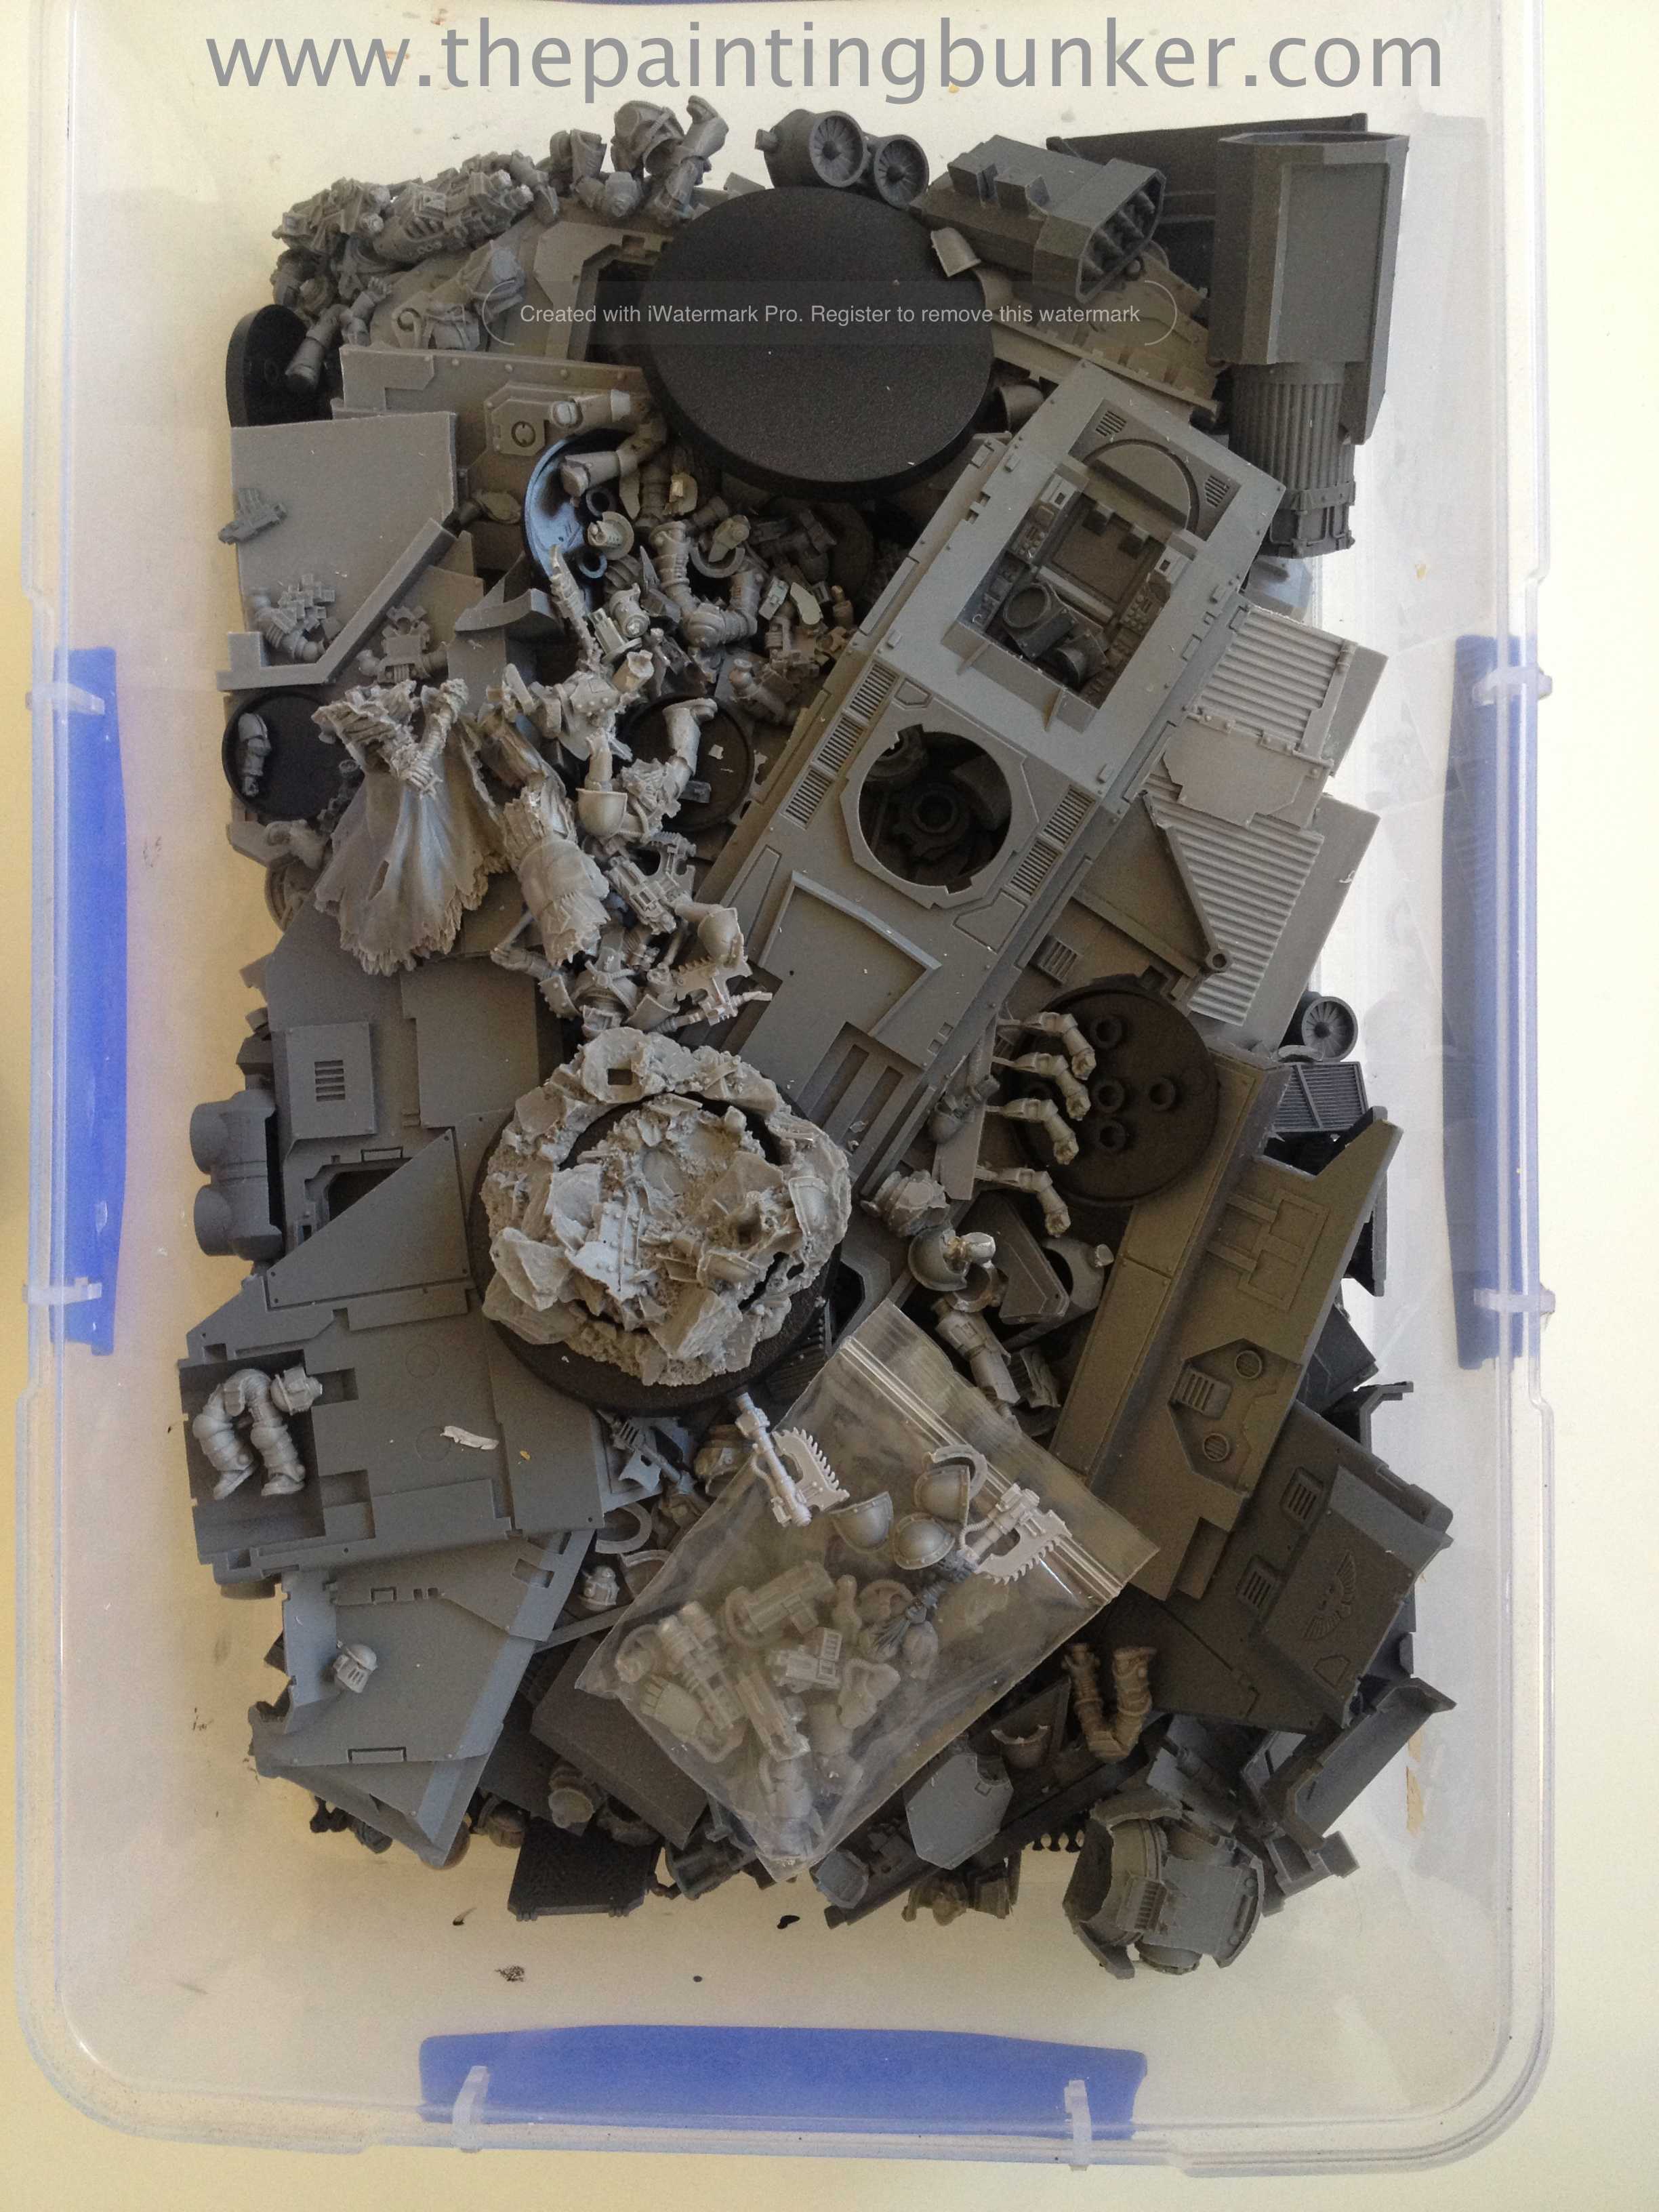
Army Presentation Standards.  Although this is to a degree out of the control of the organisers, it can be influenced and shaped by culture and incentive.  By culture I mean ensure that players who are attending this event know that army presentation is expected to be and is to a high standard.  This expectation is from the other players attending as they will be bring armies presented to a high standard, and this is reinforced by the event organisers ensuring that army presentation is elevated by themselves in terms of prizes and status provided by winning these components of our hobby at their competitions.   Finally, the second way it can be influenced in a positive way is by having a reward, or consequence by not having a well presented army nor for players providing a vote for the players choice.  By having more rigorous appraisal standards for painting, a bigger consequence for having a poorly presented army, and finally a negative effect on battle points for not voting on an army for players choice.

Non of this was present.  I saw unpainted armies, no exaggeration.  I saw some armies that were in various stages of assembly and some extremely well presented armies too.  As a matter of fact the 2012 Armies on Parade winner was present.  So it wasn’t all bad. However, on average the one third of people that did put some effort into their armies were grossly overshadowed by the people that had no regard to this important aspect of the hobby.  This is disrespectful and mustn’t be allowed to feature as a cultural aspect of our hobby.

A culture of well presented, best of your ability armies needs to be fostered and rewarded, both in terms of status and prizes.  Coming first for your painted army and first for your level of skill as a general needs to be equal and treated as such.

So, sadly I was let down overall by my experience at CanCon.  Perhaps I had too high an expectation?  Maybe.  I genuinely believe that if a few improves where implemented this tournament could be world class.  It seems that the event organisers have been using the same formula for many years and its been getting them by.

To finish on a positive note, it was great to play some of the best players in Australia and see the way they do business.  If you want to improve your gaming ability and painting ability, tournaments are by far the best place to do that in, in the shortest amount of time.  Also, going interstate meant that I was exposed to players and armies that I don’t see where I live in my usual gaming circle.  So this experience was invaluable.  I am looking forward to seeing if CGS implement some changes to their formula and turn CanCon into what it should be.  Exceptional.

Thanks for dropping in

John

Hello everyone,

This will be a very quick post just to share some finished pictures of a Carcharodon Space Marine Vindicator Tank I finished this afternoon.  Its for a 1850 point army I’m using this Saturday at GW Mt Gravatt 40k tournament.  The army list is basically the same one I took the ADFWGA Championships I played in earlier this month, just with a Vindicator tacked onto that list.  Yes, I’m using the Space Wolf Codex again…  Its addictive…  This isn’t the first Vindicator I’ve painted recently either.  You may remember I added one to my Iron Hands Space Marines a few months ago.  The kit that ended up being the Carcharodon Space Marine Vindicator was meant to be a second Iron Hands one, however it wasn’t meant to be.

The reason I decided to add a Vindicator to the list was that I felt one of the weaknesses of the list was that it has no real creditable way of dealing with heavy infantry such as Terminators, Ork Nobz, Paladins and Main Battle Tanks.  Yes I can deal with them, but in the past I just got lucky and was able to dispatch these foes… I don’t like relying on luck in my planning.  So a Carcharodon Space Marine Vindicator was in order.  The Vindicator has a massive buff now in 6th Ed thanks to the new rules for template weapons and if positioned well in cover or held in reserve to deal with anything that gets too close, it’s a real threat and my opponent had better factor this into his plan otherwise he’ll end up on the wrong end of a S 10 AP 2 Ord. Large Blast, and at 115 pts, why wouldn’t you? Plus it looks bad ass.

Ok, enough yakety yak, here are some pictures.

Carcharodon Space Marine Vindicator 1 via www.thepaintingbunker.comCarcharodon Space Marine Vindicator 2 via www.thepaintingbunker.comCarcharodon Space Marine Vindicator 3 via www.thepaintingbunker.comCarcharodon Space Marine Vindicator 4 via www.thepaintingbunker.com

Carcharodon Space Marine Vindicator 5 via www.thepaintingbunker.com

Don’t know why I added in the one of the Land Raider with the Vindicator, thought it just looked awesome.

I’ve also been doing a bit of work on the Forge World Realm of Battle Cityscape boards too so you should be seeing a post on them in the next few days, until then bye for now

John