So, this is part two of this project. Basically we’re up to under coating at this stage. Assembly is a distant memory, however I feel that it will haunt me for the rest of my days. It was seriously hard work. A task I’m thankful I’ll probably only ever do once in my life.
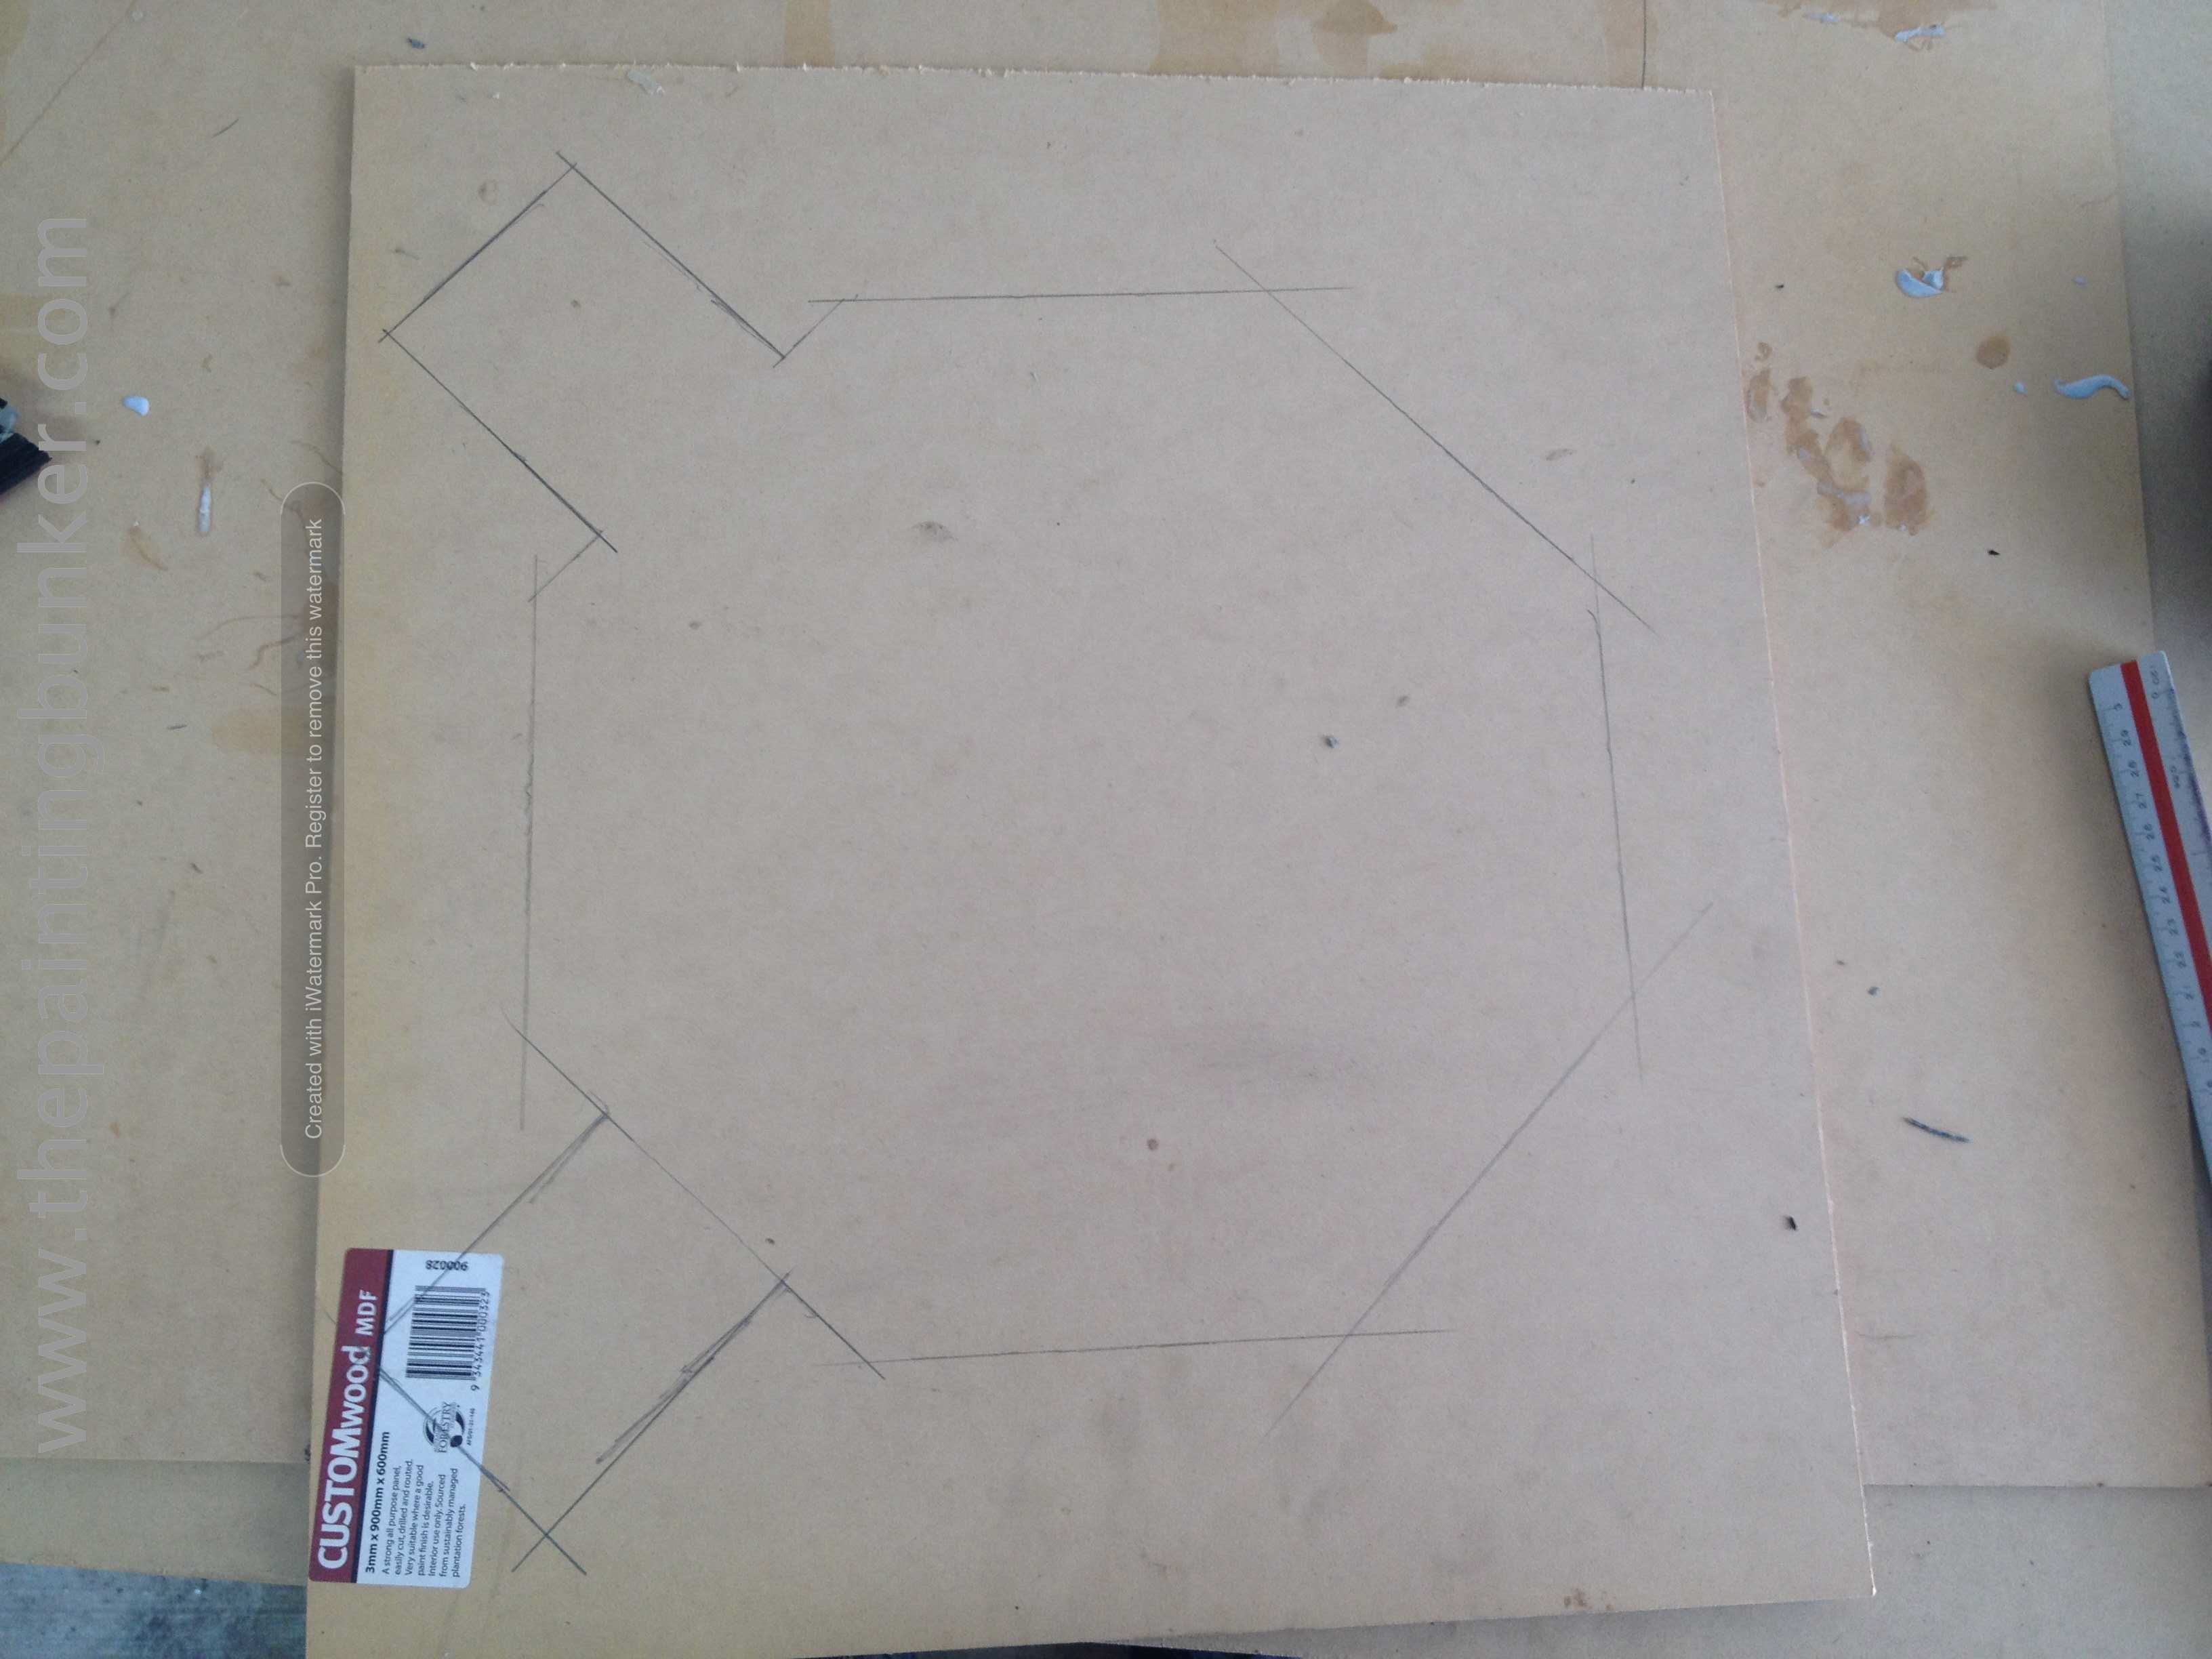
Ok, lets get down to business. One thing I really wanted to do to the landing pad is not to have a gap between the ground and the underside of the landing platform. I also wanted to make whatever I put in that gap be suitable and fitting with the character of the base, and finally, be simple and easy to produce (I’m quite a lazy bugger you see)

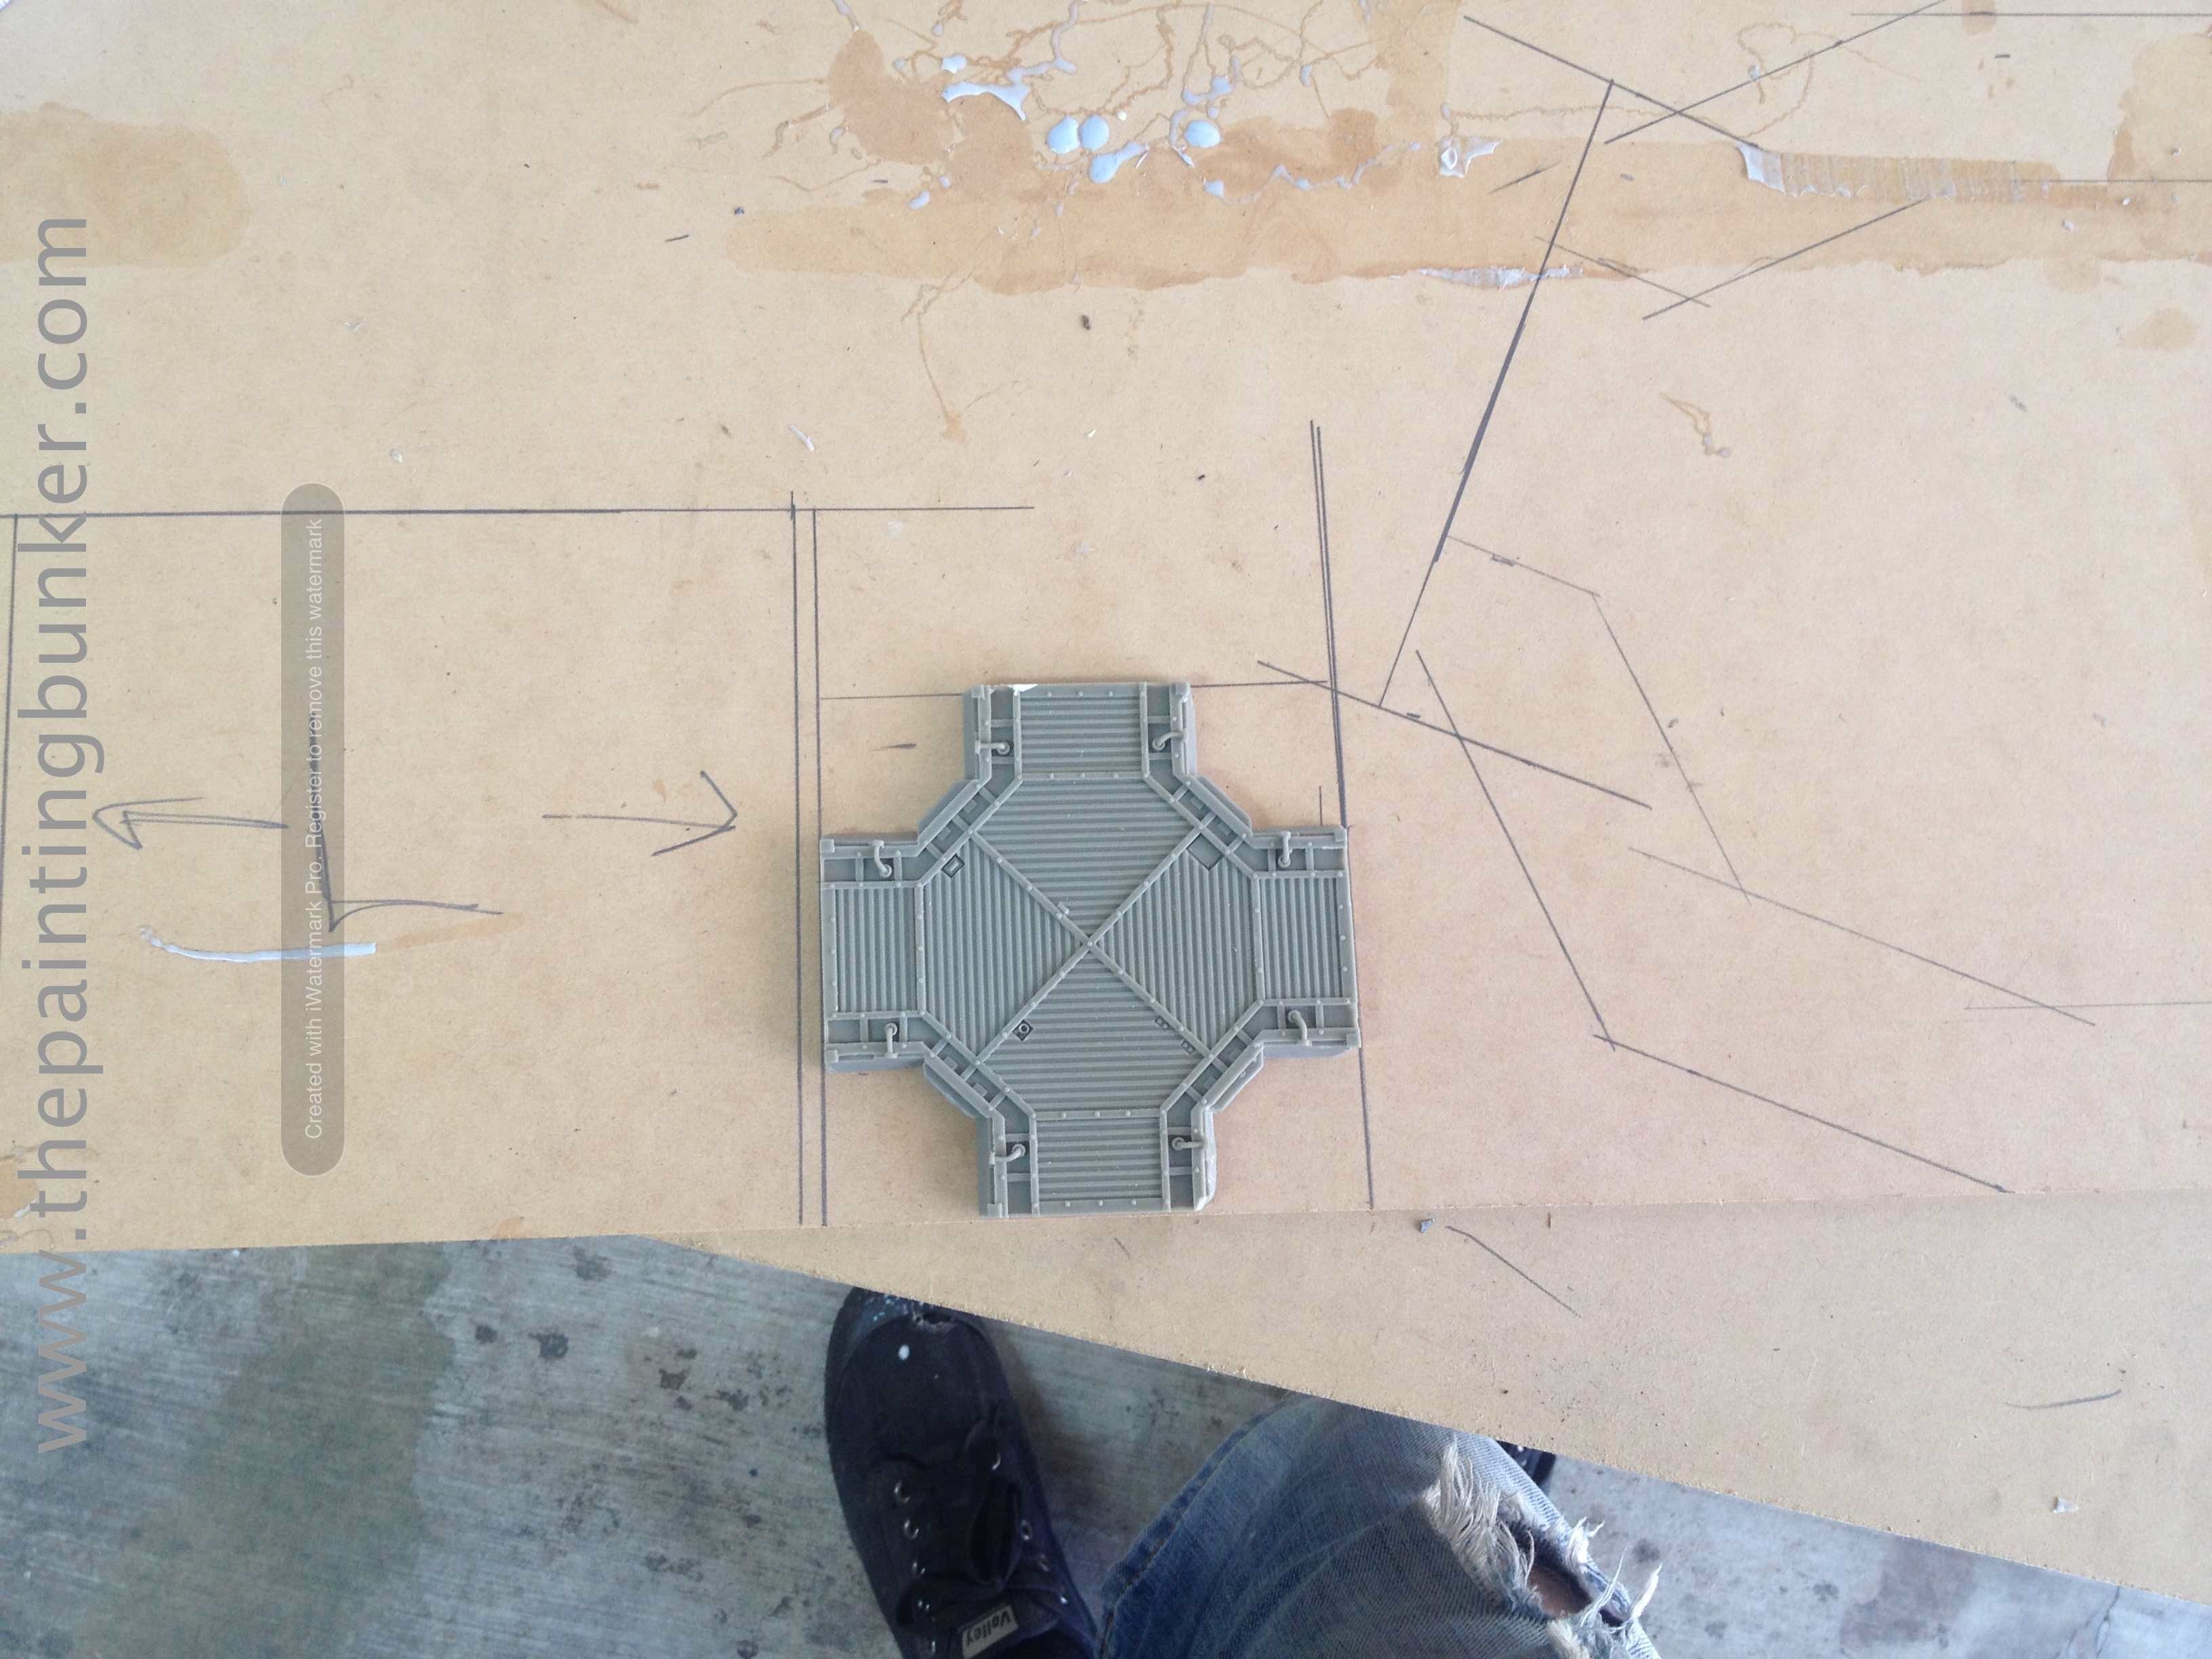
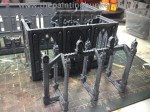
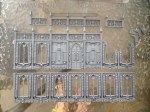
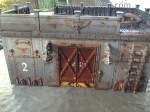
So what I settled on was getting some of the old Necromunda bulkheads. Remember these?
Big Jim, if you’re reading this, thanks for donating them.

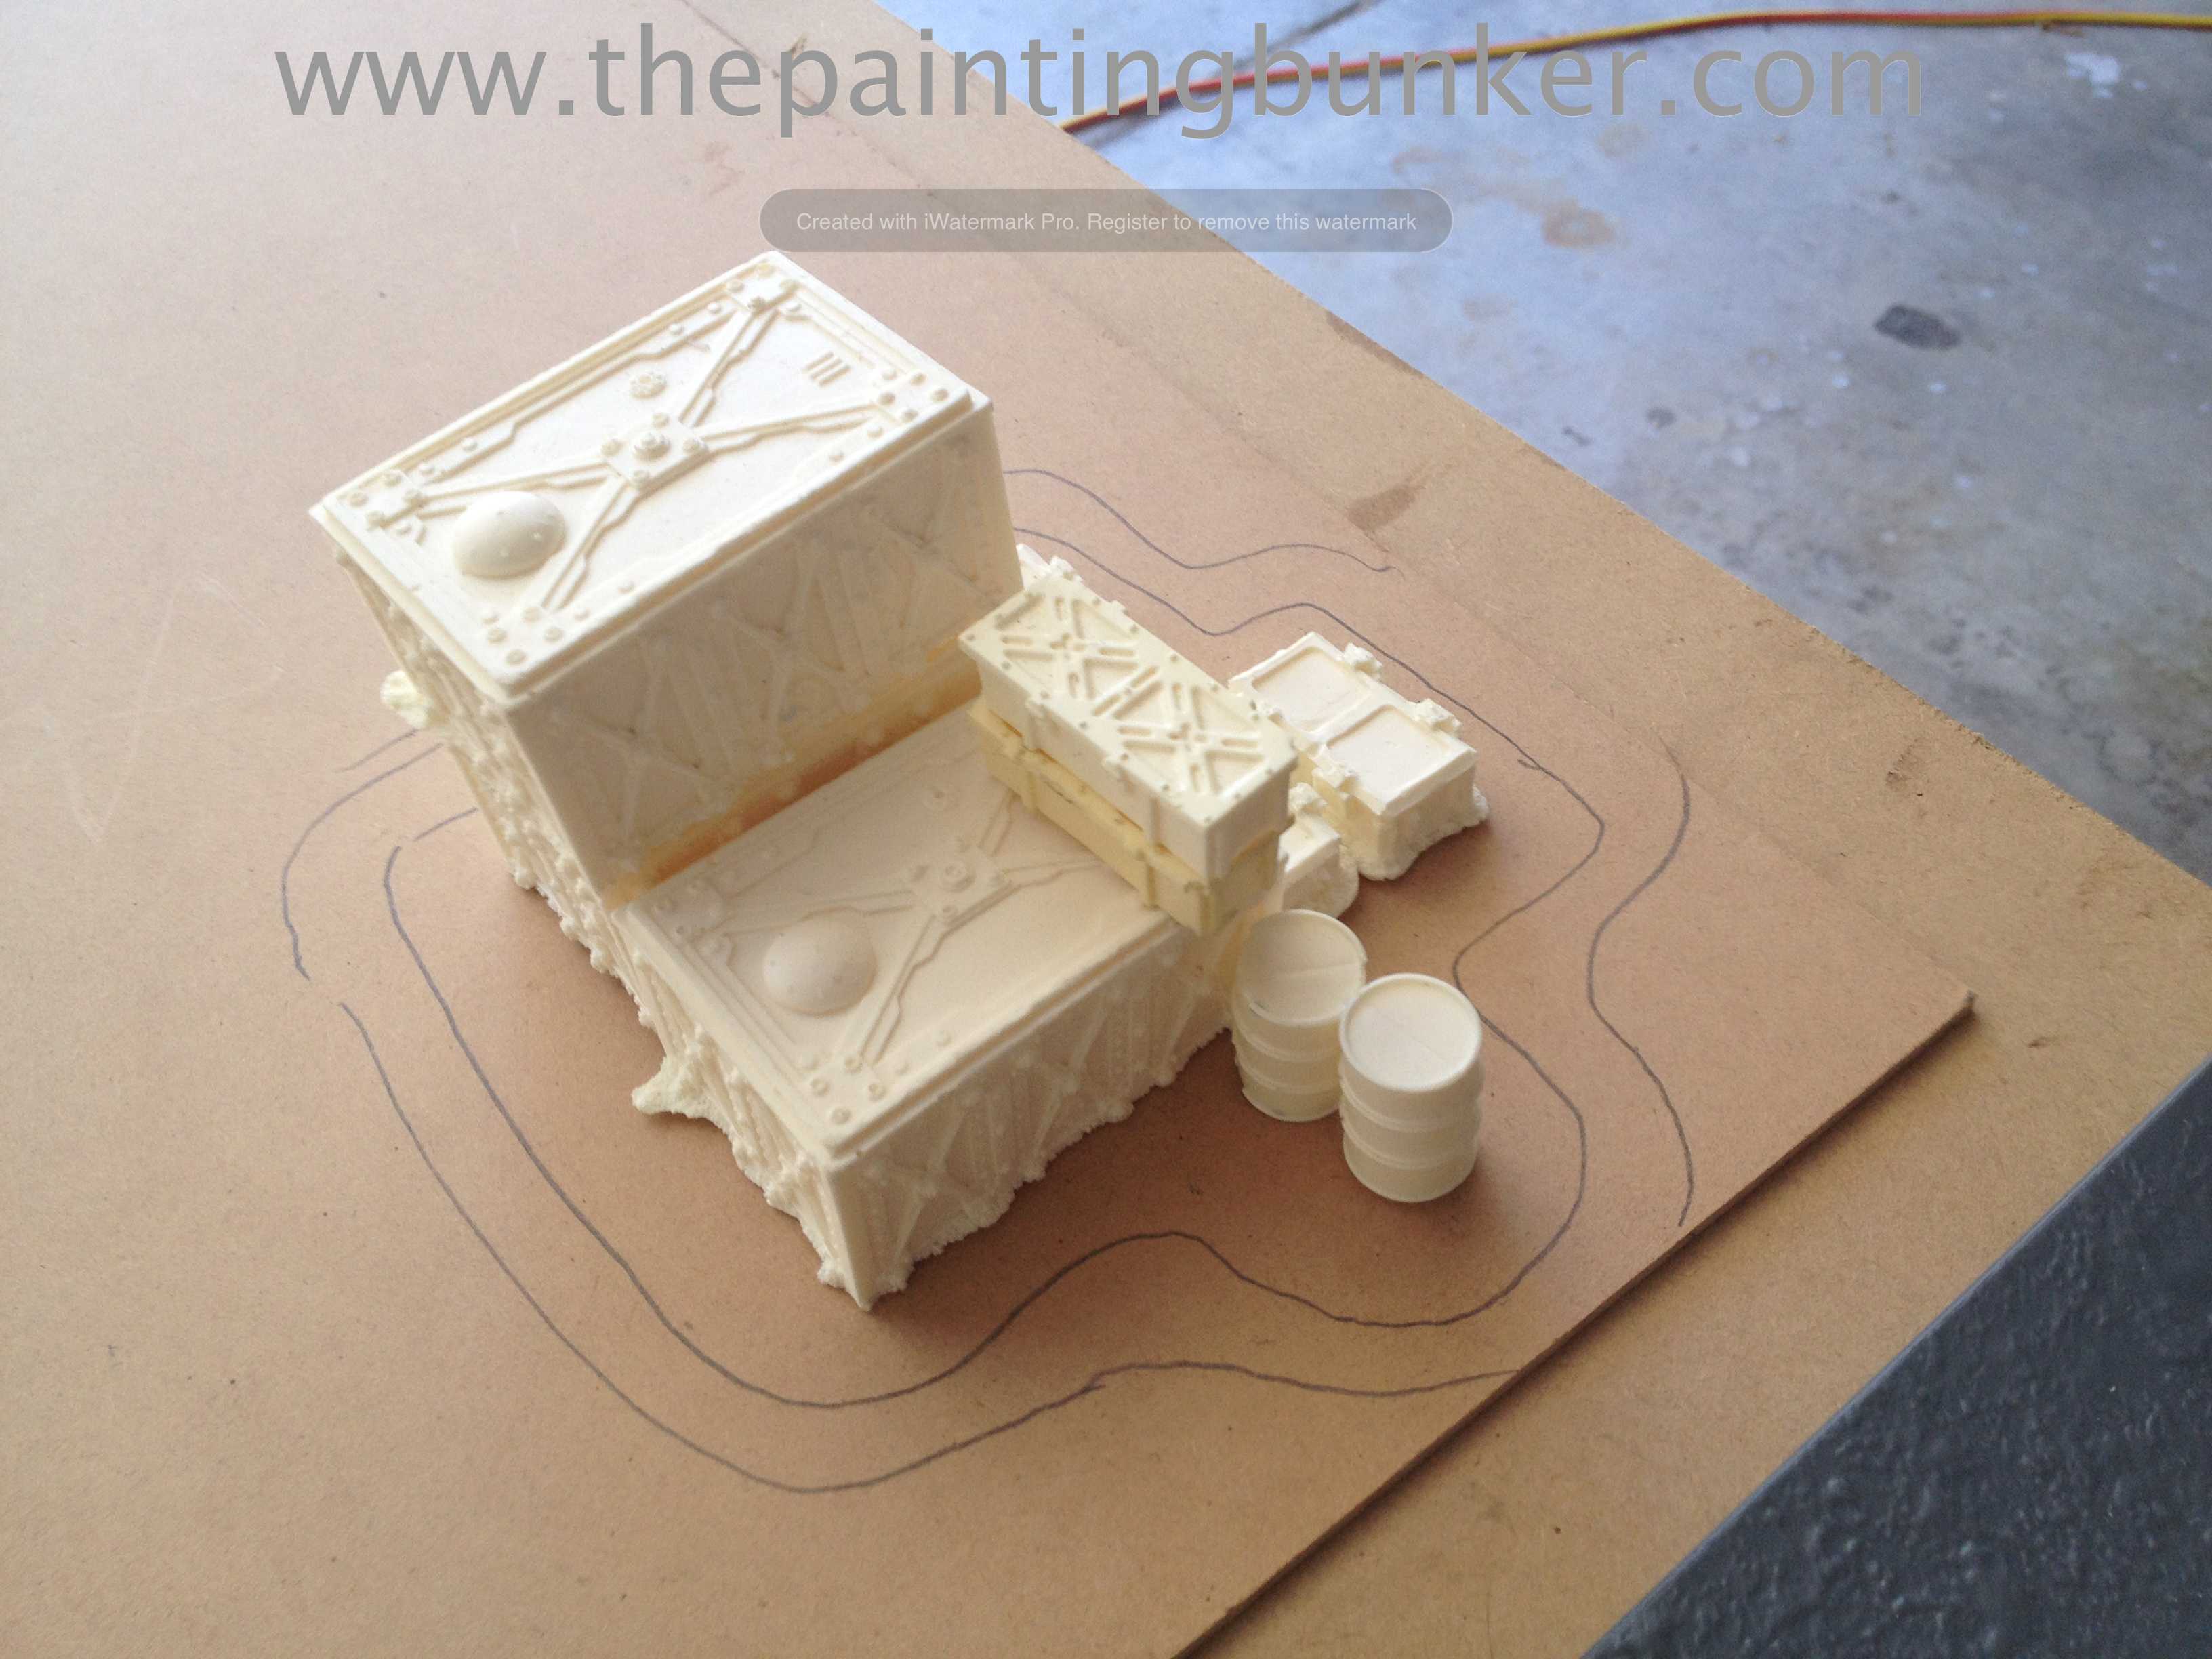
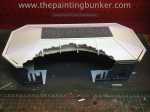
So basically I chopped a bunch of them up up to make a panel wide enough to span the gap between the support pylons on the landing pad.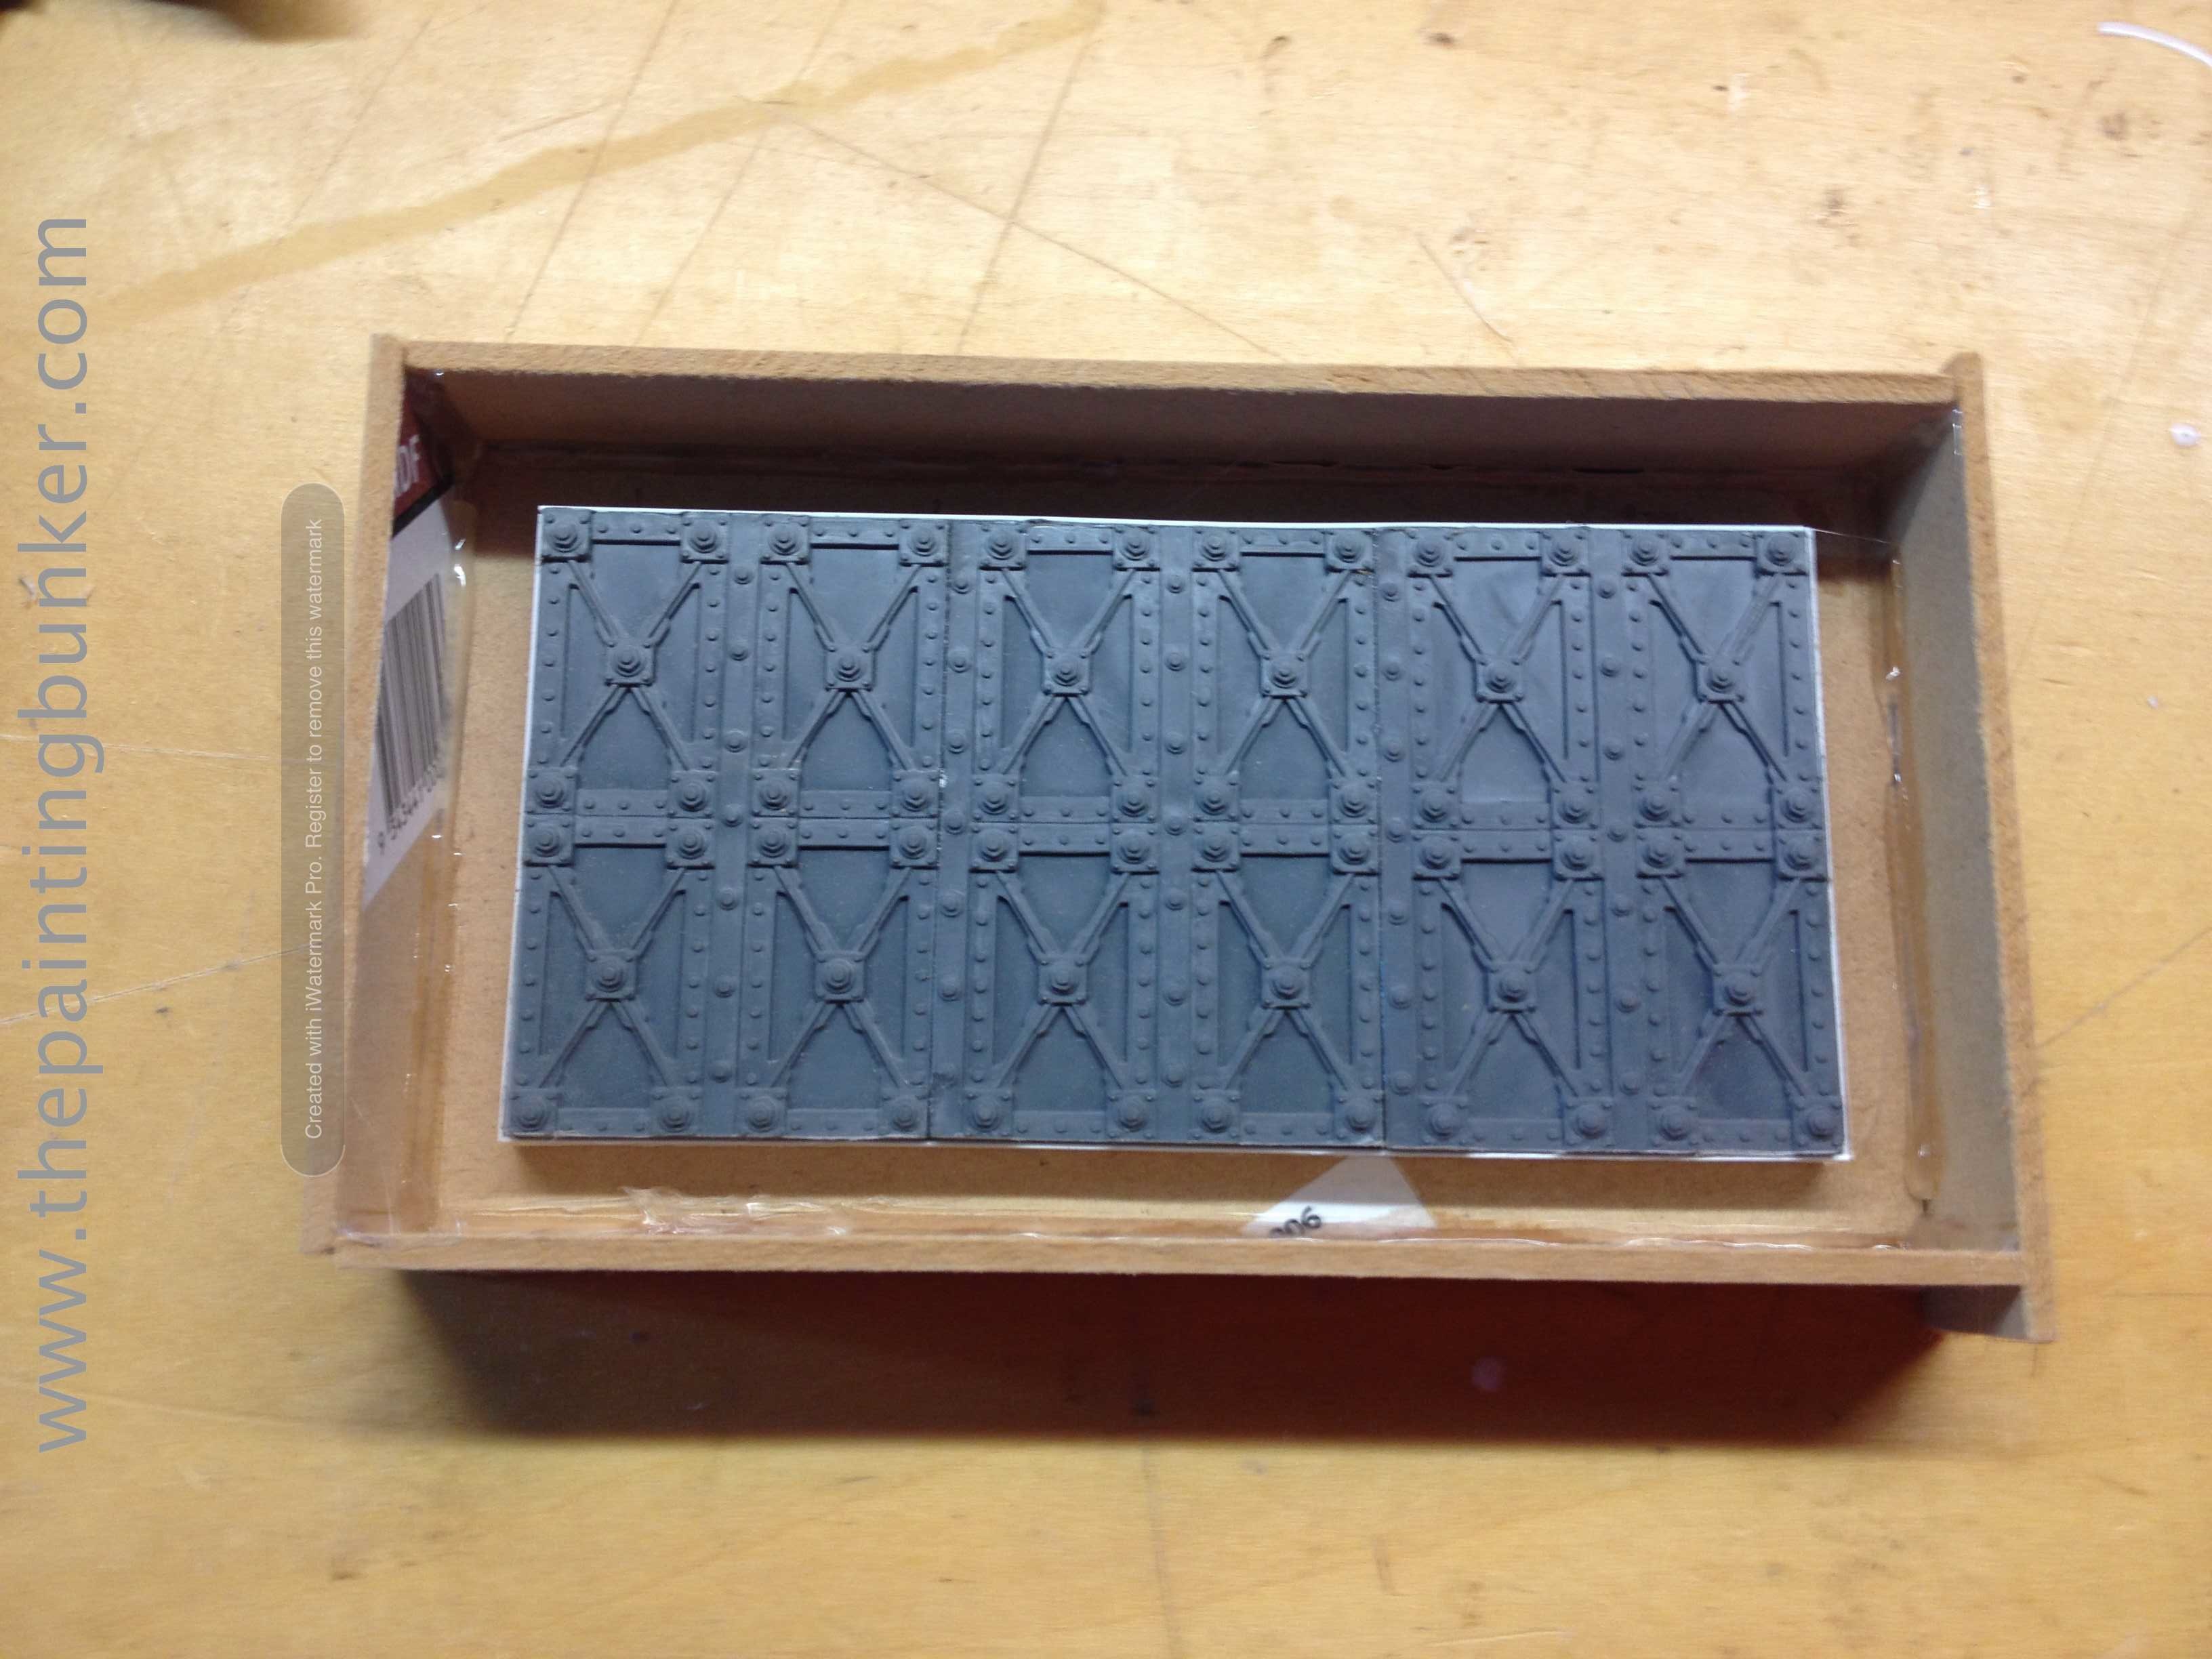
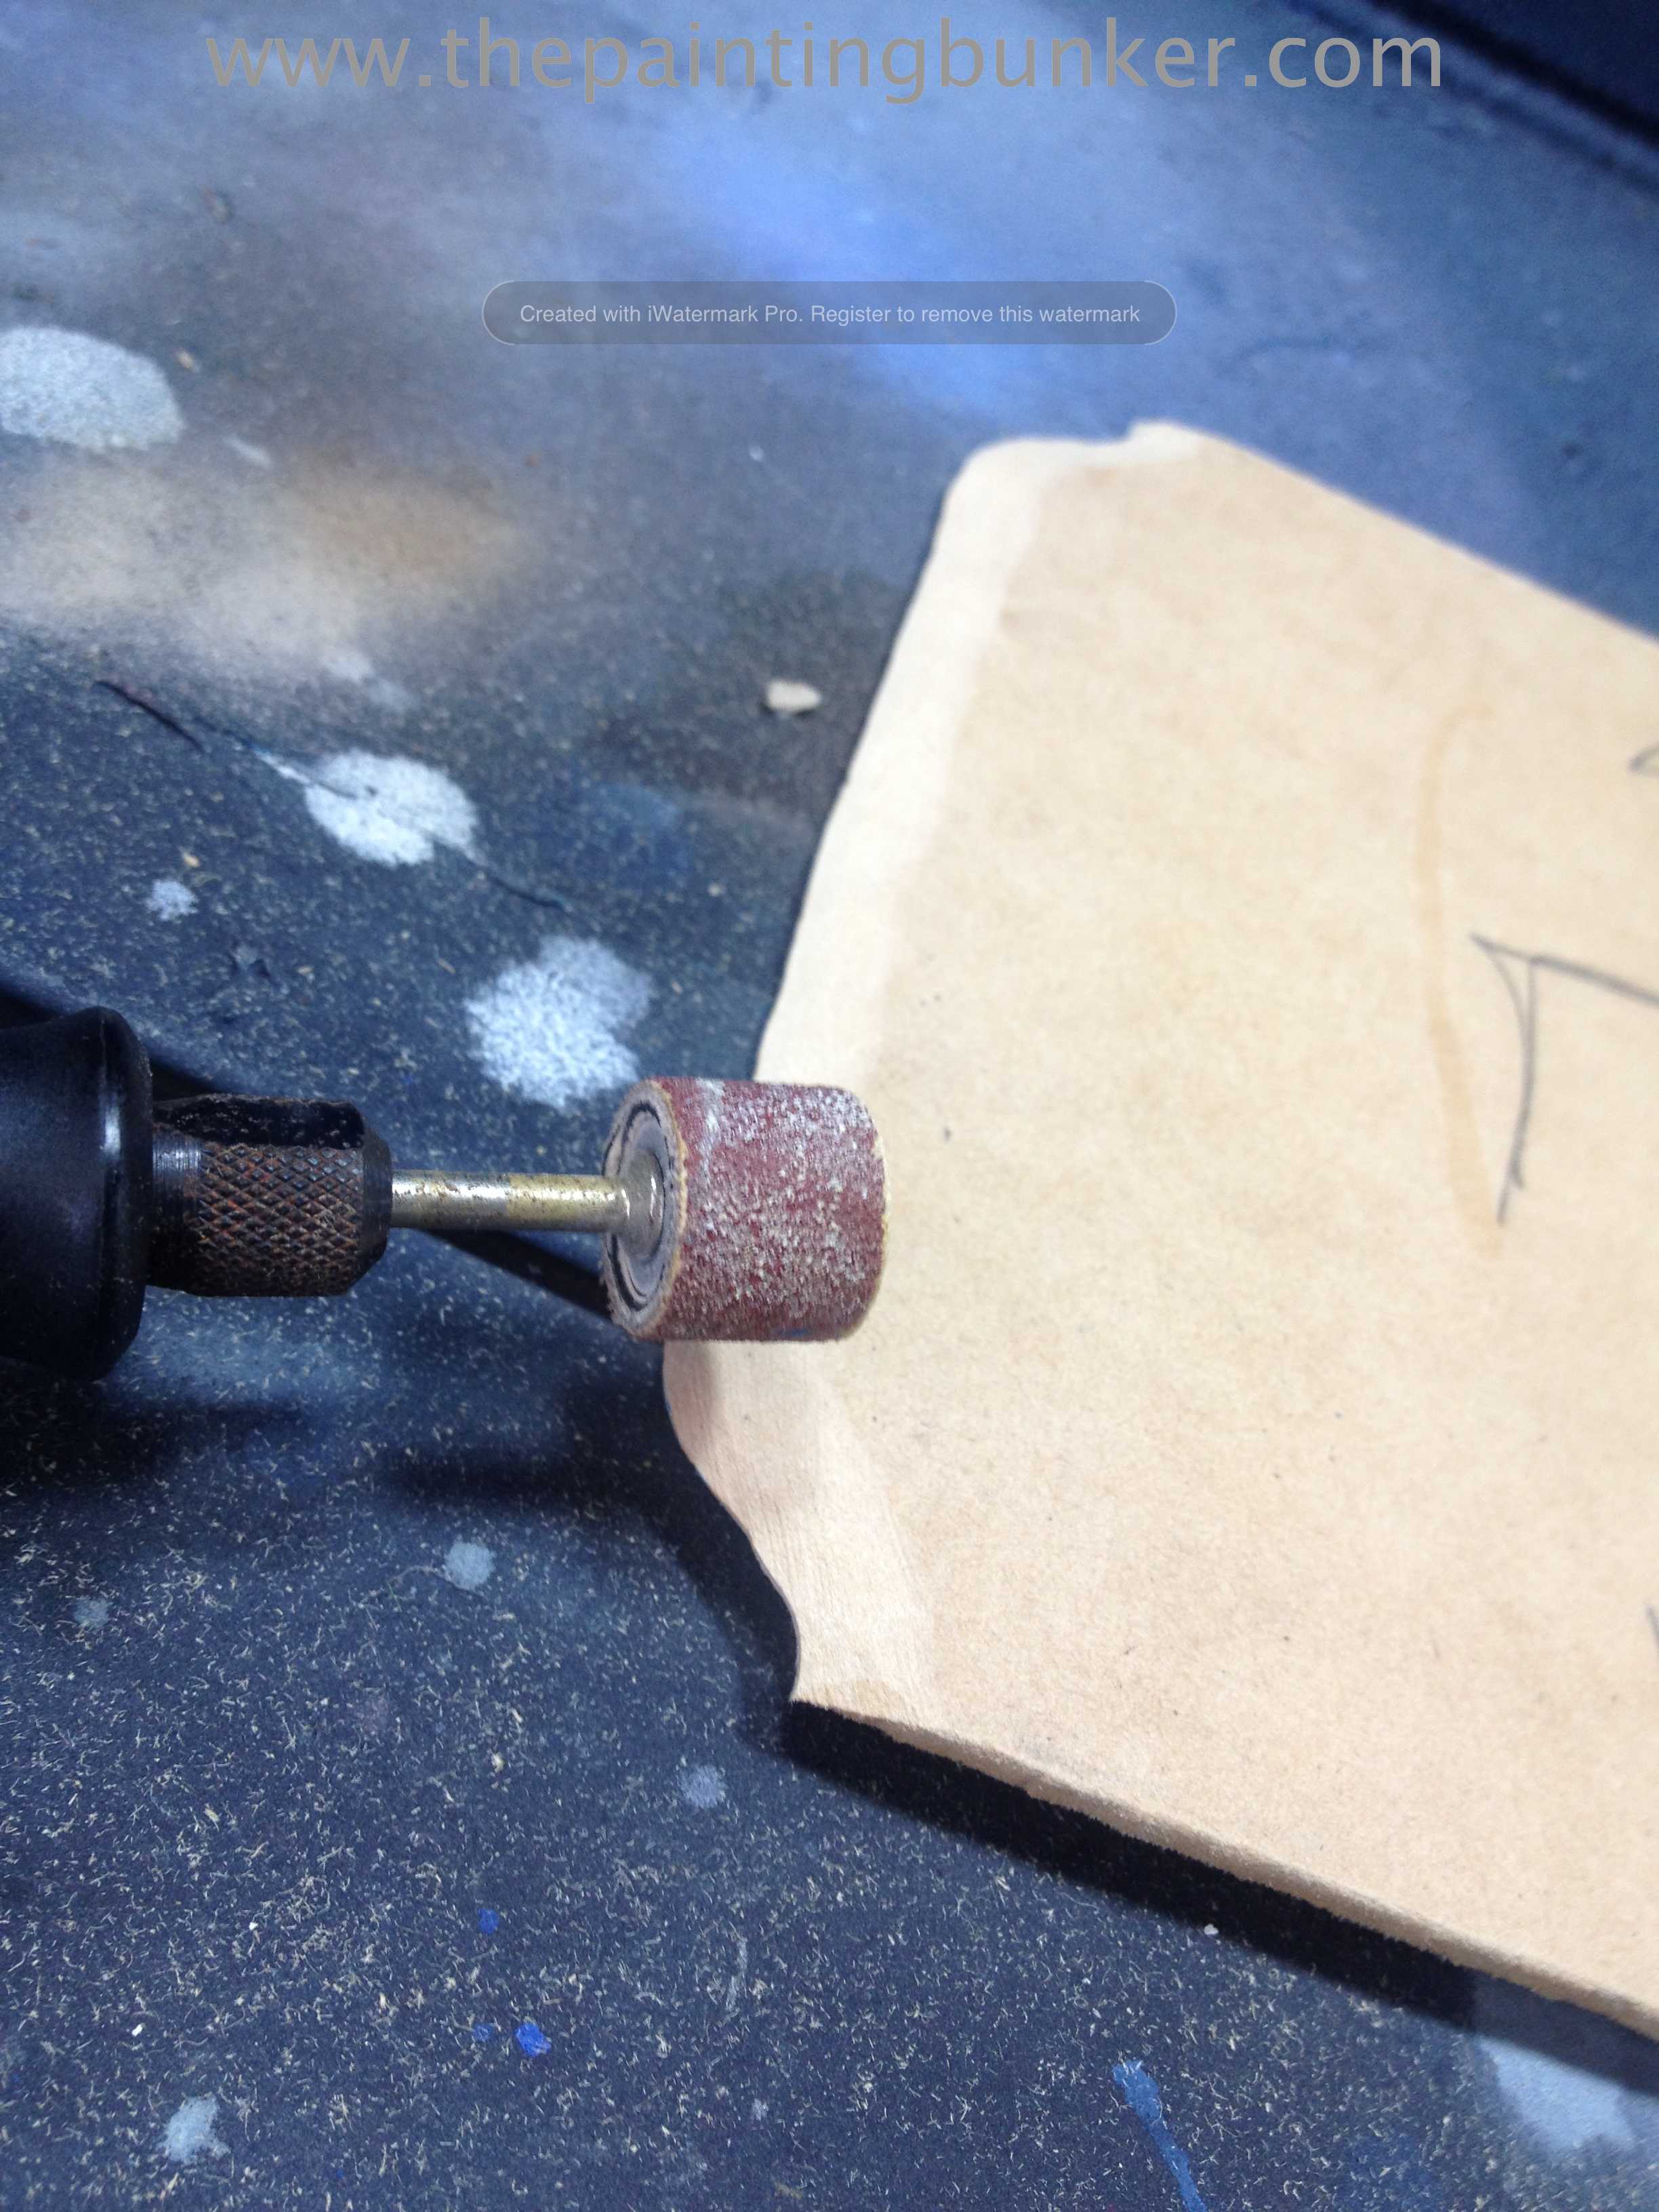
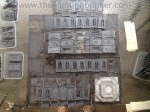
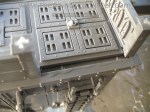
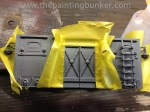
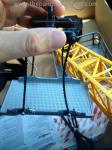
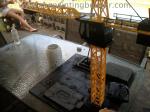
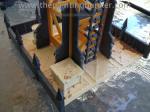
Because I needed about eight lengths, I decided to make a quick one piece mold of the newly constructed panel so I can make the appropriate amount of casts.
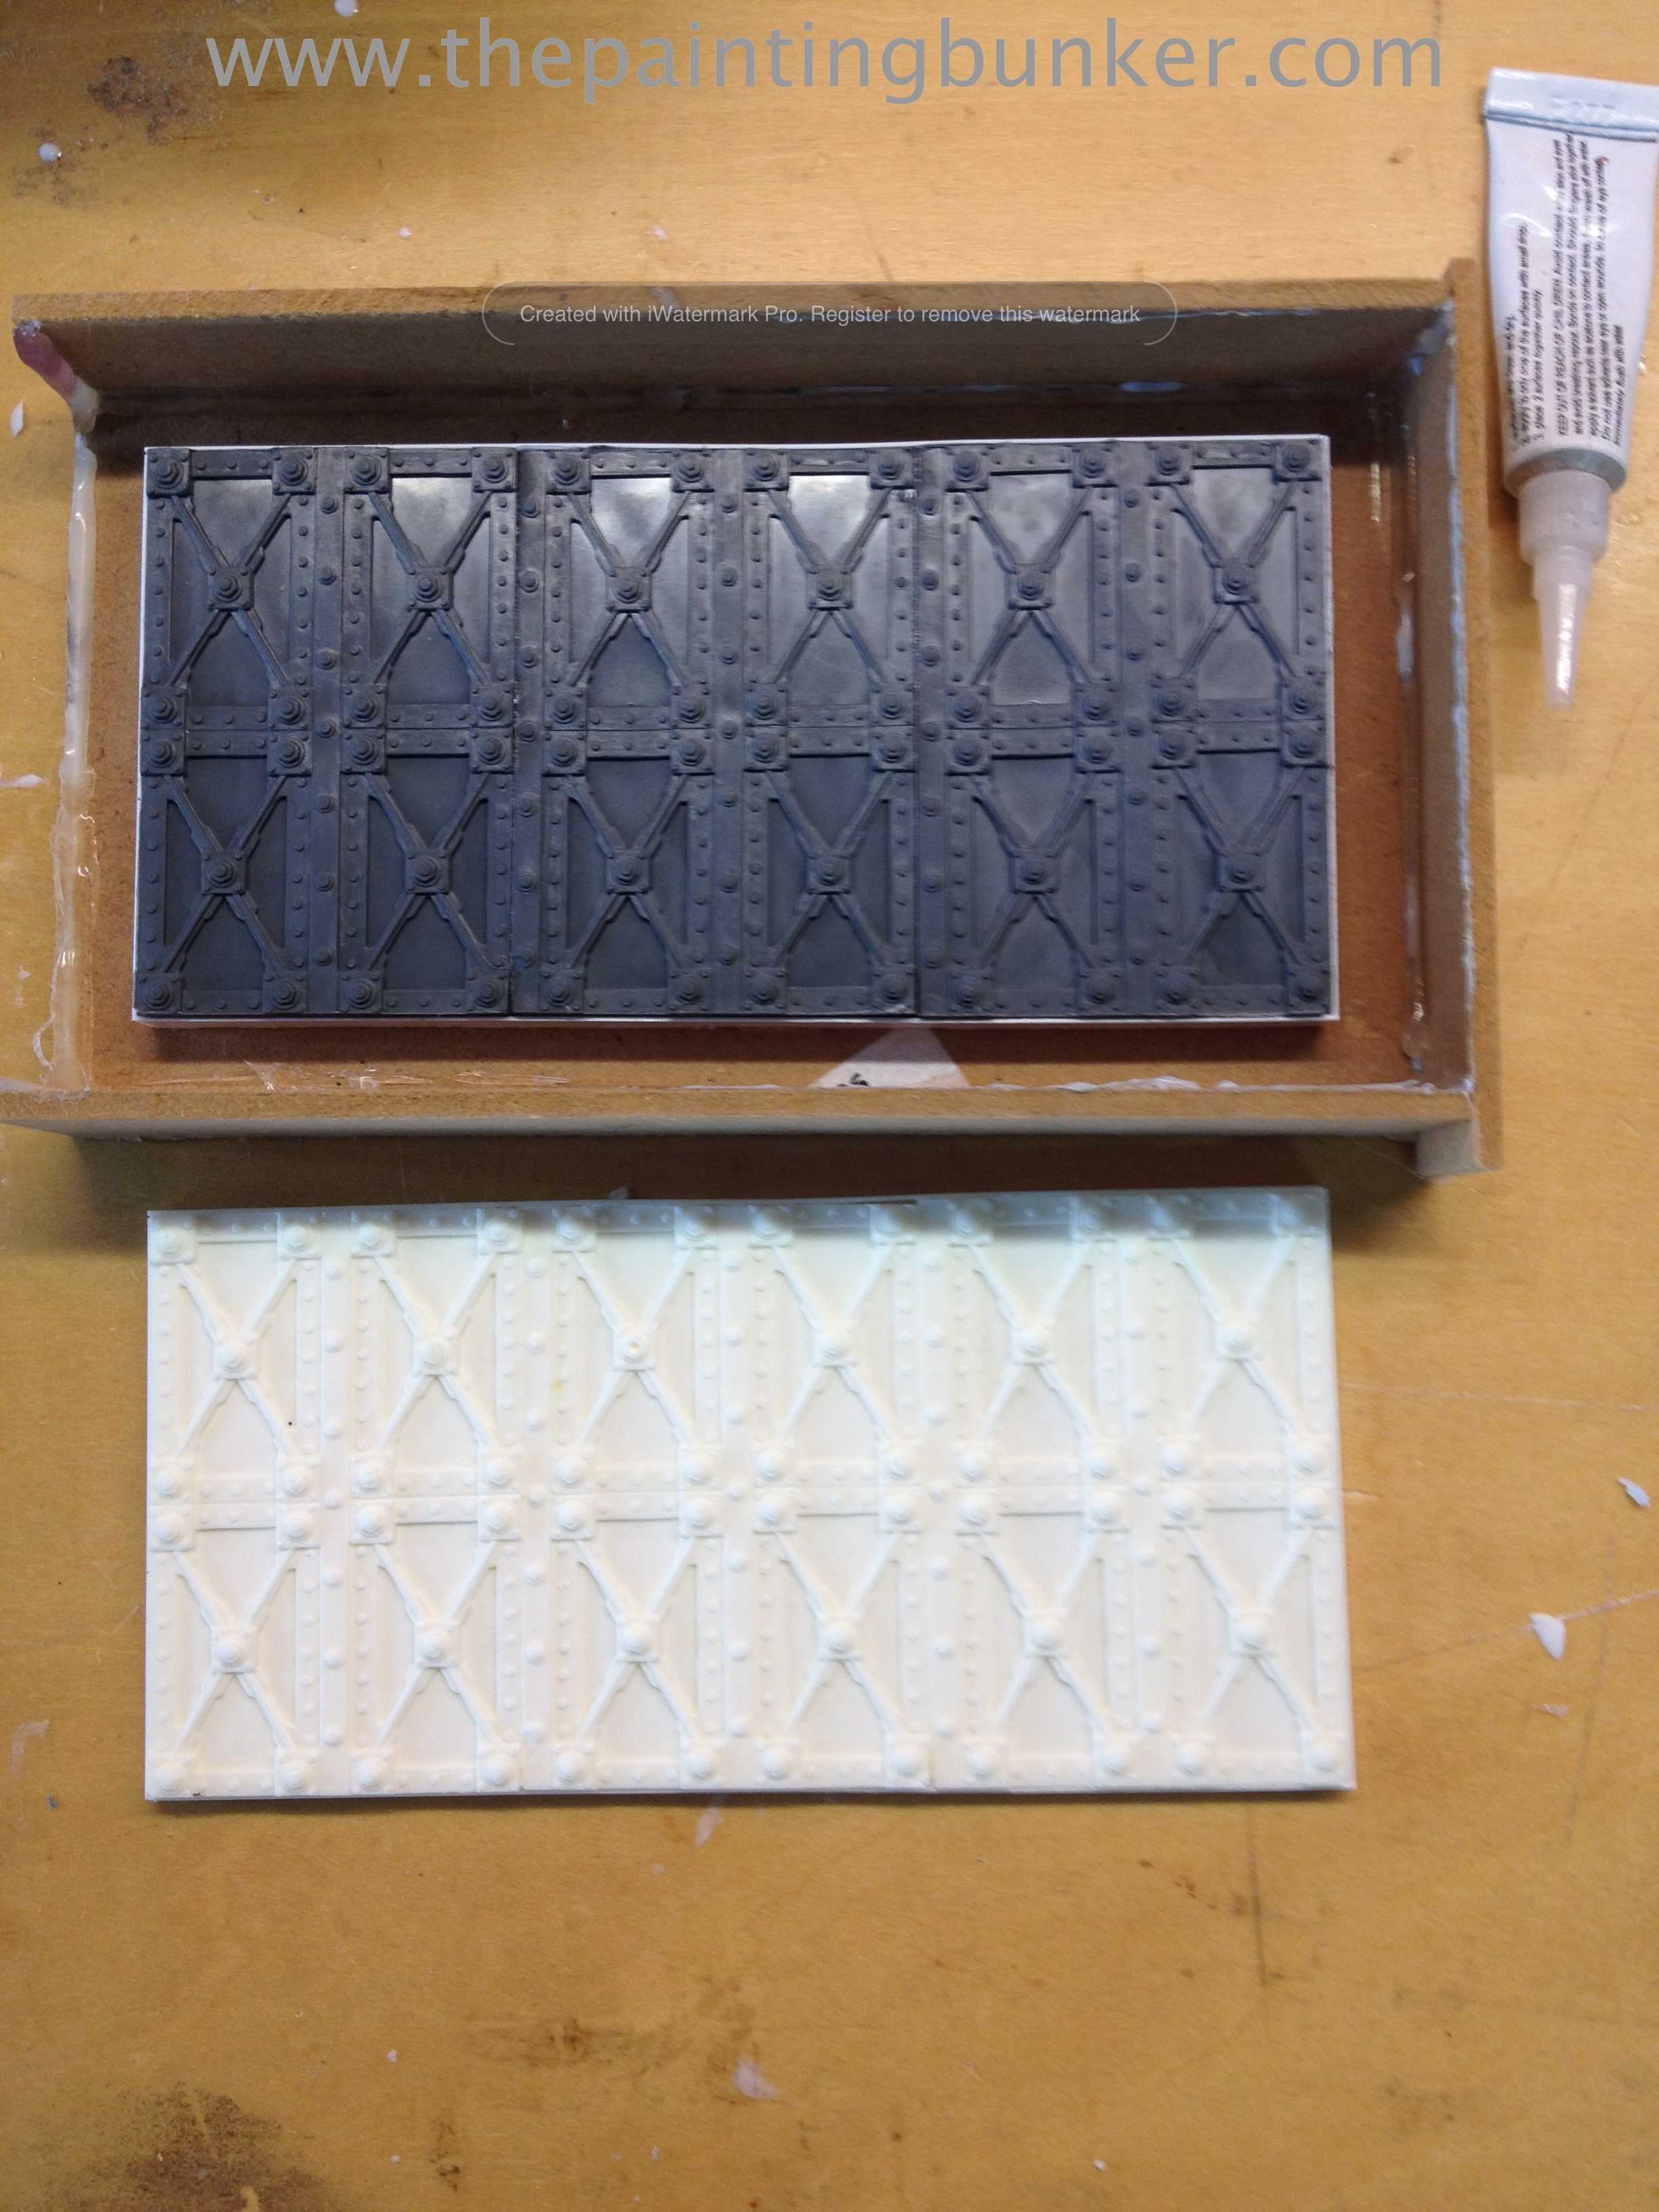
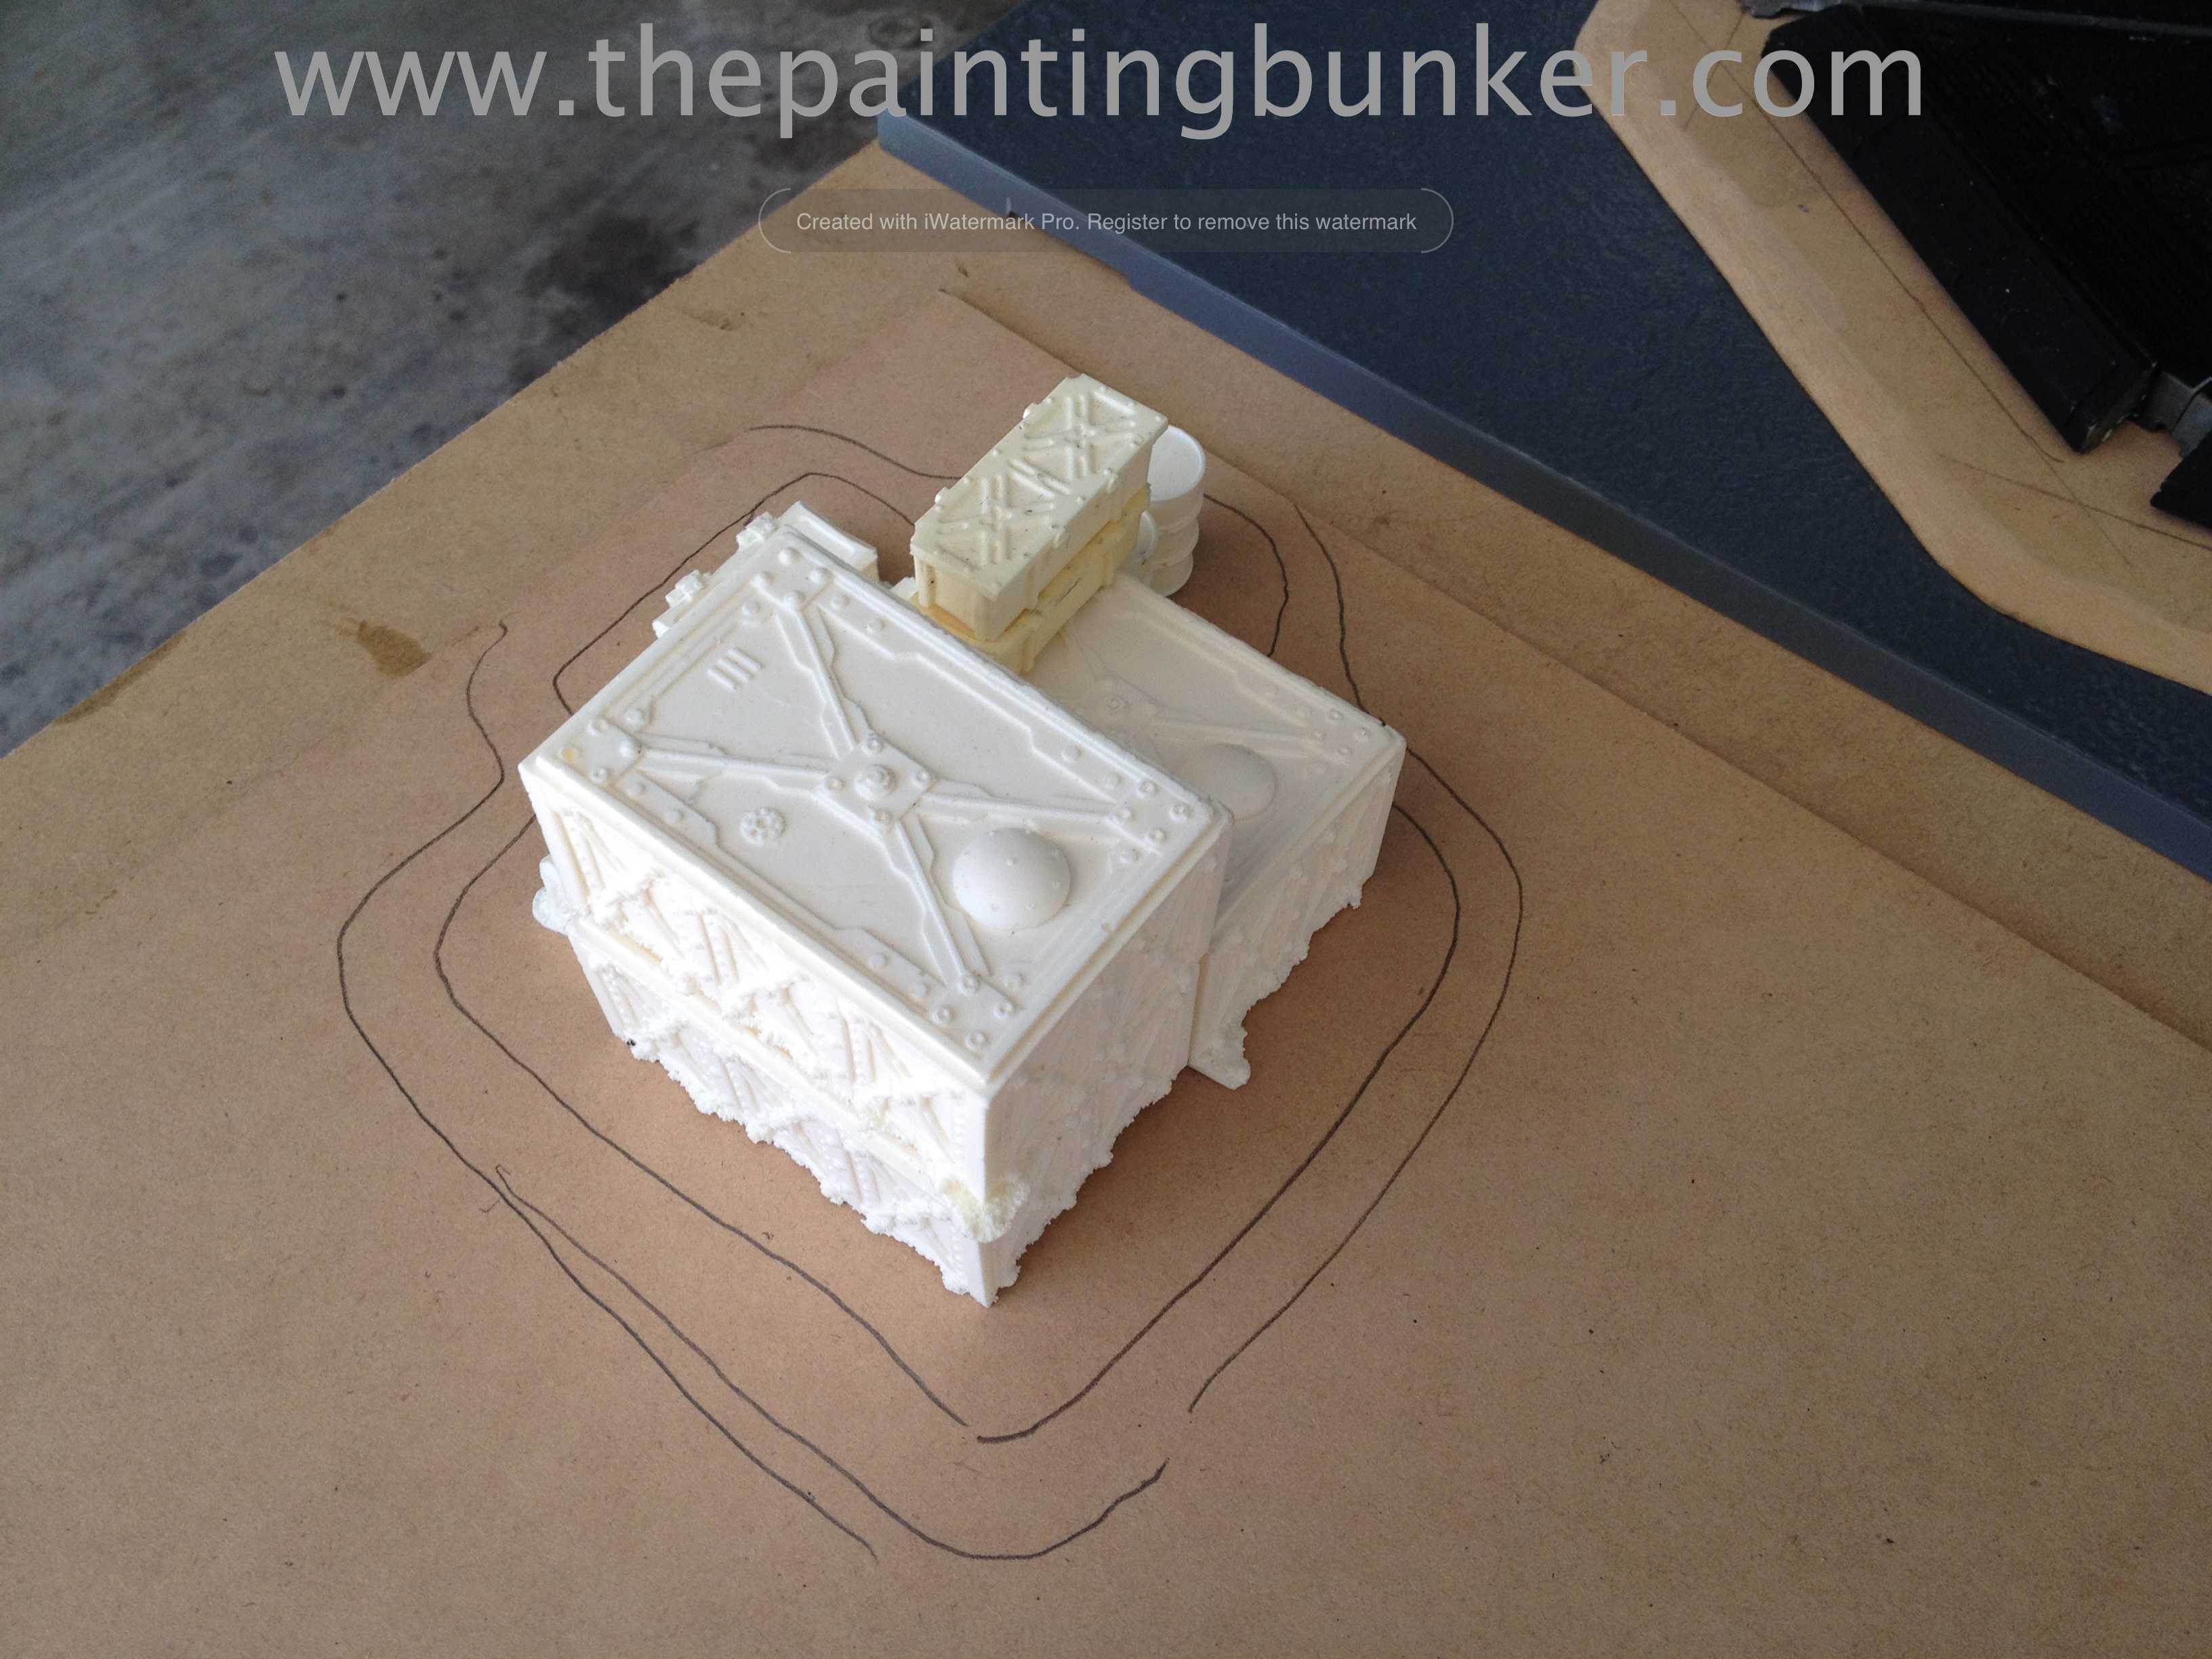
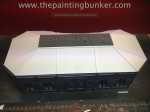
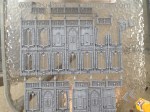
And the cast panel. These will come in handy later on too. They have a lot of character and will make useful bits later on…
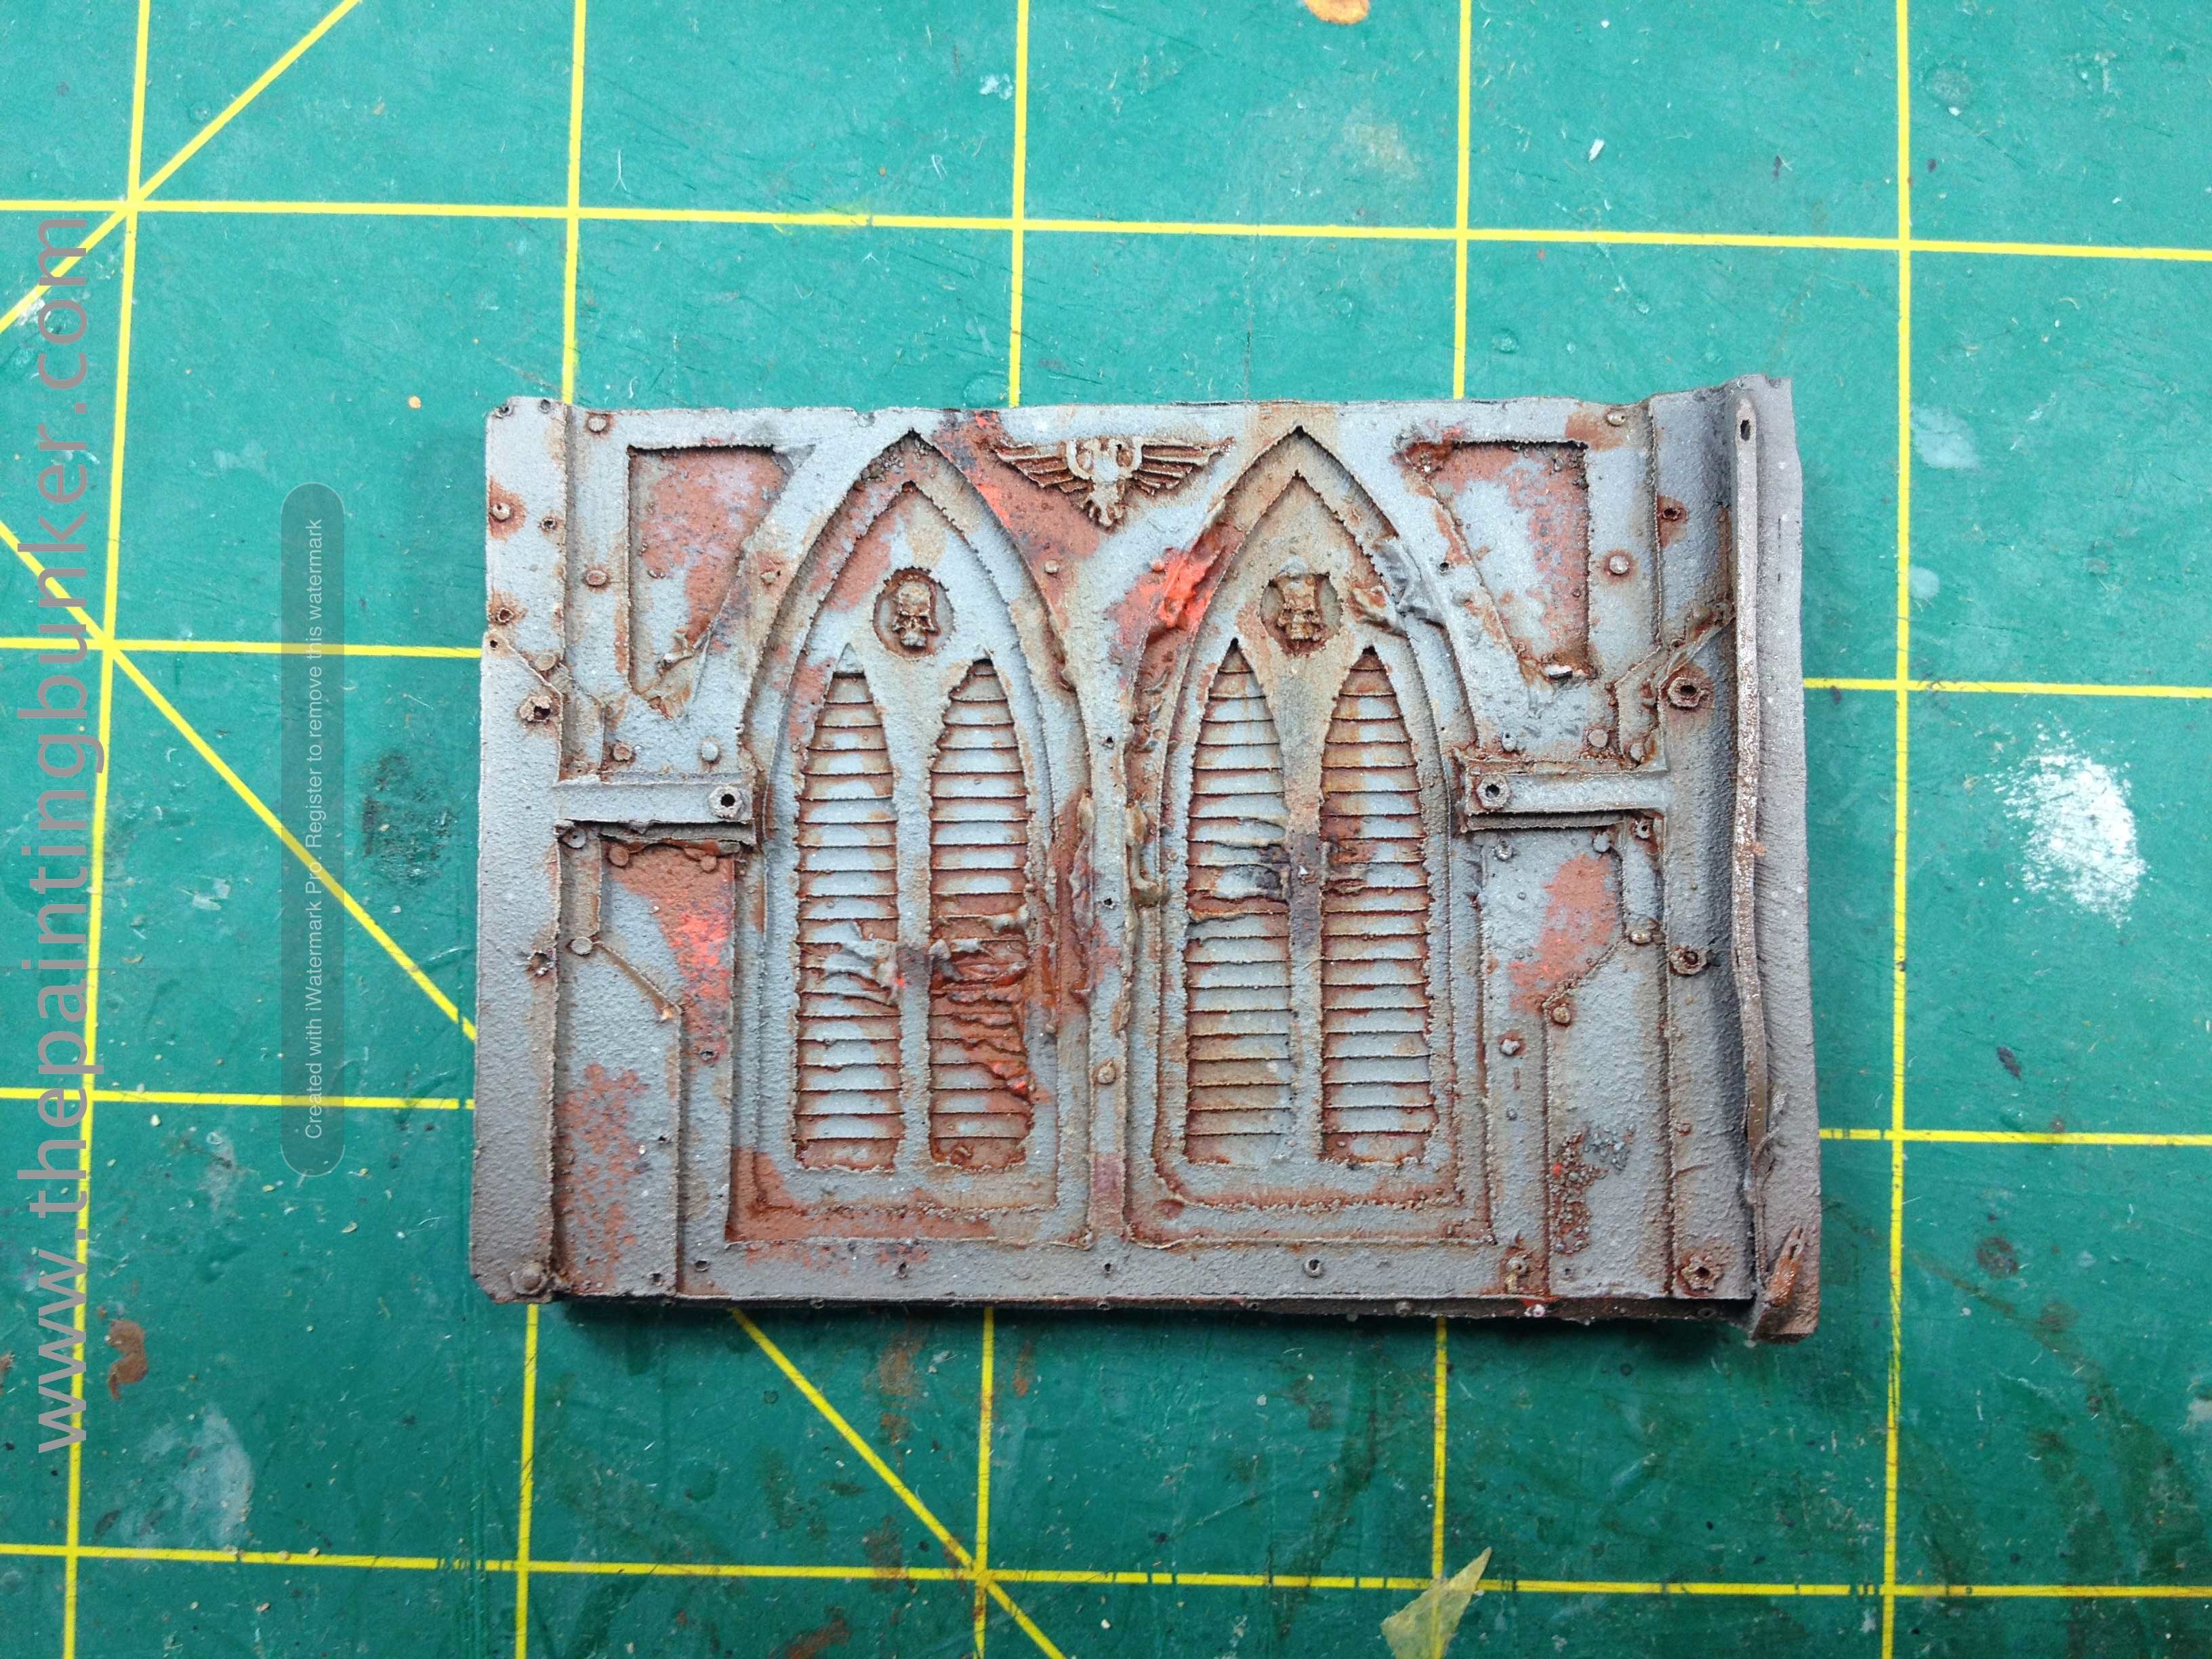
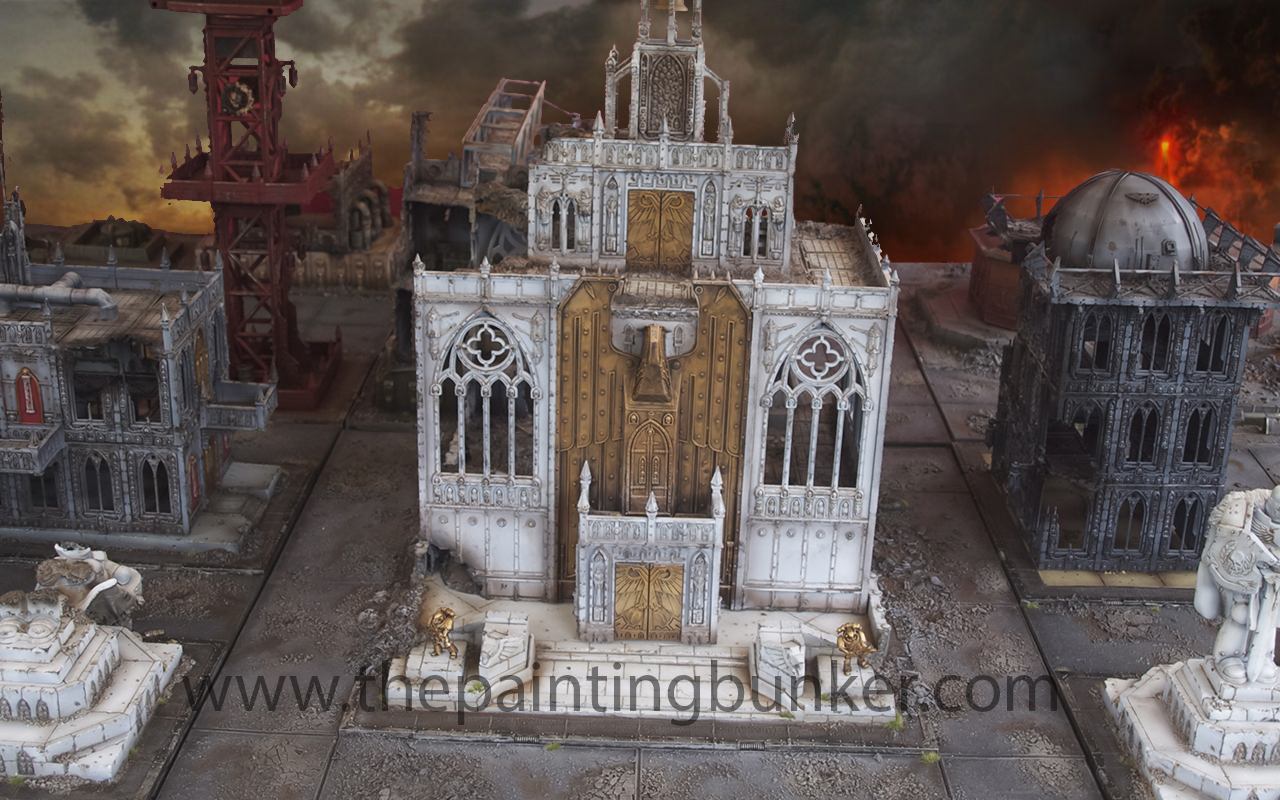
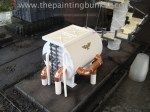
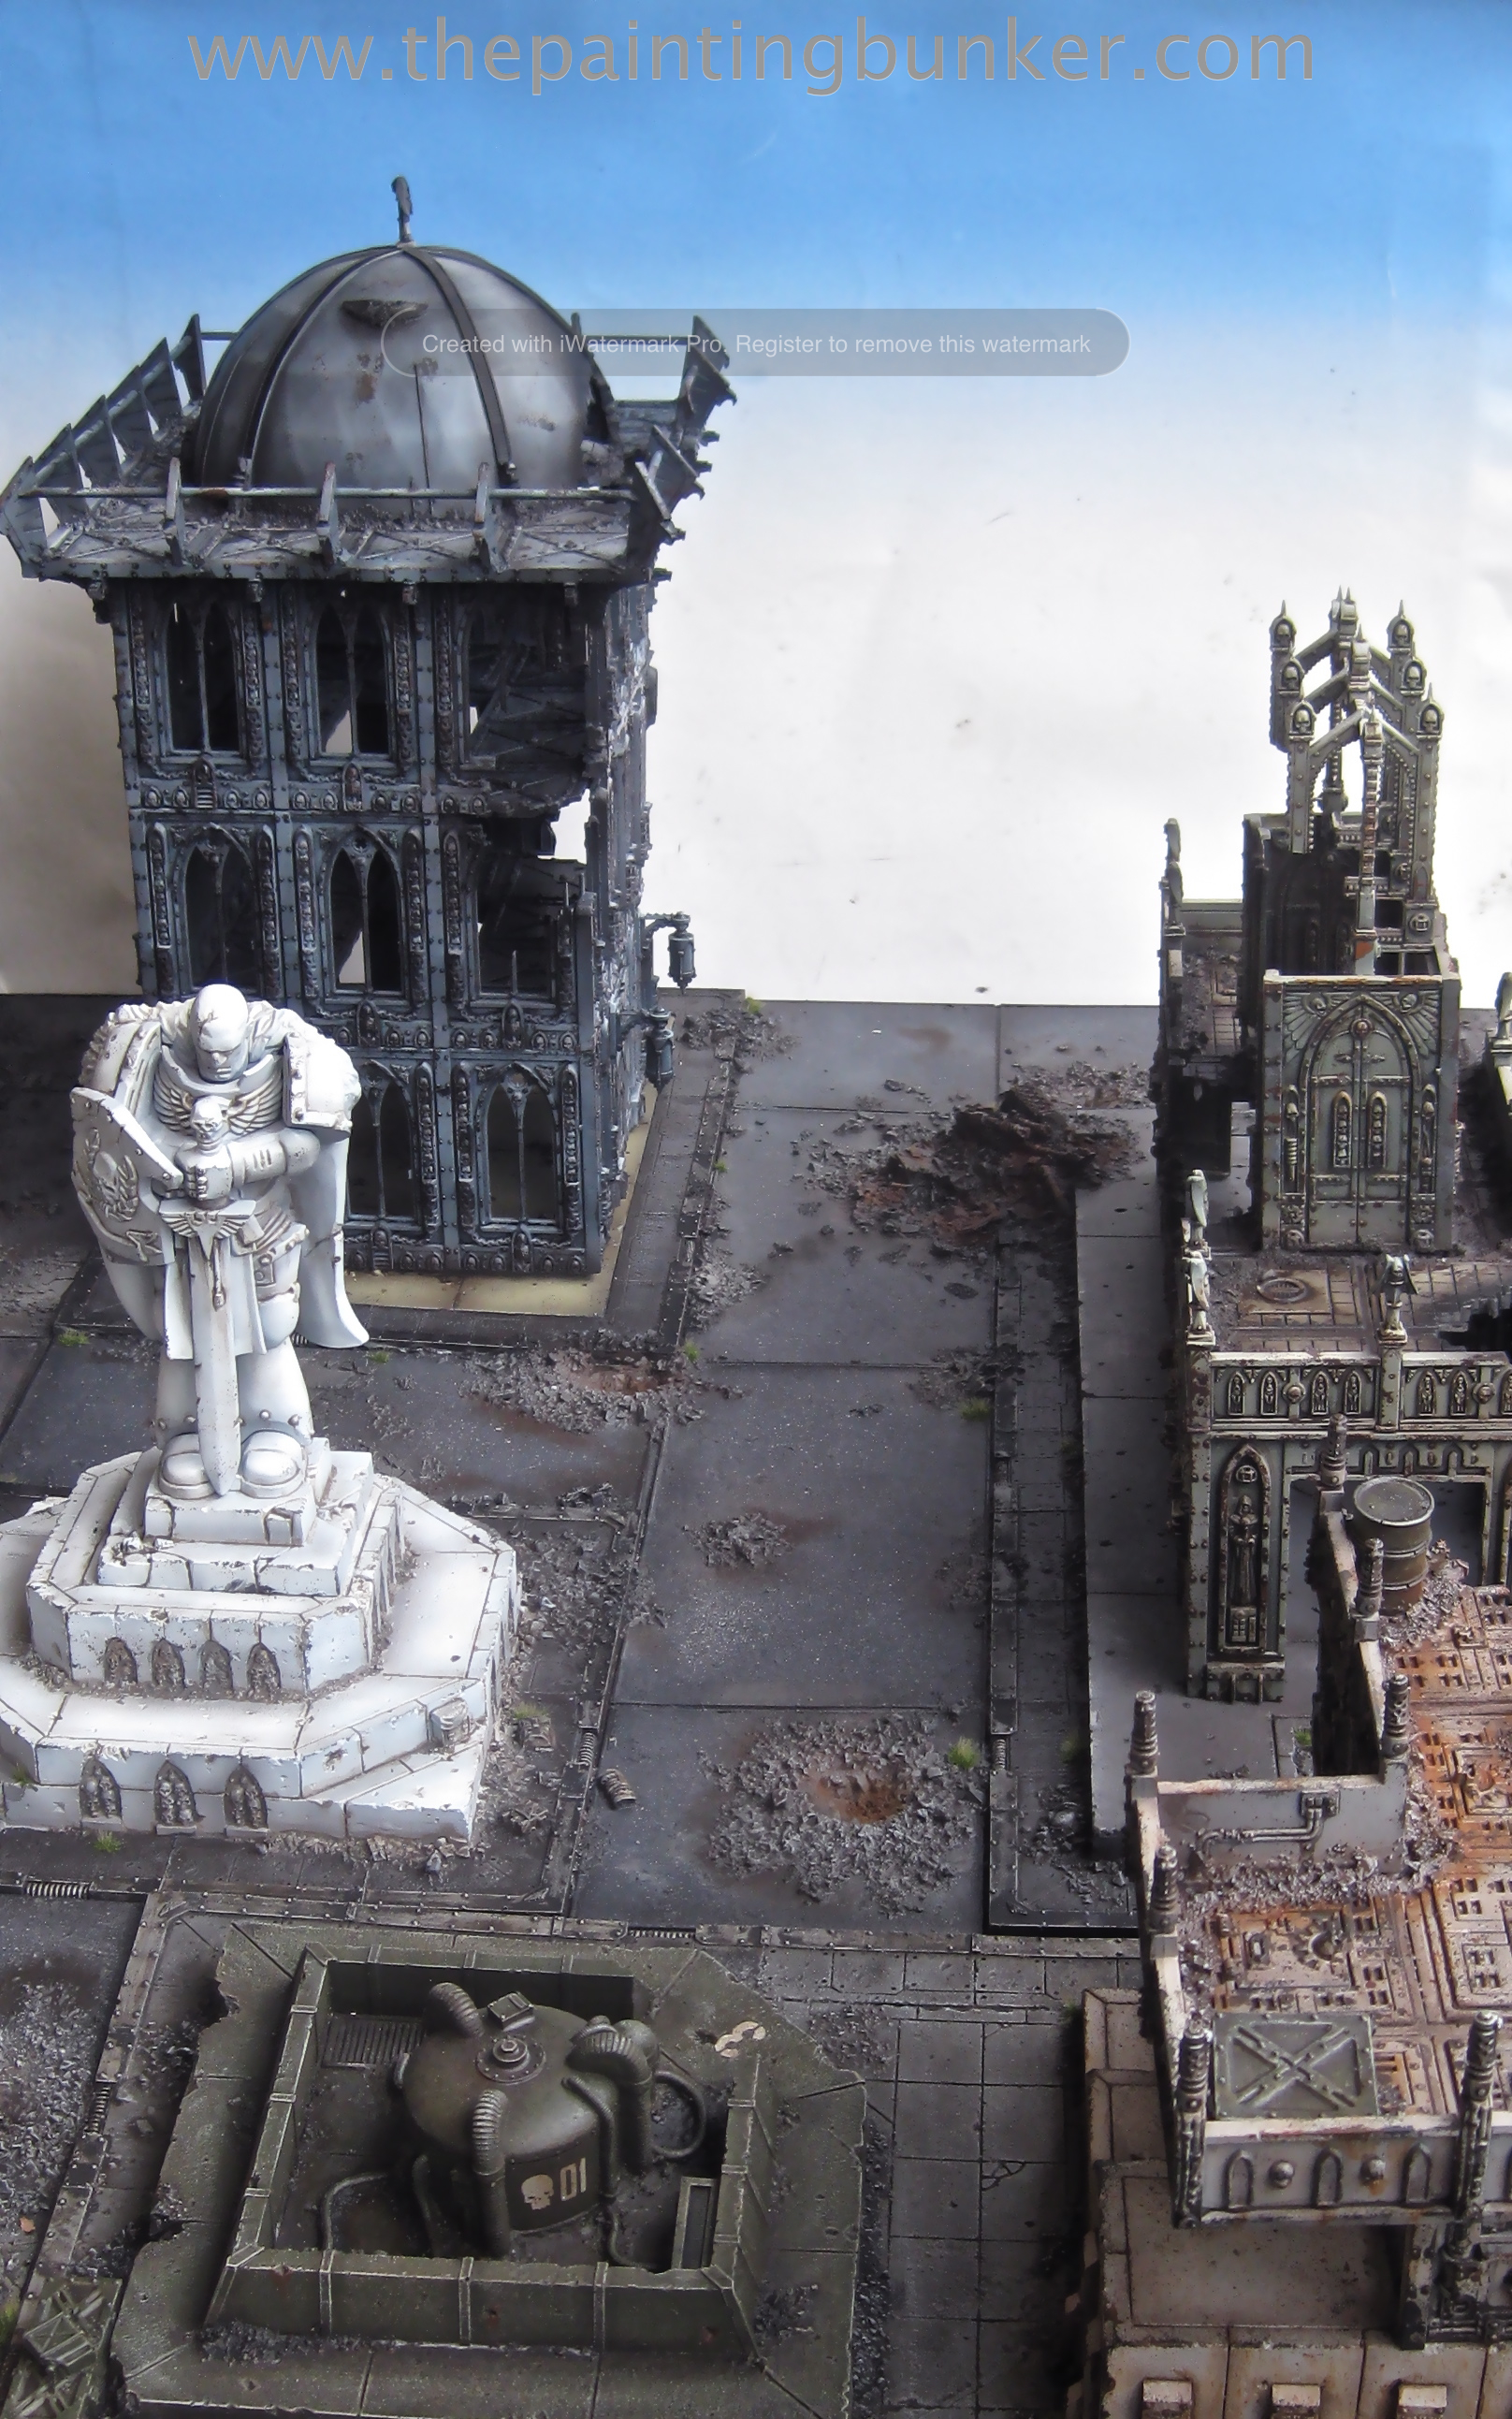
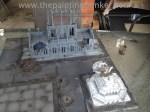
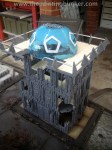
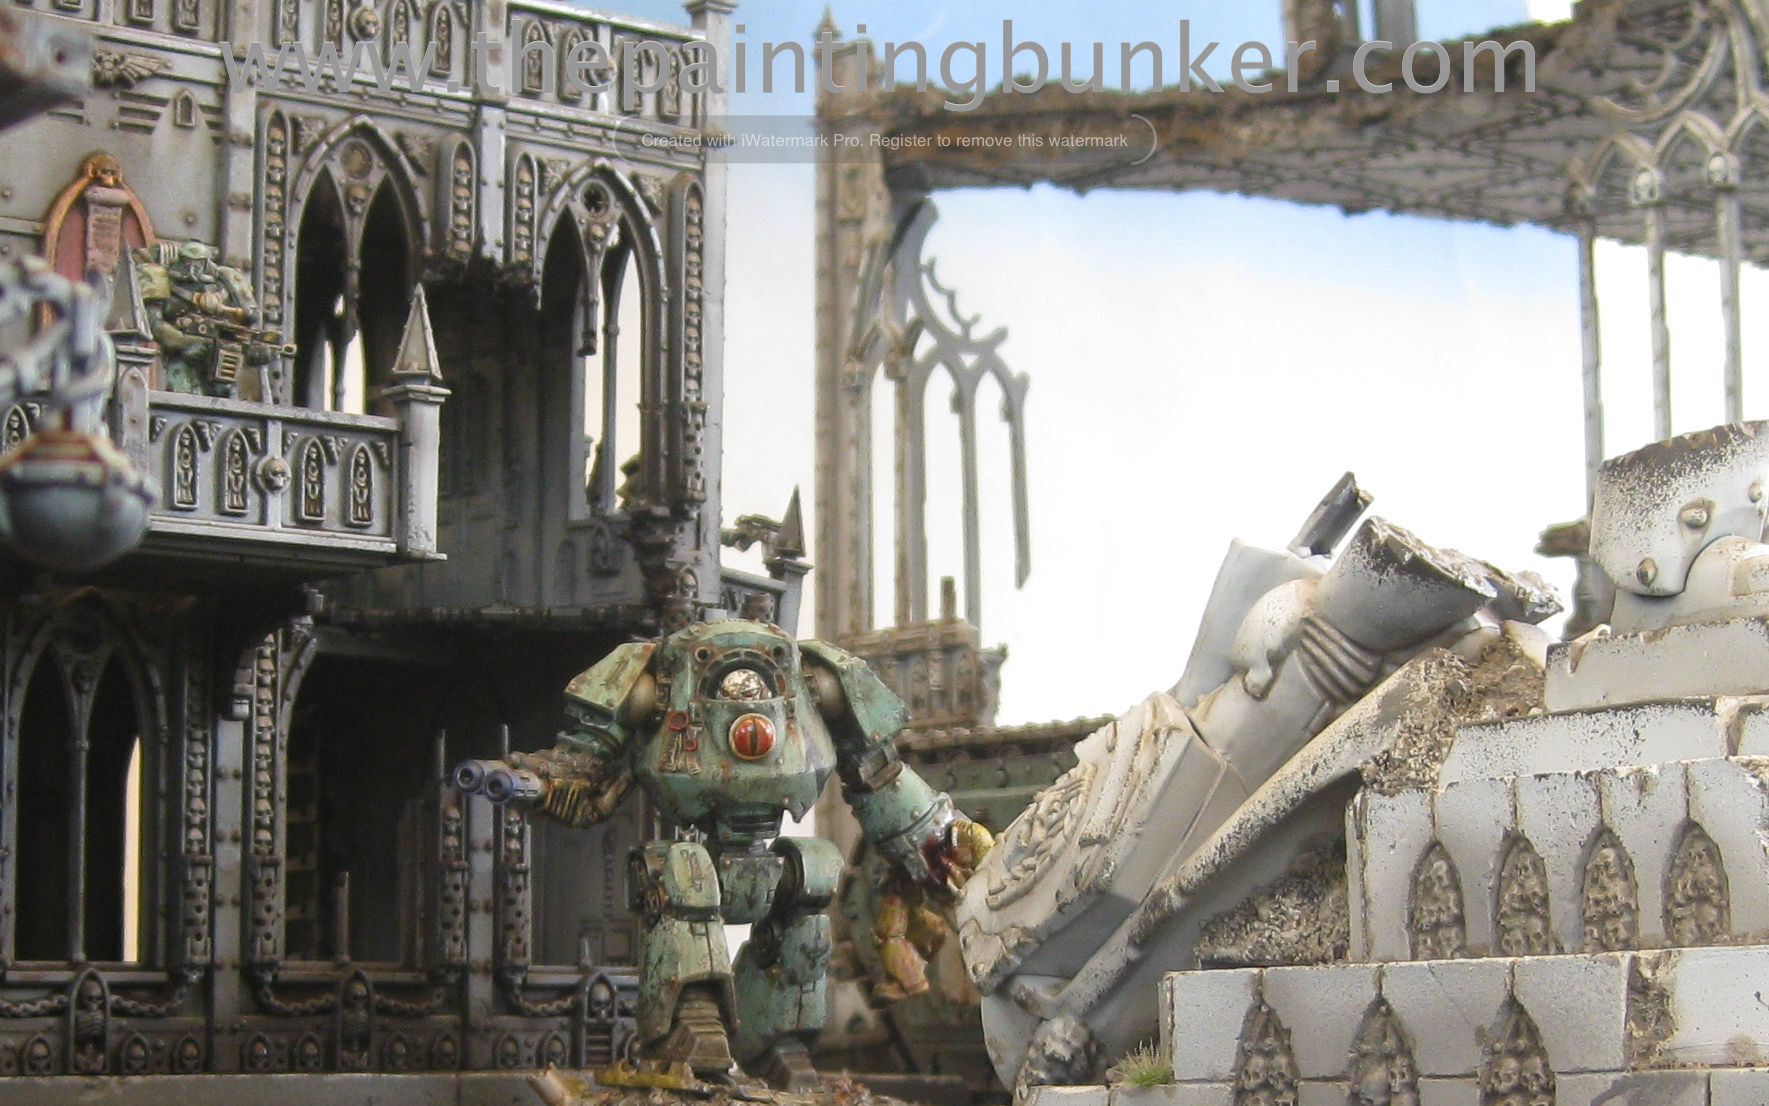
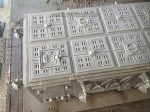
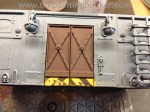
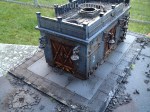
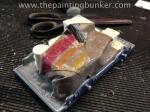
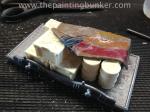
I also did a test paint scheme piece for the base. I want it to look very neglected (it is abandoned after all) I like how it came out.

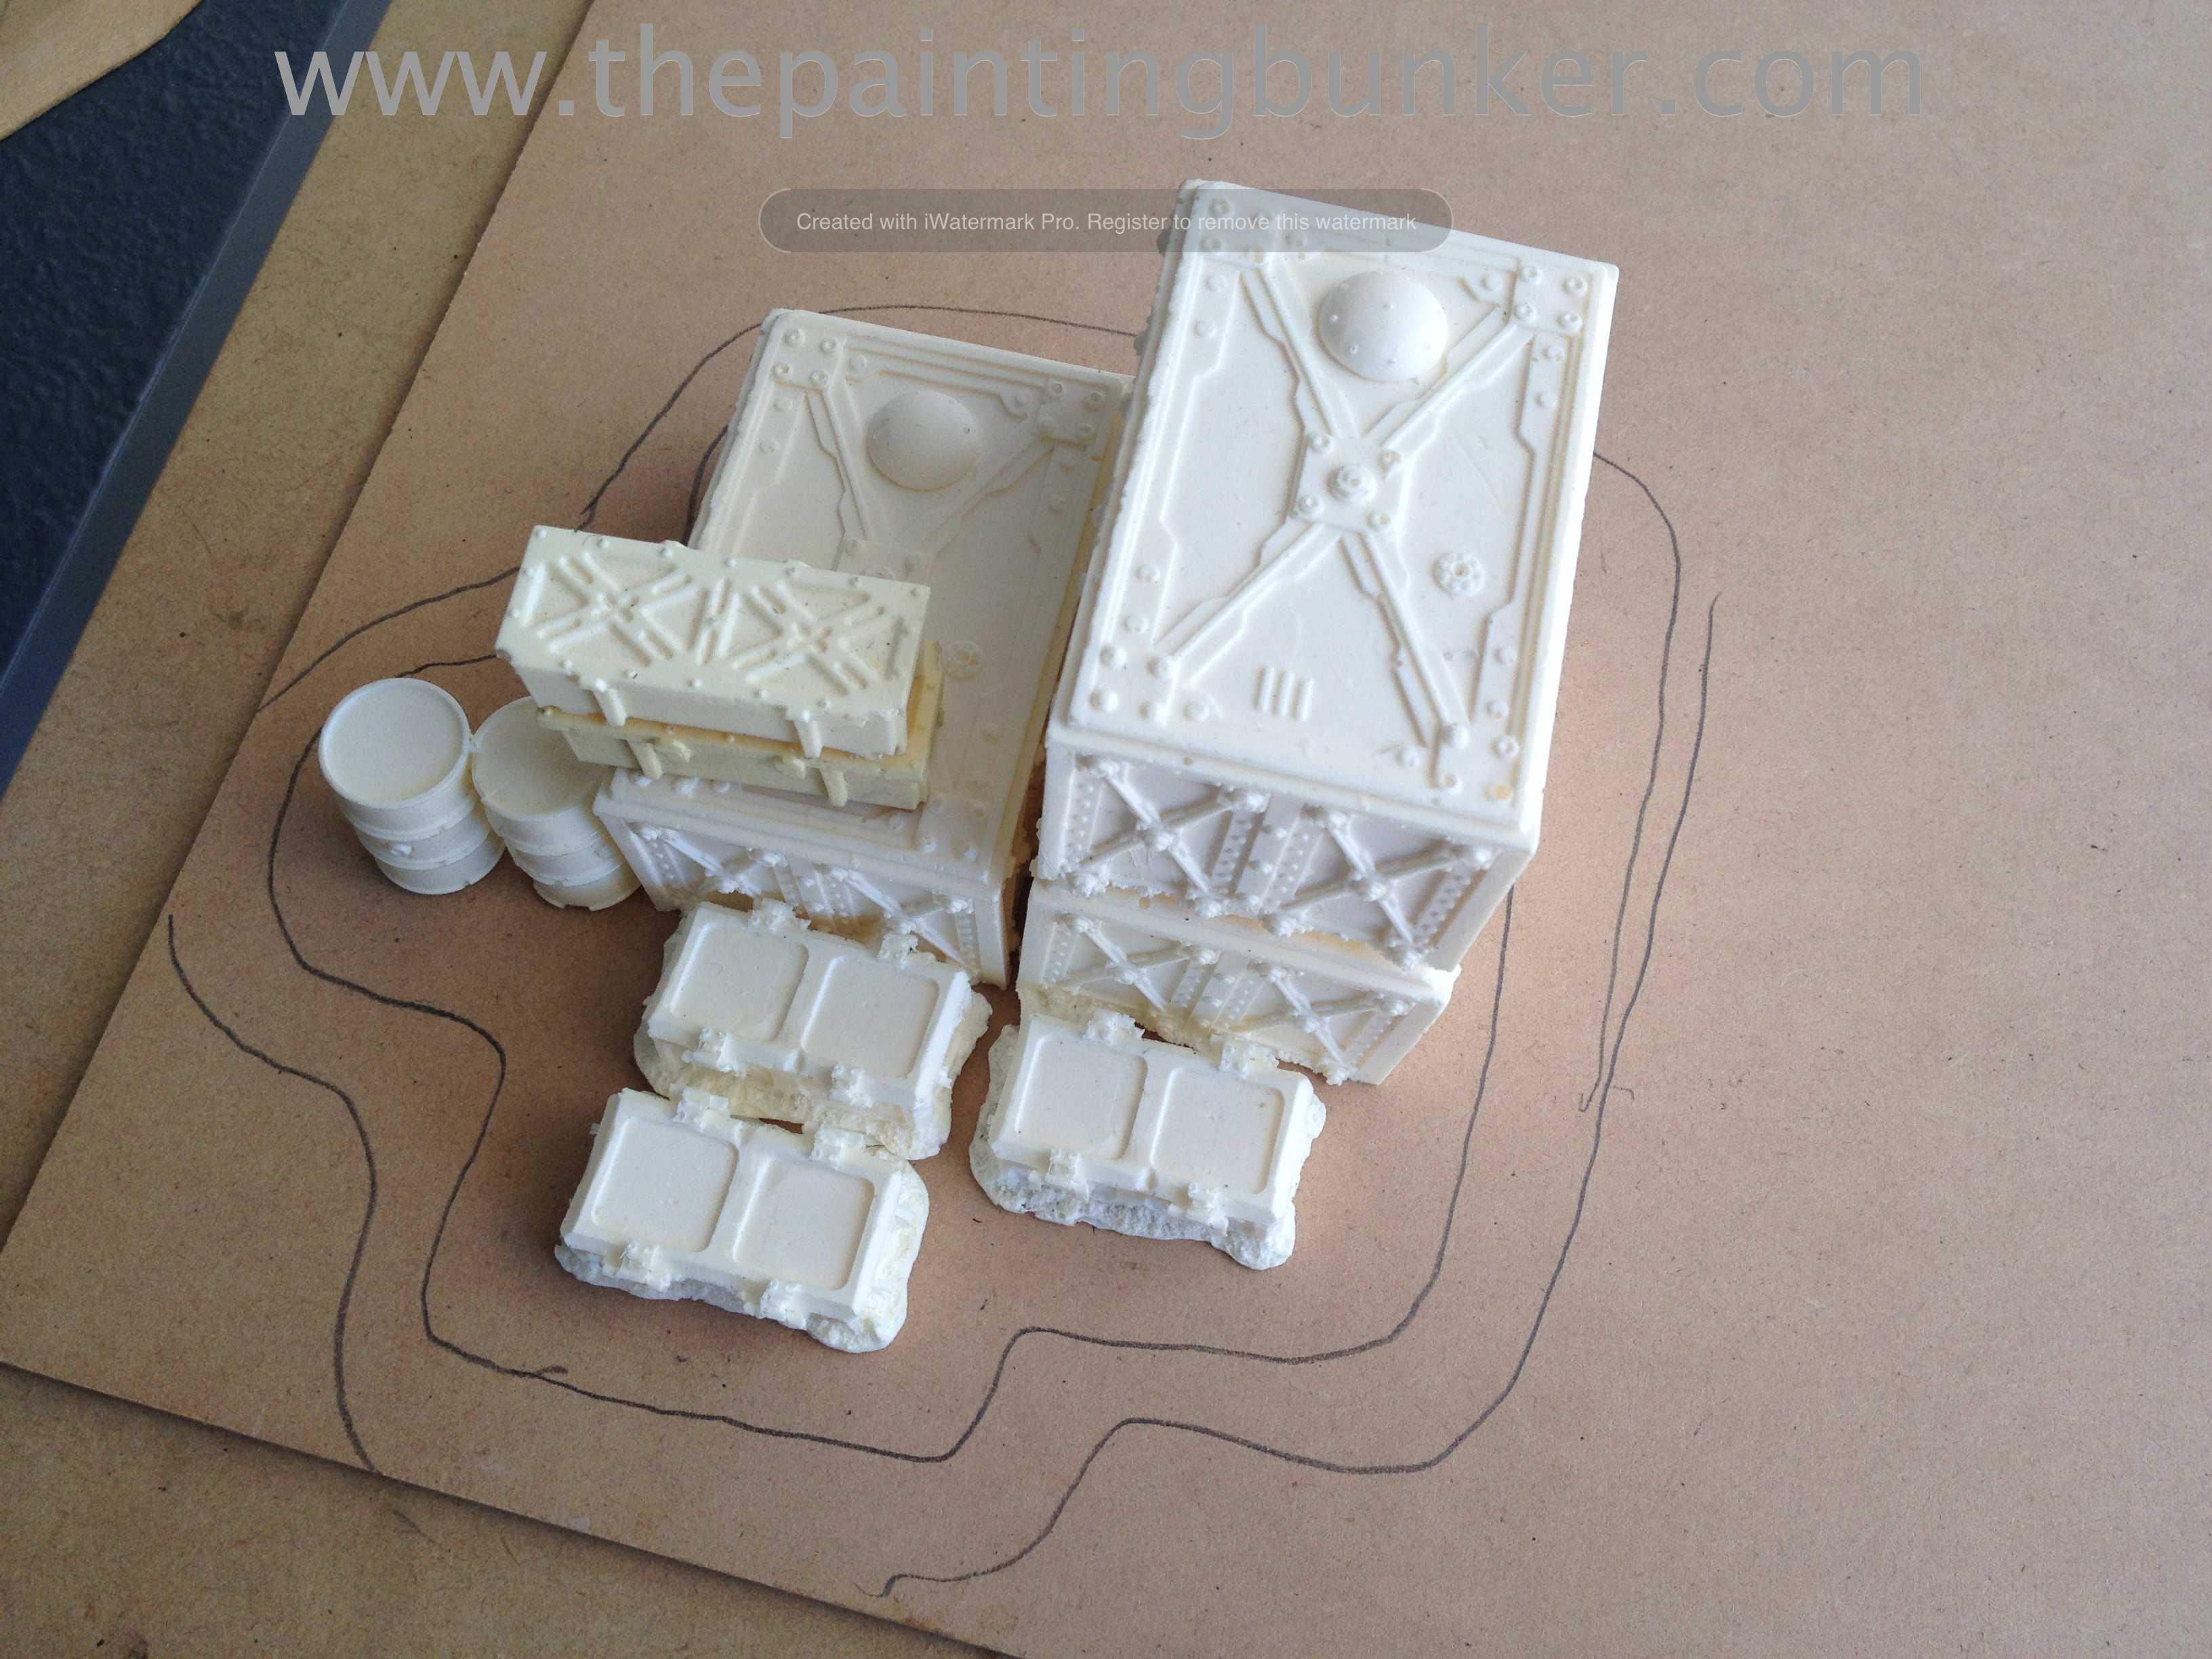
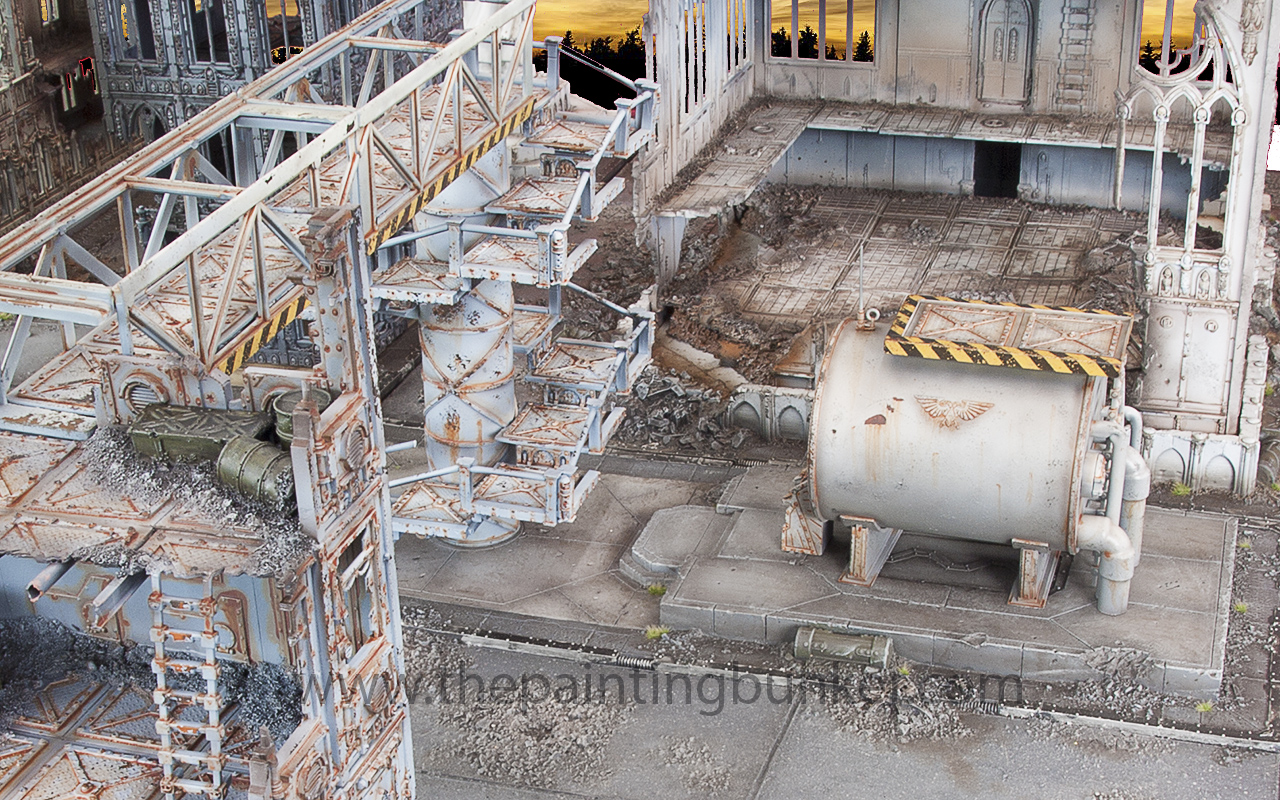
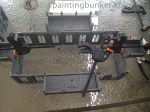
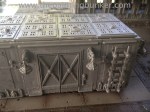
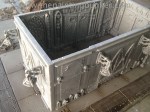
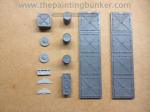
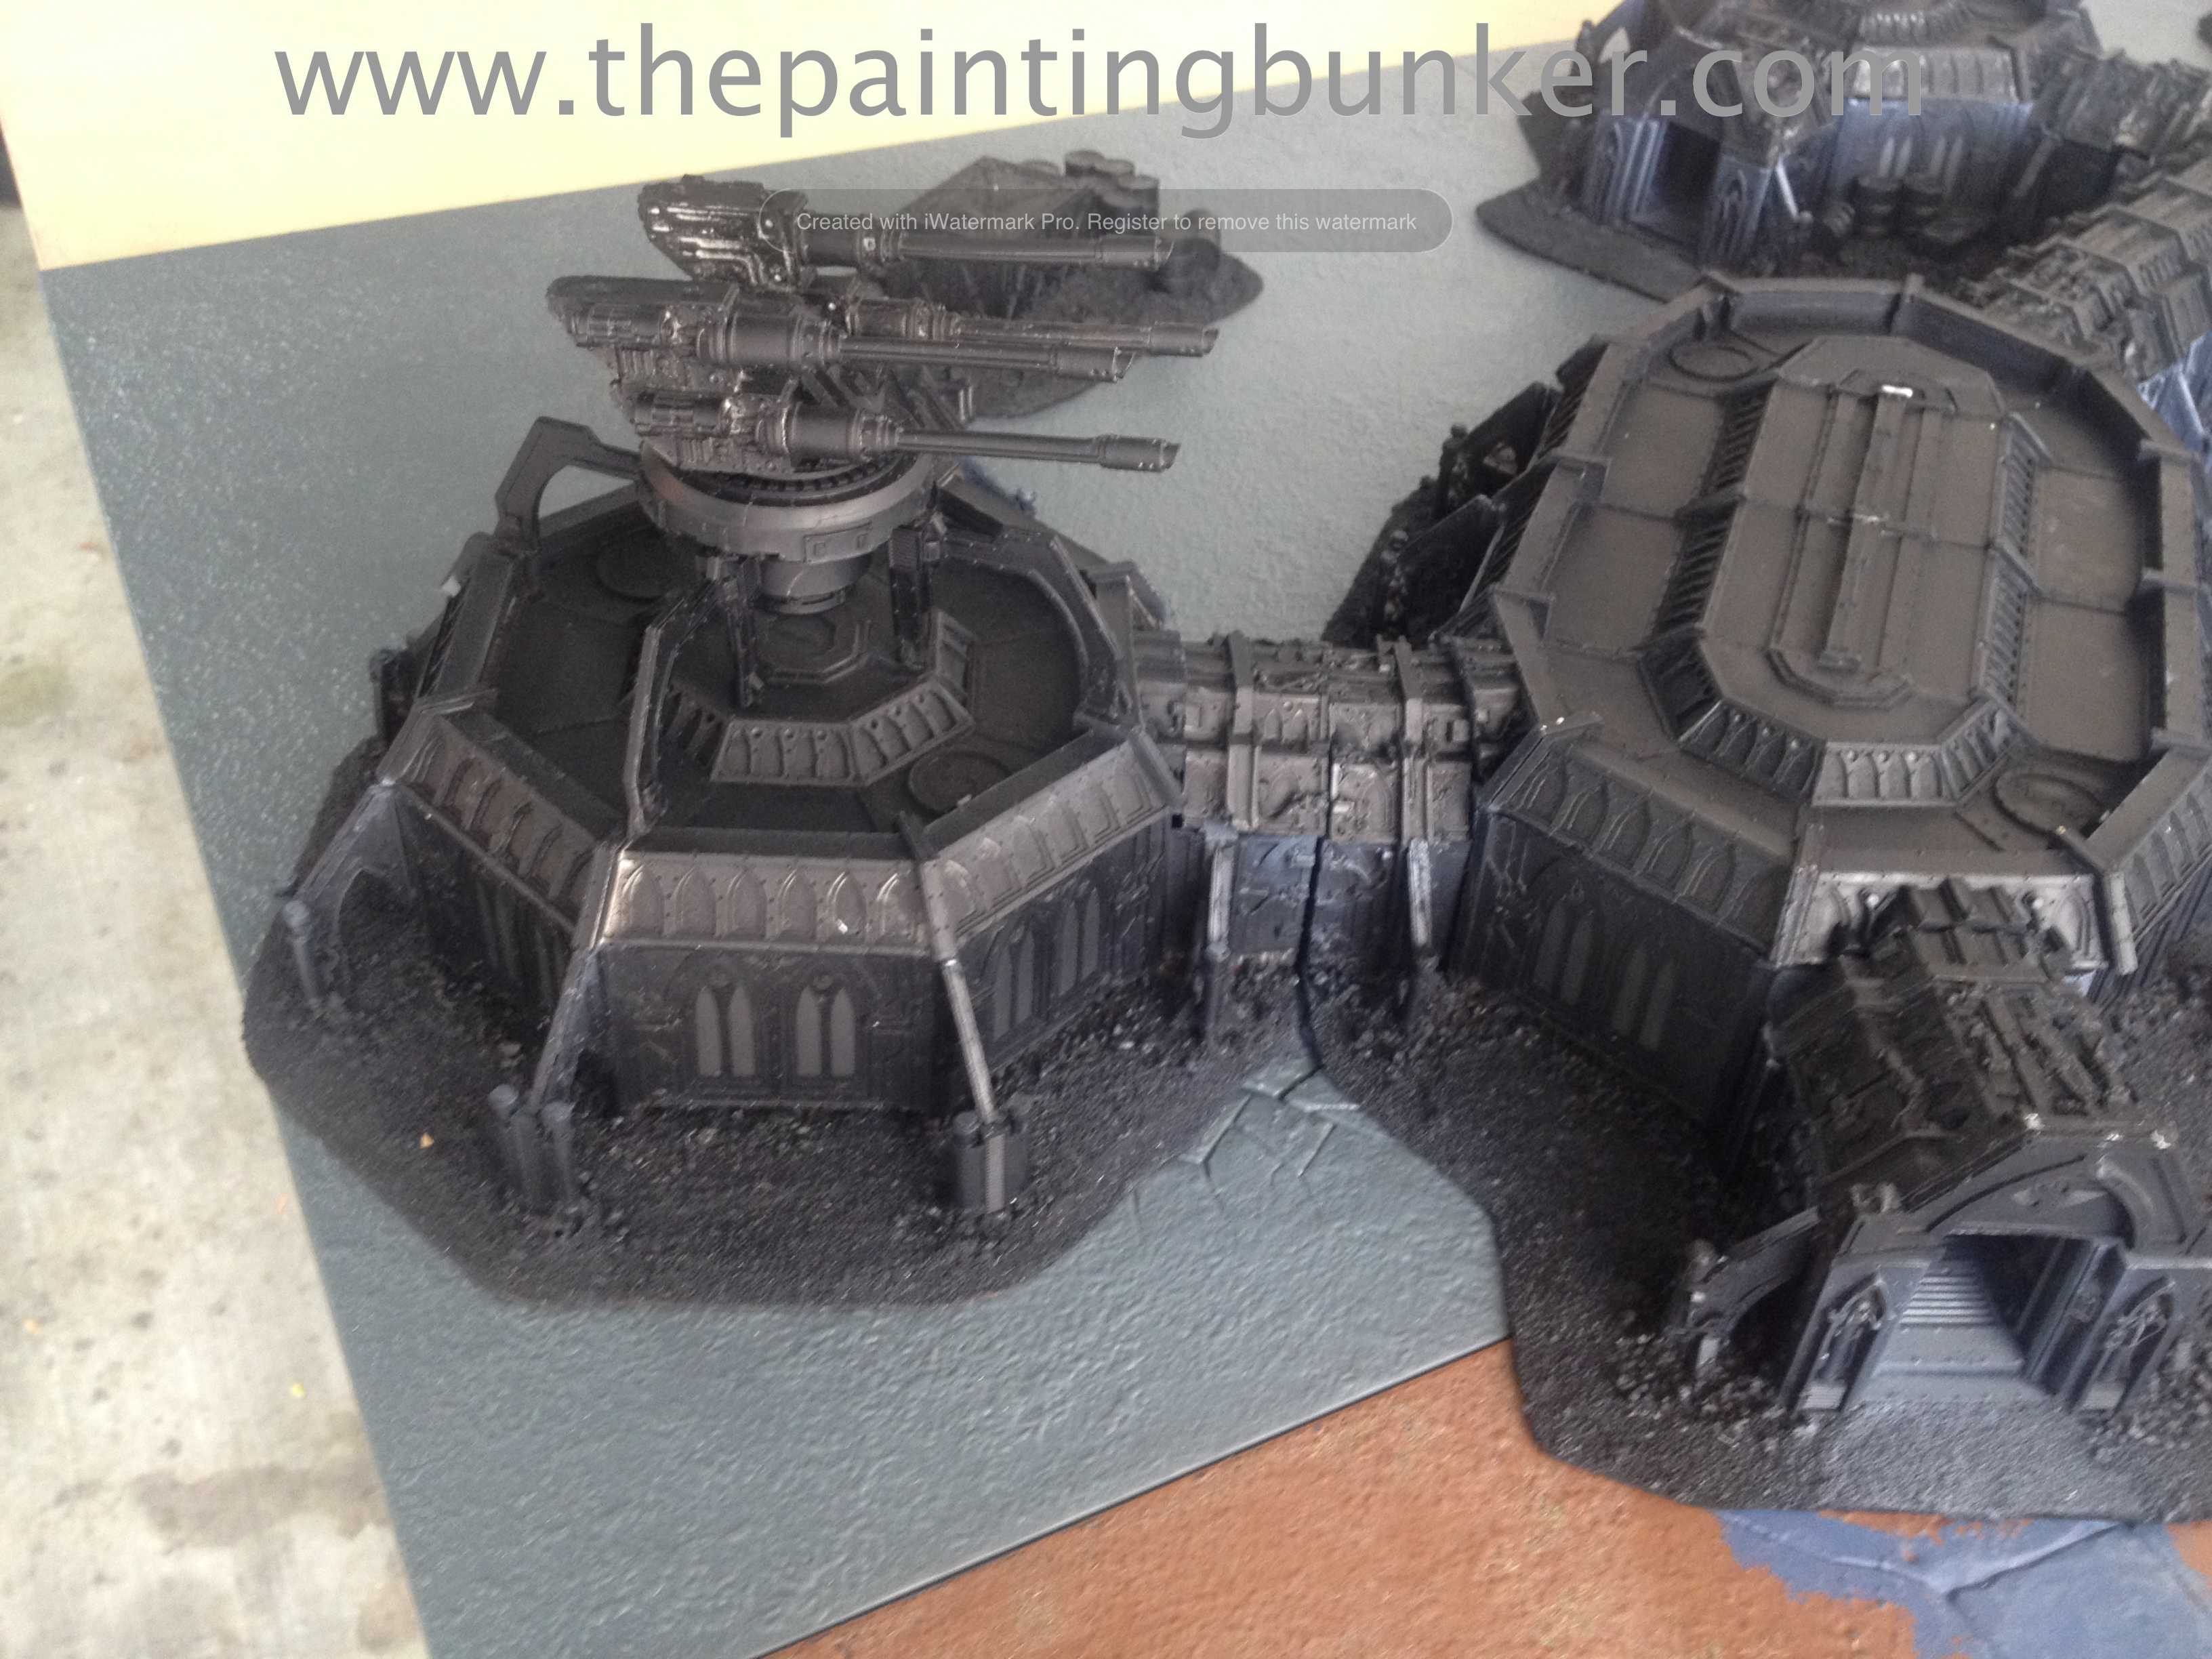
Here is a close up of some of the scatter terrain. I really like the shipping container looking objects. Again, more Necromunda bulkheads glued together and cast.

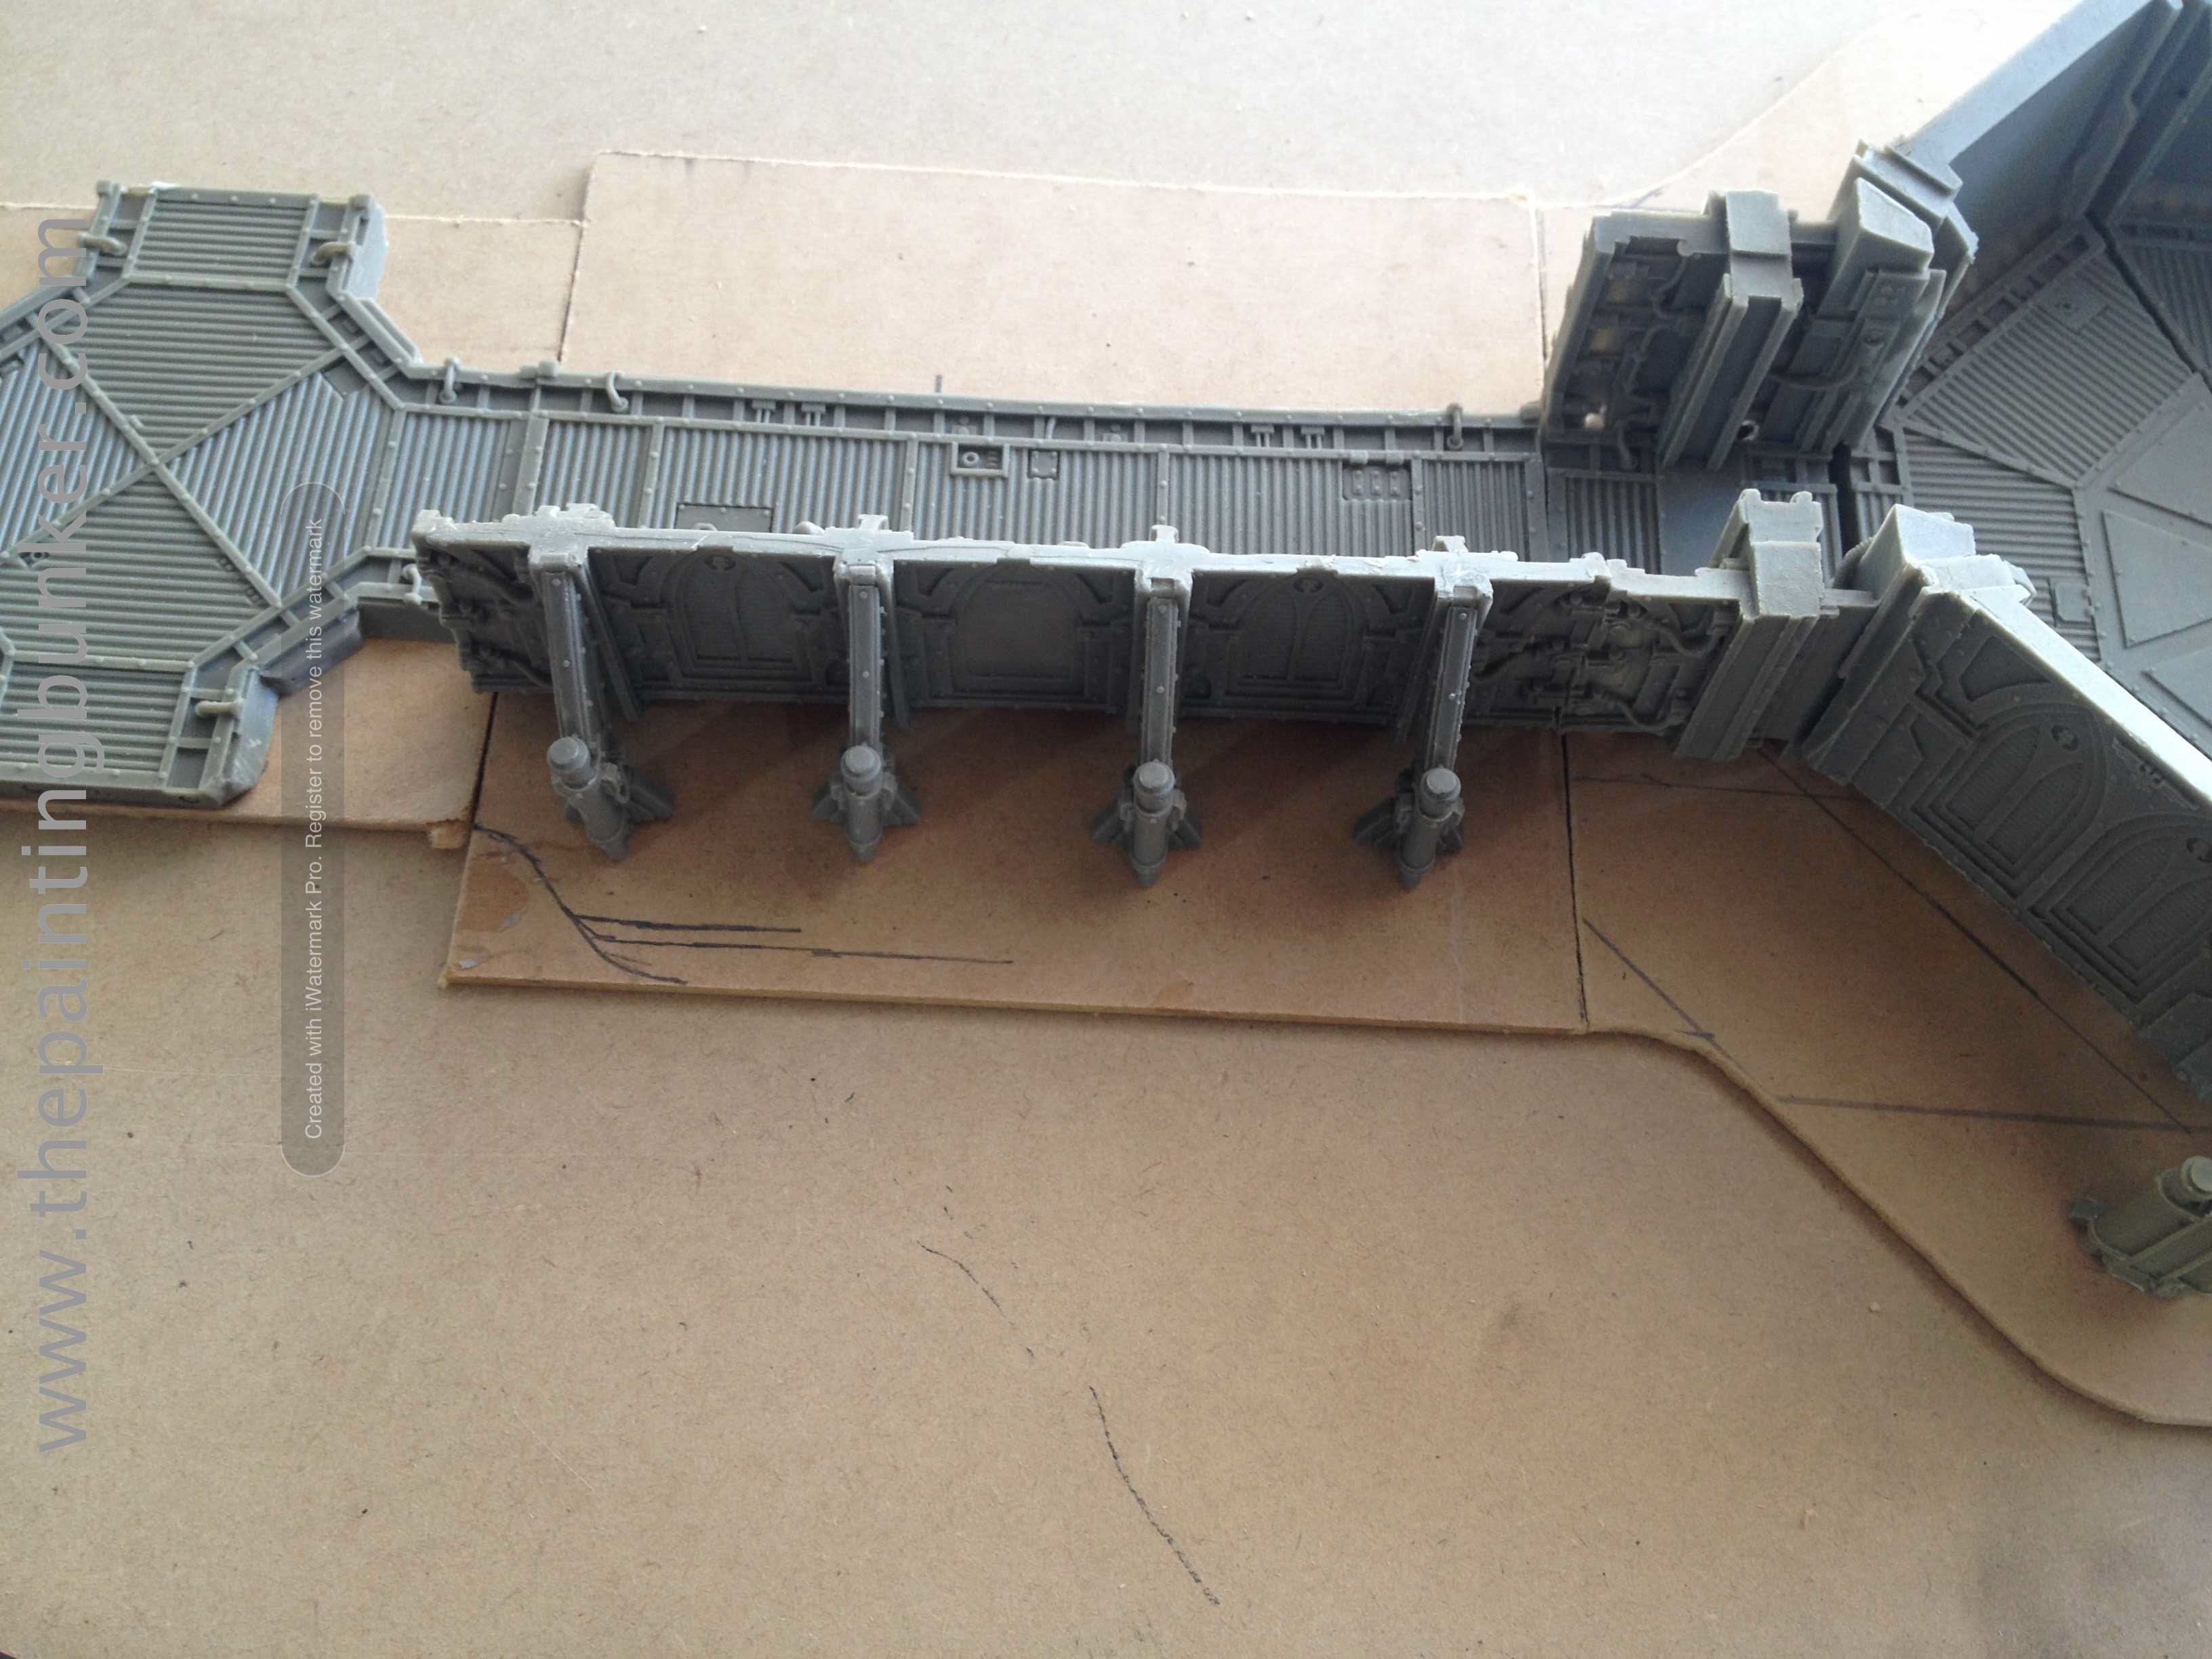
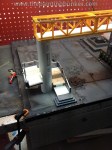
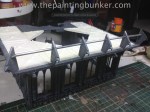
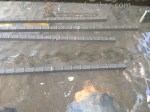
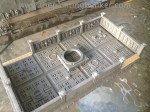
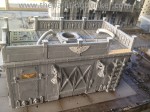
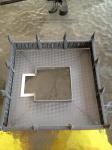
The cast panel in place on the landing pad. In case you’re wondering, the basing material I use is kitty litter, and a type of small rocks that are used in reptile enclosures. I just like the consistency.

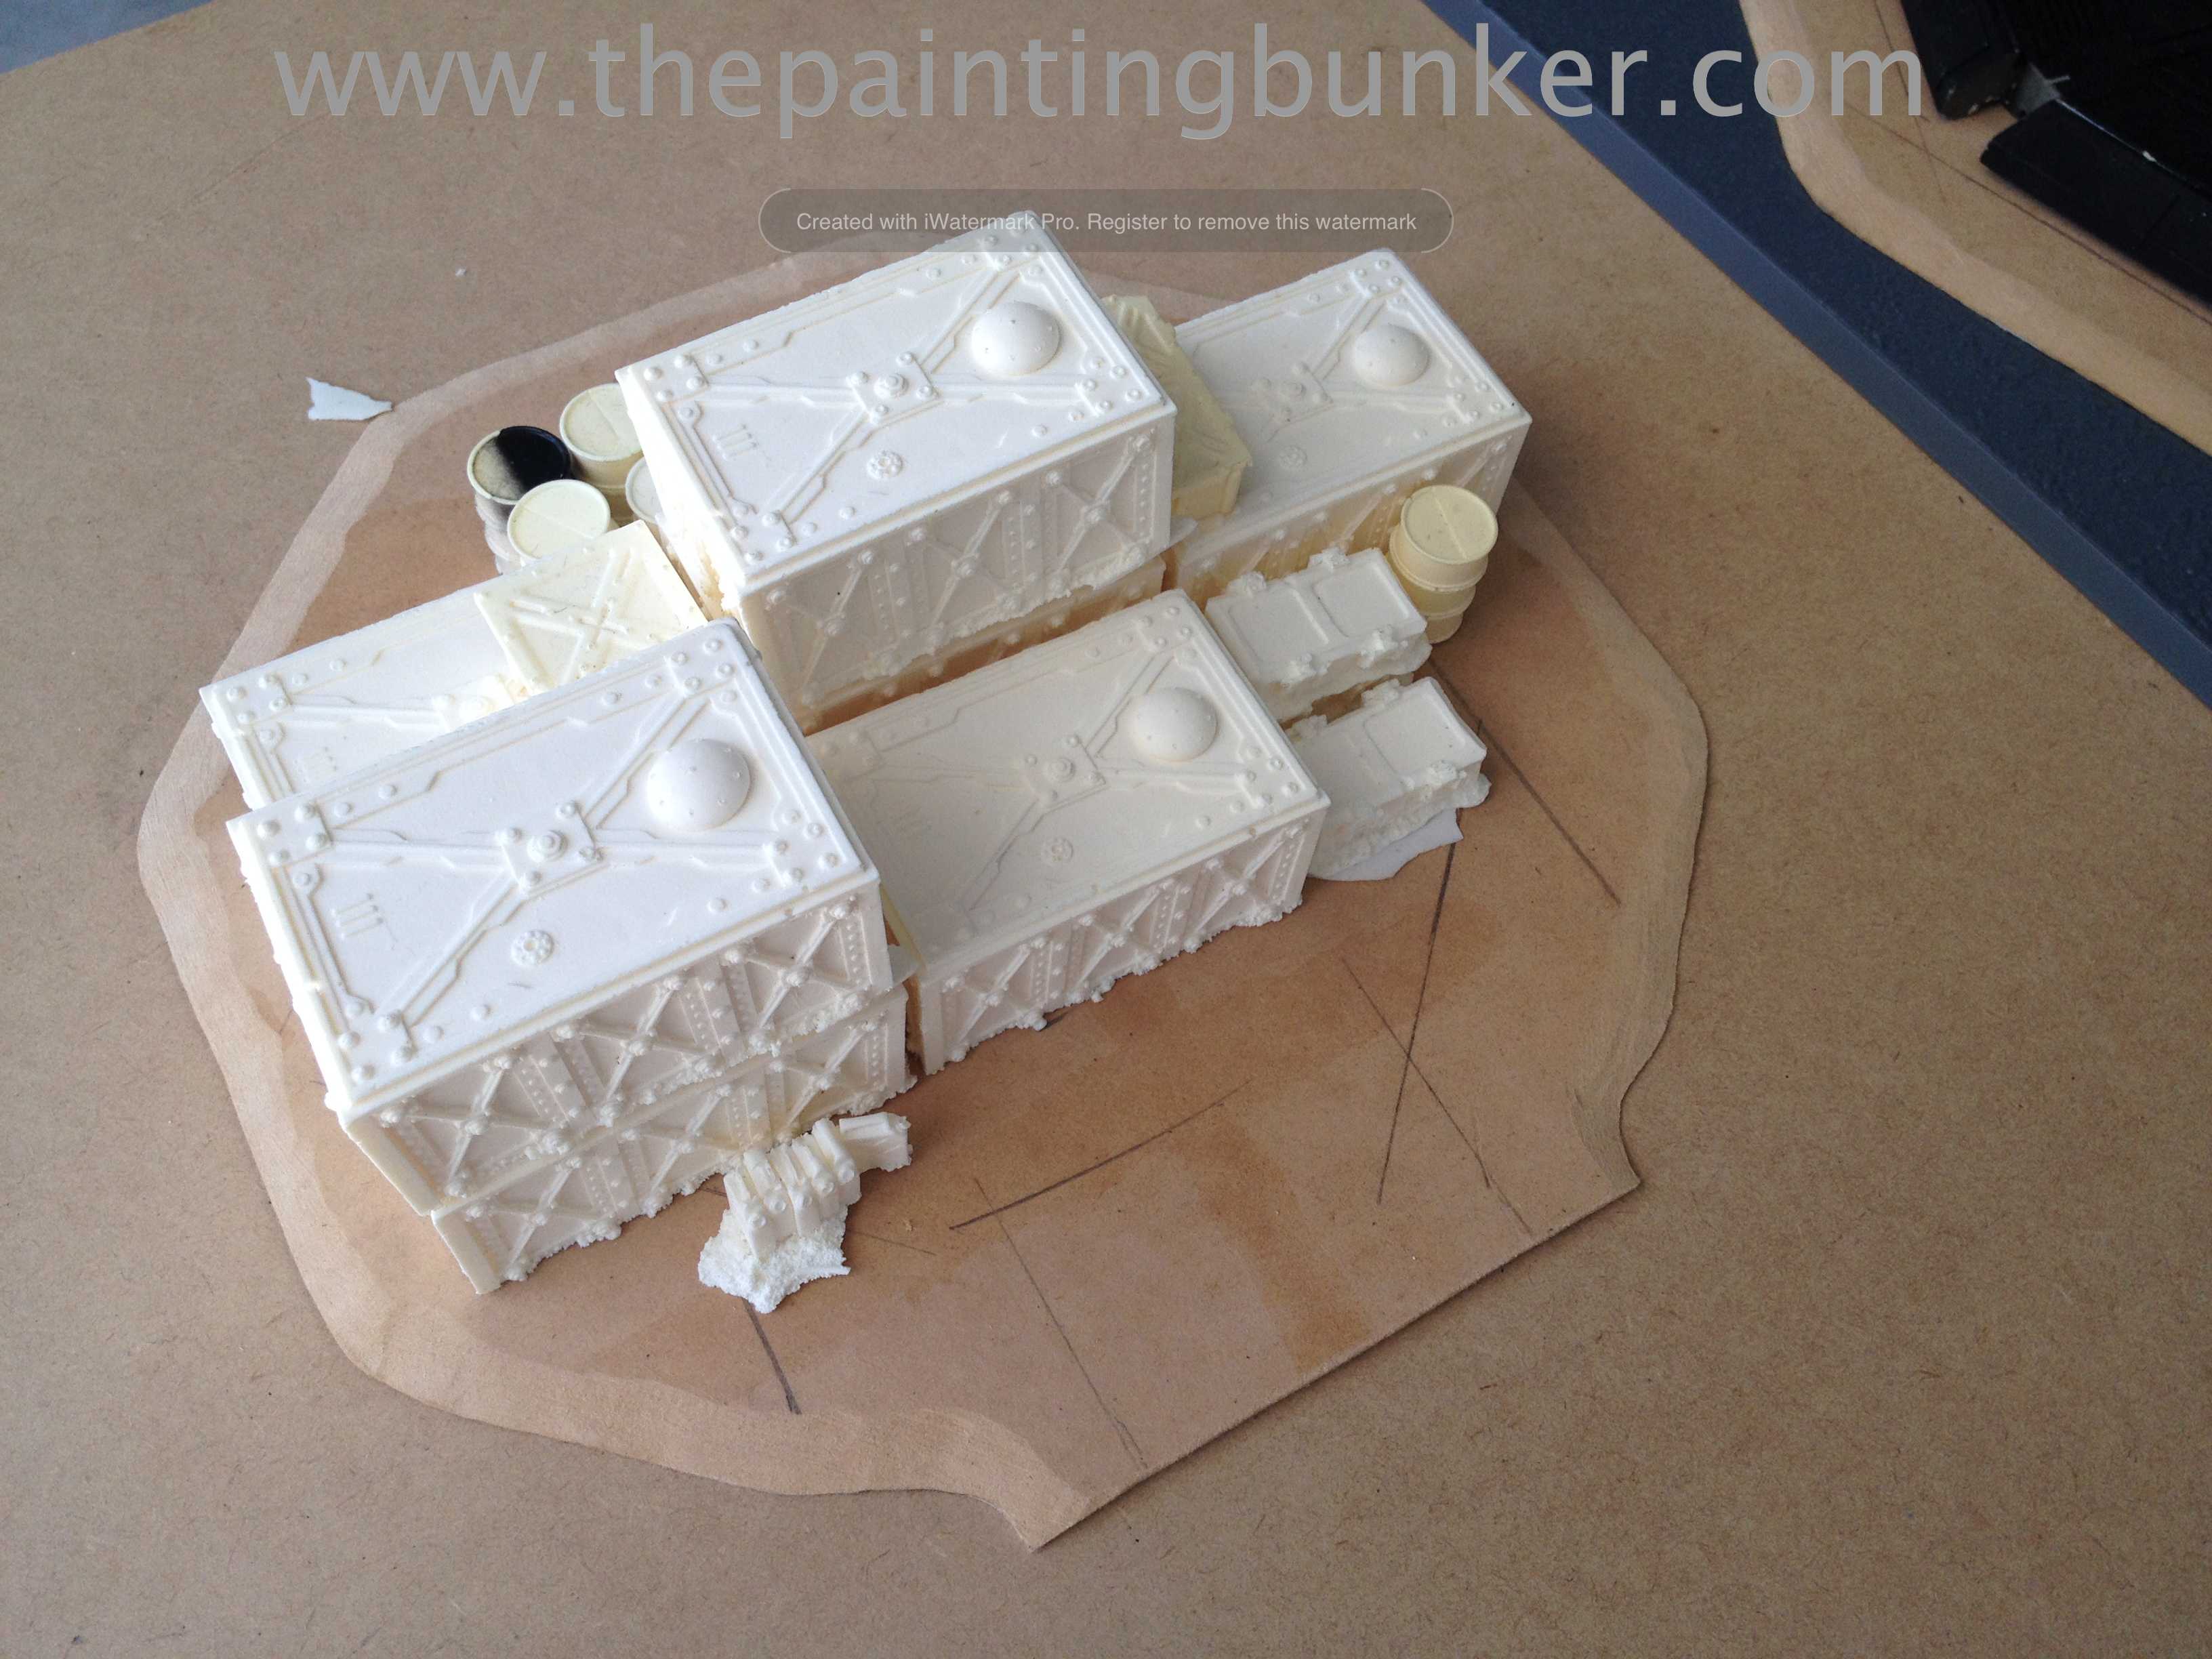
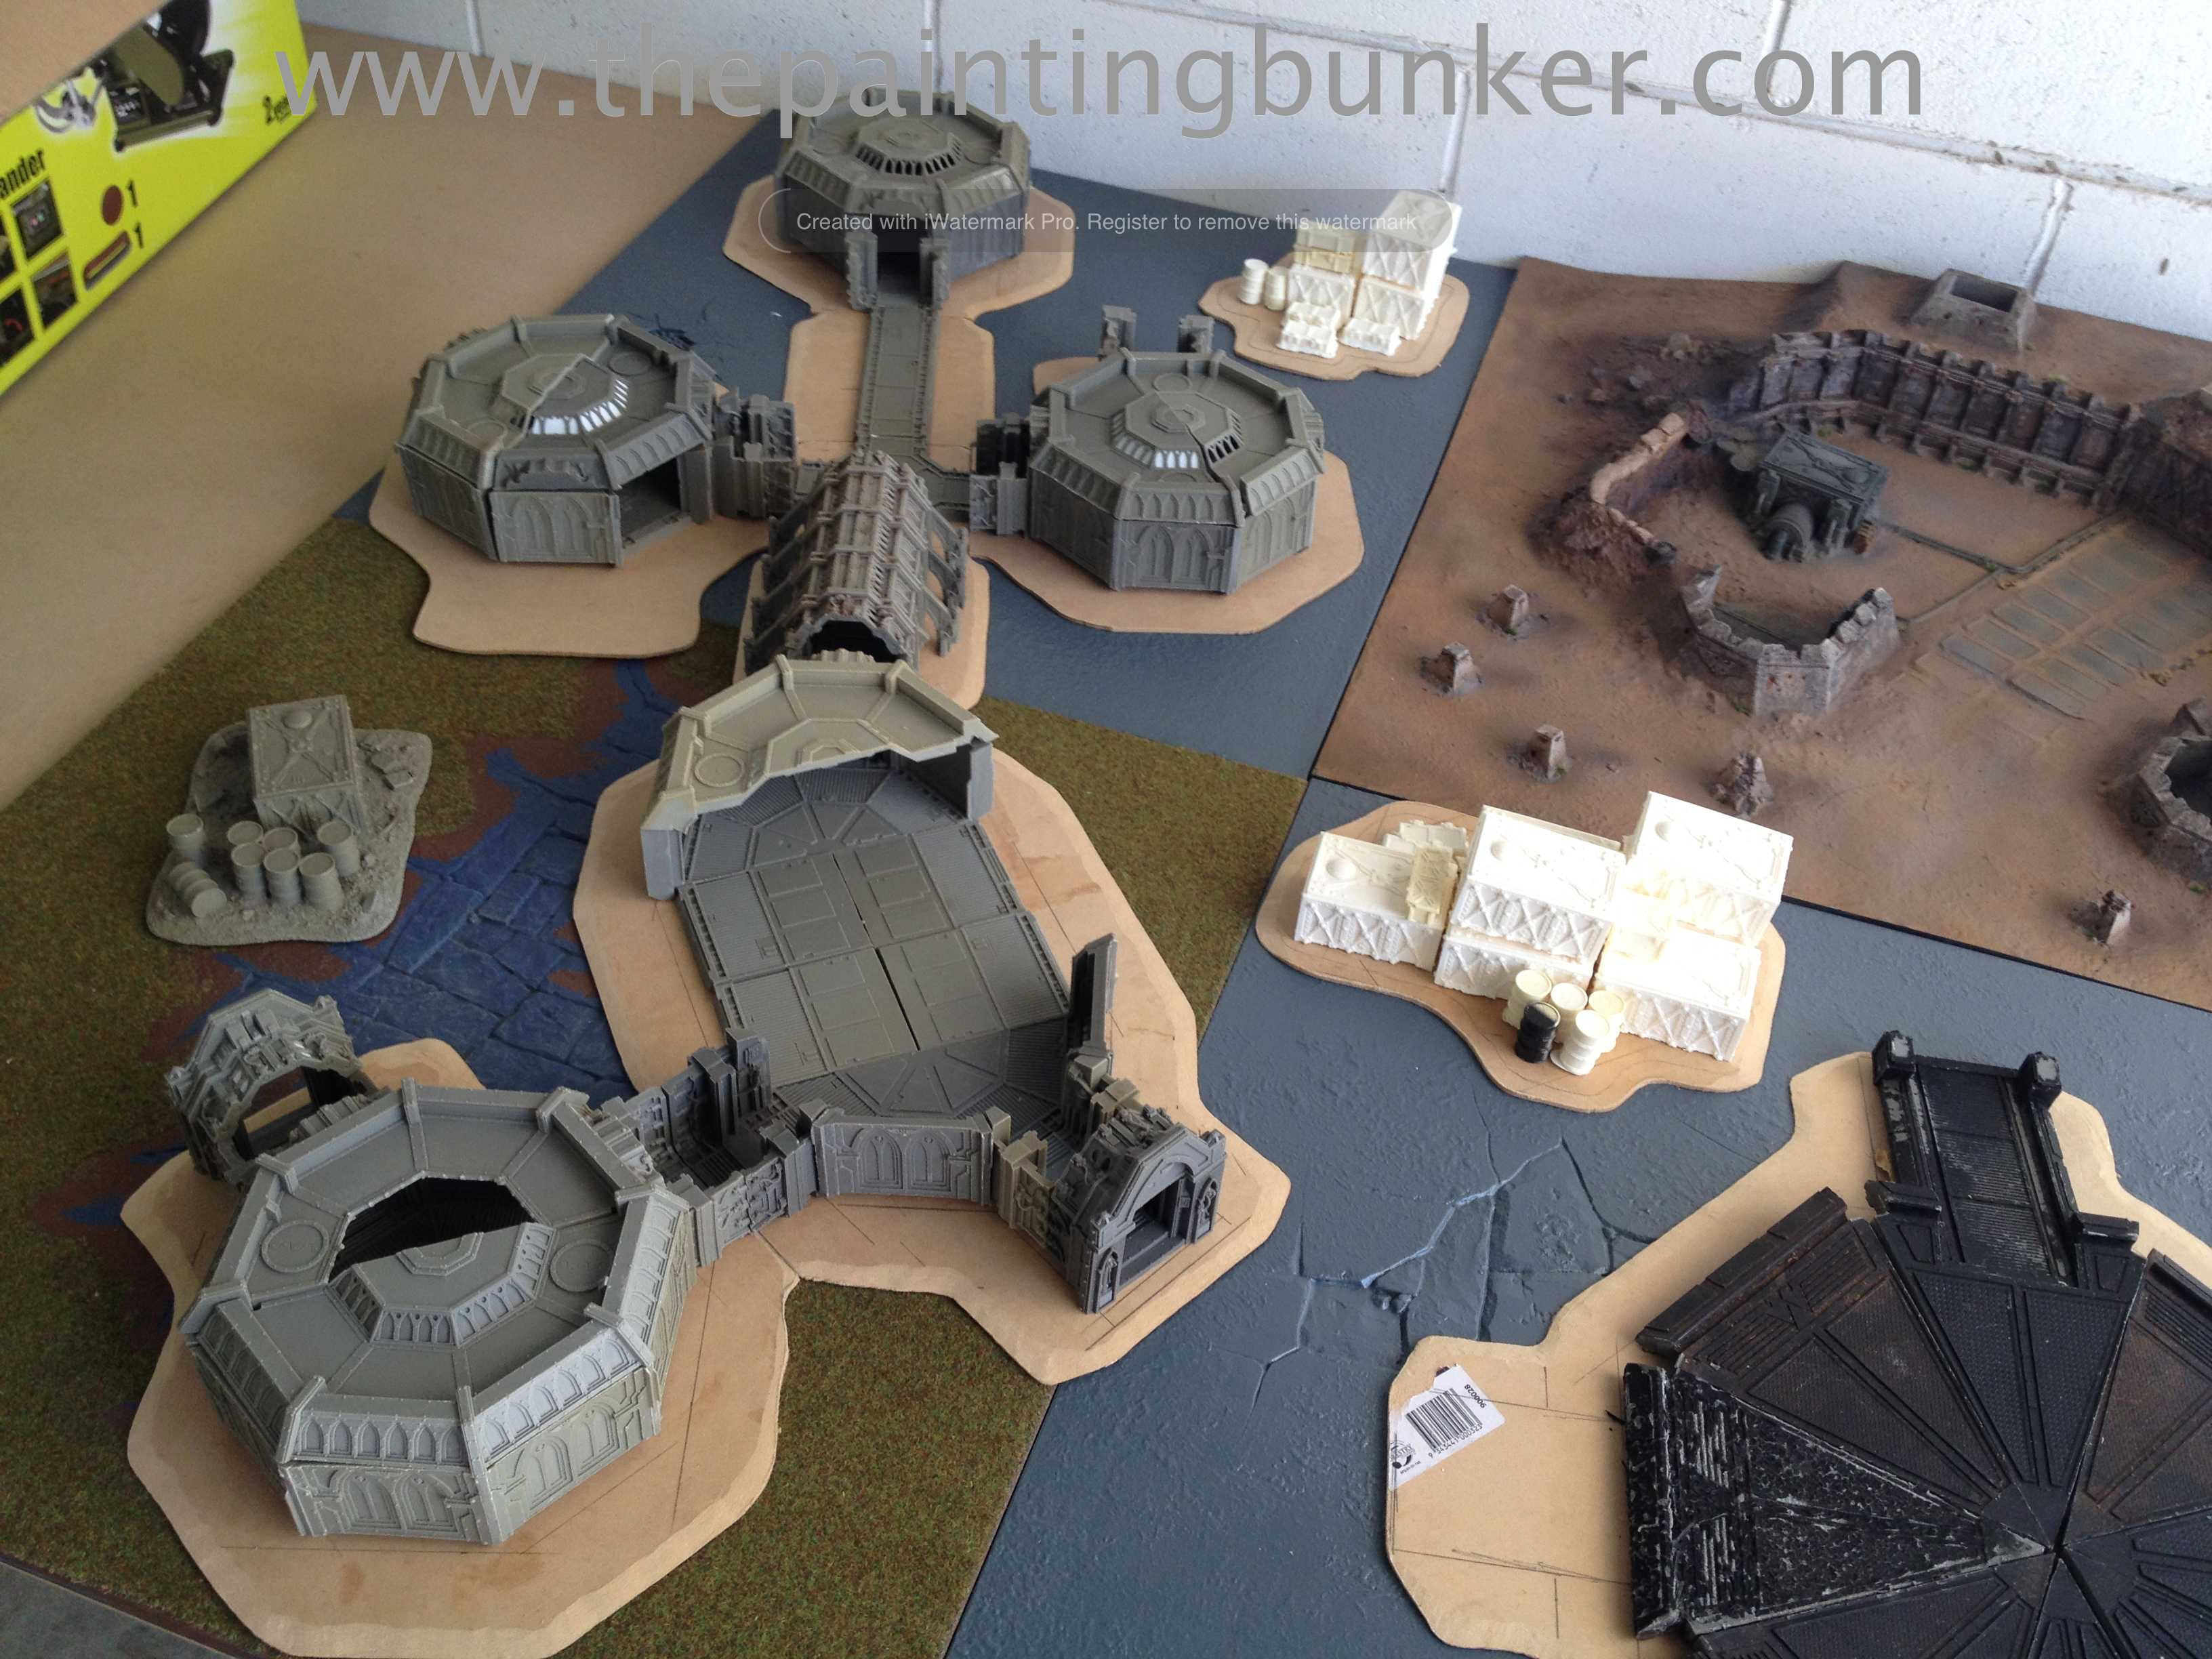
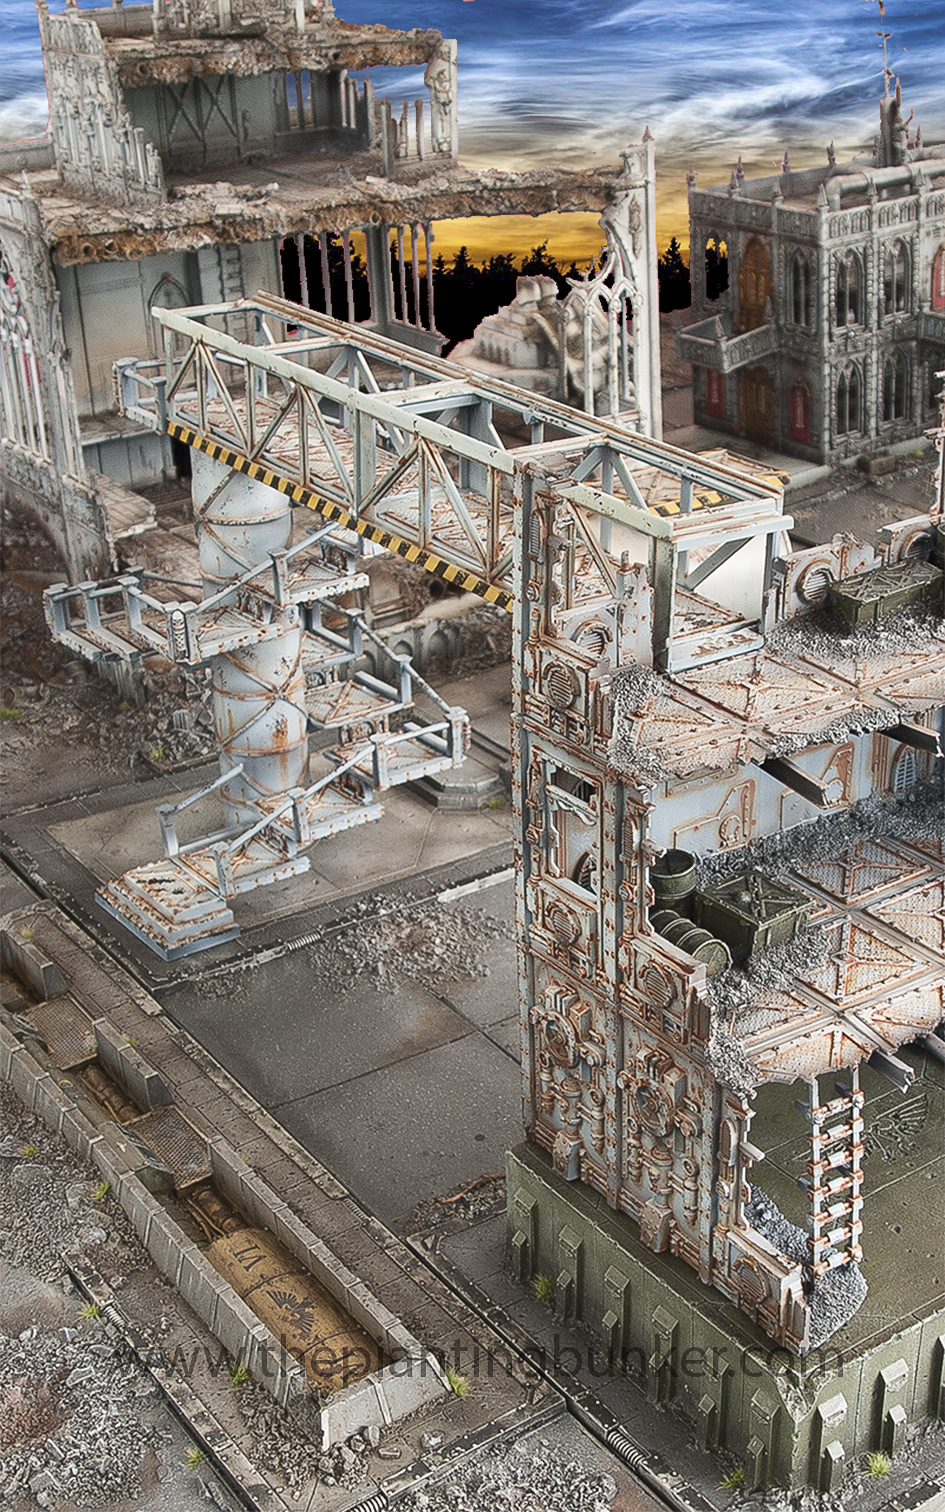
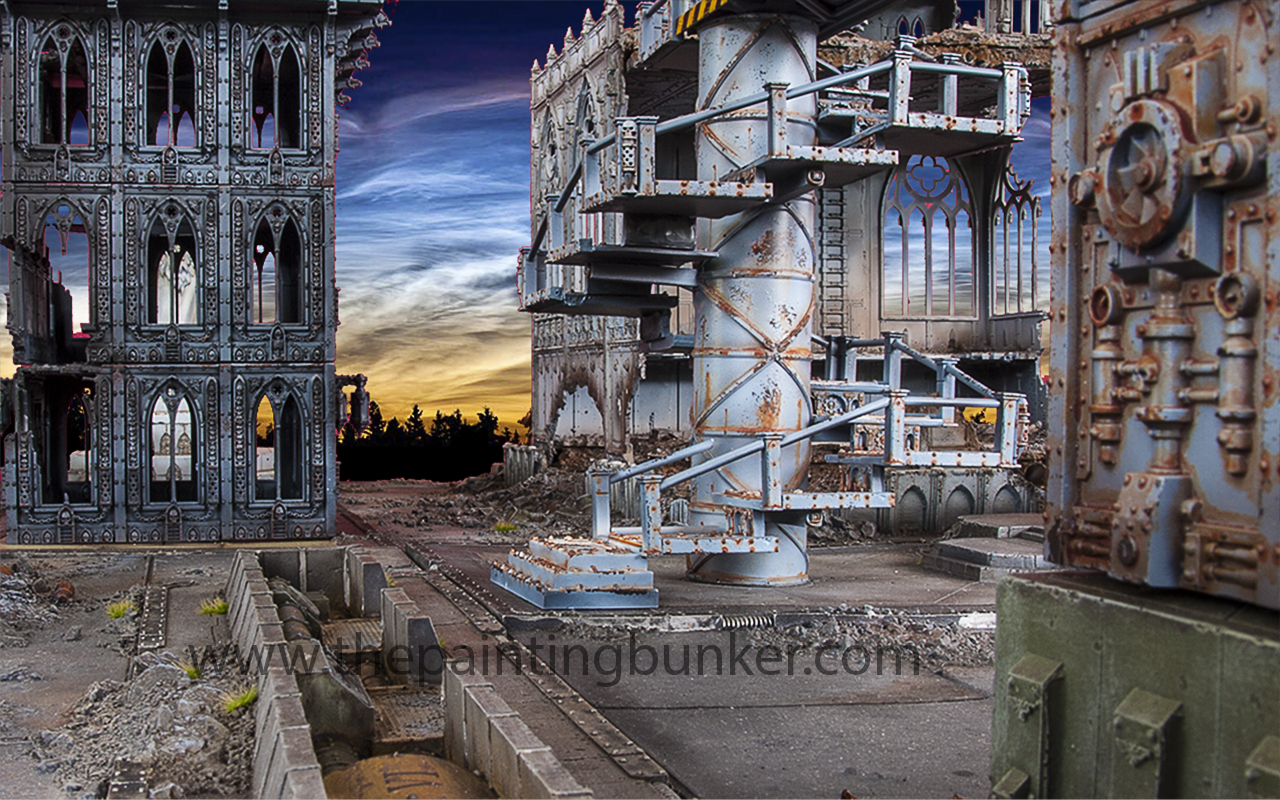
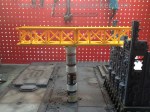
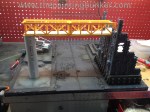
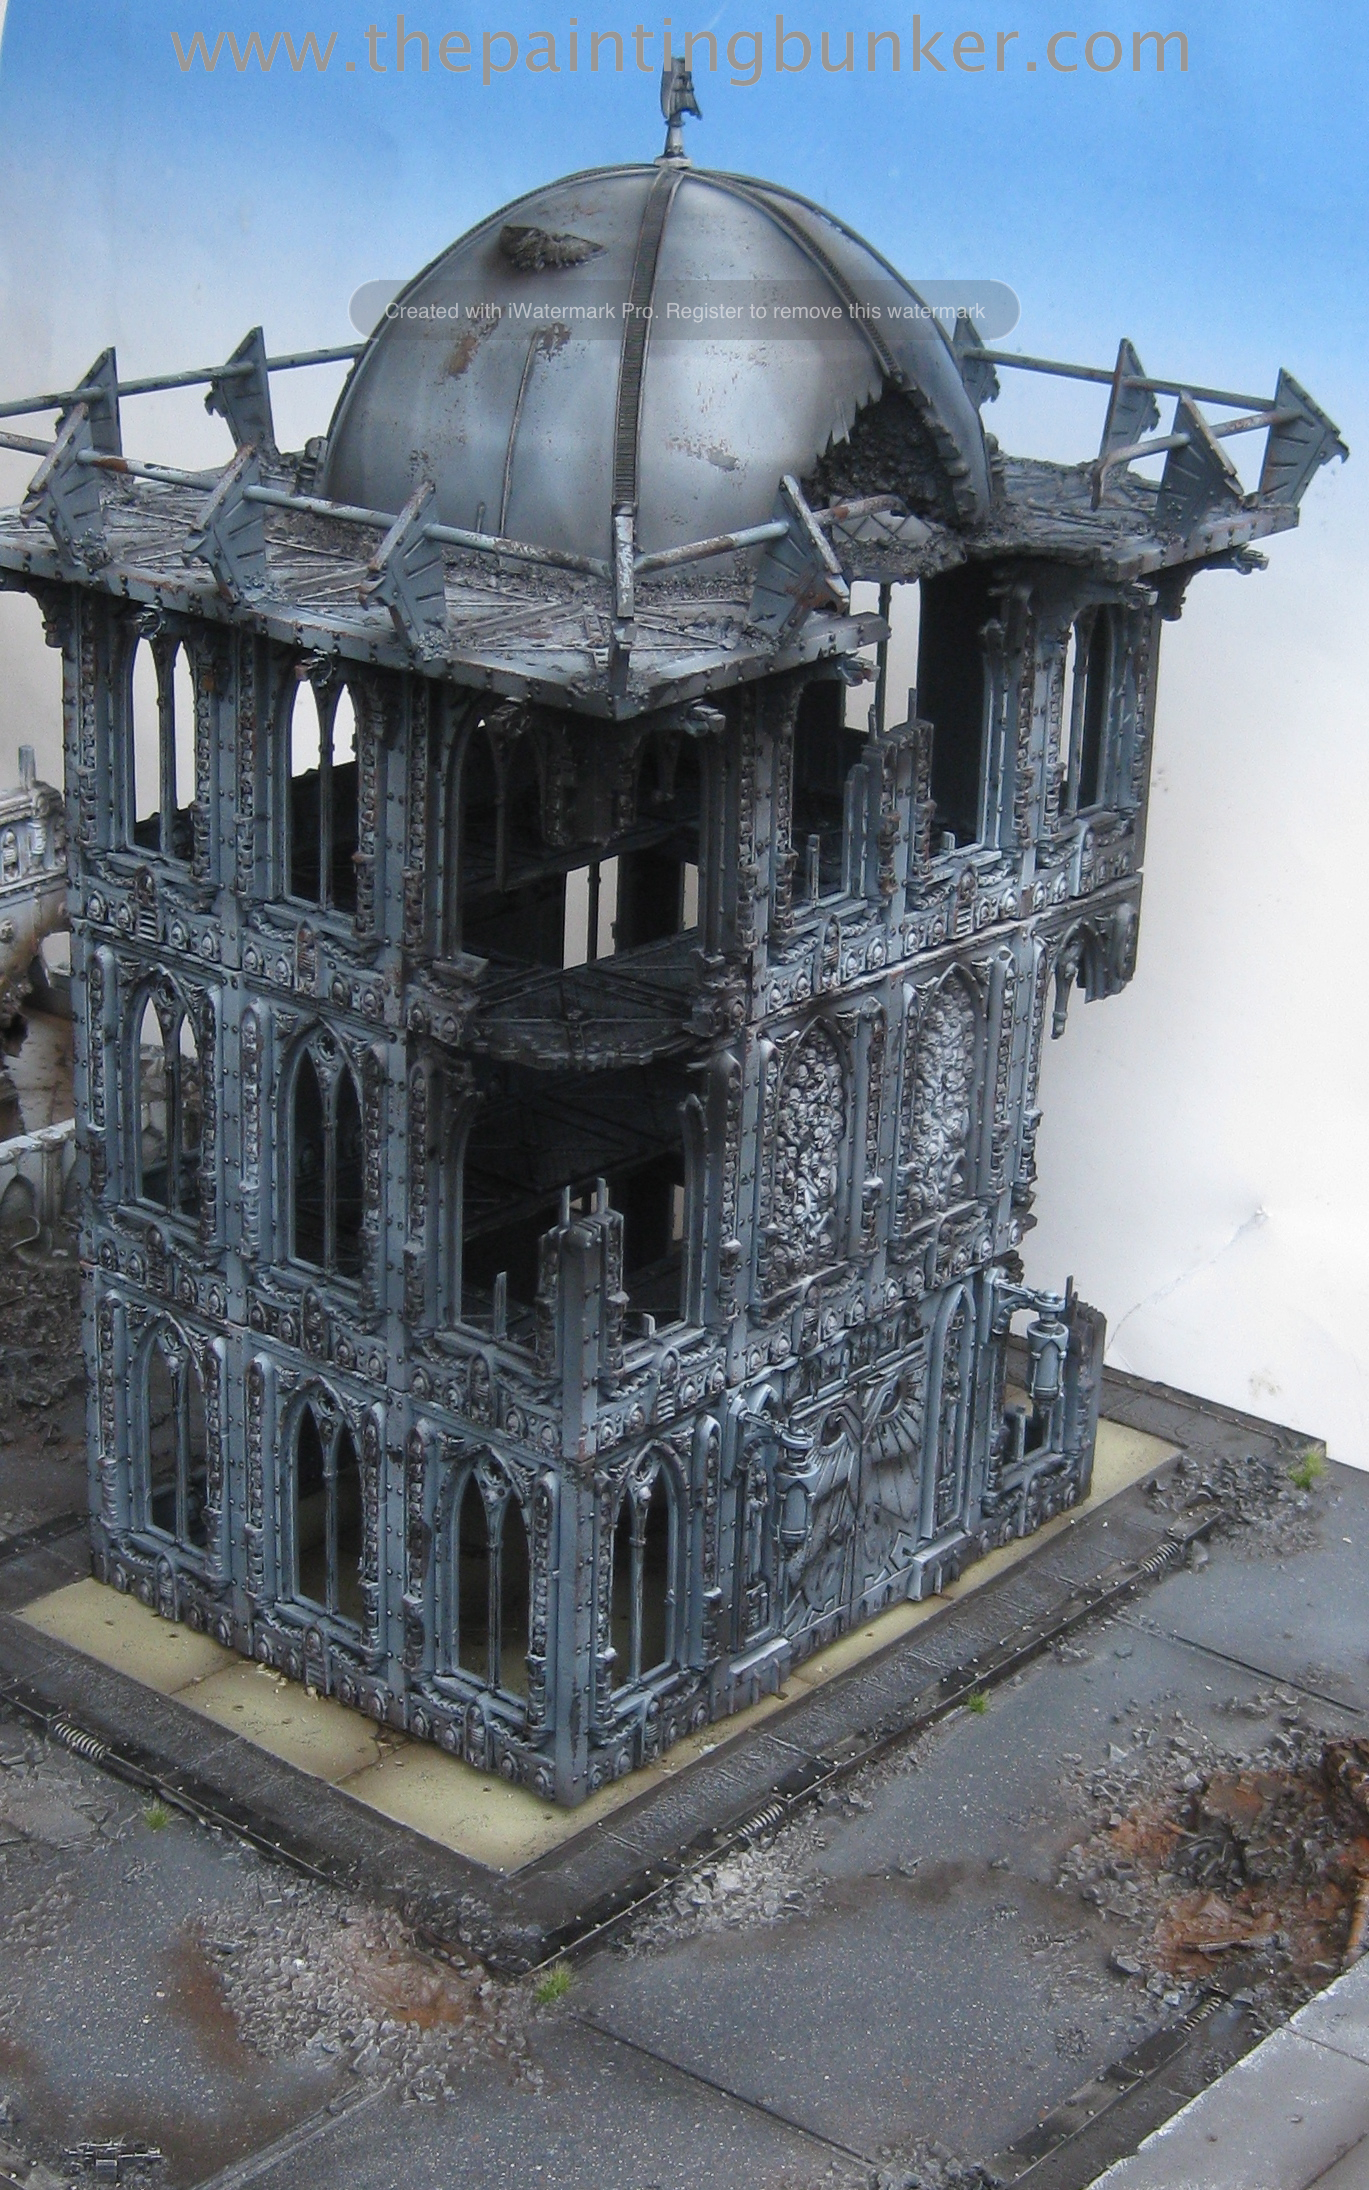
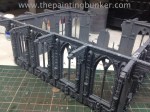
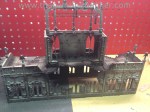
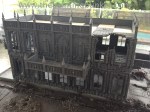
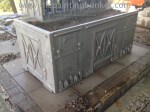
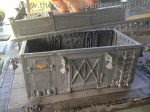
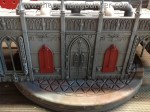
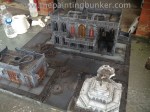
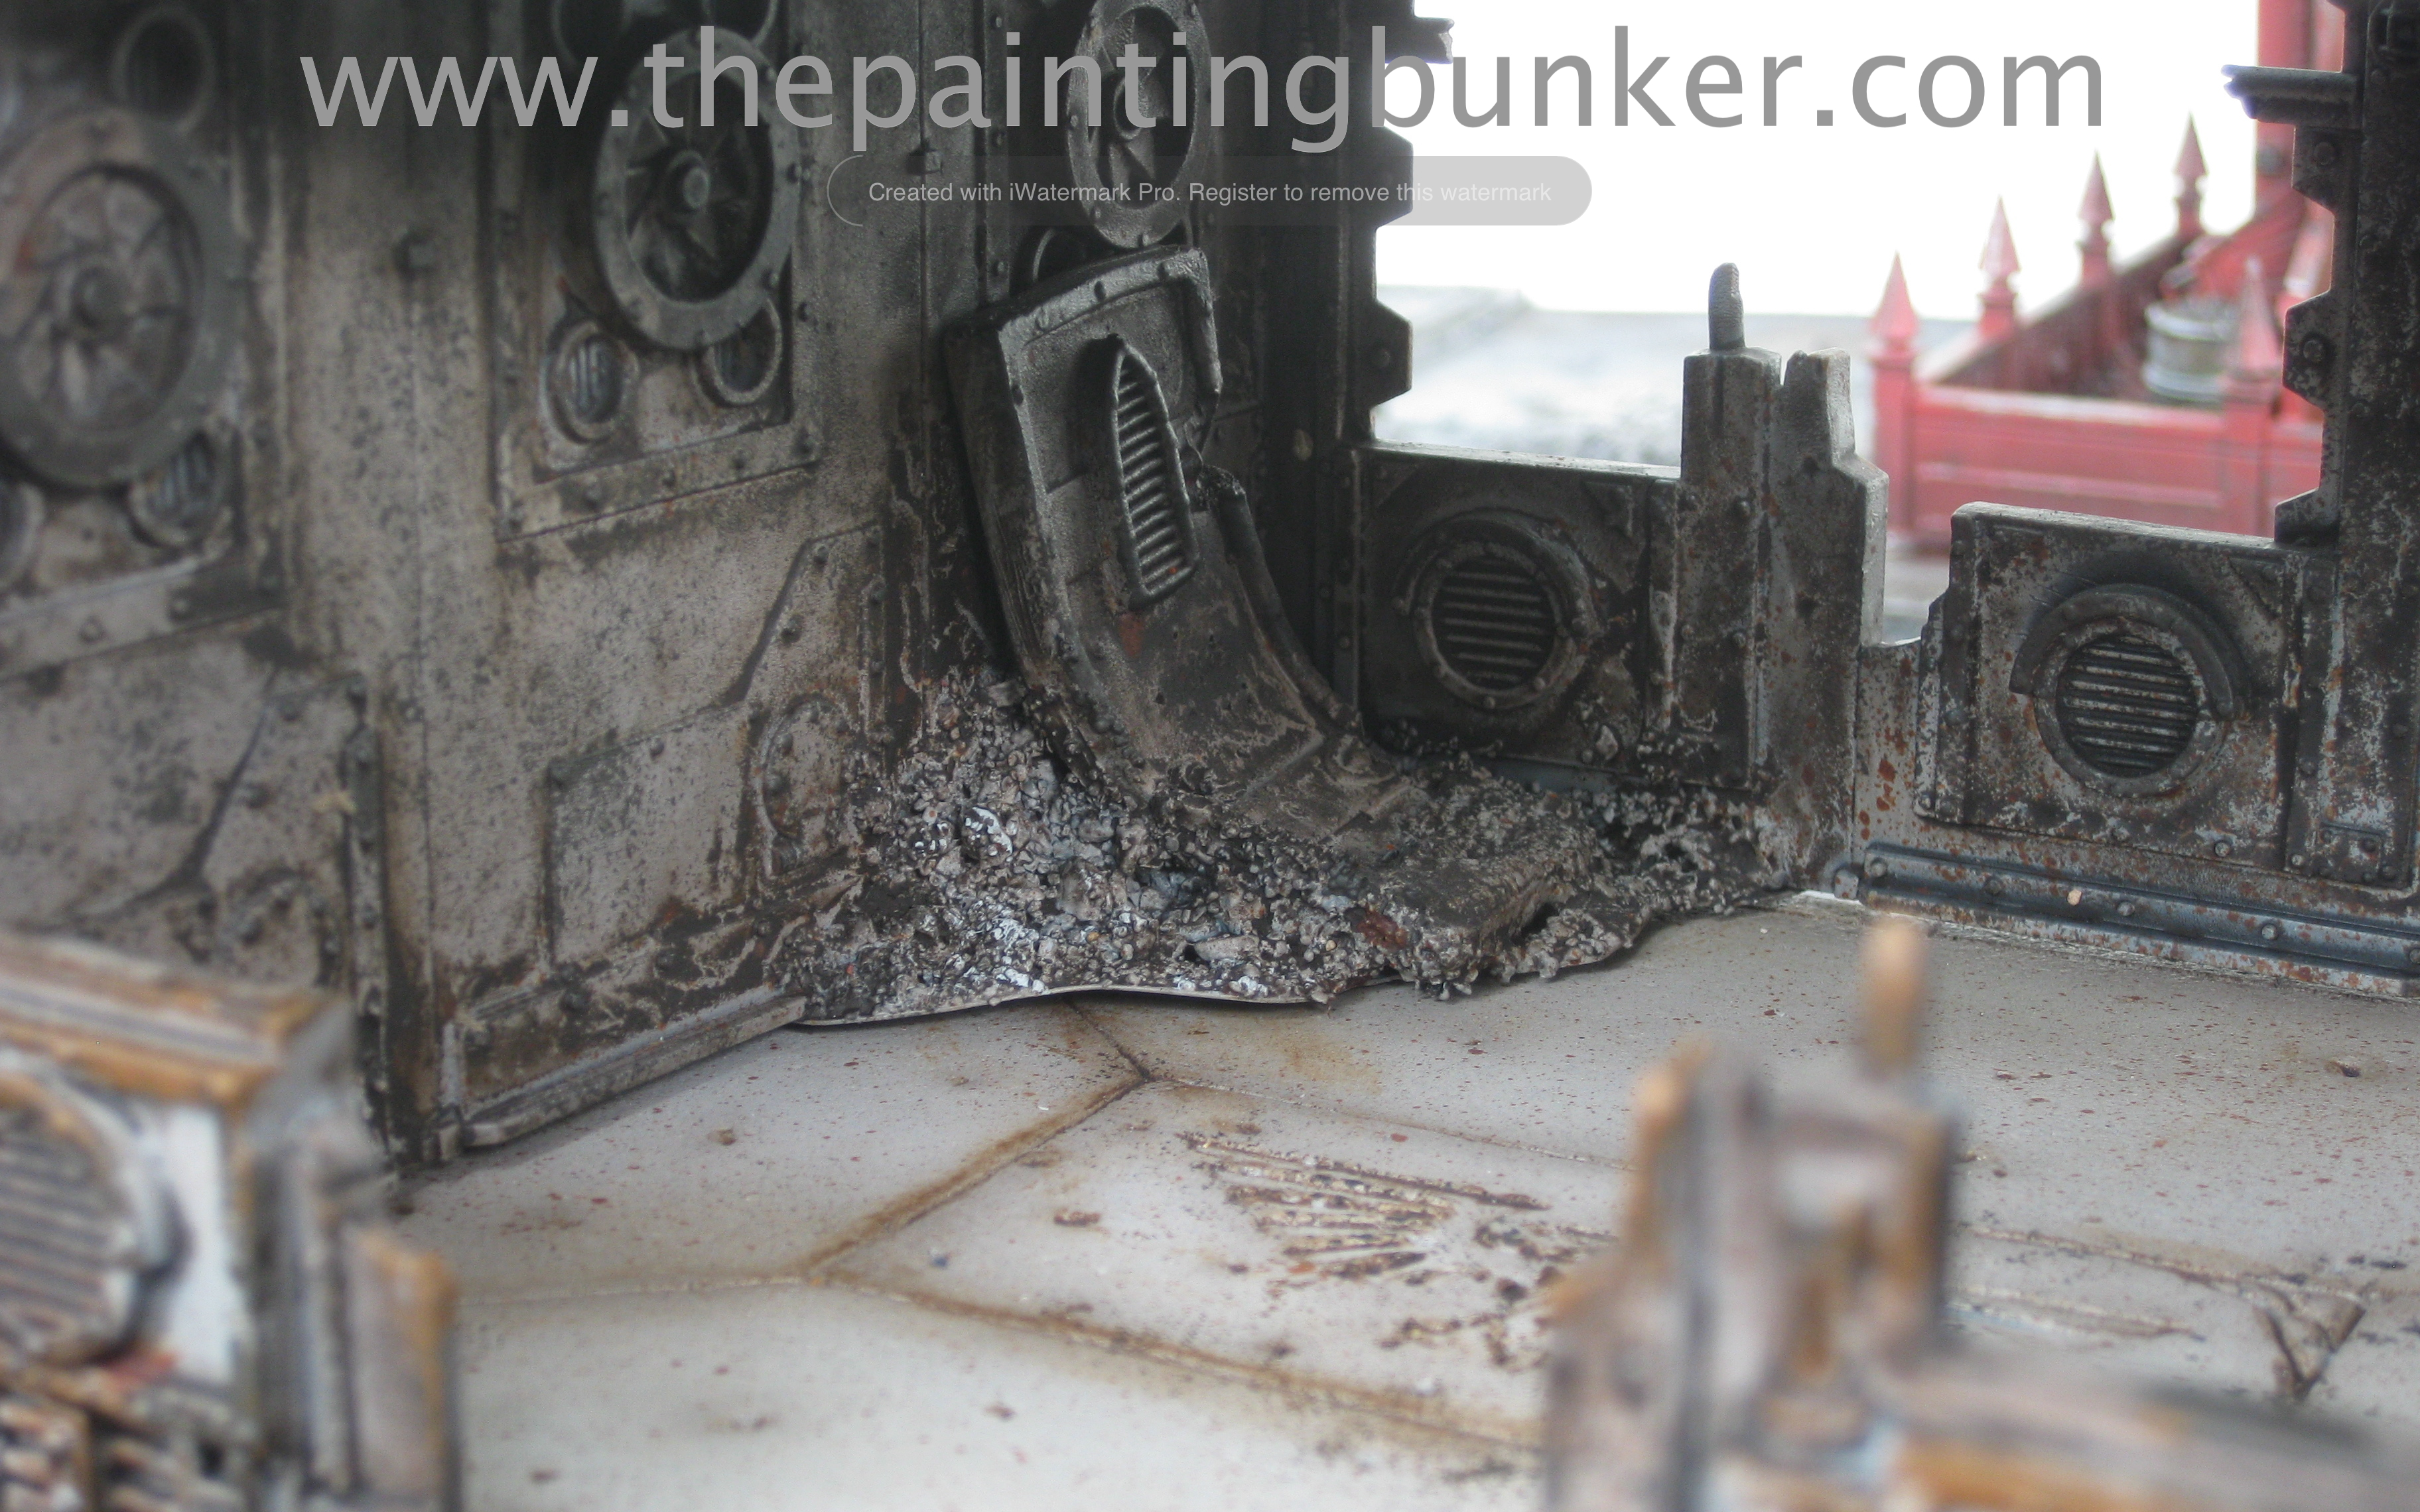
The rest of these photos are of the base assembled and undercoated. As I’ve mentioned, getting it to this stage was a massive mission. However it’s really pleasing to see it at this stage. I have to admit, when I saw it all assembled like this, it really renewed my enthusiasm for the project. It was waining…


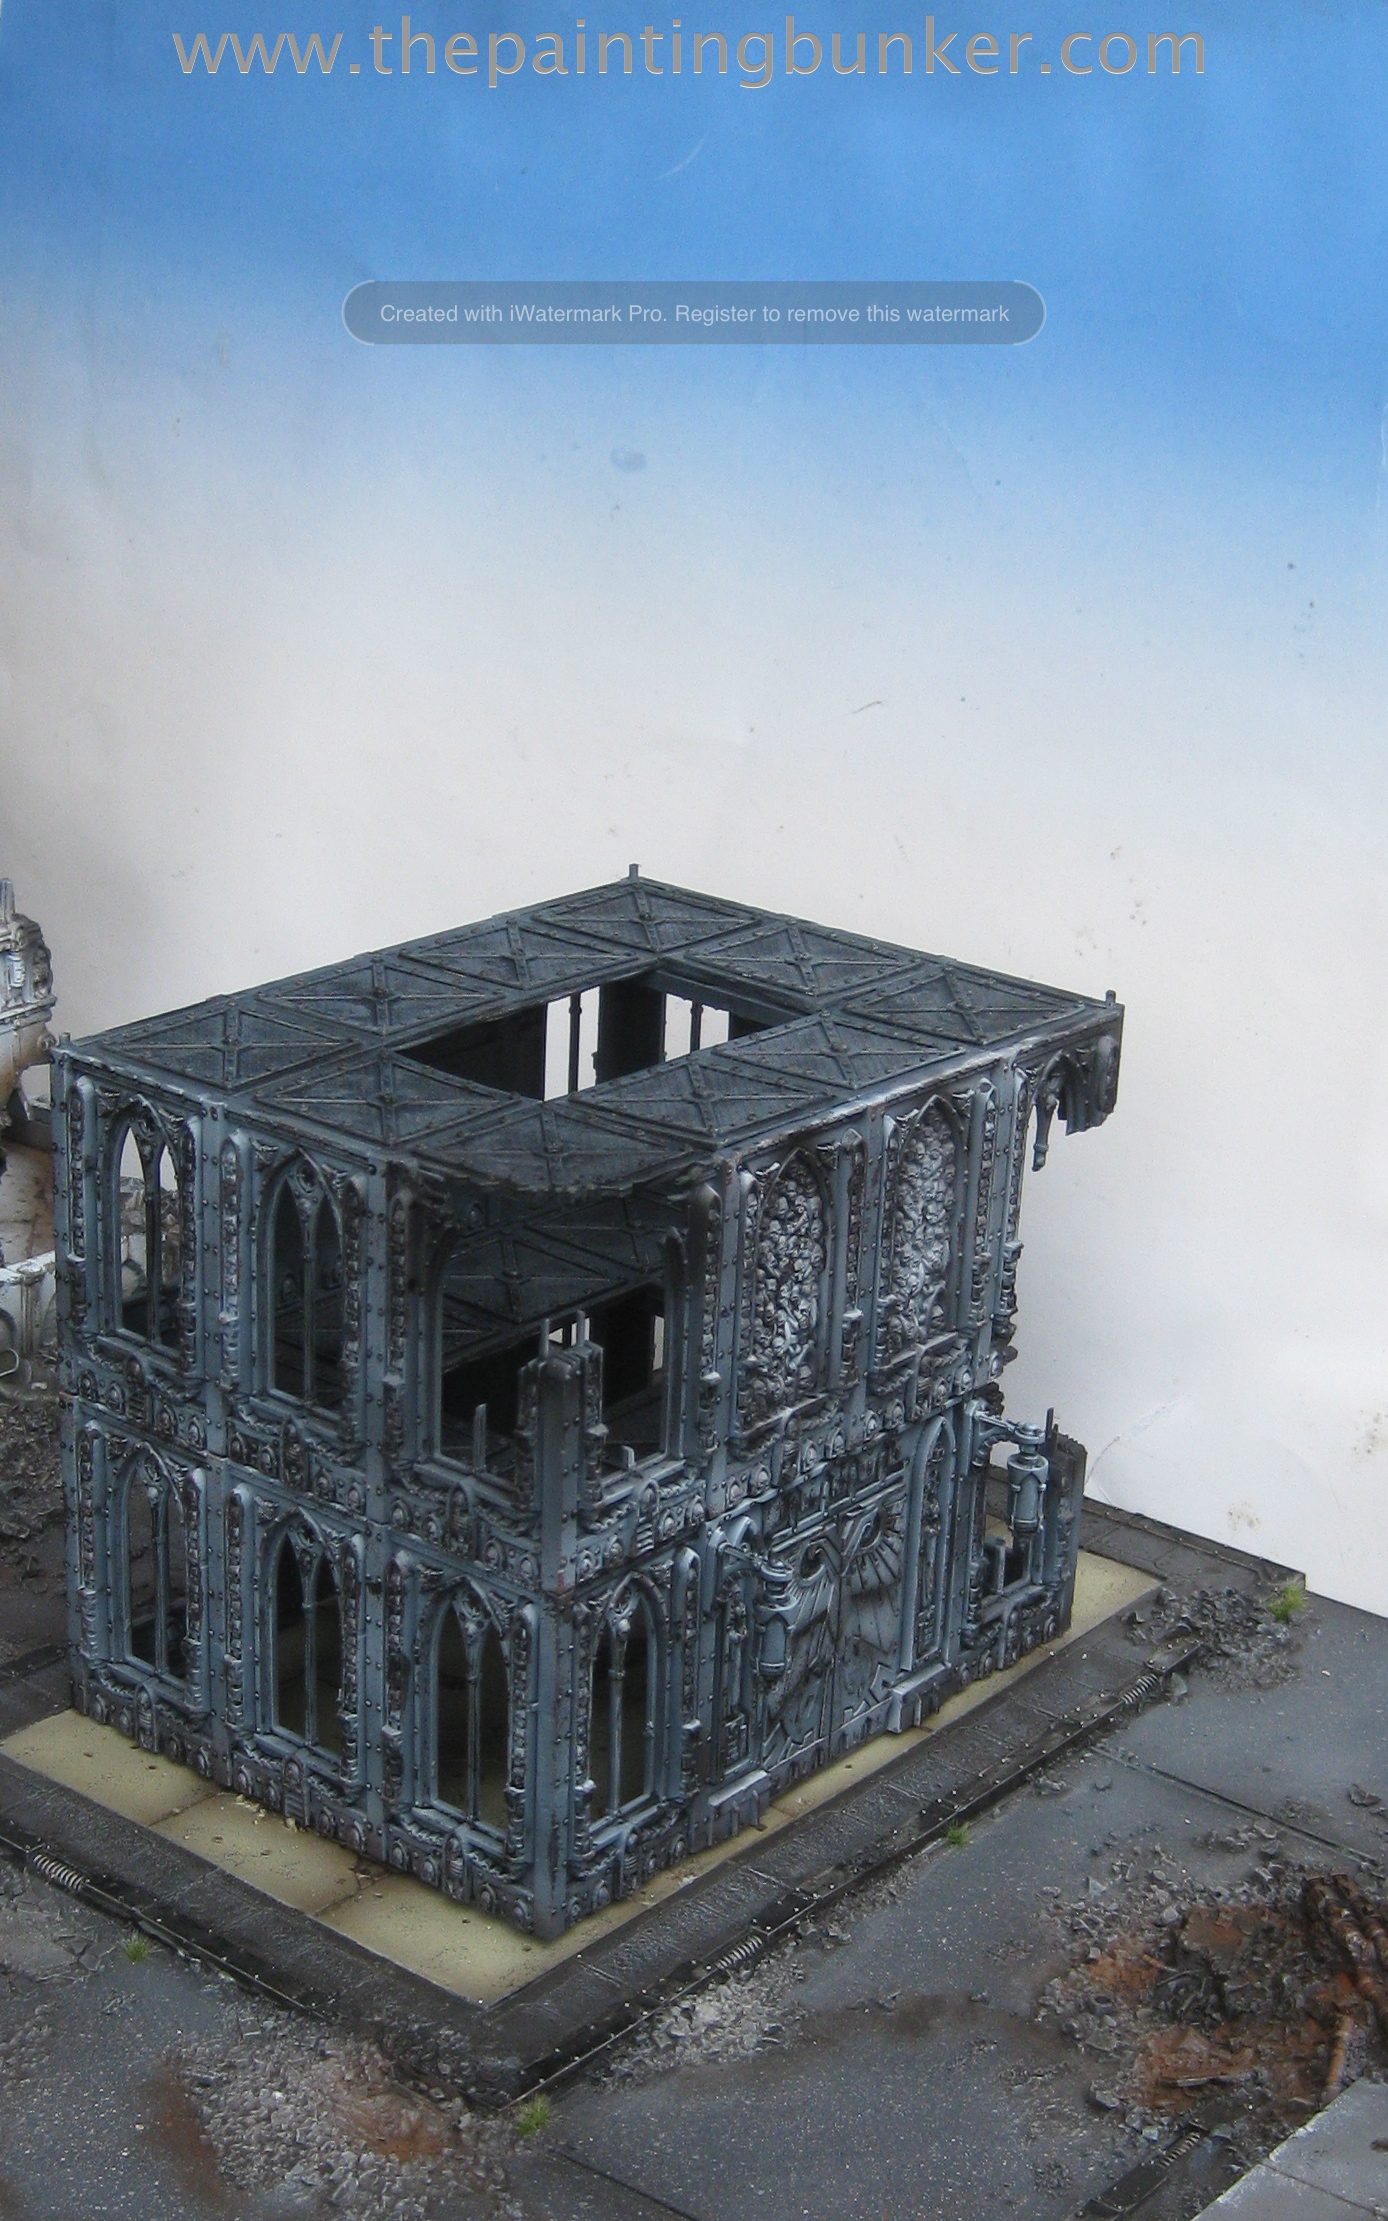
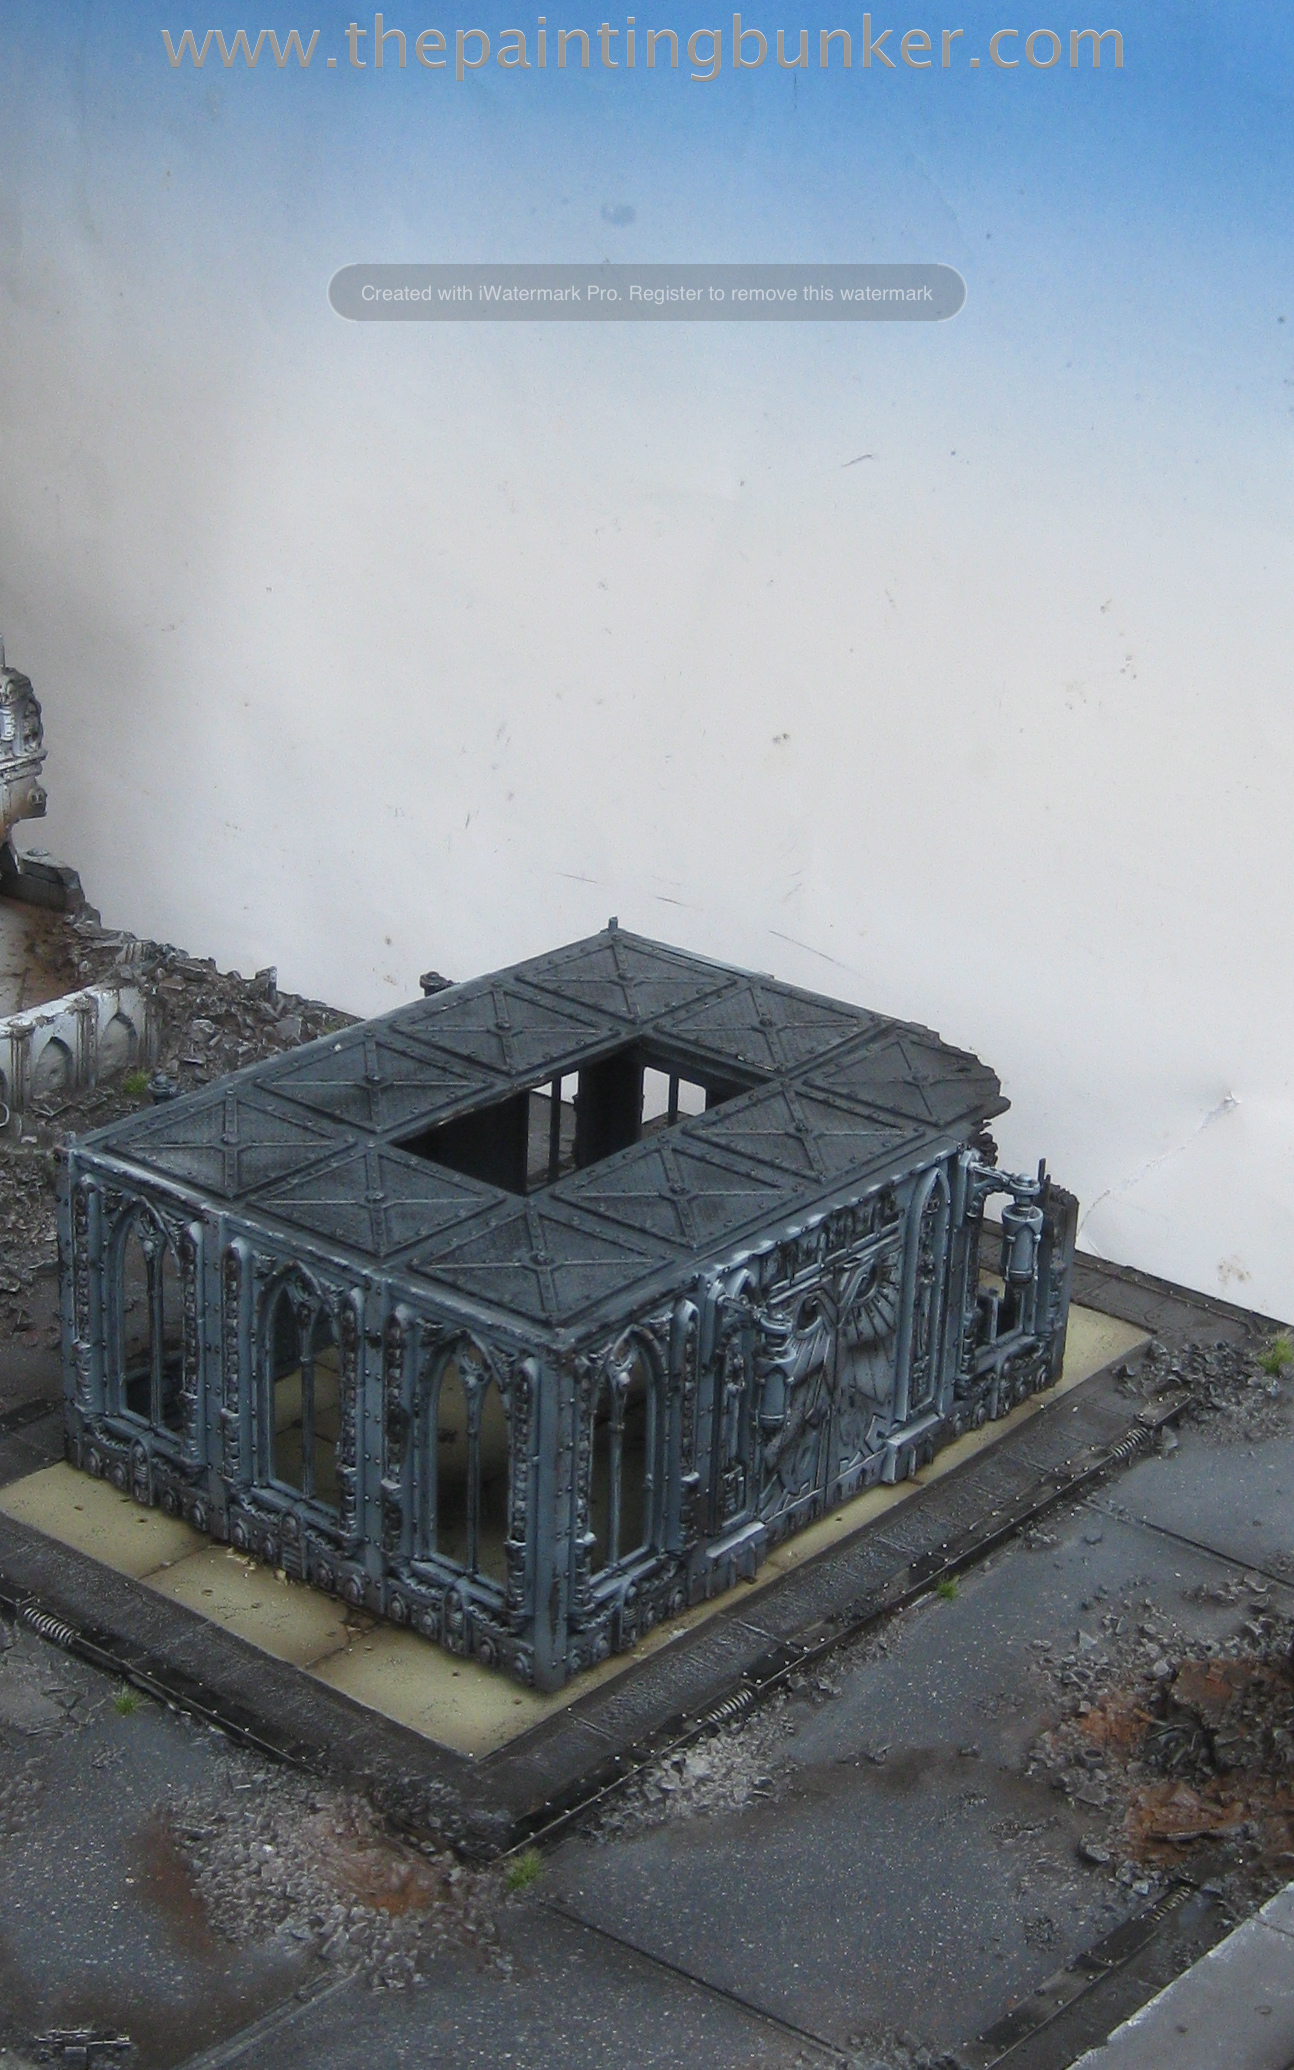
The next few photos reveal the interior. I’ve started undercoating it grey because I plan on painting the interior white.

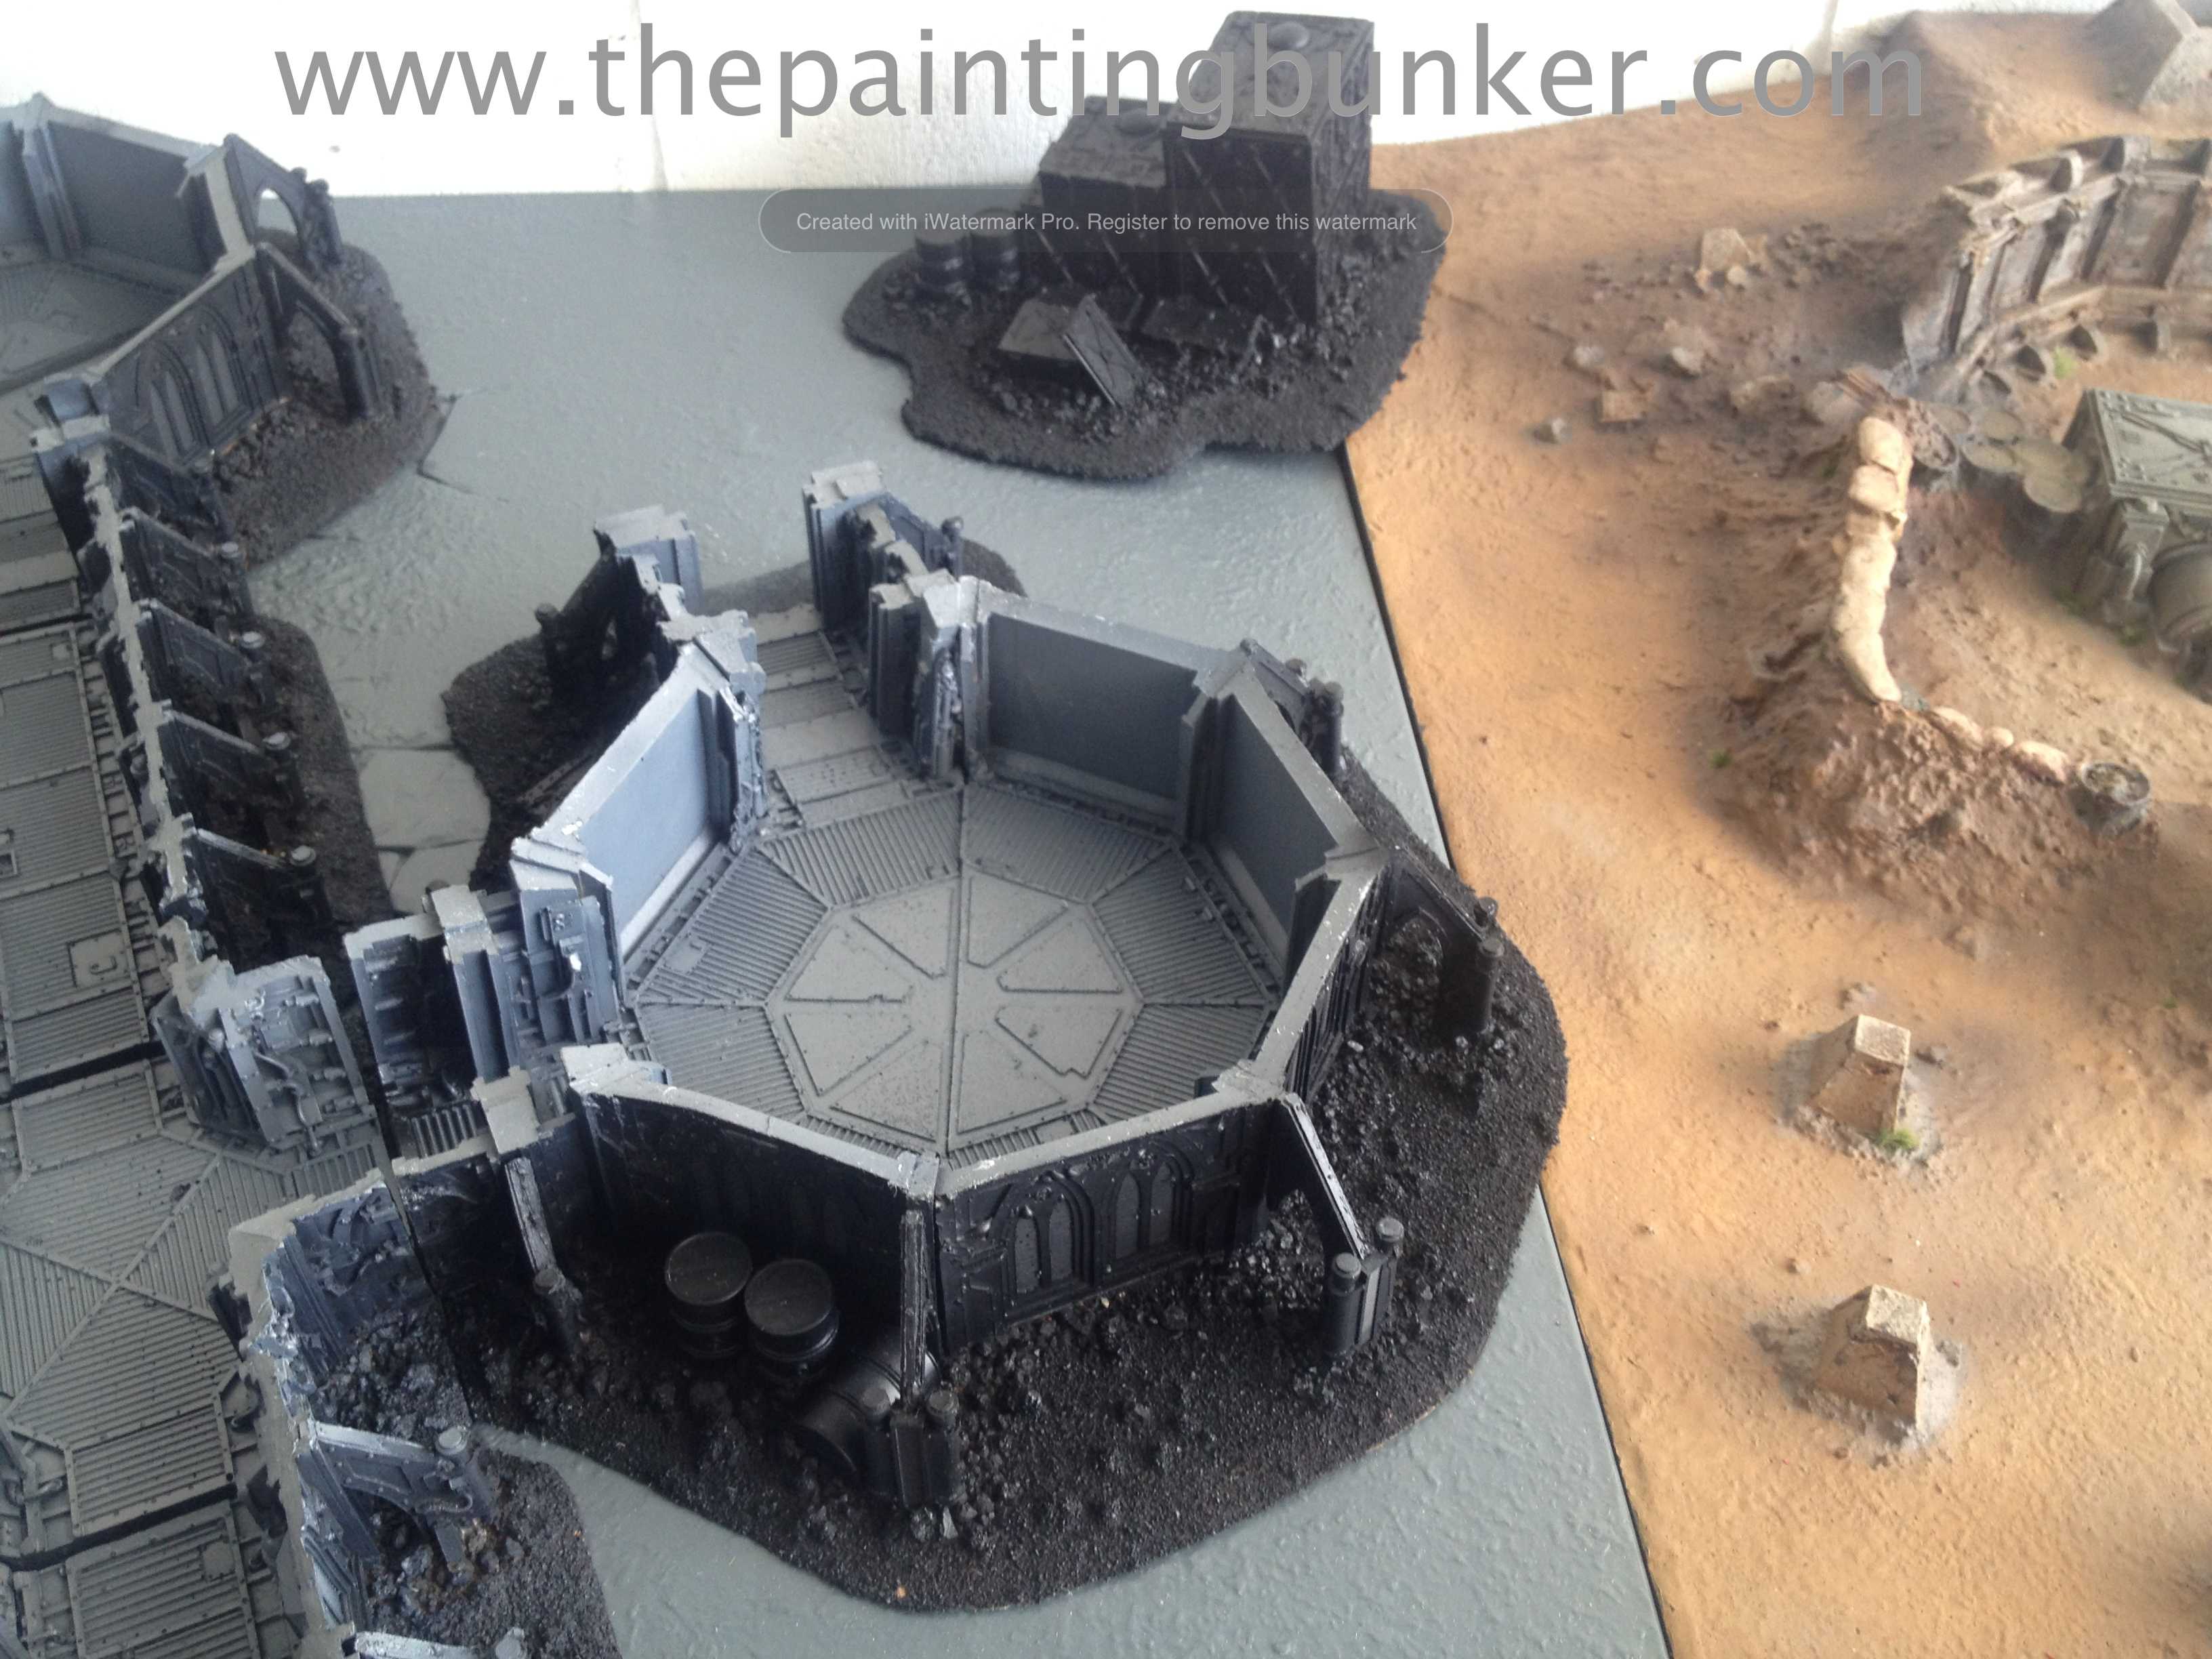
So, next step is to start working on the interior. This is going to be a pretty straight forward part actually. Except for the interior panel inserts. Particularly the ones I’ve chosen for the ‘quad gun’ and ‘comms relay’ controls.
Ok, thanks for dropping in,
Until next post
John