Posts Tagged ‘40k’

Hello everyone!

Its been a while since my last post as I’ve been busy with study, life and just well, I needed to take a bit of a break to recharge my painting mojo…  it came back pretty strong on Wednesday morning and I cracked open the bunker and went on a mini painting bender and smashed out two test models for my up and coming 30k World Eaters.  This is something that I’ve been thinking of for quite some time however for some reason I couldn’t decide in my mind exactly what I wanted to do in terms of how I was going to paint them.  I had a few different ideas for the white actually, and I was torn as to which method I’d ultimately use.

So I just decided to paint one model with each method and compare and contrast the results.  So sit back and I’ll take you though what I did and how I did it blow-by-blow.  Hope you enjoy it.  By the way, if you follow my Facebook page you’ll already have seen the end results, and if you don’t follow my Facebook page, go do it now….  I was actually so pleased with how both models turned out that I posted the pictures up on my Facebook page to show them off.

So here we go….

Let me begin by giving you some idea on where my head was at before I commenced painting these two models.  White is a tricky (tint, its not a colour) to paint and the colour that is under it has a very strong influence on how we perceive it.  The look that I want to achieve with my World Eaters is one that gives the viewer the impression that they have been in, or are in combat.  So lots of grime, dints, dust and grittiness.  However I don’t want them to look like they’ve just been thrown in a washing machine with a couple of bricks either.  Lets face it, Marines would get shot at a lot, firstly because they are generally numerically inferior to their opponent and secondly, it would take a lot of fire power to drop an Astartes.  Achieving this balance is a major technical and aesthetic challenge with white.

This is why I’ve gone for experimenting with two different base colours for the models.  One has a very light grey base colour, and the other has a very light brown base colour.  The light grey model ultimately had its panel lines cut it with a black oil wash, while the light brown model had its panel lines cut in with a dark brown oil wash.  So lets take a look at the stages and I’ll walk you through it.

As some of you who’ve followed my painting updates perviously will know, I’m really big on preparation and batch painting.  I like to create a system and document it when I paint an army so that if and when I revisit it I can reproduce it, and also its a devision of labor idea, where I attempt the use my time when painting an army as economically as possible.  However I like to keep in mind the end result and in painting models fast, I don’t like to compromise the finish either…  So I spend a bit of time preparing models before painting them, so that when I paint I can achieve a standard which I consider slightly above table top standard for my rank and file models.

How to paint World Eater Space Marines 1

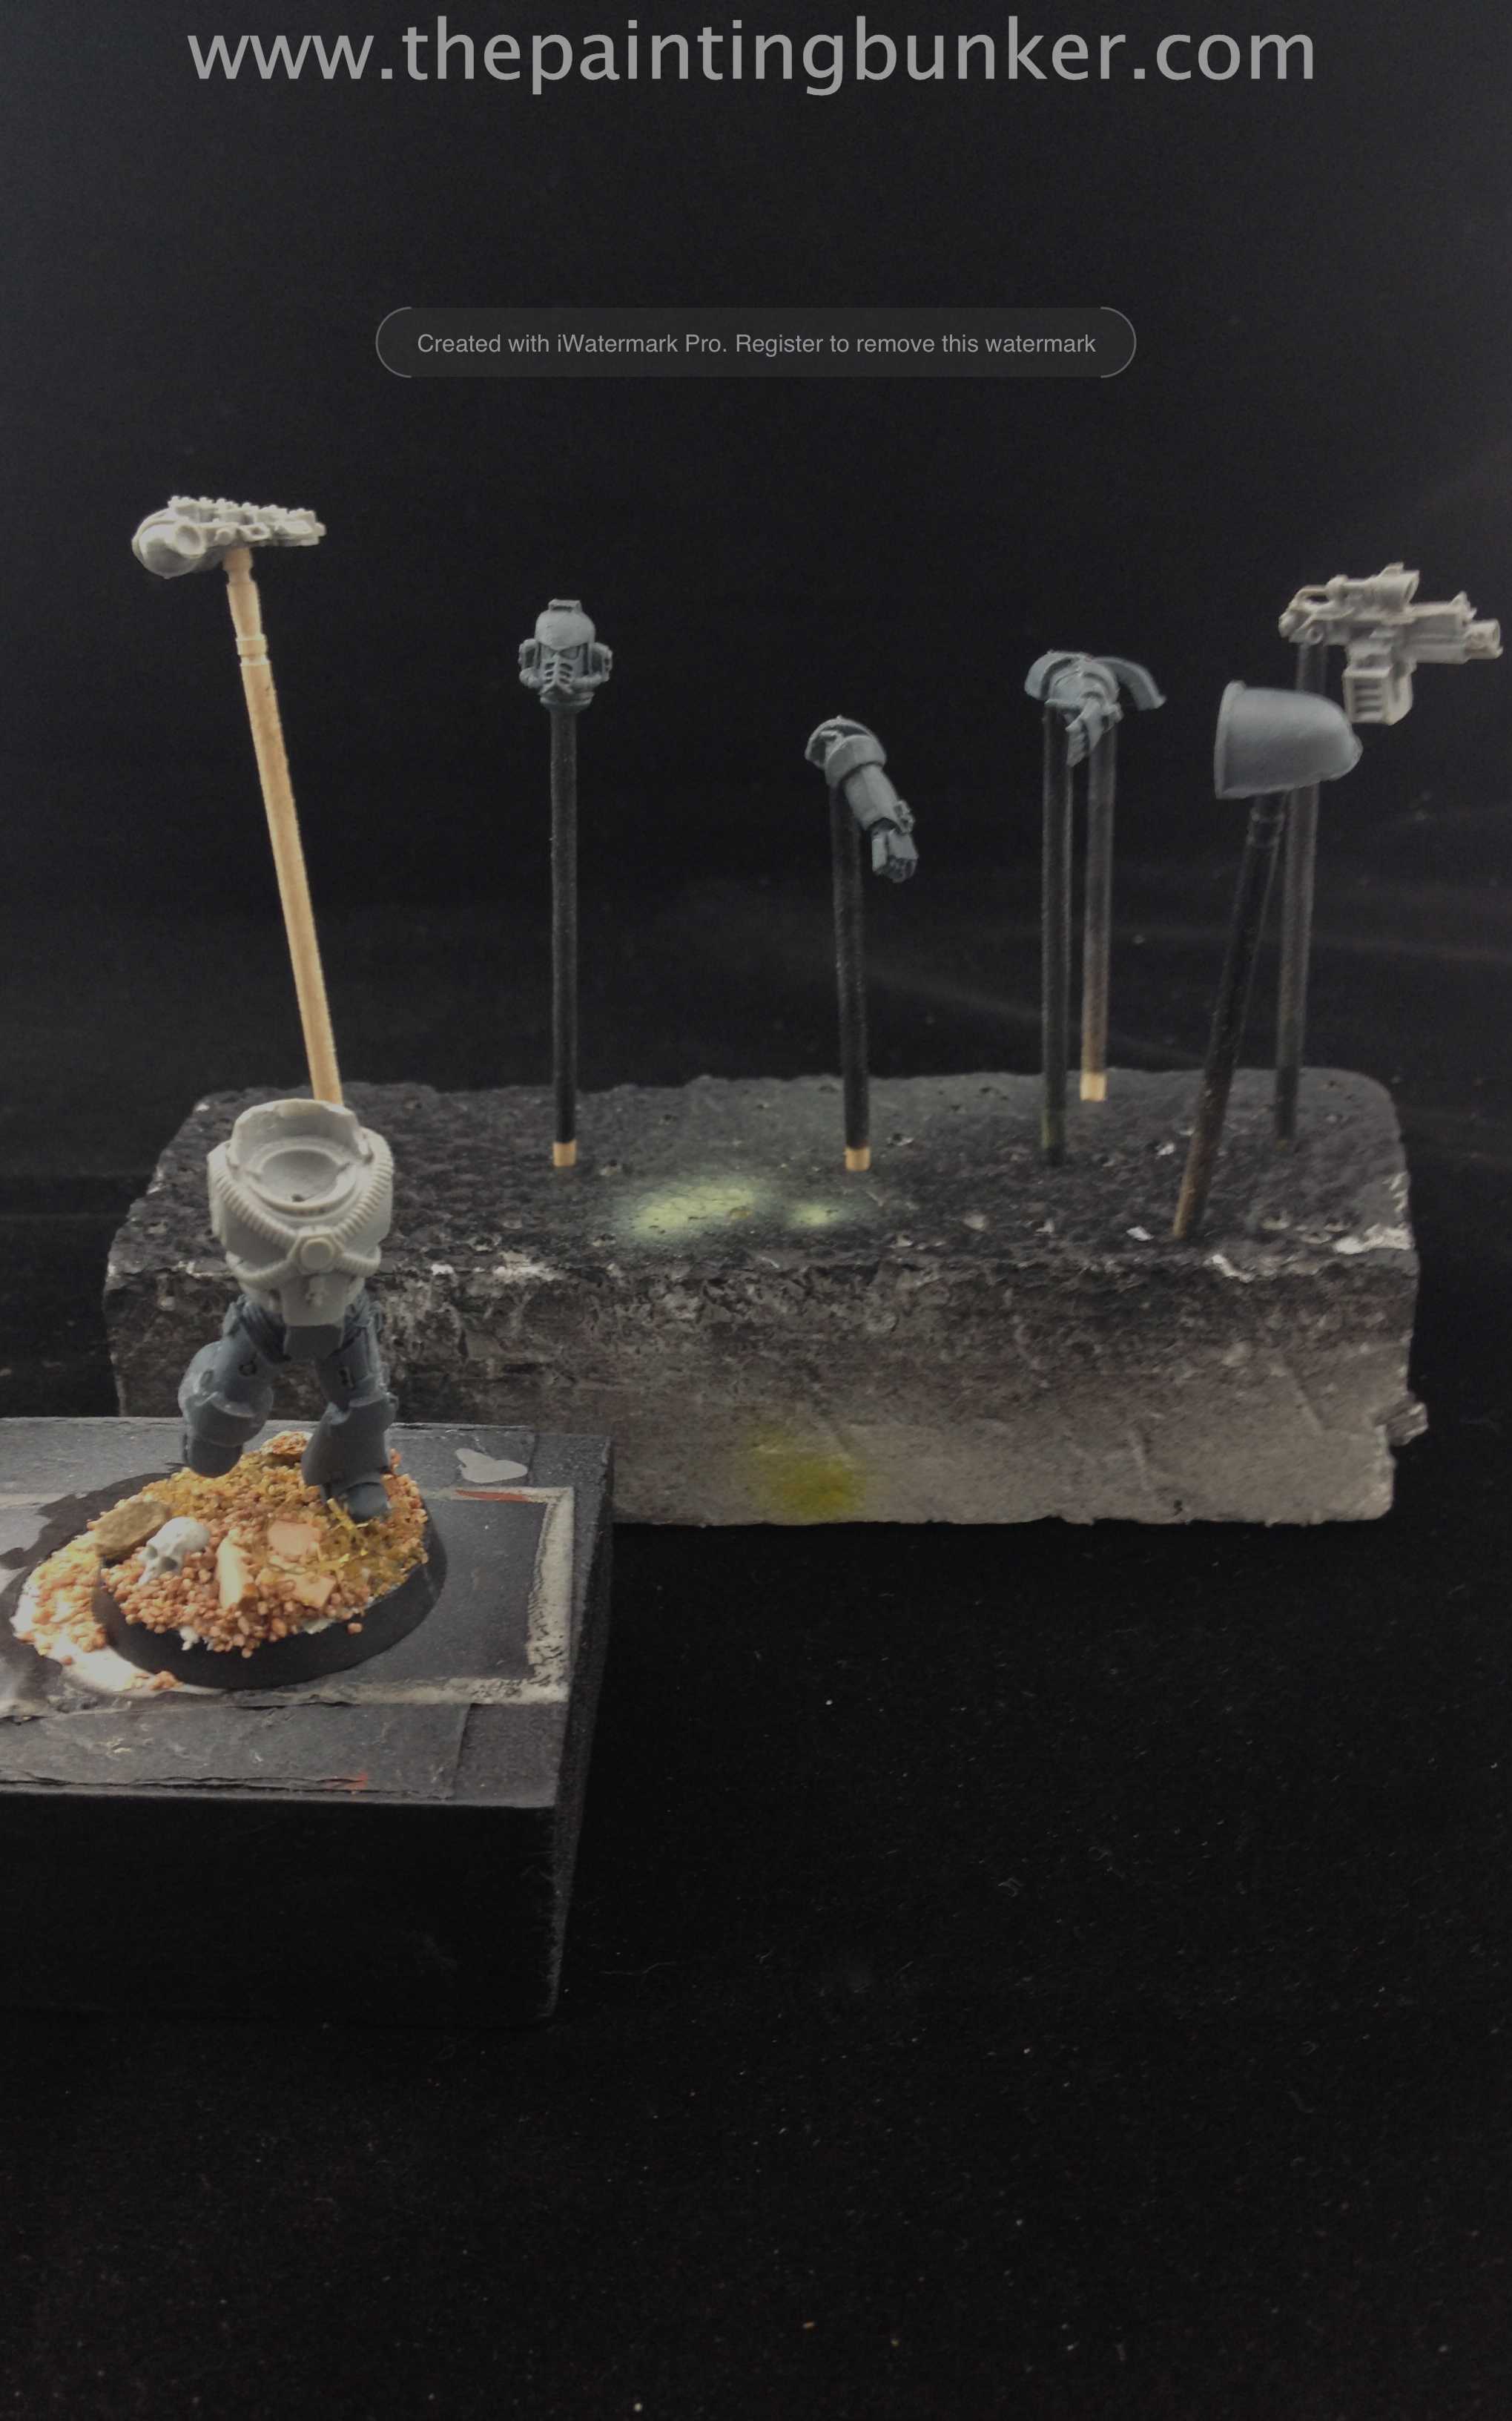
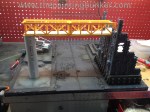
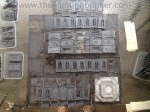
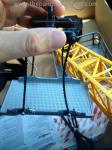
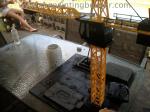
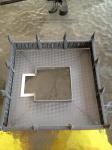
So here we have stage one.  The body of the marine built, with its head, arms, backpack, shoulder armour and weapons attached or mounted on tooth picks which are held in place with polystyrene foam.  When I say mounted on what I mean is for items like the arms, backpack, head and weapon I actually drill a 2mm hole in them and just force the tooth pick into the hole.  This saves time glueing them onto the tooth pick and if I bump them and they fall off, I can just re-attach them.  Everything is cleaned up, barrels are drilled and the paint is ready.  I’ve got a clear picture in my mind of what I want the finished model to look like.

How to paint World Eater Space Marines 2

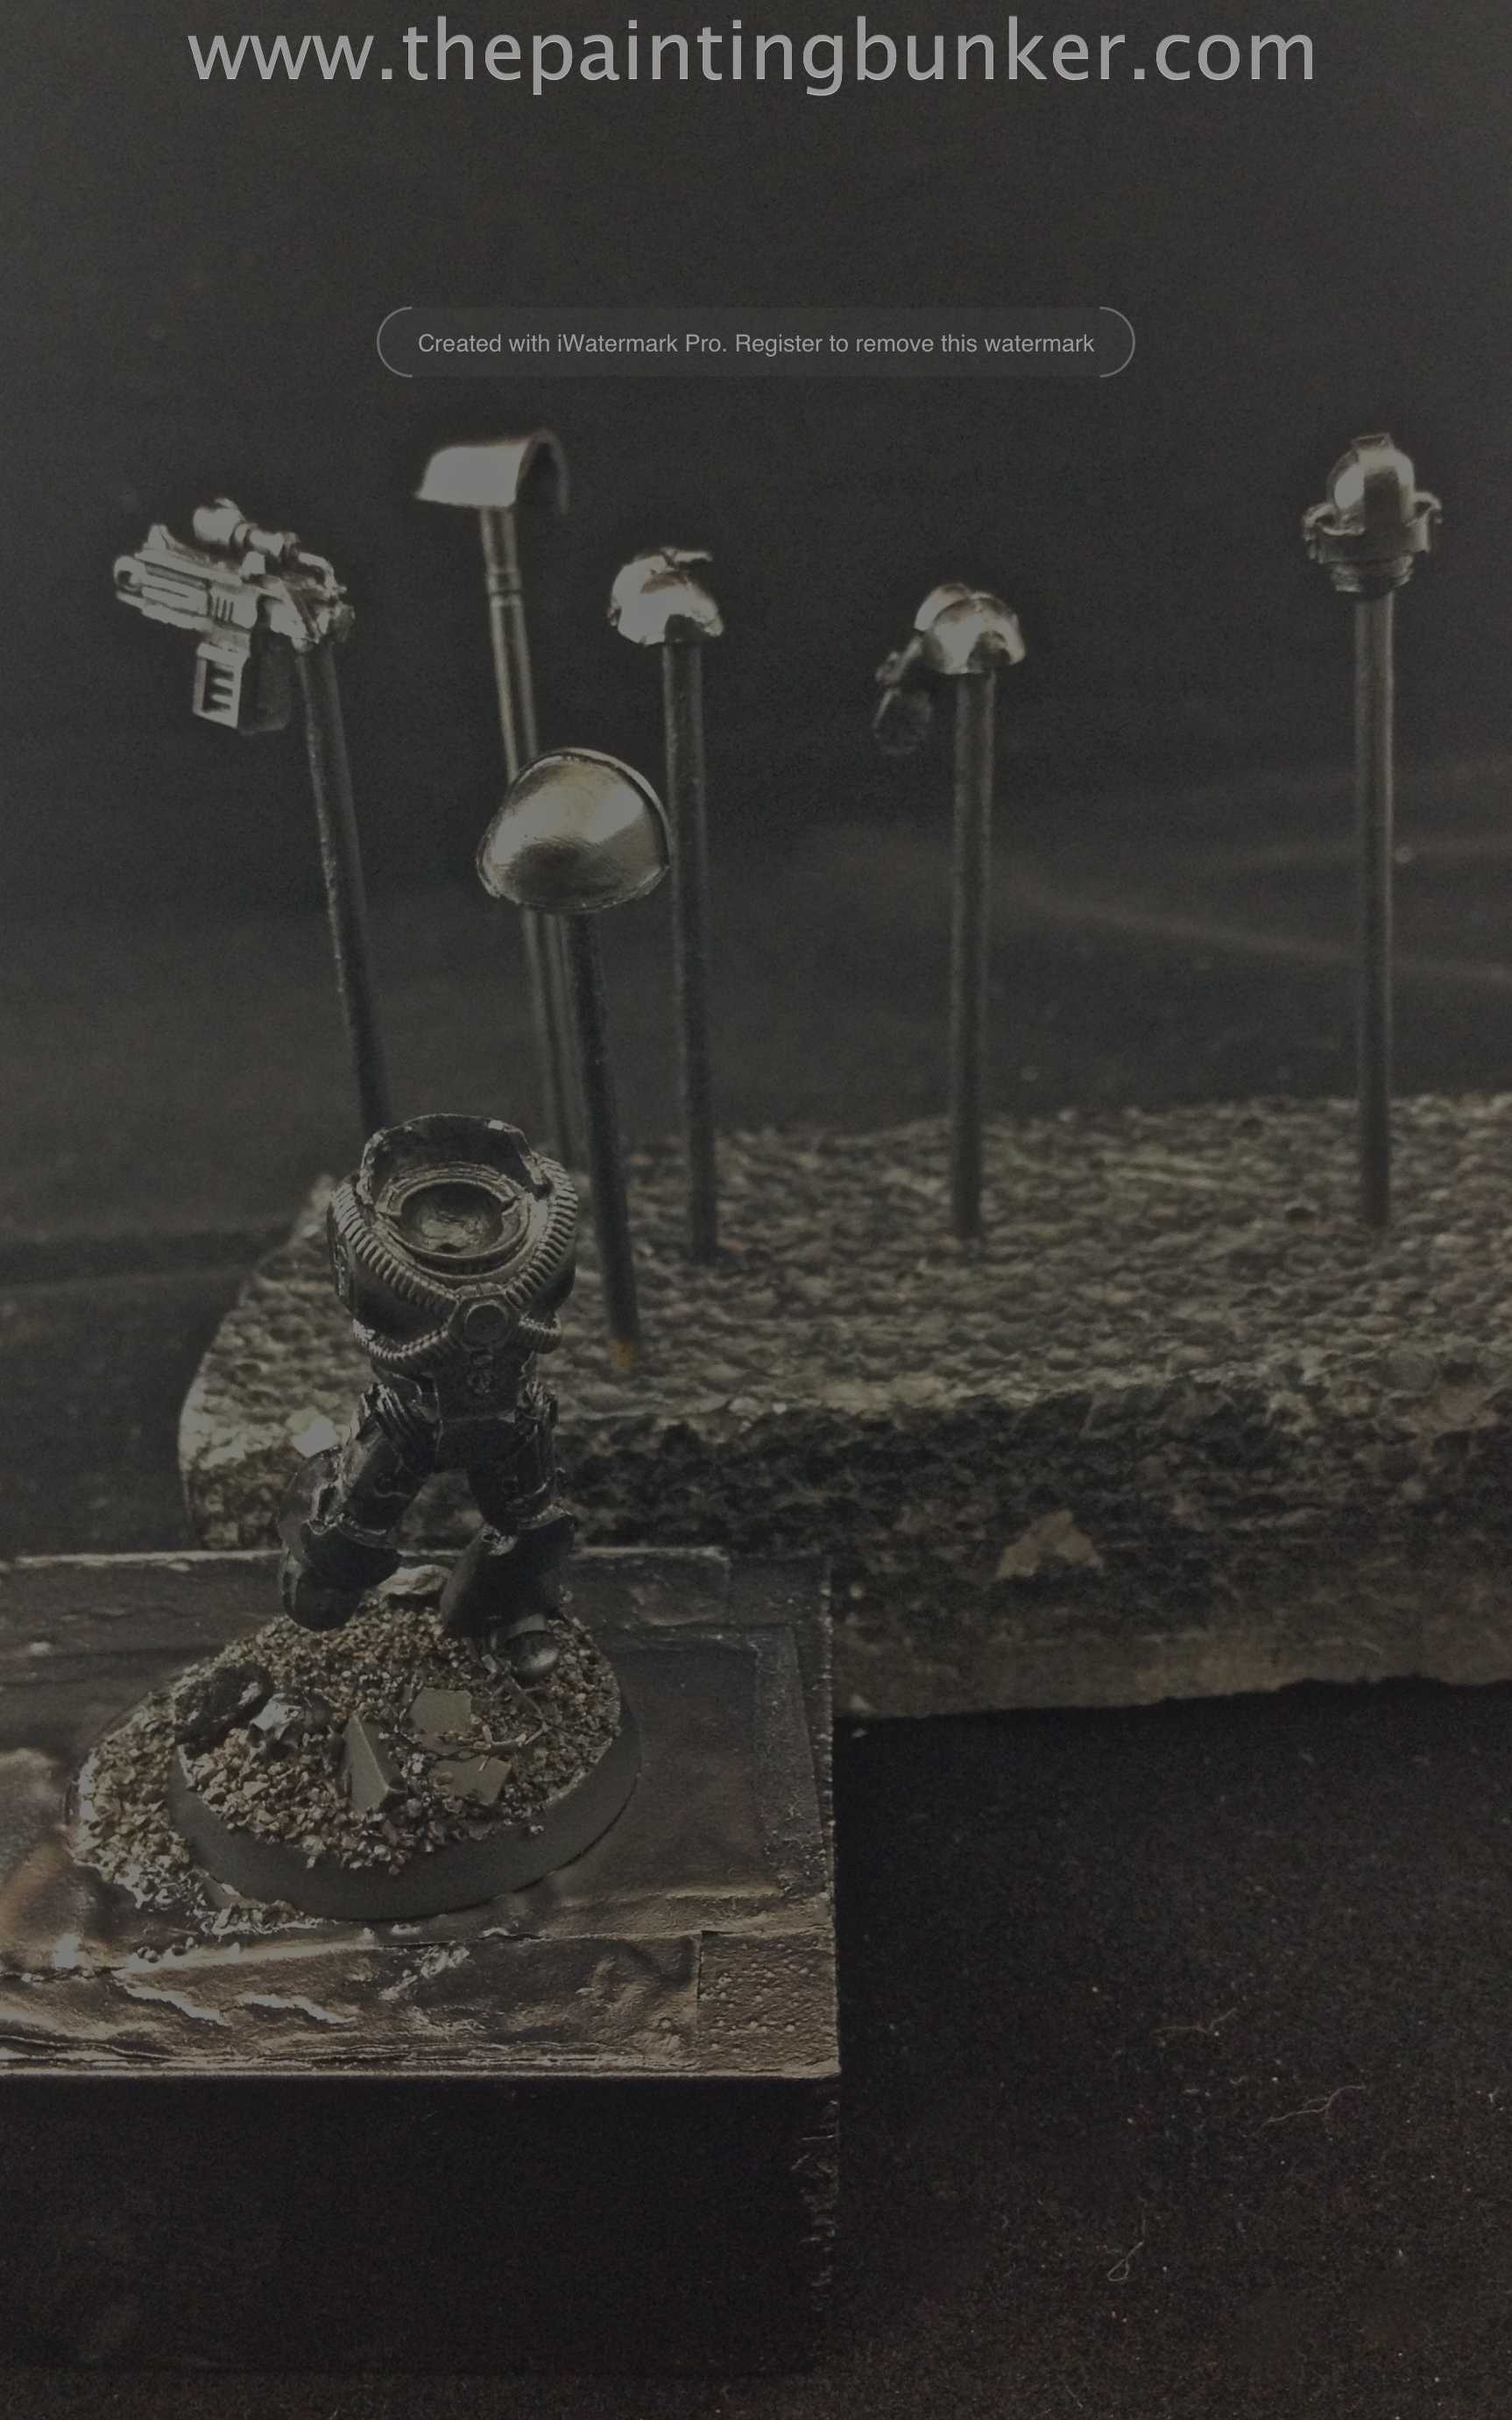
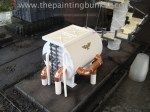
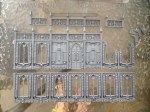
Black undercoat.  Nothing really revolutionary here. How to paint World Eater Space Marines 3

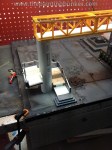
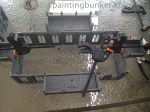
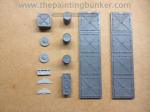
Once the black undercoat is applied I take the pieces that will be getting different treatments and fix them to separate foam plinths.  Here the bolters have been painted with Citadel Leadbelcher.    How to paint World Eater Space Marines 4

Just like the bolters I’ve segregated the shoulder armour and back packs.  One thing that isn’t shown in this picture is that they were actually all aligned to face the same direction they would when on the marine.  This will assist later when it comes time to shading them.  The base for the blue is Citadel Kantor Blue.  Once that had dried, I gave each piece a small highlight with Citadel  Caledor Sky, and then finally a even smaller highlight with 70% Caledor Sky and 30% White Scar.
How to paint World Eater Space Marines 5

The first marine is given his black undercoat a base coat of Citadel Dawnstone.  I didn’t go over board with coverage, as I want the black to remain in recesses etc to add to the  pre-shading of the white when it eventually goes over the top.  How to paint World Eater Space Marines 6

As per the stage above except with Citadel Baneblade Brown.How to paint World Eater Space Marines 7

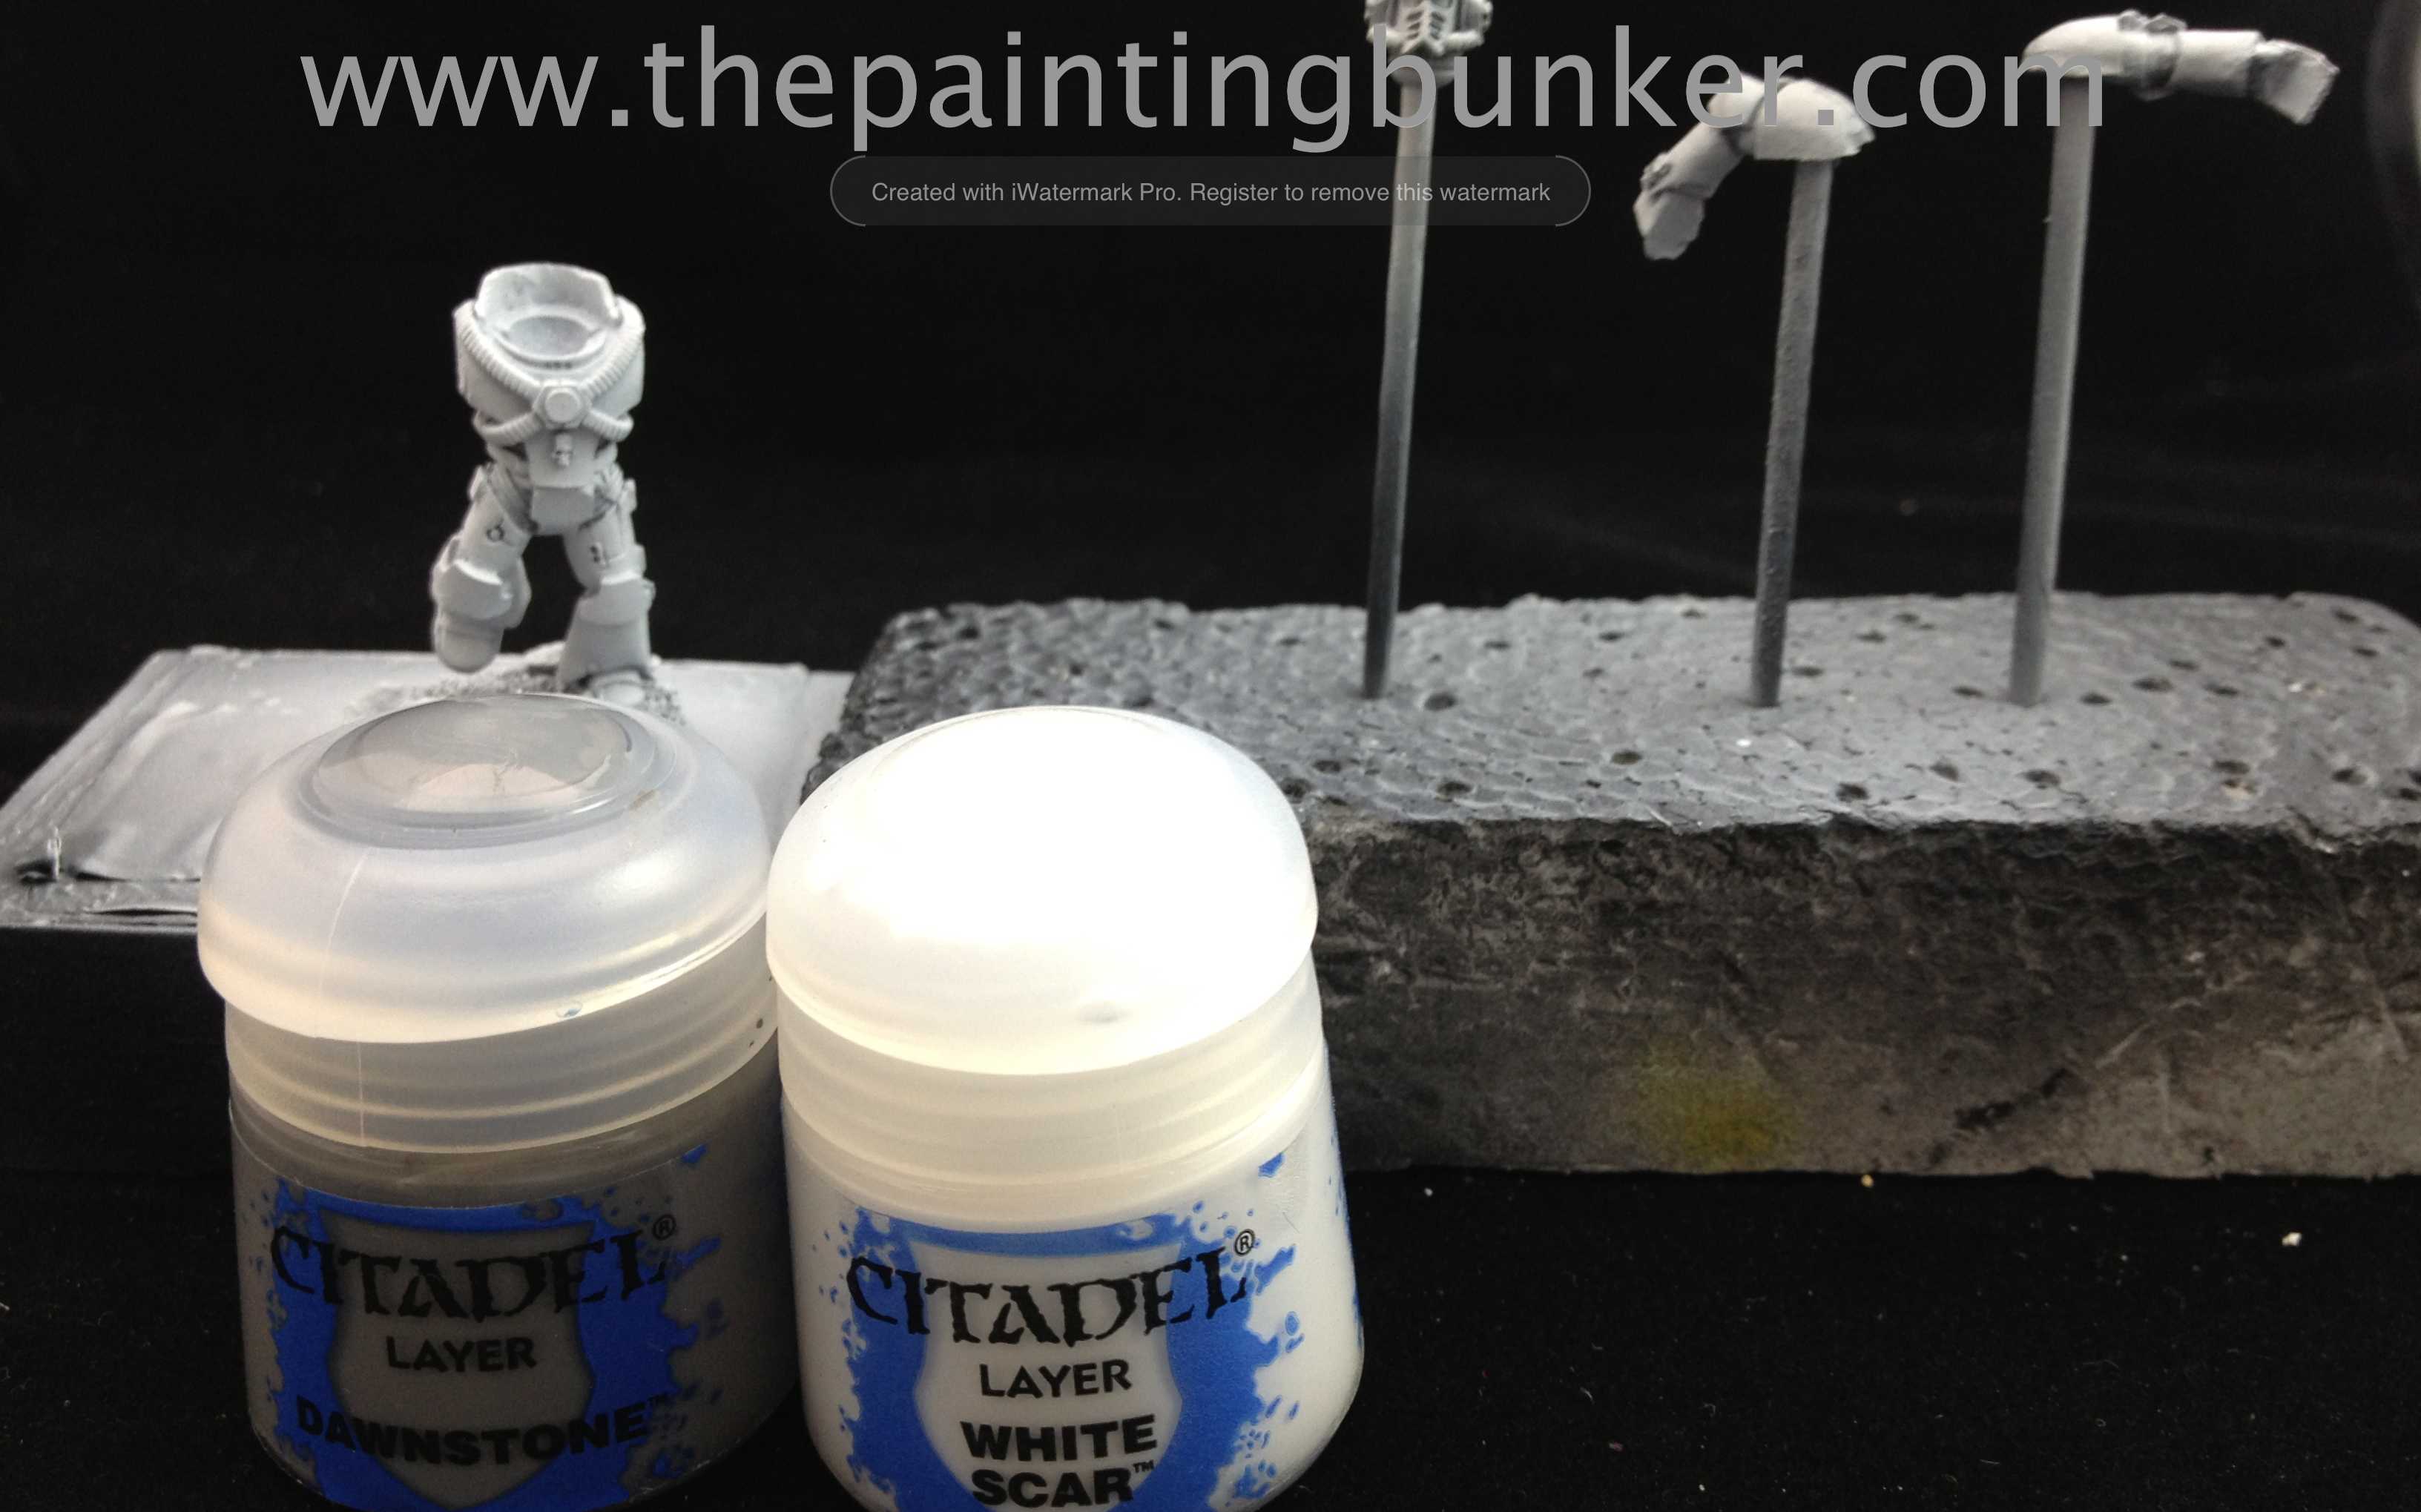
The first coat of white.  I created a mix of 90% Citadel White Scar and 10% Citadel Dawnstone.  This stage you want to make sure that you apply the colour with a “top down” notion in mind.  Remember that most of the time the source or light (the sun) is above the marine, so we expect to see shadows in areas where shadows would normally be created in natural light.  So lightly dust this mixture on ensuring that you keep the model pointing up as you are painting it.  Don’t go over the top either, just like the Dawnstone, you want to make sure that the coverage isn’t complete, you want some Dawnstone, and if you’ve done the job right, some of the black to still be showing through.

Once that was done, I gave the model a very light coat of just straight White Scar to make the raised areas really pop.  You need to be very delicate with the paint application at this stage otherwise you run the risk of making the white too bright and ruining the effect you were trying to achieve by using the black and grey undercoat.
How to paint World Eater Space Marines 8

As above except with Citadel Baneblade brown.How to paint World Eater Space Marines 9

I then added chipping with a small sponge, painted in the detail and gave the models a coat of gloss varnish in preparation for oil washes.  How to paint World Eater Space Marines 10

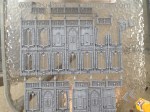
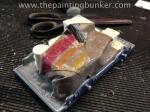
I really like this picture for many reasons.  Mainly because it clearly demonstrates the distinct difference between the brown and grey undercoat.  I deliberately chose to use brown and black oil paint respectively on each model to further accentuate the undercoat colour coming through the white and thus further emphasise the two “looks” I was going for.  I actually think the one on the right would be a great base for a Death Guard….

Once i’d finished painting the bases, finishing up the detail etc, I gave each part a good coat of matt varnish, assembled each marine, hit it with some weathering powders and then gave it another hit with matt varnish.  Below are the pictures of the finished models.

OLYMPUS DIGITAL CAMERA

OLYMPUS DIGITAL CAMERA

OLYMPUS DIGITAL CAMERA

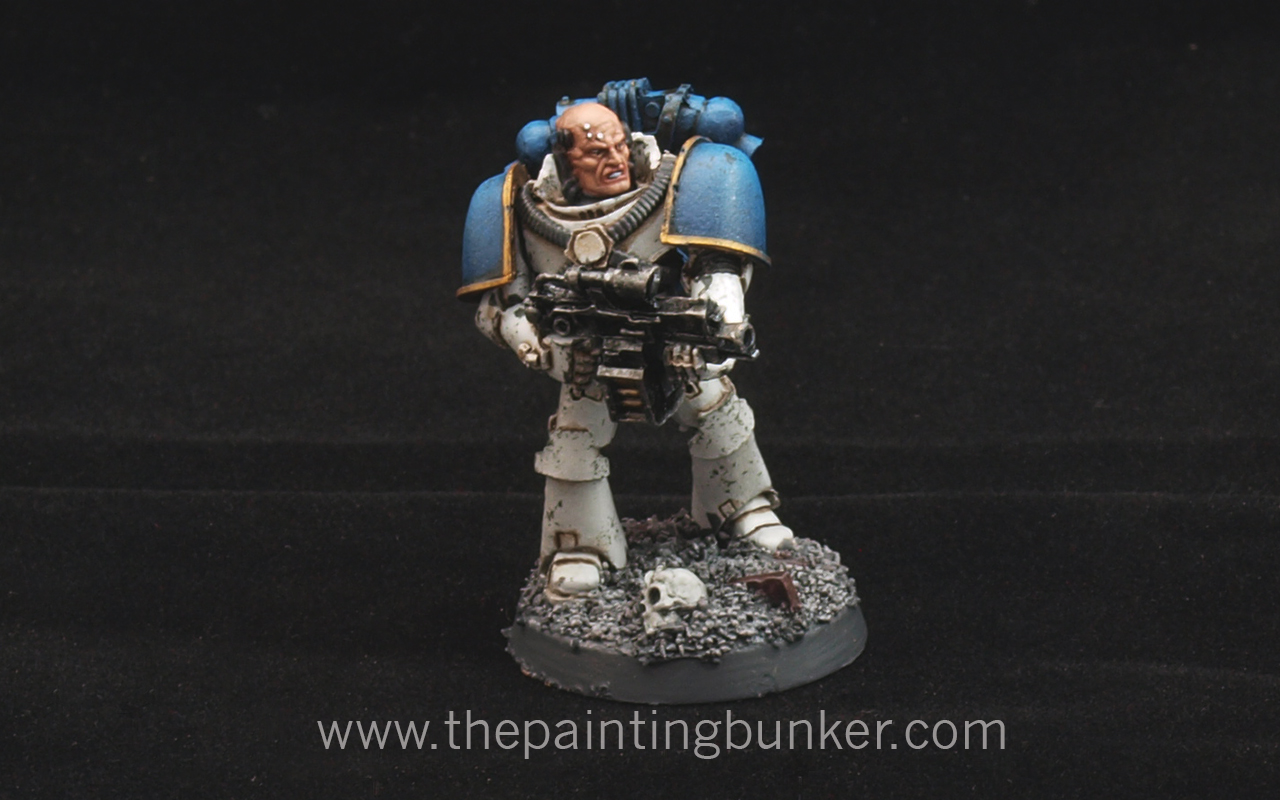
I’m really please with the results and very really anxious to get started on the army proper now.  I’ve decided to go with the grey undercoat after all that as I think it give a more authentic white and is in line with how I’d imagine the XII Legion to look.

What are your thoughts?

Thanks for dropping in, comments as always are very welcome.

John Sutton, Brisbane, Qld

Necrons

Posted: March 10, 2013 in Necrons
Tags: , , ,

There, I said it!

I’ve been wanting do to some painting recently of anything other than Imperium, which I focus on quite heavily… as you can see from the extensive Imperial armies I’ve collected…  So yesterday while I was in my local GW store picking up something for my upcomming 30k World Eaters I grabbed a box of Necron Warriors and thought I’d give them a hit.

I’ve long wanted to paint some Necrons having seen some really interesting looking armies painted up over the years that really capture the idea of “undead” robot warriors in 40k.  Although I don’t play, and don’t ever intend on playing Warhammer Fantasy battle, if I ever did it would have been Undead (or whatever they call them now)  I just like the idea of reanimated skelletons coming for you.  It must be the impression that Jason and the Argonauts (1963 version with the superb stop animation of Ray Harryhausen) or the Evil Dead series of movies left on me when I was much younger.

Whatever the case, I got my undead robot warrior fix and painted this bad boy this morning.  It may be a test mini for a new army, or it might be me just getting something off my chest.  Whatever it is, hope you enjoy it.

Necron Warrior

Necron Warrior 2

Necron Warrior 3

Necron Warrior 4


I have to admit, I’m quite pleased with how the Necron Warrior has turned out.  I really wanted to capture the ancient feel of background the to this army, however I didn’t want to over do it either, especially in the “glowing” department.  I’ve got some good ideas for some of the Necron vehicles too, so who knows maybe we’ll see some more of these in the future.  I actually painted two Necron Warriors however I only photographed this one because well, after you’ve seen one Necron Warrior, you’ve seen them all.  The two didn’t take that long to paint either, it took me a little under 2hrs for the two of them but this didn’t included assembly.

Comments?

Thanks for dropping in, until next time

John


Today is a good day.  I finished off the fifth Realm of Battle board of the eight that I started a little over two months ago.  This board has thus far been by far the most challenging I’ve completed.  Both technically and creatively.  I remember at one point thinking I’ve arrived at the place where my vision and my technical ability no longer over lap.  I kept going though, determined to push myself and see what I started through.  I’m glad I did preserver too  because the final piece is my most pleasing to date.

I also have to point out that I’ve been doing some work on my photography skills and had some tutoring from my friend and fellow Blogger Troy on using Photoshop.  I went and downloaded photoshop and this morning Troy spend several hours with me showing me some basic techniques to improve the quality of the pictures that I post on my blog.  You’ll notice that they look different, although not perfectly the way I’d like them its a new direction for me and I intend on working on this skill and honing it moving forward.  Go and have a look at Troy’s blog too, its still model building just a different genre to ours.  I am working on him though you’ll all be happy to hear.  Thanks again for your help on this Troy and being so generous with your time.

So lets get down to business,  I’ll put up some pictures and leave a few remarks under each one and walk you through what went on.  Also, take a good look at the working photos to see what I meant.  It may not look like much, but a lot of work went into these pieces and I think I jagged bits of it too.

forge-world-realm-of-battle-cityscape-generatorum-sector-1The overpass of doom and spiral stair case of despair…  As some of you will remember one of the first boards I did was of a giant crane that I purchased for $35!!! (can you believe it!) from Toys’r us.  Well, when I built that crane I had two of the centre sections left and I always planned on using them on one of the other boards.  With the last board of the industrial precinct about to commence I thought it would make sense to use it somewhere on it, and seeing as it looked a bit like a walk way, I thought it would be interesting having it spanning over the large double lane road that runs through the centre of this board.  I knew one of the ends of the walk way would run into a building, however I had to really put my thinking cap on to work out where the other end would go.

One of the first technical challenges I had to overcome was the heights.  One end that went into a building was more or less governed how high it was going to be, in this case, on the second story of a three story building.  What made it difficult though was the foundation that the building was resting on, it was just a random height, and the other side was at street level.  So the building on the other side, even if it was a GW plastic kit, would not match up height wise and the walk way would be un-level.

forge-world-realm-of-battle-cityscape-generatorum-sector-2

Enter the spiral stare case of despair.  Wow did this test me.  You can see in the working photos whats gone into it.  It was a real challenge.  But I have to say, it was an enjoyable one, at no time did I ever feel like throwing it against the wall and jumping on it.

Which is new for me.

The whole way I just would come up to another technical challenge and work out the solution…  I did do a fair few sketches too of this piece before I assembled it, I knew the height I needed it to be, then it was a case of just doing some math and a bit of straight forward planning and then following that plan.  However it was still challenging, and even with all my planning I wasn’t sure if it was going to go together when I finished it.  forge-world-realm-of-battle-cityscape-generatorum-sector-3


The final piece is the storage tank.  I really like this piece most of it is actually scratch built too.  It was great fun making it and looks awesome, remember when in doubt modelling add an Imperial Eagle, when in doubt painting add hazard stripes.  forge-world-realm-of-battle-cityscape-generatorum-sector-4

forge-world-realm-of-battle-cityscape-generatorum-sector-5

Love this shotforge-world-realm-of-battle-cityscape-generatorum-sector-6

forge-world-realm-of-battle-cityscape-generatorum-sector-7


So there you go.  I really hope you like the pieces and the new style of photos I’ve put up.  I’d be interested in hearing your comments too if you feel the urge to share your thoughts.

Until next time

John

Hey everyone,

Heres something to get you very excited.  My good friend, fellow blogger and painter extraordinaire who’s models have featured on the front page of Games Workshops blog found their way to The Painting Bunker today and we couldn’t help ourselves so we staged a few shots for your viewing pleasure.  I think you’ll agree with me in that these pictures look amazing.

We are actually planning on fighting the campaign from the Betrayal when I get these boards finished and have painted my World Eaters, so this is just a taste of things to come.

Behold!

Sons of Horus on Cityscape 1 Sons of Horus on Cityscape 2 Sons of Horus on Cityscape 3 Sons of Horus on Cityscape 4 Sons of Horus on Cityscape 5Hope you enjoy!

Cheers

John

Well, after getting back on my brief holiday over the weekend I got home with renewed vigour and enthusiasm to get my hobby on… and that I have.  Sometimes taking a break and total abstinence from hobby is the best thing to renew your interest.  So its now 3 down, 7 to go for the Realm of Battle boards.  Today I bring you the finished Forge World Realm of Battle Cityscape Concourse Sector.  As I’ve mentioned before I want these boards to tell a little story, not just be a disparate bunch of boards with buildings on them.   These two boards (I’ve got two if you remember) I see as the administration centres for the Shattered Cathedral.

This first one being the actual administration centre and a records storage depot or perhaps entrance to an underground archive…   With this building though I wanted it to be a line of sight blocker.  No windows, no damage or anything, just something that will clearly block LoS for 90% of the units that are used in 40k.

So enough with the yackaty yack, lets get to the pictures.

Forge World Realm of Battle Cityscape Concourse Sector 1

Another possible use for the smaller of the two buildings is use it in a scenario where its an objective and at the end of the game the controlling player gets some sort of deployment or initiative advantage in a game that features Zone Mortalis… nice.  Perhaps another purpose is that its an Adeptus Arbites (and friendly local Inquisitor) squad house, the Cathedral precincts local police station.

Forge World Realm of Battle Cityscape Concourse Sector 2

Forge World Realm of Battle Cityscape Concourse Sector 3Forge World Realm of Battle Cityscape Concourse Sector 4

Forge World Realm of Battle Cityscape Concourse Sector 5

Forge World Realm of Battle Cityscape Concourse Sector 6

Forge World Realm of Battle Cityscape Concourse Sector 7

Forge World Realm of Battle Cityscape Concourse Sector 8

Forge World Realm of Battle Cityscape Concourse Sector 9

I made the second floor of the Administration Building and roof of the Archive detachable to make using them in a game easier.  As usual (now) below is a gallery of all the work in progress shots of this build that I take along the way.  Feel free to have a snoop around to see how I do business.

Thanks for dropping in, I’m really looking forward to the next finished post I’ll be brining you.  Its the second Concourse Sector and it features a Chaplaincy and Chaplaincy Accommodation….  I’m really excited about it, it looks amazing and its not even painted yet!

Ok,  thats it for me for now

John

So, I finally did it, I went and brought a display cabinet for my 40k Armies yesterday.  I did quite a lot of research on what was the best choice, best value for money option, and after many months (seriously) I brought a 1800 x 900 x 450 commercial 6mm toughened glass display cabinet.  I got it from the very helpful guys are Absoe Business Equipment in West End, and it set me back $750.  It was unassembled and I had to use my Ute to get it home from (about 10 min drive from where I live)  It came in two packages and the largest one weighed about 100kgs… so yeah, it was a bit of a struggle getting it off the Ute by myself, but I managed and then set about assembling it.  Being commercial quality its built to last (a key reason why I chose it) all the fittings are robust and the base is seriously strong, with 4 castors on it too so it can be pushed around if I decided to relocate it.  The glass doors slide on ball bearing runners and also are lockable too.  So lets look at the pictures shall we?


The Painting Bunker Dispaly Cabinet 1 via www.thepaintingbunker.comAll my models (less unpainted, which isnt many) fit only just, don’t know how many it is or how many points it all add up to, but its a lot.  Maybe someone could work it out if you get bored?

The Painting Bunker Dispaly Cabinet Forge World Titans via www.thepaintingbunker.comThe God Machines.  You many not be aware, but where I live we’ve been getting some pretty extreme weather lately and as a result the Reavers Melta Cannon fell off.  I haven’t reattached it yet as I’m considering getting another Turbo Laser Blaster  for it.

The Painting Bunker Dispaly Cabinet Imperial Guard 1 via www.thepaintingbunker.comSo we have here most of Support Company (Snipers, DFSW, Anti-Armour & Mortars) Accompanied by a Leman Russ Tank Company, Baneblade and Macharius (I have both Turrets)

The Painting Bunker Dispaly Cabinet Imperial Guard 2 via www.thepaintingbunker.comThe Light Infantry Company with Vendettas and the rest of Support Company (Recon & Pioneers)

The Painting Bunker Dispaly Cabinet Carcharodons via www.thepaintingbunker.comThe good old Carcharodons

The Painting Bunker Dispaly Cabinet Iron Hands 1 via www.thepaintingbunker.comIron Hands with Drop Pods and Rhinos

The Painting Bunker Dispaly Cabinet Iron Hands 2 via www.thepaintingbunker.comThe dreaded Hextad of The Ancients Apoc Formation, along with Landspeeders and Terminators (Who I use in Apoc as the Death-knell formation) and some Legion of the Damned

So thats it, man cave review done.  I’m pretty happy to see all the models all on display at one place at one time.

As an aside, I’ve been working on the Forge World Realm of Battle Cityscape boards over the past few days, so with any luck I should have an update on them shortly.

Thanks for dropping in

John


So, CanCon 2013 has come and gone.  It’s been a big weekend, having not been to this event in over 12 years. In some regards glad its over and happy to be home.  So lets break it down blow by blow.  Firstly, let me just quickly explain what CanCon is for those of you who are not familiar with it.  CanCon is a 3 day Wargaming, Roleplaying, Card Game, Board Game convention that is held over the Australia Day long weekend in Canberra each year.  It’s been going for something like 30 years and is a big event on the calendar of practically every person who’s into gaming.  Virtually every wargame in every scale you can think of is represented at CanCon in one form or another, and this year I participated in the Warhammer 40,000 event.

For 40k CanCon 2013 it was a 1850pt event with no comp, and 40k approved Imperial Armour units were allowed.  It’s 8 games over the three days, with 3 games on the Saturday, 3 games on the Sunday and two games on Monday, one in the morning and two in the afternoon.  The first two games on Saturday are random draw and the rest of the games are seeded after that based on battle points alone.  At the end of the event your battle points are modified by up to 20% for sportsmanship and painting respectively, and then the winner and other places are determined.

CanCon attracts some of the best 40k players in Australia and this year of the 130 players, 30 were ranked in the top 100 players according to RankingsHQ, of those 30, 8 were in the top 20.  So the competition was pretty stiff, and the stakes were high for the more competitive players because a strong final placing in CanCon almost assures an invite to the High Lords of Terra comp held later on in the year.

So, lets look at my list first.  Now, I consider my list actually a fluffy list, meaning its based on a theme I believe would be very consistent with how I perceive a Space Marine army would fight.  It’s a bit of a ‘one trick pony’ but that one trick is pretty nasty indeed.  It’s a full drop pod list that works on the basis that Marines would send their form of artillery in first to suppress the enemy, then once this is achieved they would launch the assault proper with massed infantry to neutralise and seize the objective(s), with close air support to maintain air superiority.  I don’t see Marines using tanks and static formations to get into protracted symmetrical conflicts.  They turn up to the fight, smash their opponent in the face with a brick, then run off with his wallet, putting the boot in just to be sure he doesn’t give chase.

The only slight deviation I took from this idea is that I would have preferred to used a Storm Eagle for the close air support however I didn’t have one painted so I had to use Imperial Guard Allies to achieve this aspect of my list.

So, how did it play out?

Game 1.  Chaos Space Marines – Minor Win

This was an interesting army as it featured many 1st ed CSM models in the list.  So I really enjoyed looking at it, brought back a lot of memories.

Game 2.  Eldar – Major Win

This was a fun game, it was a nicely themed army with Wraith Guard and Wraith Lords en mass.

Game 3.  Dark Eldar – Major Win

My opponent actually ended up finishing quite highly in the overall placings (6th overall), getting highest score for Xenos for a non placing army.  However during this game, he didn’t appreciate the impact of putting his army so close together in the deployment zone.

Game 4.  Orks – Major Win

This was a great looking Ork army with many interesting conversions.  Sadly though, the orks really copped a pasting from the Deathwind’s and I got extremely lucky with a few rolls that went in my favour which spelt the end of for the Orks

Game 5.  Chaos Space Marines – Minor Win

This was a very interesting game.  At first things were really going my way, what I didn’t destroy with shooting, ran off the board after breaking in close combat.  Then came the two Hell Drakes.  These two managed to kill all but 3 of my marines by turn 5.  Before their arrival I had around 30 on the board.  If it wasn’t for Lysander getting the warlord trait allowing him to be a scoring unit things wouldn’t have been as rosy.  Still a very hard fought game.

Game 6.  Grey Knights – Minor Win

This army had Cotez with 5 x 10 man GK squads with 4 psycannons in each.  He also had a squad of 10 hench man.  This was a very tough game.  Even though I managed to kill all but 3 of the Grey Knights by the end of the game I still only managed a minor win.

Game 7.  Necrons – Major Loss

Yeah, Necrons… nuff said

Game 8.  Imperial Guard with Grey Knight Allies – Minor Win

I’d had my fill of 40k by this stage and so had my opponent.  I was glad when the game ended.

So in the end I managed 5th place out of about 130 players, by far my best placing in terms of size of players and talent at a comp.  Which considering I was using marine list with apart from the 4 Imperial Armour, was pretty basic.  So I am quite pleased with my result.  Would I have done things differently?  Yeah, for sure.  I would have liked to have had a Storm Eagle, I would have done a few moves differently with the Necrons in the 7th game.  But overall it was a great learning experience in terms of tactics and army composition.

The final placings were

1st – David Teoh – Necrons

2nd – Joshua Leondaris – Daemons

3rd – Joshua Pope – Dark Eldar

4th Chris Turk – Necrons

Best Imperial Army – Me – Space Marines

Best Xenos – Andrew Wynen – Dark Eldar

Best Sports – Joshua Diffey

Players Choice – David Travers (couldn’t hear what army he painted when it was announced)

Overall, as far as the event was concerned I was very disappointed.  It didn’t live up to my expectations given the size and longevity of the event.  Let me qualify a few observations of areas that were lacking when I compare them to other events I’ve attended.

Terrain – This for me was by far the biggest let down.  For an organisation the size of the CGS that runs an event the size of CanCon with the amount revenue they must generate from CanCon, they STILL rely on terrain lent to them from the larger gaming community.  Wouldn’t it be sensible to reinvest some of the revenue into their own tables and hire a storage shed to keep it between comps or even hire it out to other event organisers to create an income stream.  I can not stress enough how much of a let down this aspect of the tournament was for me.  Even just limit the amount of players so that you get quality over quantity.

At $50 per player and 130 players, that means $6,500 in revenue was generated.  Prize pool was $2,000, with a large proportion of it donated by the Combat Company, The Games Capital & Milsims.  I really think much more could have been done in this department.  Big let down.

Organisation – Although the tournament ‘happened’ it could  have happened a lot better with just a few minor improves.  None of the tables had an ‘admin area’.  Most tournaments I’ve been to have been played on 8 x 4 tables with a 1 x 2 section at each end cordoned off for the players to keep templates, models, drinks etc.  I’ve even been to tournaments where key aspects of the game flow and terrain adjudications have been fixed to this area for easy reference.  There was non of this at CanCon.  Each table had a stapled together set of pages with this on it, but they went missing, and there was no admin area on the tables.

Also, for an event this size, 130 players, the round draws were printed out on A4 pieces of paper and sticky taped onto walls in two places.  You can imagine what this looked like when 130 players wanted to find out where their next game was.  It was ridiculous.  Seriously.  Hire a projector, ask a friend for one, buy one and book it as a capital purchase for CGS.  Its not like it will never get used again.   Printing out the draw on a few pieces of A4 paper and sticky taping them to the wall is far from an acceptable stand for an event of this calibre.

One last point on organisation.  Timings and announcements.  Neither of which were done well.  If you know you’re going to be having to communicate to about 130 people in a giant hall with about 500 people in it, yelling won’t cut it.  Get a PA or something, see my remarks regarding a projector for possible solutions to this problem.

Army Presentation Standards.  Although this is to a degree out of the control of the organisers, it can be influenced and shaped by culture and incentive.  By culture I mean ensure that players who are attending this event know that army presentation is expected to be and is to a high standard.  This expectation is from the other players attending as they will be bring armies presented to a high standard, and this is reinforced by the event organisers ensuring that army presentation is elevated by themselves in terms of prizes and status provided by winning these components of our hobby at their competitions.   Finally, the second way it can be influenced in a positive way is by having a reward, or consequence by not having a well presented army nor for players providing a vote for the players choice.  By having more rigorous appraisal standards for painting, a bigger consequence for having a poorly presented army, and finally a negative effect on battle points for not voting on an army for players choice.

Non of this was present.  I saw unpainted armies, no exaggeration.  I saw some armies that were in various stages of assembly and some extremely well presented armies too.  As a matter of fact the 2012 Armies on Parade winner was present.  So it wasn’t all bad. However, on average the one third of people that did put some effort into their armies were grossly overshadowed by the people that had no regard to this important aspect of the hobby.  This is disrespectful and mustn’t be allowed to feature as a cultural aspect of our hobby.

A culture of well presented, best of your ability armies needs to be fostered and rewarded, both in terms of status and prizes.  Coming first for your painted army and first for your level of skill as a general needs to be equal and treated as such.

So, sadly I was let down overall by my experience at CanCon.  Perhaps I had too high an expectation?  Maybe.  I genuinely believe that if a few improves where implemented this tournament could be world class.  It seems that the event organisers have been using the same formula for many years and its been getting them by.

To finish on a positive note, it was great to play some of the best players in Australia and see the way they do business.  If you want to improve your gaming ability and painting ability, tournaments are by far the best place to do that in, in the shortest amount of time.  Also, going interstate meant that I was exposed to players and armies that I don’t see where I live in my usual gaming circle.  So this experience was invaluable.  I am looking forward to seeing if CGS implement some changes to their formula and turn CanCon into what it should be.  Exceptional.

Thanks for dropping in

John

Two down, six to go….

This scenery project has been by far my most ambitious, it’s also the most satisfying now its complete.  Now that I’ve finished it, I can also say its the most daunting project I’ve done.  On so many levels I struggled with this piece, the size of it, the complexity of it, the many different mediums involved in creating it, the planning required to build and paint it and the level of detail required to paint it all tested my patience more than once.

However the over all result and the presence it has have all been worth it.

Lets look at the pictures then I’ll explain how I painted the white / marble effect as I’ve had a few questions on how I did it, and I’m pleased to say its pretty easy.  But first to the pics…

Forge World Realm of Battle Cityscape Shattered Plaza Cathedral Finished 1 via www.thepaintingbunker.com

Forge World Realm of Battle Cityscape Shattered Plaza Cathedral Finished 2 via www.thepaintingbunker.com


Forge World Realm of Battle Cityscape Shattered Plaza Cathedral Finished 3 via www.thepaintingbunker.com

Forge World Realm of Battle Cityscape Shattered Plaza Cathedral Finished 4 via www.thepaintingbunker.com

Forge World Realm of Battle Cityscape Shattered Plaza Cathedral Finished 5 via www.thepaintingbunker.com

Forge World Realm of Battle Cityscape Shattered Plaza Cathedral Finished 6 via www.thepaintingbunker.com

Forge World Realm of Battle Cityscape Shattered Plaza Cathedral Finished 7 via www.thepaintingbunker.com

Forge World Realm of Battle Cityscape Shattered Plaza Cathedral Finished 8 via www.thepaintingbunker.com

Forge World Realm of Battle Cityscape Shattered Plaza Cathedral Finished 9 via www.thepaintingbunker.comI really like this picture

Forge World Realm of Battle Cityscape Shattered Plaza Cathedral Finished 10 via www.thepaintingbunker.com

Forge World Realm of Battle Cityscape Shattered Plaza Cathedral Finished 11 via www.thepaintingbunker.comForge World Realm of Battle Cityscape Shattered Plaza Cathedral Finished 12 via www.thepaintingbunker.com


So there you go.  I hope you have enjoyed seeing this come to life.  The next board(s) I’m going to complete will be the two which have featured in these photos, and they are the Concourse Sectors.  I’m doing these as I seem them as the Administration centres of the Cathedral, all those Imperial Administrators need somewhere to administrate the Imperium from…

Anyways, how I painted the white on the Shattered Plaza, Honoured Imperium Statues and the Cathedral…

1.  Black Undercoat

2.  Citadel Codex Grey (or new range equivalent)

3.  Highlight Codex Grey with white (I used a touch of grey in mine)

4.  Add chipping using favourite chipping technique

5.  Cut in shaded areas with a watered down brown ink

6.  Seal using a gloss or semi gloss clear

7.  Make an oil wash containing a mixture of brown oil paint, white oil paint and brown weathering powder ( should look like muddy water, and have the same consistency)

8.  Using the wash, apply to recesses of model

9.  Make a mixture of brown and black paint to apply to severely battle damaged areas (like where large parts of the building are missing)

10.  Seal with a matt varnish

There are probably a few other steps you can add in to suit your own visual tastes, however this is broadly what I did to achieve the effect.  Hope that answers a few questions.

Ok, thats it for me for a few days now, I’m going to Canberra over the Australia Day long weekend to play in arguably the largest and longest running 40k comp in Australia, CanCon (it now has many other systems running too)  So if you’re playing or attending come and say g’day its great being able to put faces to names I see on my FB page.  It’s been many years since I played at CanCon, in fact the last time was well over 10 yrs ago when I took out first place for under 21’s… eeeerrrr (2nd ed era)  Looking at some of the names of players attending, the calibre will be very high with 30 of the top 100 players in Australia attending (there are 130ish players in total playing in 40k)

There will no doubt be tones of pics and a comprehensive post CanCon debrief up the following week.

Until next time, bye for now.

John


Well today I finished the scenery for my first completed Forge World Realm of Battle Cityscape Generatorum Sectors.  Its been a long time coming, I didn’t think making scenery could be so time consuming.  It hasn’t helped that while I’ve been doing the crane I’ve also been doing simultaneously  the Cathedral that will go on the first Shattered Plaza board section too.  I’ll let the pictures do most of the talking but I’m sure you’ll agree that this crane will be a real centre piece of the table.  Its massive!  Its surprisingly stable too, as a measure to assist with it not being knocked over by clumsy gamers (read : me) I’ve actually magnetised the chain on the winch so if it were to be bumped the chain will just fall away rather than bring the whole crane down.

So lets take a look at them.  There are two terrain pieces on this board, the crane, but also the Generatorum, I like to think of it as the generator or power source for the crane itself.  I imagine that a raiding army has sabotaged its power source rather than topple the crane so that if need be it could be put to use in the future.  Hence why the crane is in tact…

Forge World Realm of Battle Cityscape Generatorum Sector The Crane - Finished 1 via www.thepaintingbunker.comBehold! the God Machine Crane!

Forge World Realm of Battle Cityscape Generatorum Sector The Crane - Finished 2 via www.thepaintingbunker.comIn this shot you can see the ruined generator building.  I see the smaller section of roof as a sort of observation deck for the crane itself.

Forge World Realm of Battle Cityscape Generatorum Sector The Crane - Finished 3 via www.thepaintingbunker.comIn the grim darkness of the far future, there is only hazard stripes.

Forge World Realm of Battle Cityscape Generatorum Sector The Crane - Finished 4 via www.thepaintingbunker.comForge World Realm of Battle Cityscape Generatorum Sector The Crane - Finished 5 via www.thepaintingbunker.com

Forge World Realm of Battle Cityscape Generatorum Sector The Crane - Finished 6 via www.thepaintingbunker.com

Forge World Realm of Battle Cityscape Generatorum Sector The Crane - Finished 7 via www.thepaintingbunker.com

Forge World Realm of Battle Cityscape Generatorum Sector The Crane - Finished 8 via www.thepaintingbunker.com

The power conduits for the craneForge World Realm of Battle Cityscape Generatorum Sector The Crane - Finished 9 via www.thepaintingbunker.com

Forge World Realm of Battle Cityscape Generatorum Sector The Crane - Finished 10 via www.thepaintingbunker.com

Forge World Realm of Battle Cityscape Generatorum Sector The Crane - Finished 11 via www.thepaintingbunker.com

Forge World Realm of Battle Cityscape Generatorum Sector The Crane - Finished 12 via www.thepaintingbunker.com


So there you go.  The first board completed… seven to go.  The next board you’ll see by the end of the week most likely will be the Cathedral.  Its now fully assembled and undercoated.  Its a massive piece also making it awkward to handle, so painting it should be great fun….

The more I look at the crane and generator the more I like it, to be honest with you its still growing on me but its a very distinctive piece that I’m sure over time my appreciation of it will grow.

So thats it for today, look out for my next post which will be the completed Cathedral.  It’s going to be a real eye opener.

Thanks for dropping in, your comments are aways welcome

John

Two posts in one day! I have been busy…

About two weeks ago over the Xmas break my good friend Aaron of Forlorn Hope fame and I were having a bromantic night in watching Myth Busters and cutting out the seemingly endless sprues of the four Imperial Sectors I brought.  The sprues would eventually be for the scenery stage of the Forge World Realm of Battle Cityscape boards I was at that time painting.

As we were watching Myth Busters we noticed a massive toy crane in the back ground of their office.  Aaron suggest that it would be cool to have a crane on one of the boards.  I did too, so I started looking online for something similar and eventually found one that looked cool, so a few days ago I found myself in Toys r Us with a toy crane under my arm.  They were having a 25% off sale at the time and it was only $35! So how could I resist.  The thought of having a massive Adeptus Mechanics crane on one of the boards was too tempting and the scale of what was on offer seemed to suit perfectly for the heroic 28mm scale of 40k.

So heres what I ended up getting from Toys r Us for $35!.  Thats me playing with it when I got it home btw.

 Forge World Realm of Battle Cityscape Generatorum Sector Crane 1via www.thepaintingbunker.com

Forge World Realm of Battle Cityscape Generatorum Sector Crane 2 via www.thepaintingbunker.comThis is what I ended up doing to it, and where it’ll go on my board.  As you can see I’ve shortened it, and “grim darked” it up quite a bit.

Forge World Realm of Battle Cityscape Generatorum Sector Crane 4 via www.thepaintingbunker.comAnother detail shot of its base and first level gantry.  I’m really happy with this piece.  Its very big but I think it’ll add a good sense of scale and perspective to the rest of the boards once its put into context with them around it.

Forge World Realm of Battle Cityscape Generatorum Sector Crane 5 via www.thepaintingbunker.comLots of bits of details added, most of it from the Titan kits I’ve made over the last year, plus some from the Imperial Sector buildings and a little brass etched pieces

Forge World Realm of Battle Cityscape Generatorum Sector Crane 6 via www.thepaintingbunker.comSo that I can store it, I’ve kept the mast and crane separate pieces.  Its just a push fit with a simple male/female fitting

Forge World Realm of Battle Cityscape Generatorum Sector Crane 3 via www.thepaintingbunker.comSome random junk on an industrial pallet.  I made the tarp by soaking some thin cardboard in some water with PVA glue in it, I then shaped it over the crates etc and let it set.

Forge World Realm of Battle Cityscape Generatorum Sector Crane 7 via www.thepaintingbunker.comAnother angle of the pallet.  I kinda like the simplicity of this piece.  It looks cool.

Here are my work in progress shots.  Again, your feedback would be nice on whether or not I should include these.

Ok, thats it for this post.

I’m thrilled with this piece.  It’s turned out much better than I could have ever imagined.  The paint job I have in mind for it is going to be pretty awesome too…  So hold fast for that one.

Thanks for dropping in

John