Posts Tagged ‘40k’

Well folks,

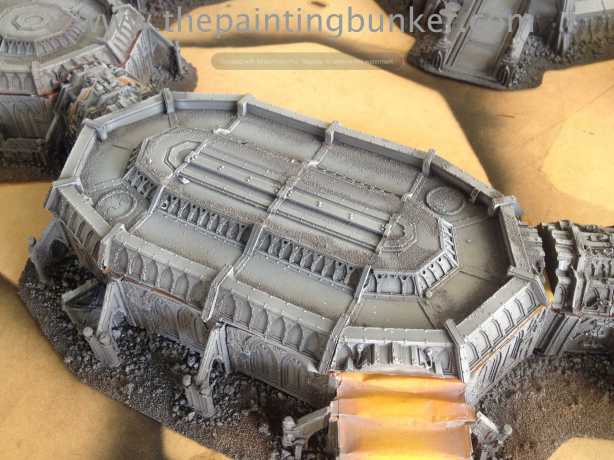
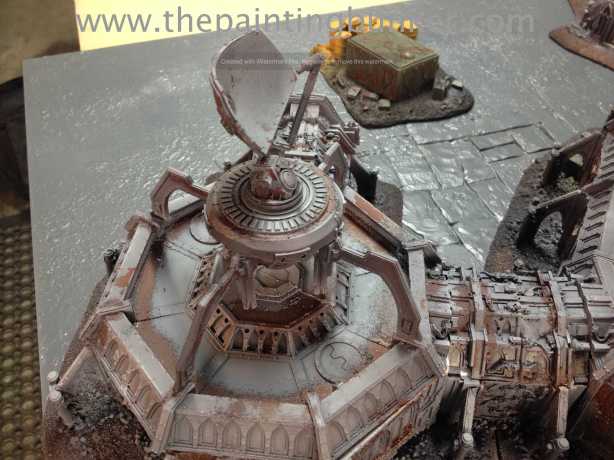
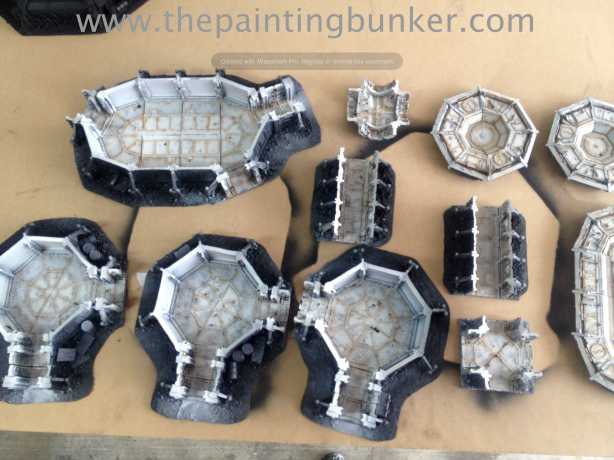
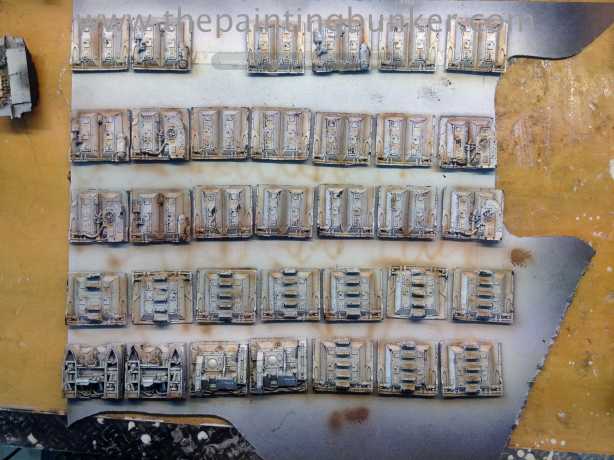
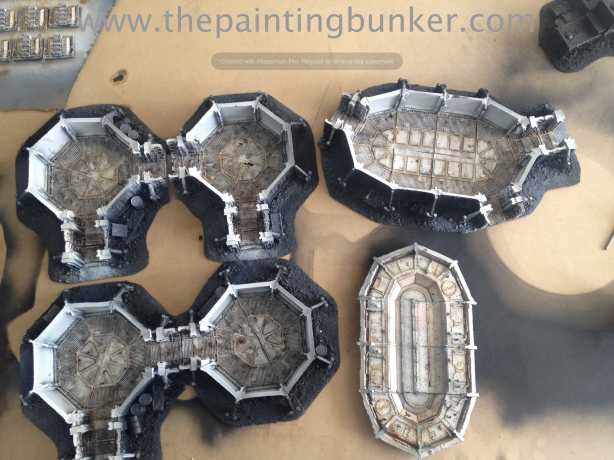
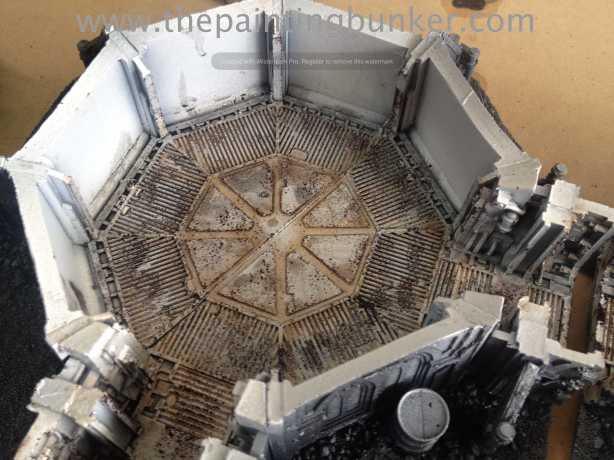
Here it is.  The last piece of scenery I’ll be building for some time.  So with out any further ado, behold!

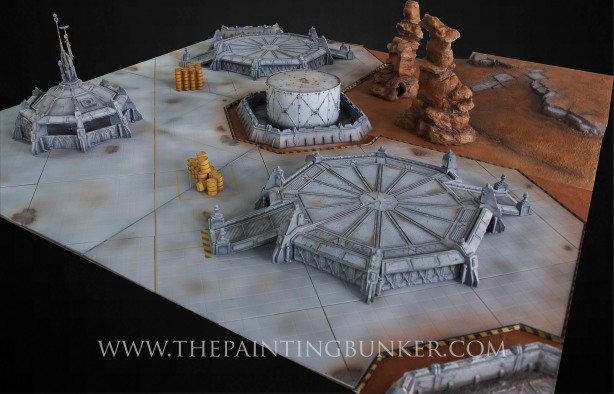
Air Strip One -1

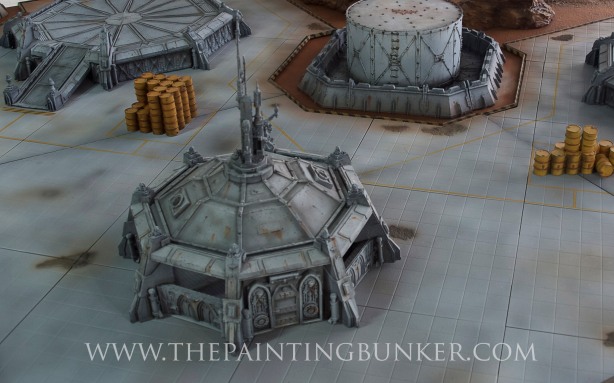
Air Strip One -2

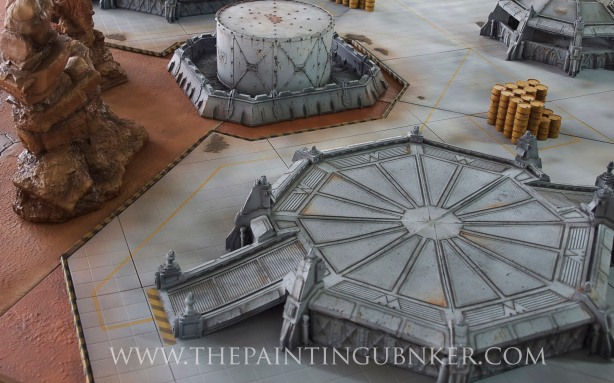
Air Strip One -3

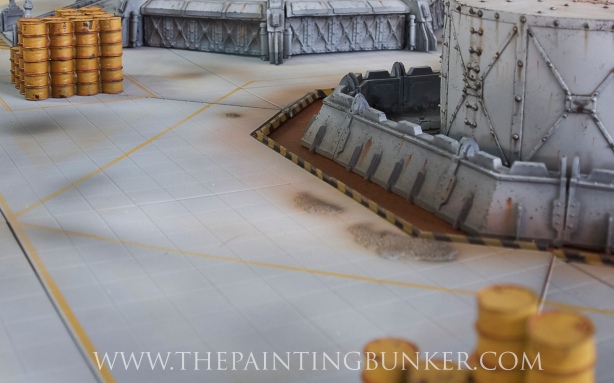
Air Strip One -4

Air Strip One -5

Air Strip One -6

Air Strip One -7

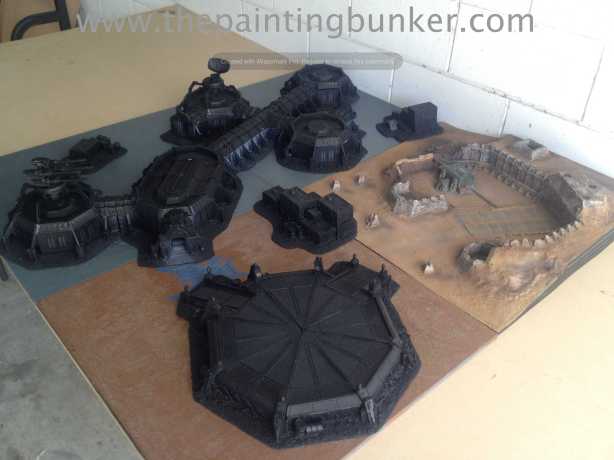
Table 5

So this board will be one of the table being used during the tournament I’m running.  For those of you that are interested, I’ve added a how to get to the venue page on the tournament website.  It’d be great to see a few of you come along.  You’re bound to see some pretty amazing armies.  If you can’t fear not!  I’ll be taking lots of photos and making a post on this blog about it in the following weeks.

Thanks for dropping in

John


Hello everyone!

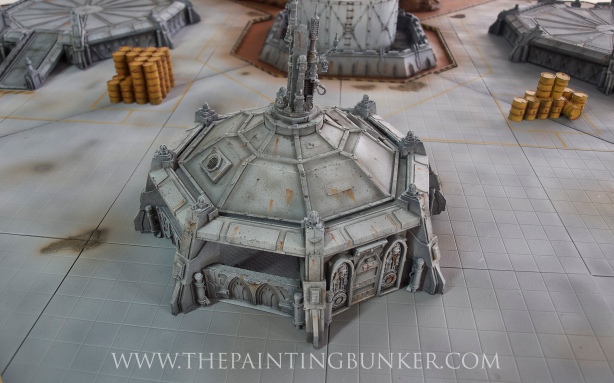
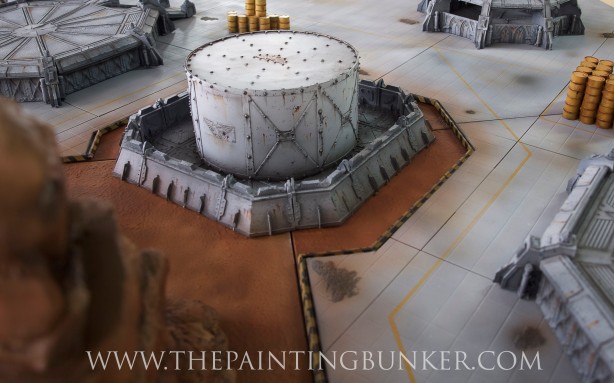
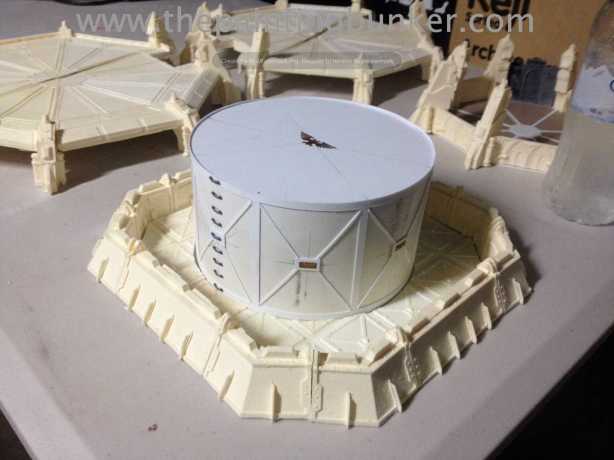
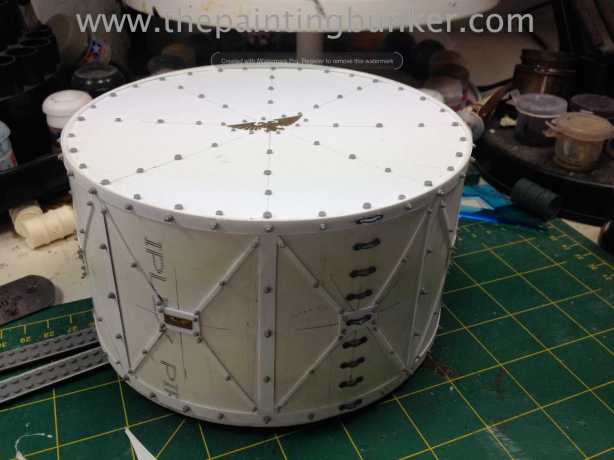
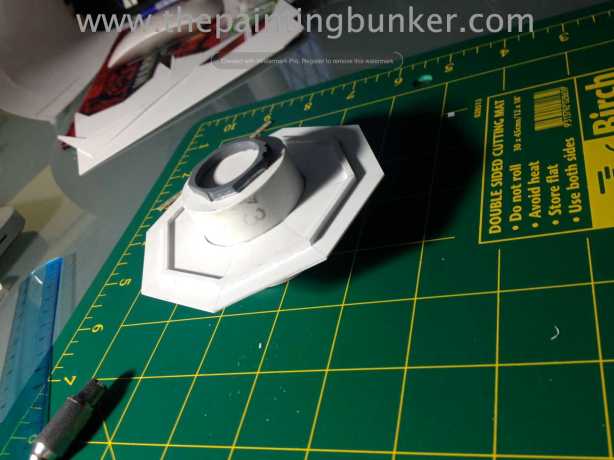
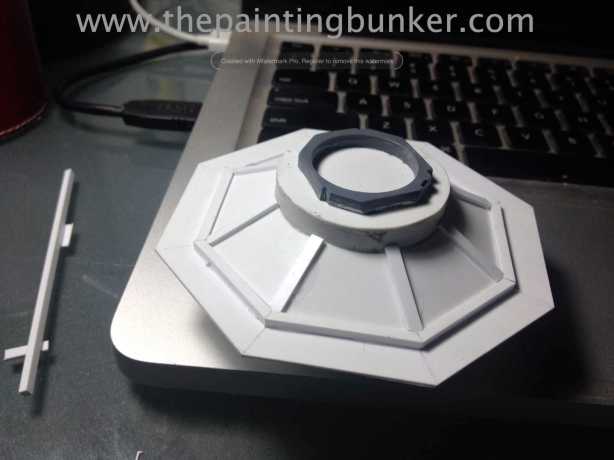
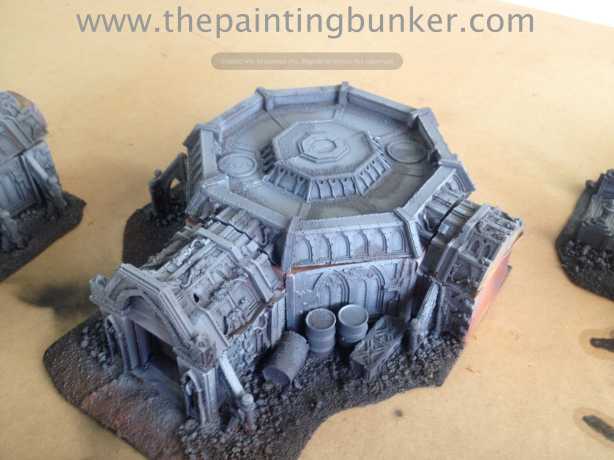
Are you ready for another instalment of Air Strip One?  So this particular episode is all about the bulk fuel storage that will be in the centre of the air field.  Surprisingly it was quite easy to make.  It was simply a 15omm diameter piece of PVC pipe used for plumbing.  The tricky bit was cutting it so that it sat flat.  I accomplished this by wrapping a large piece of plastic card around the circumference of the tube, making sure the two ends lined up and the sheet was flat on the surface of the tube.  I then just scribed a line on the tube with a pencil.  I then just grabbed my Dremel and attached a cutting wheel.  It was fiddly, however worth it.  The piece looks good and was pretty straight forward to make.

If anyone has ever seen any sort of bulk hazardous chemical storage they always have a spill barrier around them.  For this I used the excellent barricaded from Quantum Gothic.  I don’t know exactly the story with this company, however they’ve not been open for business for what feels like 2yrs now.  Its very sad, as they have amazing products. As you can see from the pictures, the detailing of the container was pretty straight forward.  I once again used the cut off bolt heads as a final piece of detail.  Other items used were the grab handles off the Leman Russ kit, and some FW brass etched Imperial Eagles.  If you’re into making scenery, grab a few of these, they’re fantastic.

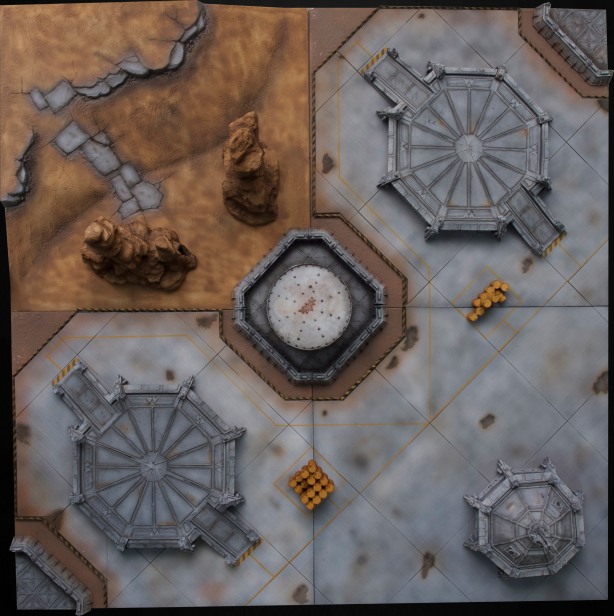
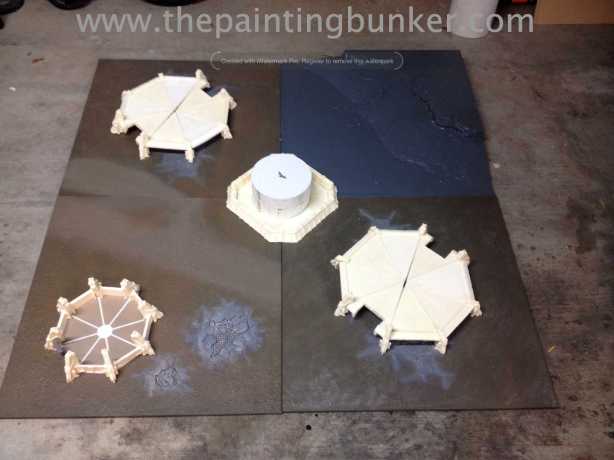
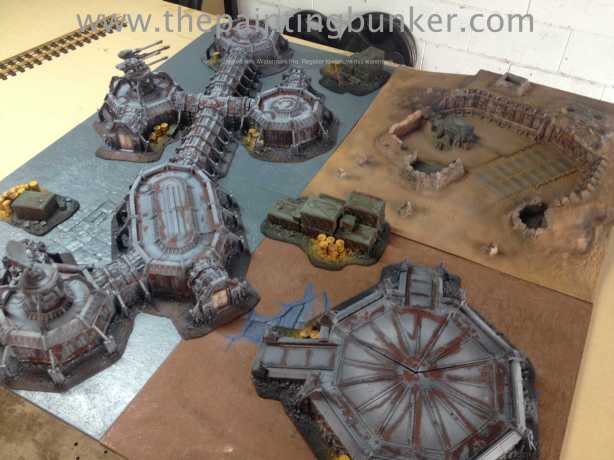
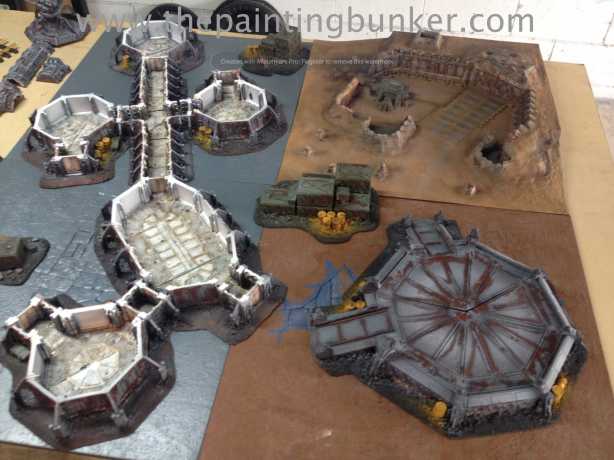
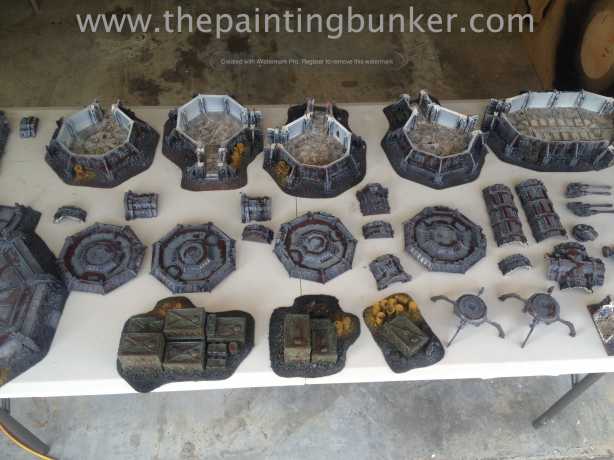
The final picture is roughly how the layout of the base will look.  Two landing pads, the fuel storage and the ground control.  If you remember from the first post of on this table, this is basically a small section of a much larger air field.  Hence why its symmetrical.

FW Epic Bunker WIP93 FW Epic Bunker WIP101 FW Epic Bunker WIP82

Thats it for now.  Thanks for dropping in.  The next post on this base will be of the finished product!  I’m very pleased with how its turned out, and I’m sure you will be too.

John

Hello everyone!

Well, as you can probably tell from the flavour of my last few posts I’ve not been doing much mini painting…  Instead I’ve been making scenery.  This is all in preparation for the tournament I’m running shortly.  I wanted to have five 4 x 4 tables for the tournament.  I had four done.  The two 4 x 4 Forge World Realm of Battle boards I did some time ago.  I admit I only did a 6 x 4 board, however I did have 8 2 x 2 tiles.  I finished off the last two tiles recently, just haven’t taken any pics of them… soz.  The Anhpelion Base, and a Zone Mortalis.

I needed a fifth.

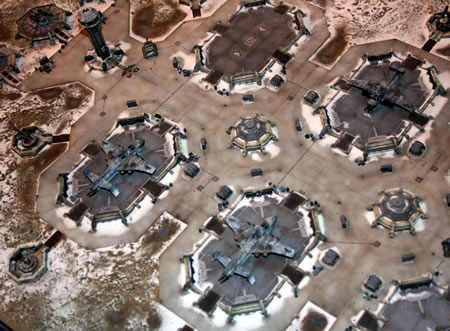
Going with my theme of buildings rather than ruins, I decided to make an Air Strip.  Remember the Forge World Aeronautica Imperialis Air Field they did for Master Class 1 ( I think)?

img_1641

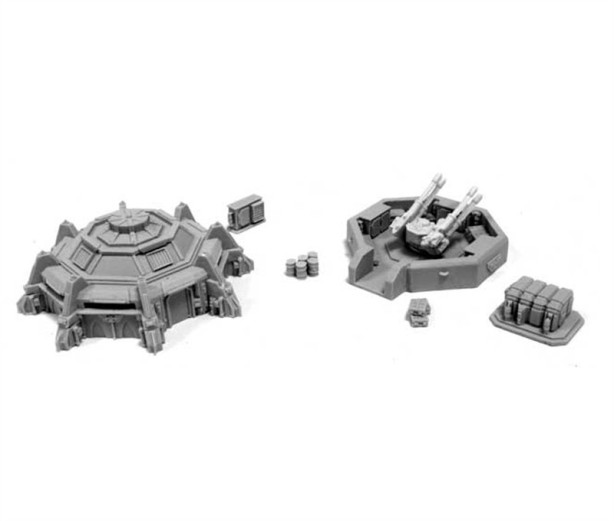
Well, I sort of wanted to do something like that but on a 40k scale.  Seeing as I had some left over bits from my Anphelion Base I decided to go with that.  Something I was really anxious to try out was to make a 40k scale one of these…  I think its a Forge World bunker of sorts for Epic scale.  You can see it in the picture above too.

FW Epic Bunker

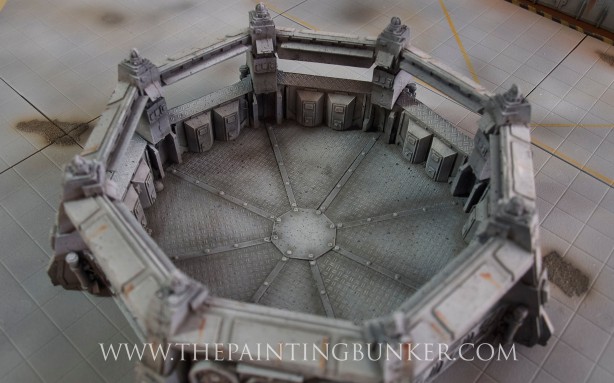
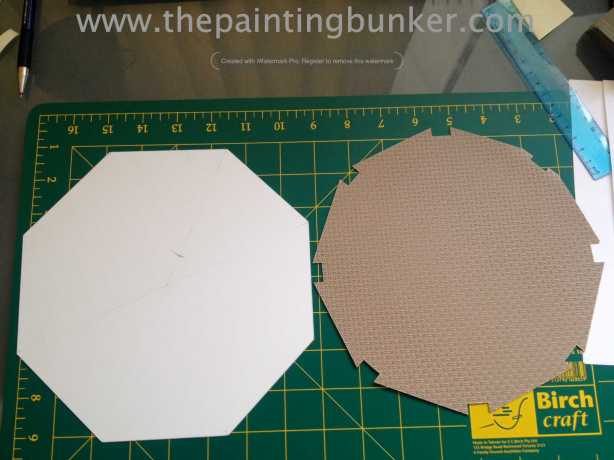
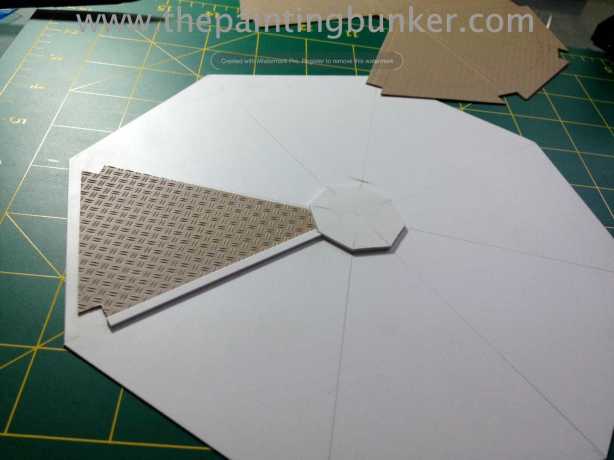
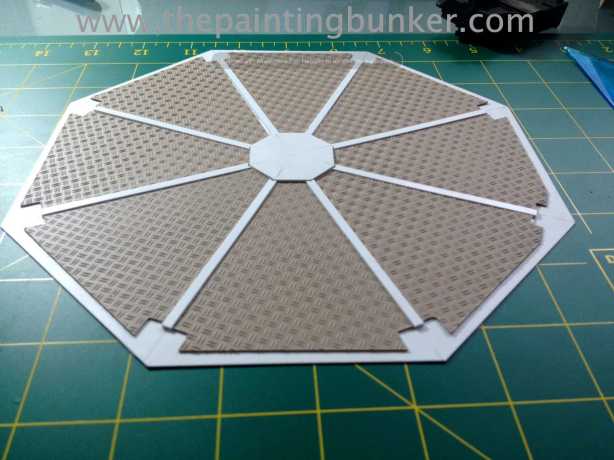
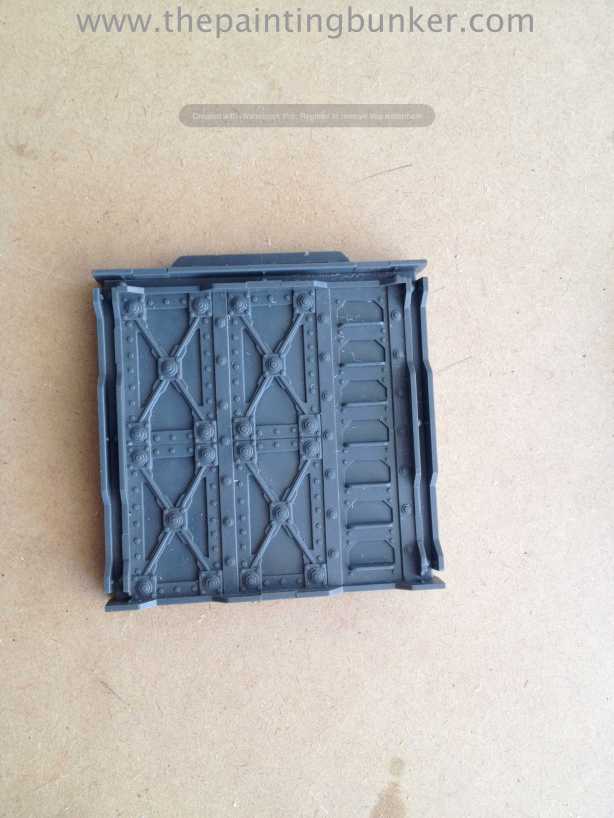
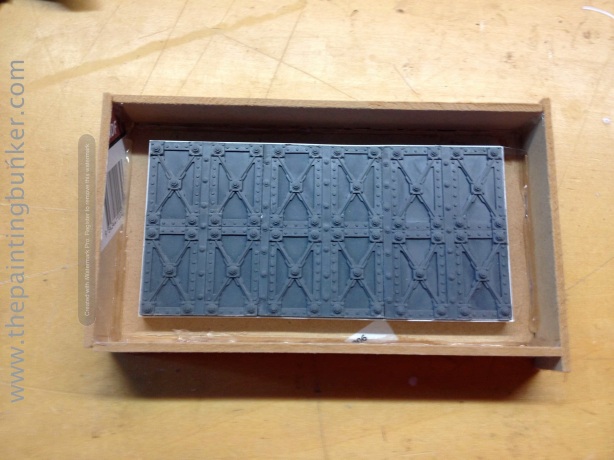
Its the thing on the left hand side.  The first thing I did was got out the old drafting kit from way back in the day and draw out a scale version of what I wanted to make, and then cut out the base plate.  I wanted the inside to be made out of tread plate, so I cut two bases.  One in the actual tread plate, and the other in just 1mm thick plastic card.  To give it stability.

FW Epic Bunker WIP101

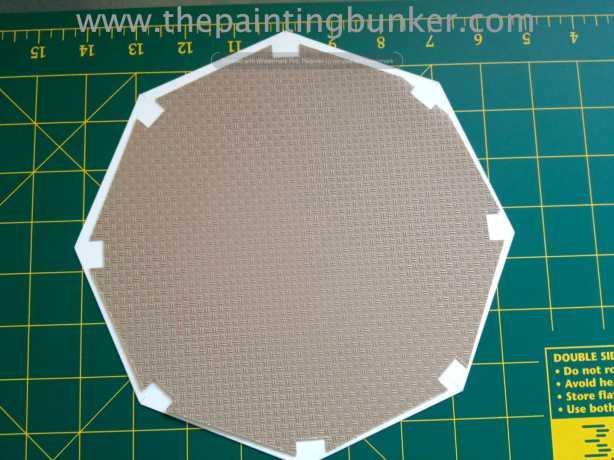
Here you can see the two bottom plates.  Next I glued them together.

FW Epic Bunker WIP202

The bottom one is slightly larger to accommodate the exterior walls.

FW Epic Bunker WIP303

Not being happy with just a nice tread plate interior floor, I decided to add some detail.  I don’t know what you’d call the detail that I added, but it looks cool…

FW Epic Bunker WIP404

FW Epic Bunker WIP505


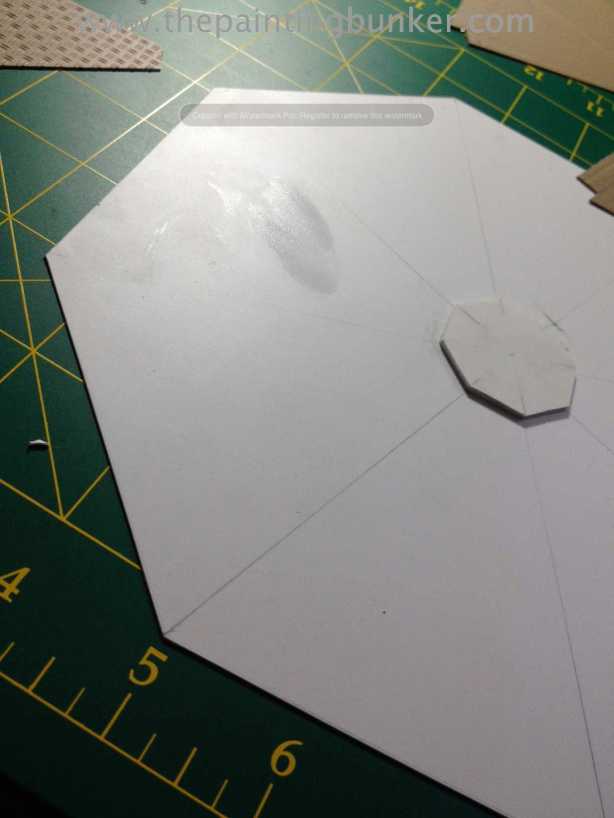
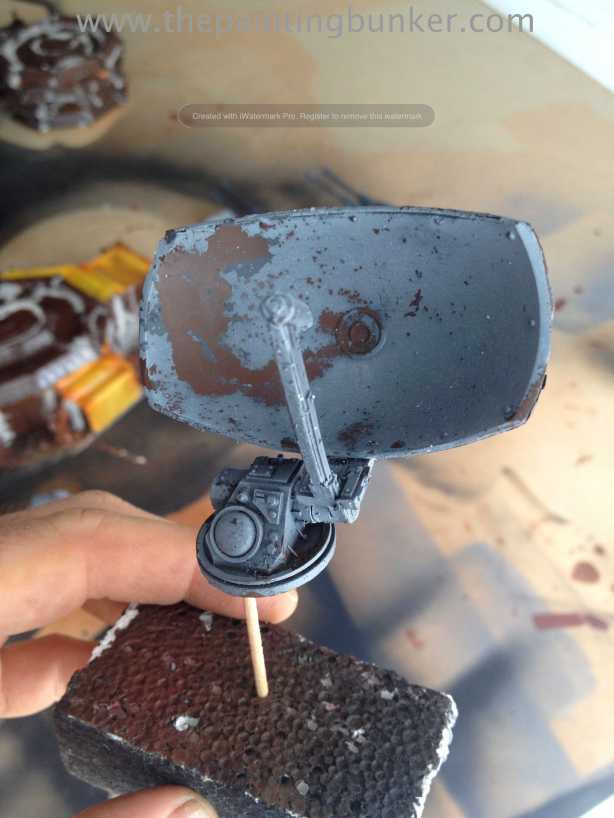
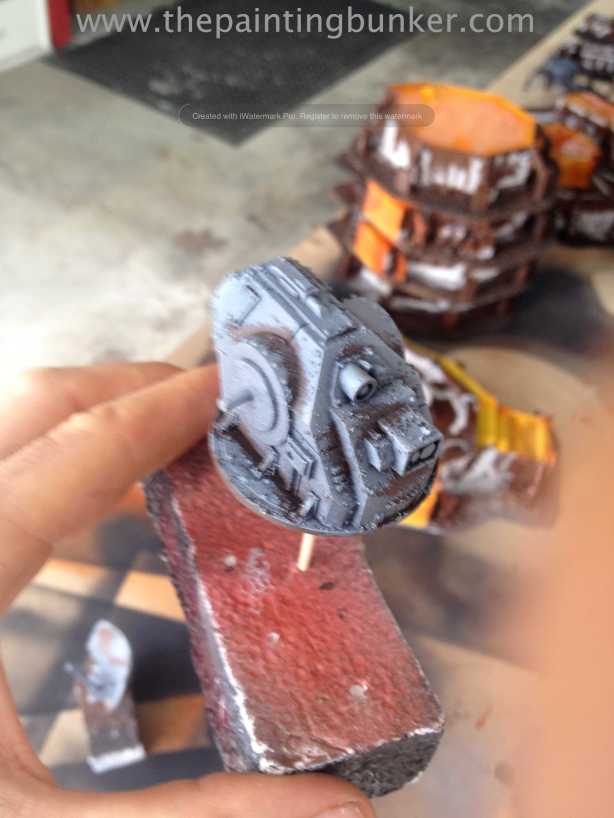
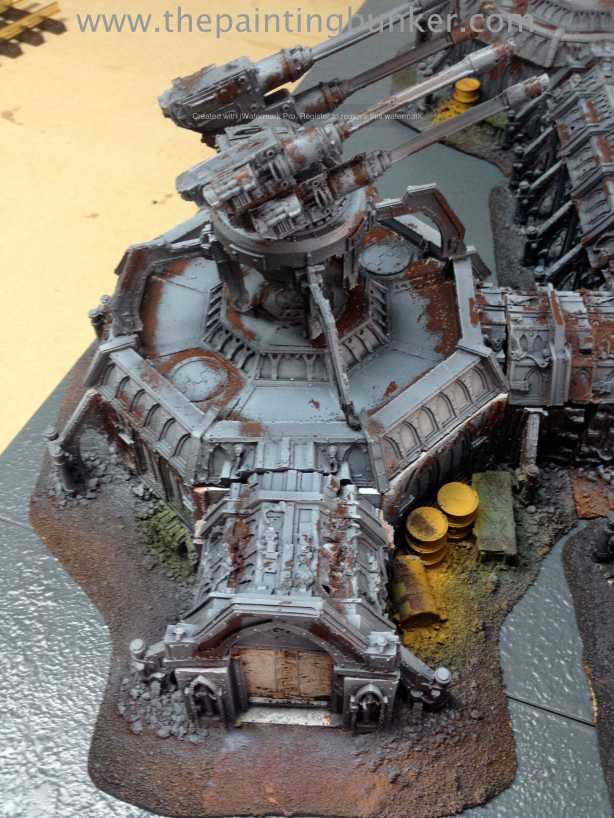
Next up came the roof.  Now, I see this as a control tower of sorts.  So instead of having the top of the roof just end, like the Epic scale model.  I wanted to have antenna etc sticking out of the top.  So I modified a Rhino Razorback weapon mount to accommodate the antenna.  The centre piece is a 40mm piece of PVC plumbing pipe (I think).

FW Epic Bunker WIP606

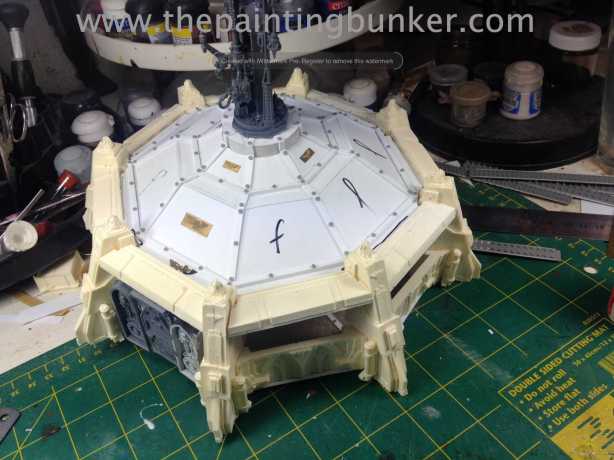
Just adding the roof panels.  Very tedious…

FW Epic Bunker WIP707

FW Epic Bunker WIP1111

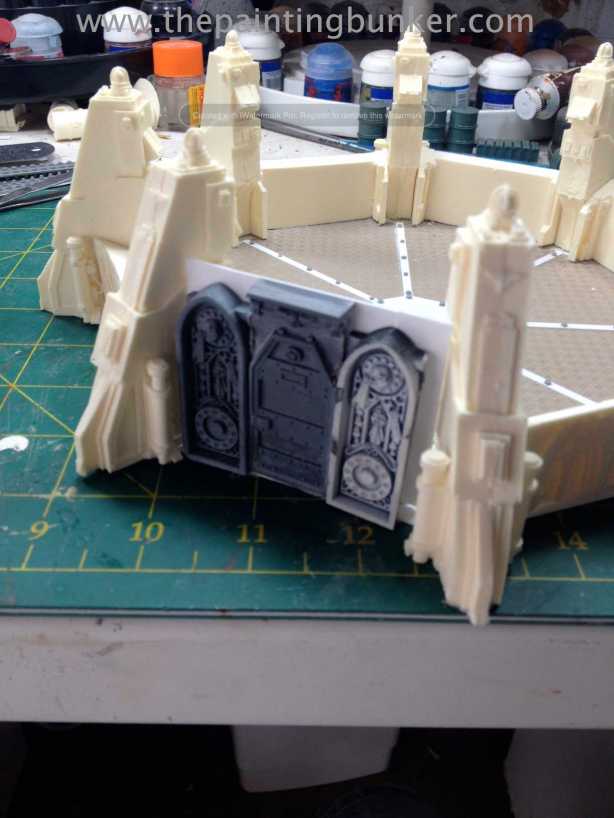
The door.  The parts are from the engine of the Baneblade and a door from the Imperial Bastion fortification.

FW Epic Bunker WIP1212

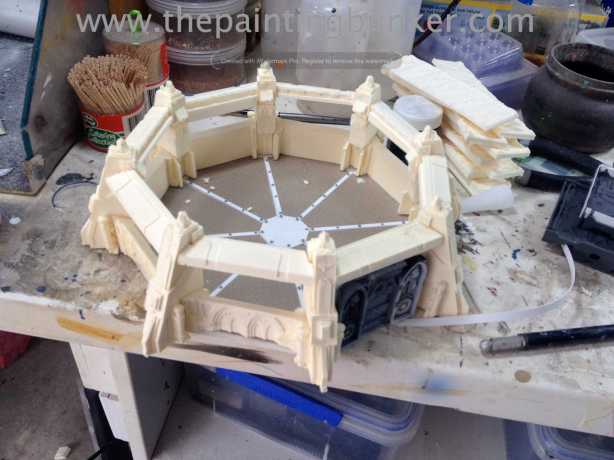
Its starting to look like an actual building now.  I wanted the roof to come off to make putting models inside a lot easier.  I did detail up the interior panels, however I forgot the take photos of them.  You’ll see what it looks like inside when I do the final shots.

FW Epic Bunker WIP1313

There you have it!  You’ll notice the small grey rivets.  They’re actually a military modelling detail kit I found while wandering aimlessly through a hobby store a few months ago.  They are nuts and bolts that come on a strip and you just cut them off and glue them on.  It’s a nice touch.

So there you have it.  Building one complete.  Well, mostly.  Next up I’ll show you how I made the bulk fuel storage container.  (think 150mm diameter piece of PVC pipe covered in rivets)

I’ve actually finished painting this board however I’ve just gotten my act together to show you what I’ve been upto.  So I don’t intend on drawing this out into 6ish posts, probably just 2-3.  I don’t want to overwhelm you, you see…

Until next time, thanks for dropping in!

Comments welcome!

John


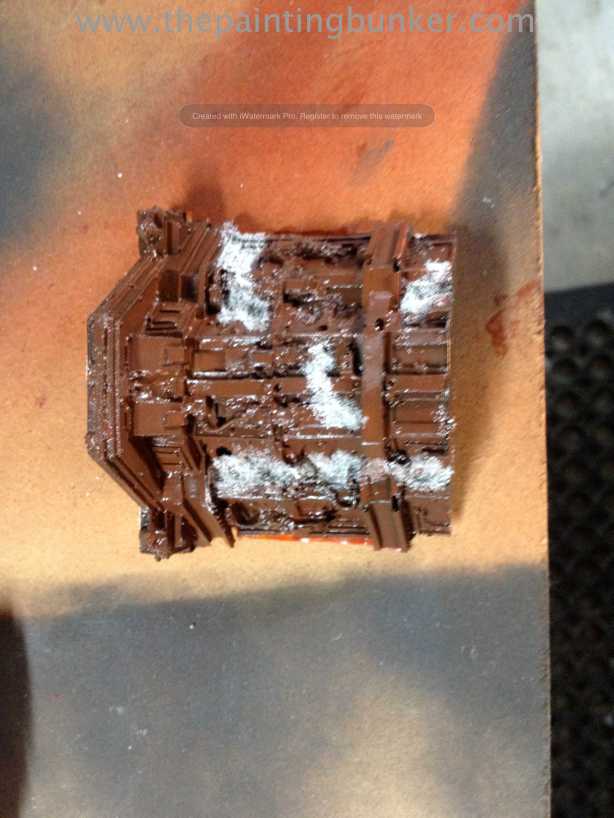
This post will mostly be about the fabled hairspray technique.  Believe it or not, I’ve never actually used it before.  Not through not wanting to, just never having an opportunity.  Plus I’ve never actually been convinced of how successful it is as a technique.  Whats always concerned me is removing the sand, salt, sugar or whatever it is you choose to use.  So, this post is mostly about my adventures with this technique.

So what compelled me to use it?  Well, I want the exterior to look like its rusting.  When you see rust on car, trucks etc it generally starts at weld points, joints etc.  To replicated this I couldn’t use the sponge technique.  When you apply a sponge with paint on it, it is applied to raised surfaces.  Not internal corners or where two materials would theoretically join.  By using the sand and my applicator, I was able to ‘mask’ these joints using sand.  Hence, why I opted to explore using this technique.

IMG_346618

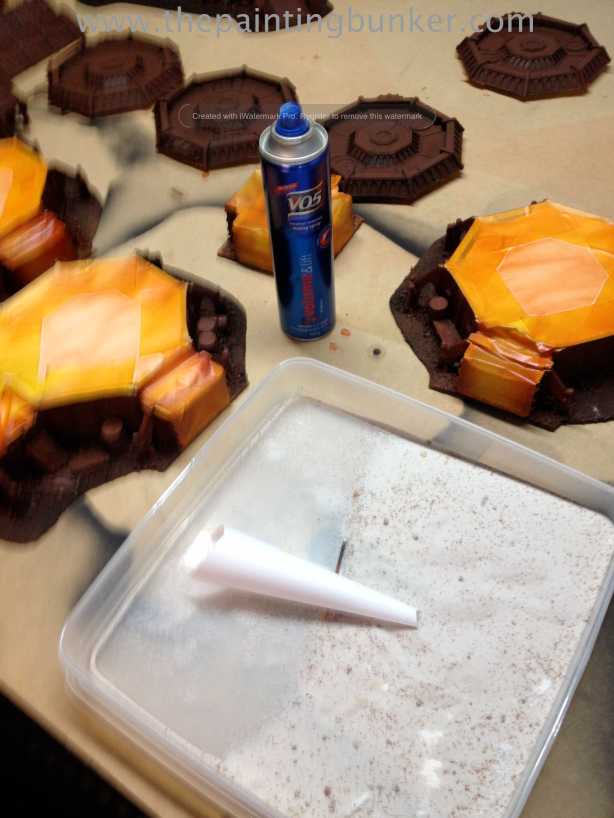
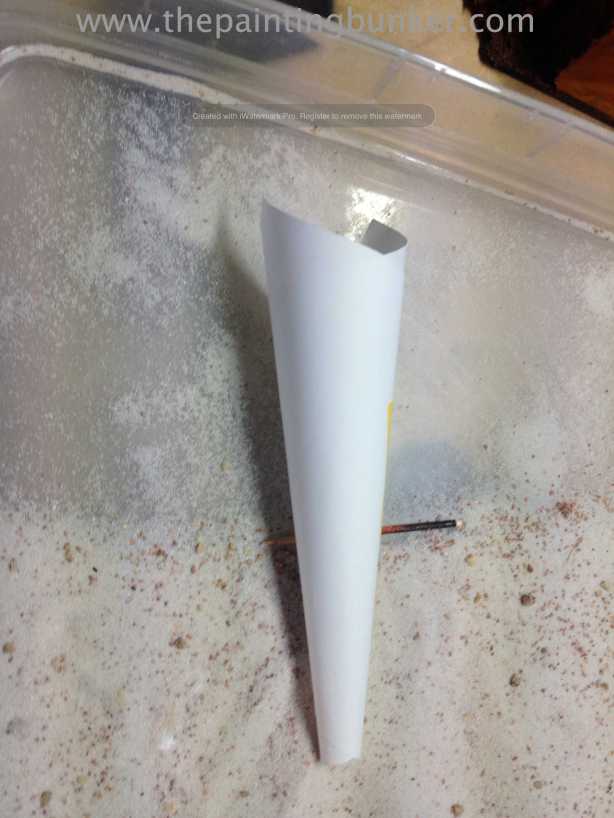
My chosen hairspray… VO5 sounded cool.  I made a small applicator out of paper to assist with more accurate placement of the sand.  By the way, I got the sand from a hardware store.  Nothing special.

IMG_346719

Making an applicator seemed like a good idea at the time…

IMG_346820

Did it work?  I think so.  However before I went hell for leather, I painted a small piece (below) and experimented with how I’d remove the sand.  Remember, I’ve actually based some of the sections of this model with craft wood.  I’ve also attached the basing material with PVA glue.  Both of these materials react poorly when exposed to moisture.

I wasn’t too concerned with the vast majority of the pieces of this kit getting wet.  They’re resin after all.  However I was concerned with the modules  This meant I had to be very careful removing the sand.

IMG_347221

As you can see from the two test pieces, the technique is quite affective.  The only thing I found I had to be careful of was using too much water.  This caused the paint to soften and come off.  So I found the best way was to apply a light coat of water, let it sit for a minute or two, and then with a tooth brush and wide flat paint brush, gently remove the sand.  It comes off quite easily.  Then I just gave it a quick rinse.

IMG_347322

IMG_347423

After I was satisfied with how the technique was going to work with the model, I then went ahead and added the sand to the rest of the pieces then painted them their top coat.  I was really happy with how it was all coming together at this stage.

IMG_347524

IMG_347625

IMG_347927

IMG_347826

IMG_348129

IMG_348028

IMG_348230

So, as you can see this base is really looking the business.  If I’d had my time over again I would have done a few things slightly differently.  The first one being not so liberal with the sand.  It’s a very small point however there are areas where I feel I went a little over the top.  The other thing I would have done is sealed the brown coat with a clear gloss.  I think this would have assisted in allowing the sand to come off with greater ease.  I don’t know this for certain, just theorising.

So from here, I’ll be applying a clear gloss coat to the model surfaces and applying oils…  until next post!

Thanks for dropping in

John

Welcome back to another Anphelion Base update.  Things are getting pretty serious now!  The models been cleaned and assembled (years of therapy ahead over that one).  It’s been based and undercoated, then the interior was painted.  Its now time to mask the interior and begin to paint the exterior.

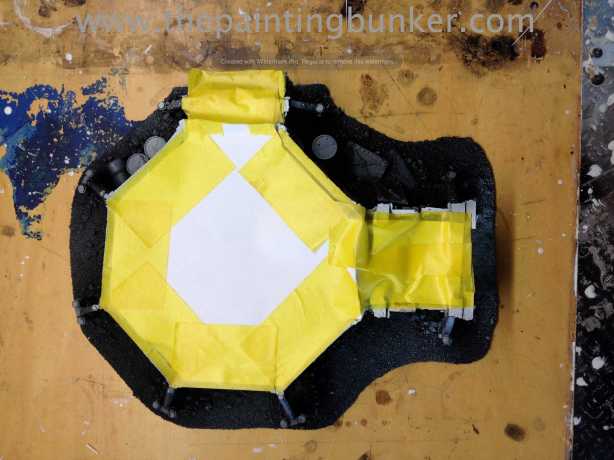
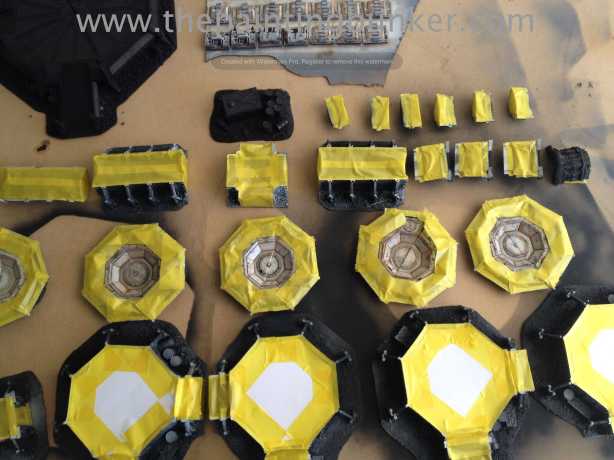
First up, masking

IMG_345710

The photos of this stage will be fairly self explanatory, so I’ll dispense with the commentary

IMG_345811

IMG_345912

IMG_346013

IMG_346215

IMG_346416

IMG_346517

A pretty light on post.  I didn’t want to spend too much time describing what is essentially sticking tape to a model then spraying it.  However what I will say is that the model isn’t going to be brown.  This is the undercoat.  I’ll be using the hairspray technique as one of the weathering stages of this model.  But that will be in the next post…

Until then, thanks for dropping in

John

Welcome back!

With undercoating complete, its now time to get down to business.  I always knew this was going to be a big job.  From previous experience making scenery I knew that I had to do a few things a bit differently painting wise to last time.  I ran up a small fortune in paint.  Using those little Citadel paints to paint huge pieces of scenery is not only tedious but also very expensive.  Also, modelling airbrushes are just not designed to paint large amounts of flat surfaces, they lack the paint capacity.

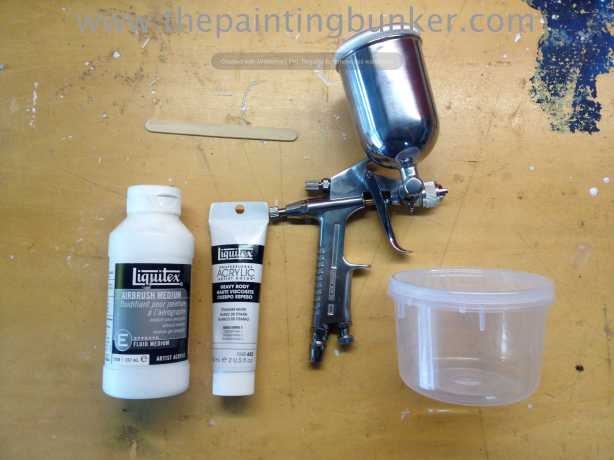
So, off I went to my local art store to investigate other possibilities paint wise, and to my local automotive store to look at other methods of paint application.  Below is a photo of what I came up with.

IMG_34431

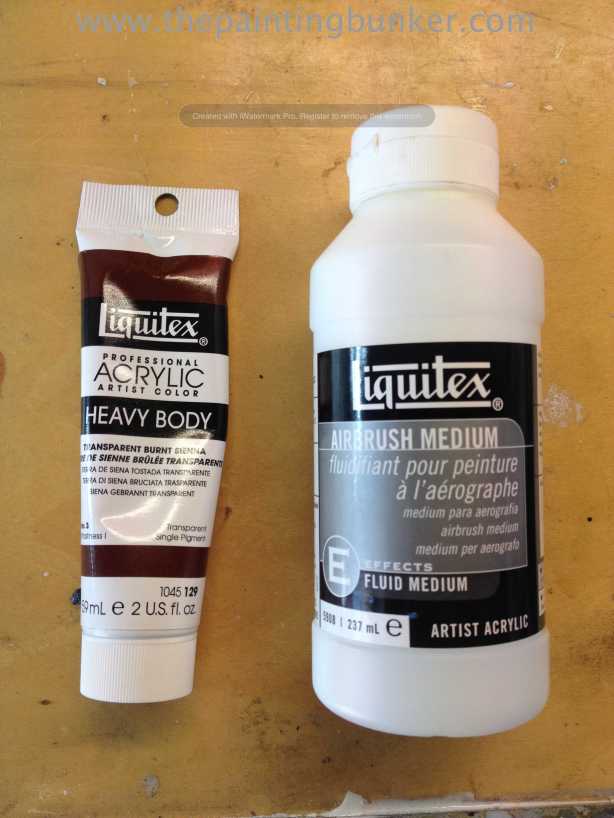
I’ve actually used Liquitex paints before.  Back in my Vinyl 1/4 action hero painting days.  They’re very high quality and also importantly, affordable.  In addition, they also have a range of additive for their paints.  Gel mediums, matte and gloss varnishes etc, plus as you can see in the picture, an airbrush medium.  I thought I’d give it a shot.  I also purchased a HPLV touch up spray gun from the automotive store.  It has a 100ml reservoir, much better than my airbrushes 10ml.

IMG_34442

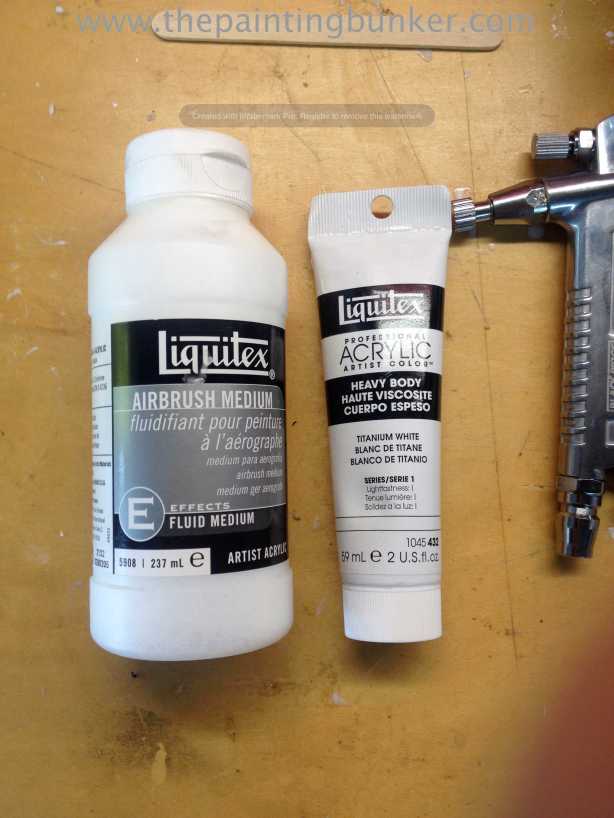
A close up of the paint and airbrush medium for those of you who like specifics.

IMG_344501

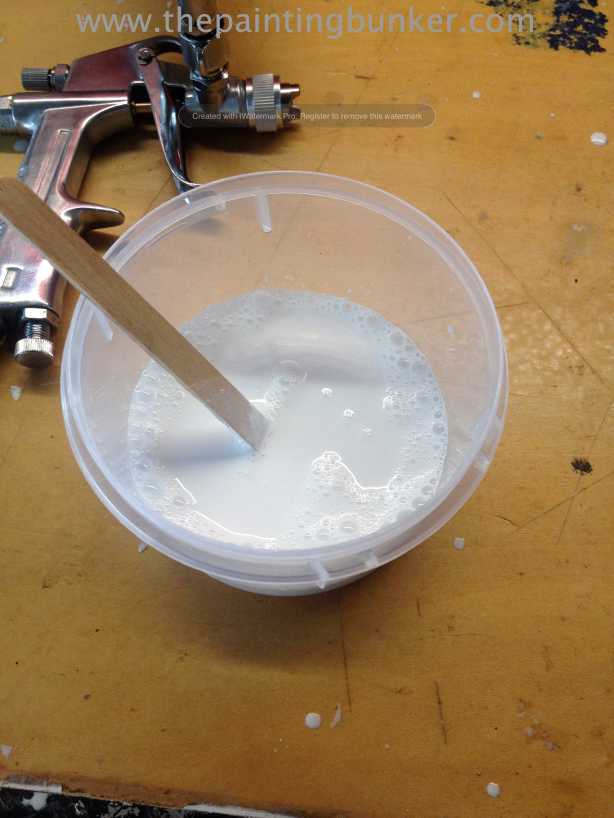
So I purchased a few containers from the local supermarket and got mixing.  I made up about 100ml, didn’t really know how much I’d actually need, but this seemed like a lot!

IMG_344602

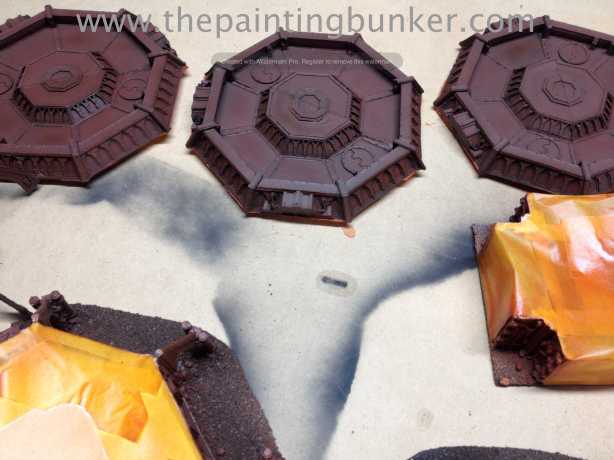
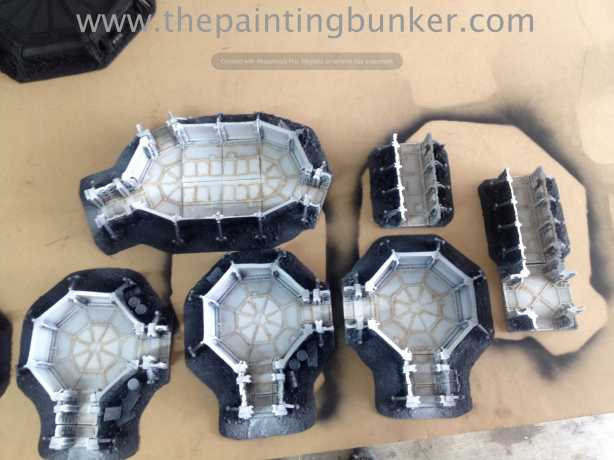
So after a bit of wrestling with the paint gun this is what I came up with.  The airbrush medium was ok, however I found that it really helped if I added some mentholated sprits to the mix.  The alcohol helps application as it evaporates quicker than the airbrush medium and therefore assists in paint coverage.  Overall very happy with the results.

IMG_344703

Just a bit of cutting in with a brown ink

IMG_344804

More cutting in of the wall panels… it was a tedious job.

IMG_344905

As you know, my plan for this base is that its been abandoned.  Therefore I want the internals, and externals to be very  weathered and decrepit after decades (centuries) of neglect.

IMG_345006

IMG_345408

After a quick gloss varnish, I applied some oil paints to complete the effect.

IMG_345307

A close up of a ‘pod’ or whatever they’re called.  As you can see, it pretty derelict (derelicte)

I’m pretty happy with how this is coming along.  My next step is the mask up all of the interior surfaces and get ready for painting the exterior.  This is going to be a massive job.

Ok, thats it for now.  Until next time, thanks for dropping in

John

So, this is part two of this project.  Basically we’re up to under coating at this stage.  Assembly is a distant memory, however I feel that it will haunt me for the rest of my days.  It was seriously hard work.  A task I’m thankful I’ll probably only ever do once in my life.

Ok, lets get down to business.  One thing I really wanted to do to the landing pad is not to have a gap between the ground and the underside of the landing platform.  I also wanted to make whatever I put in that gap be suitable and fitting with the character of the base, and finally, be simple and easy to produce (I’m quite a lazy bugger you see)

IMG_338245

So what I settled on was getting some of the old Necromunda bulkheads.  Remember these?

Big Jim, if you’re reading this, thanks for donating them.

IMG_338952

So basically I chopped a bunch of them up up to make a panel wide enough to span the gap between the support pylons on the landing pad.IMG_339053

Because I needed about eight lengths, I decided to make a quick one piece mold of the newly constructed panel so I can make the appropriate amount of casts.

IMG_339154

And the cast panel.  These will come in handy later on too.  They have a lot of character and will make useful bits later on…

IMG_339255

I also did a test paint scheme piece for the base.  I want it to look very neglected (it is abandoned after all)  I like how it came out.

IMG_340062

Here is a close up of some of the scatter terrain.  I really like the shipping container looking objects.  Again, more Necromunda bulkheads glued together and cast.

Anphelion Base 10

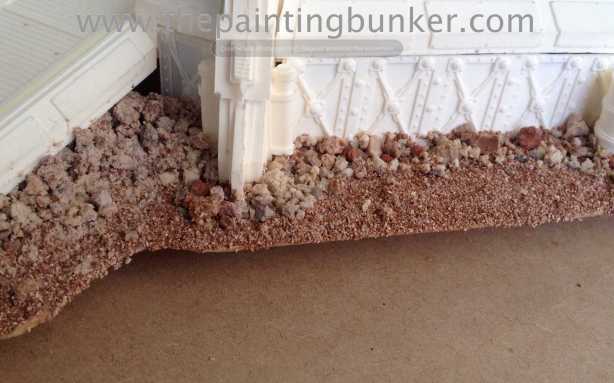
The cast panel in place on the landing pad.  In case you’re wondering, the basing material I use is kitty litter, and a type of small rocks that are used in reptile enclosures.  I just like the consistency.

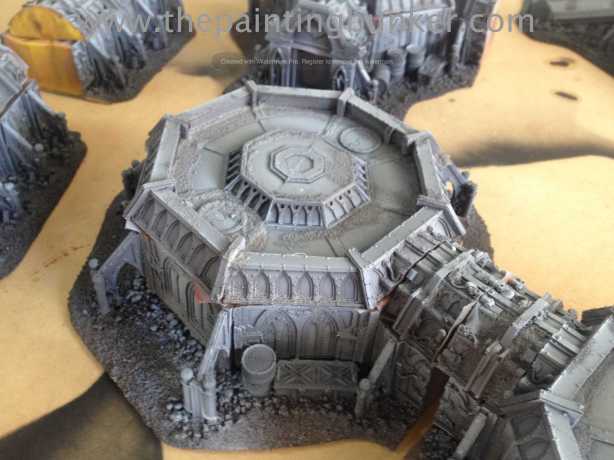
Anphelion Base 1

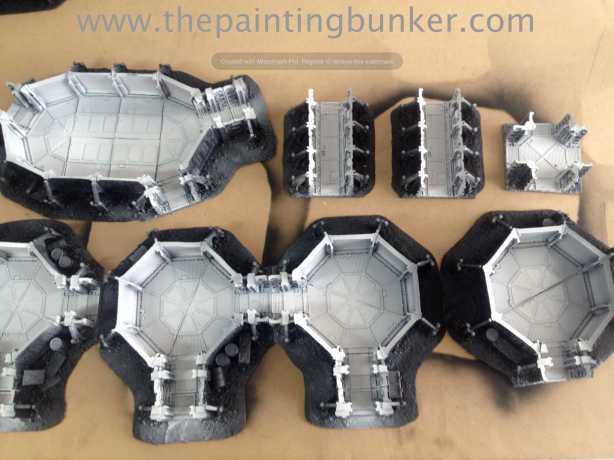
The rest of these photos are of the base assembled and undercoated.  As I’ve mentioned, getting it to this stage was a massive mission.  However it’s really pleasing to see it at this stage.  I have to admit, when I saw it all assembled like this, it really renewed my enthusiasm for the project.  It was waining…

Anphelion Base 2

Anphelion Base 3

Anphelion Base 4

Anphelion Base 5 Anphelion Base 6

Anphelion Base 7

The next few photos reveal the interior.  I’ve started undercoating it grey because I plan on painting the interior white.

Anphelion Base 8

Anphelion Base 9

So, next step is to start working on the interior.  This is going to be a pretty straight forward part actually.  Except for the interior panel inserts.  Particularly the ones I’ve chosen for the ‘quad gun’ and ‘comms relay’ controls.

Ok, thanks for dropping in,

Until next post

John

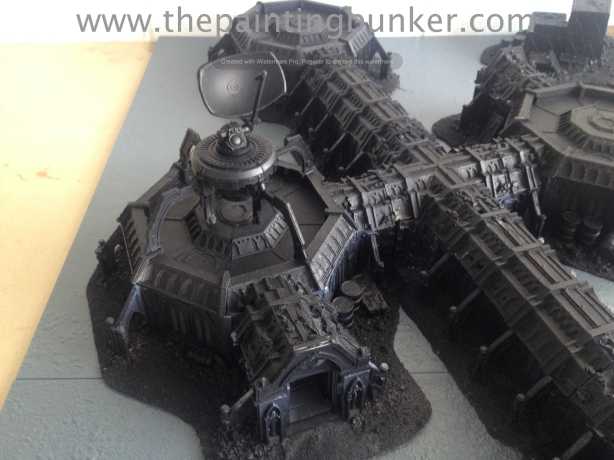
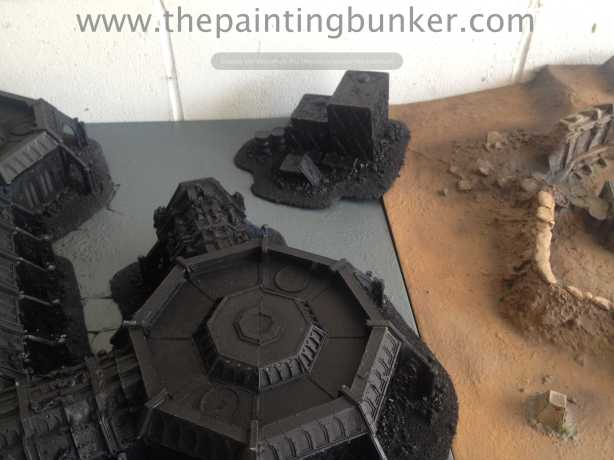
I’ve been waiting to tell you all about this for the LONGEST time.  Earlier this year I actually acquired an unassembled (mostly) and unpainted Anphelion Base.  For those of you that don’t know, the Anphelion Base was an extremely ambitious piece of 40k terrain that Forge World made to accompany Imperial Armour IV  – The Amphelion Project.  These kits are very very rare.  When they were released back in the early 2000’s they were over $1,500AUD to buy, and were notoriously difficult to assemble (this one lived up to that reputation)  When I say difficult to assemble, what I mean is, during assembly, most of the time you feel like smashing it to little pieces using a hammer.

So my idea for the base was to make a table that represented some sort of abandoned Adeptus Mechanicus research station, with an entrance to an underground laboratory just nearby.  I’ve been wanting to use the Forge World Imperial Strong Point  I painted for my Carcharodons for some time.  This seemed like the perfect opportunity.  It will act as the entrance to the subterranean laboratory.

Now, this series of blog post is going to be slightly different from my usual ones.  I’m actually going to include work in progress photos along with commentary.  I’m doing this for two reasons.  The first one is this is such an awesome model, I want you all to be able to live vicariously through this blog during the assembly of this amazing model.  The second reason is, I’ve not found many comprehensive blog post on the inter-webs on this model.  I’ve seen a few pics of other modellers here and there, but no ‘this is how I built and painted the Anphelion Base’.  So, in the interests of prosperity, I’ve taken it upon myself to provide the inter-webs with just such a post.

IMG_334003

The first step is to get the layout how I wanted it.  One thing I knew about this kit is that 1.  It was going to be mounted on MDF (Craft wood) and 2.  I was going to have to make molds of certain parts because with what I had, I couldn’t make the layout I wanted.

Lets start with the MDF base.  One thing that really irritates me about scenery mounted on MDF is the lip.  The base for the building or whatever gets cut out of MDF and thats it, just  really harsh shoulder between the board and the model base.  I didn’t want my piece to have this issue, I wanted to make sure that the edge of the MDF was made more into a ramp so that minis can balance properly, and its aesthetically  pleasing on the table.

IMG_334306

The first thing I did was draw outlines of all the various modules of the base on to MDF.  This included the ‘buttresses’

IMG_334710

I then added about 20mm around the module to allow for the ramped lip etc

IMG_334407

Then marked up the MDF ready for being cut out

IMG_335013

The halls were a much easier prospect…

IMG_335114

As was the intersection…

IMG_335316

Then it was time to cut them all out

IMG_335518

One problem I didn’t anticipate was the wide base of the hall going into the narrow base of the intersection.  I had to put my thinking cap on for this one…

IMG_335619

I ended up just making a small modification to the hall base to allow for a smooth transition between pieces.

IMG_335720

So now the hall goes into the module and the intersection smoothly.

IMG_335821

IMG_335922

IMG_336023

Next up with the very messy job of sanding the ramp onto the lips of all the bases.. epic job.  I wouldn’t recommend doing this unless you have a good dust extraction method and dust mask.  MDF is seriously bad stuff to breath in.  Maybe thats why no one bothers to make a better lip transition?

IMG_336124

Nice

IMG_337942

After I’d done this, I went back to all the joins and ‘aligned’ them.  Which basically involved going back to each one and making minor modifications to ensure the joints overlaped and joined smoothly.

IMG_338043

Just another pic of a fixed up joint

IMG_338144

The MDF bases of the base all organised.  This didn’t take as much time as you’d think.  The results will be well worth it in the end.

IMG_336528

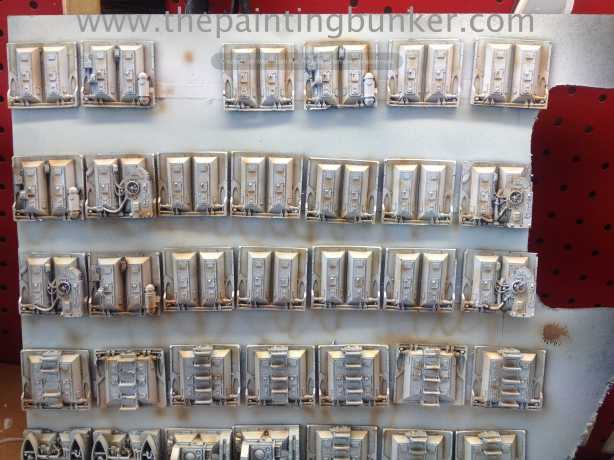
So I also wanted some scatter terrain too.  I made a mold of the ‘containers’ so I could have a few floating around the base.  You’ll also notice the landing pad has two ramps indicated on the base.  So yeah… I’ll mold that section too.

IMG_336831

So I mounted the scatter terrain on MDF bases too.  I also added a few barrels etc to give it some more visual interest.

IMG_336932

IMG_337033

IMG_337134 IMG_337235

IMG_337336

IMG_337437

IMG_337538

IMG_337639

IMG_337740

IMG_337841

There you go, the Anphellion base is now ready to be glued onto the MDF, then undercoated.  I don’t know if its clear in the photos but if you look closely you can see the that the layout I’ve come up with is different to the actual models that I’ve got.  So I’ll have to make molds of the pieces I need.  This will be a pretty big job too.  I won’t do a post on the mold making process as thats a series of post in its self!.  You’ll just have to believe me that it happened and I achieved the desired results.  In future posts though you’ll notice the molded sections because they’ll be white.

Ok, thats it for now, until next time.  Thanks for dropping in

John

So, that time of the year has rolled around again where I’ve made the epic journey upto Townsville for the annual ADFWGA fund raiser.  Do you remember last years post?

I’ve not really participated in that many tournaments in 2013, in fact, I’ve not even played that many games.  I’m more about 30k or social playing 40k these days.  However, the ADFWGA put on a great show, and its for a very good cause.  This year the 40k tournament was 1750pts and I took my Iron Hands.  I didn’t use the new mini dex however.

I also ran the painting workshop, which this year was focused on batch painting.  I believe we raised $500.  Also, one of the guys who attended won an airbrush set up in the raffle at the end of the comp!

So I’ll let the pictures do the talking…

ADFWGA donation

So all the models and paint for the painting tutorial were generously donated by Battle station Ipswich.  Roughly about $700 worth.  Extremely generous

IMG_328801

The painting workshop in full swing.  There were many skill levels and painting backgrounds represented.  Everyone learned some new skills and had a good time.  It was a seriously long day though.  I was exhausted! Having only gotten back from my trip to Europe 3 day prior didn’t help either… Next year I’ll stick to painting sides of tanks!

IMG_328902

IMG_329003

The calm before the storm.  One thing I really like about the ADFWGA comps is how well they are organised.  They are by far and away the bench mark for tournaments in Australia.  No other events even come close to touching these comps.  IMG_329104

The scenery is always very high quality too.  The tables have a great admin area on them to put your army, books etc.  They even have a table to follow so you dont forget any pre-game admin, like warlord traits etc.  Very helpful, especially for people like me who don’t play that often anymore…

IMG_329305

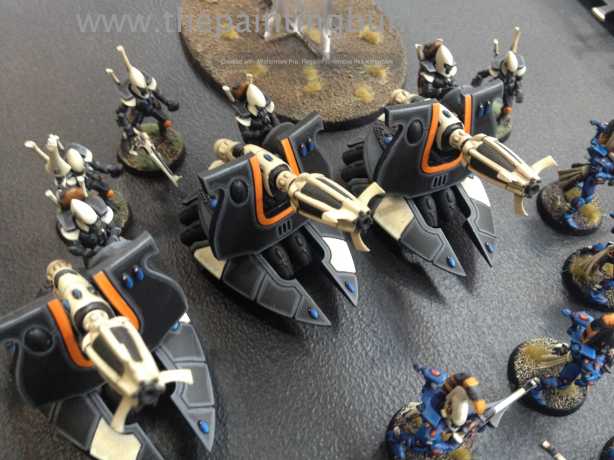
As usual, the armies are all really interesting and high quality.  This one was one of the more interesting ones.  Its and Eldar Exodite army.  Tones of converting and custom work were put into this army to get it looking right.  Not only that, but the paint job was excellent too.  Sadly the owner didn’t manage to get it finished in time, so they were ineligible for a prize etc.  Pity.  Pardon my crappy iPhone photos.

IMG_329406 IMG_329507 IMG_329608

IMG_329709

This was an army I actually played against.  I was really impressed with the paint job.  It was well thought out and skilfully executed.  I was genuinely shocked that it didn’t get a better painting score, or even a place for that matter.

Lots of nice blending and freehand work.  But yeah, Eldar.  My least favourite army to play against…IMG_329810 IMG_329911 IMG_330012

So overall I came 6th.  Which I was seriously surprised at.  I only won two games, and drew the other three.  My army list was just a very basic marine one.  I did however have A LOT of stand off fire power.  Which worked quite well actually, however I didn’t really have anything that could deliver the killing blow.  No heavy hitters that could get up into the enemies grill.

The Iron Hands also got second place for the painting comp too.  Which again, seriously surprised me.  The Iron Hands are quite an old army now, and I’ve come along way technically and creatively since I first painted them.  So to get that sort of score was pretty overwhelming.  I wish I’d actually taken the World Eaters and played them as CSM.  But I just didn’t have the time to paint what I wanted… And my Iron Hands army is MASSIVE, so lots of different choices available to me.

So overall the weekend was a great success.  The ADFWGA raised over $12,000 for Soldier on and many good games were had.  A big improvement on last years efforts, raising $10,000.

Next stop, the ANZAC Cup in April

John
So this is 2013’s entry into Armies on Parade.  It consisted of a ‘turned’ force of World Eaters space marines, accompanied by their new allies.  Daemons of Khorne.  Specifically, the amazing Blood Thirster made by Forge World and some Bloodletters.
This year GW decided not to have a Games Day in Australia.  So they decided to still do the Armies on Parade competition, however photos of the winning entries from each store would be sent to head office and put up on GW’s website for everyone to vote on.  Yet again I won the store comp but didn’t win the overall comp.  I hope GW decided to have a Games Day for Australia this year.  Even though I live 1,000km away, its well worth the expense and effort to get there.

IMG_30421

IMG_30432

It was still good to get the shop award though

Thanks for dropping in

John